

September is also like a Bottle of Wine
September is also like a Bottle of Wine
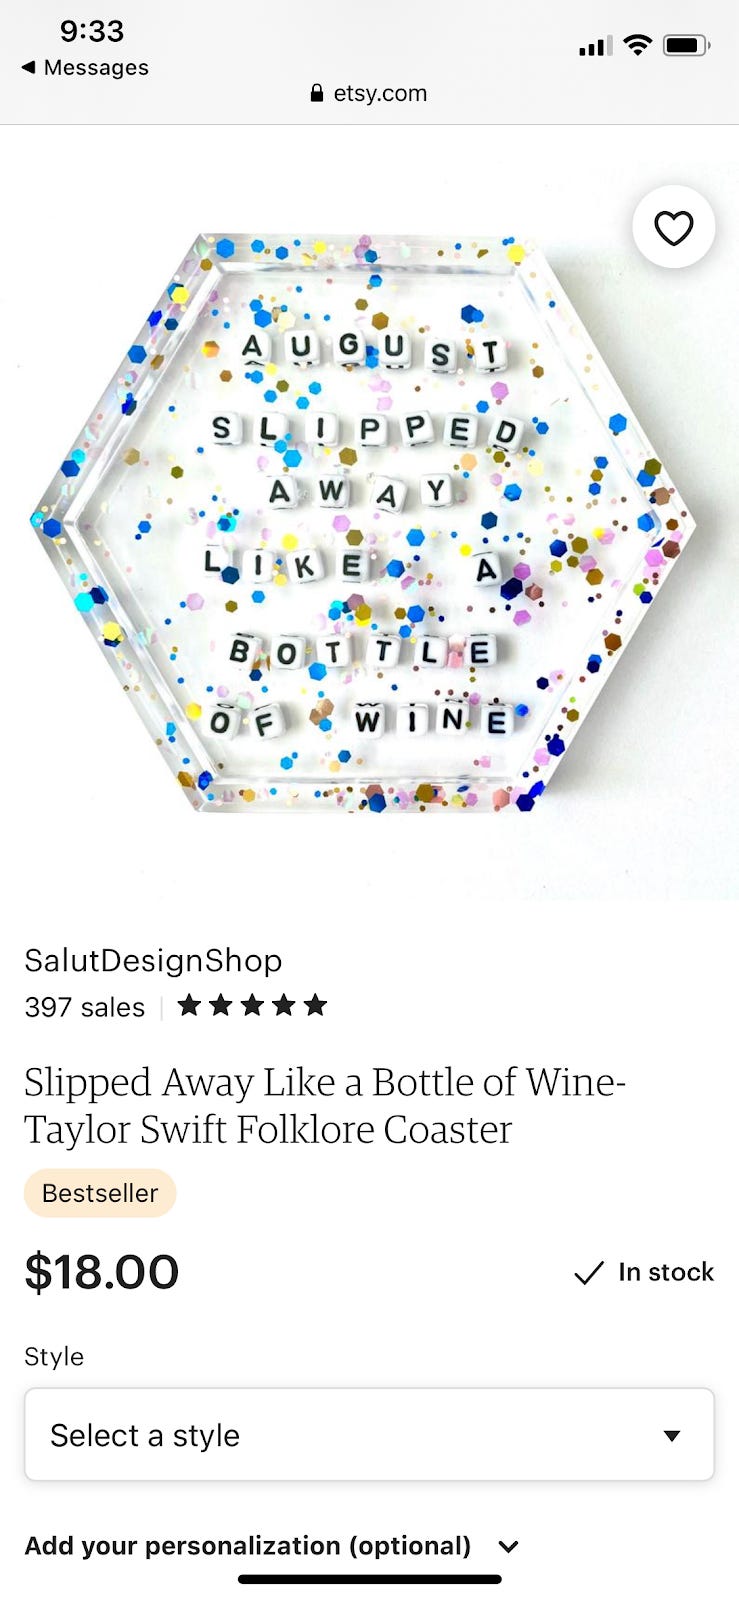
It's about to get all Folklore up in here.

Hello to all my Starbucks lovers,
So a couple of weeks back my friend sent me this image and said that I should do it for Craft Cult. Now, this is super cute but I am not going to do it for two reasons. The first being, I don’t want to steal the idea from a small business and second, this is a resin craft. If you want to learn how to do resin, I have an old newsletter on it. For this one, you would need a silicone coaster mold, resin, chunky glitter, and some letter beads.
However, I wanted to do a craft for her that maybe had some of the same vibes. I had been playing around with the idea of doing coasters for a while and while with a few small tweaks this week’s craft could easily be a coaster, I thought this version had a little more pizazz.
So this week we are making a pin holder. Partially because I needed one. If you aren’t like me and don’t have a ton of random enamel pins, this also makes a good bulletin board, sewing needle holder and with a few tweaks, it can be a potholder or coaster as well. So let’s get into it.
You will need a couple of old wine corks, strong glue, and an old picture frame. That’s it. I used paint and sharpies to decorate mine too. To start, get your corks. You can use plastic corks for this project if the wine you buy doesn’t use real cork. Unfortunately, twist top wine will not work. I ended up using 3 and a half corks for this project.
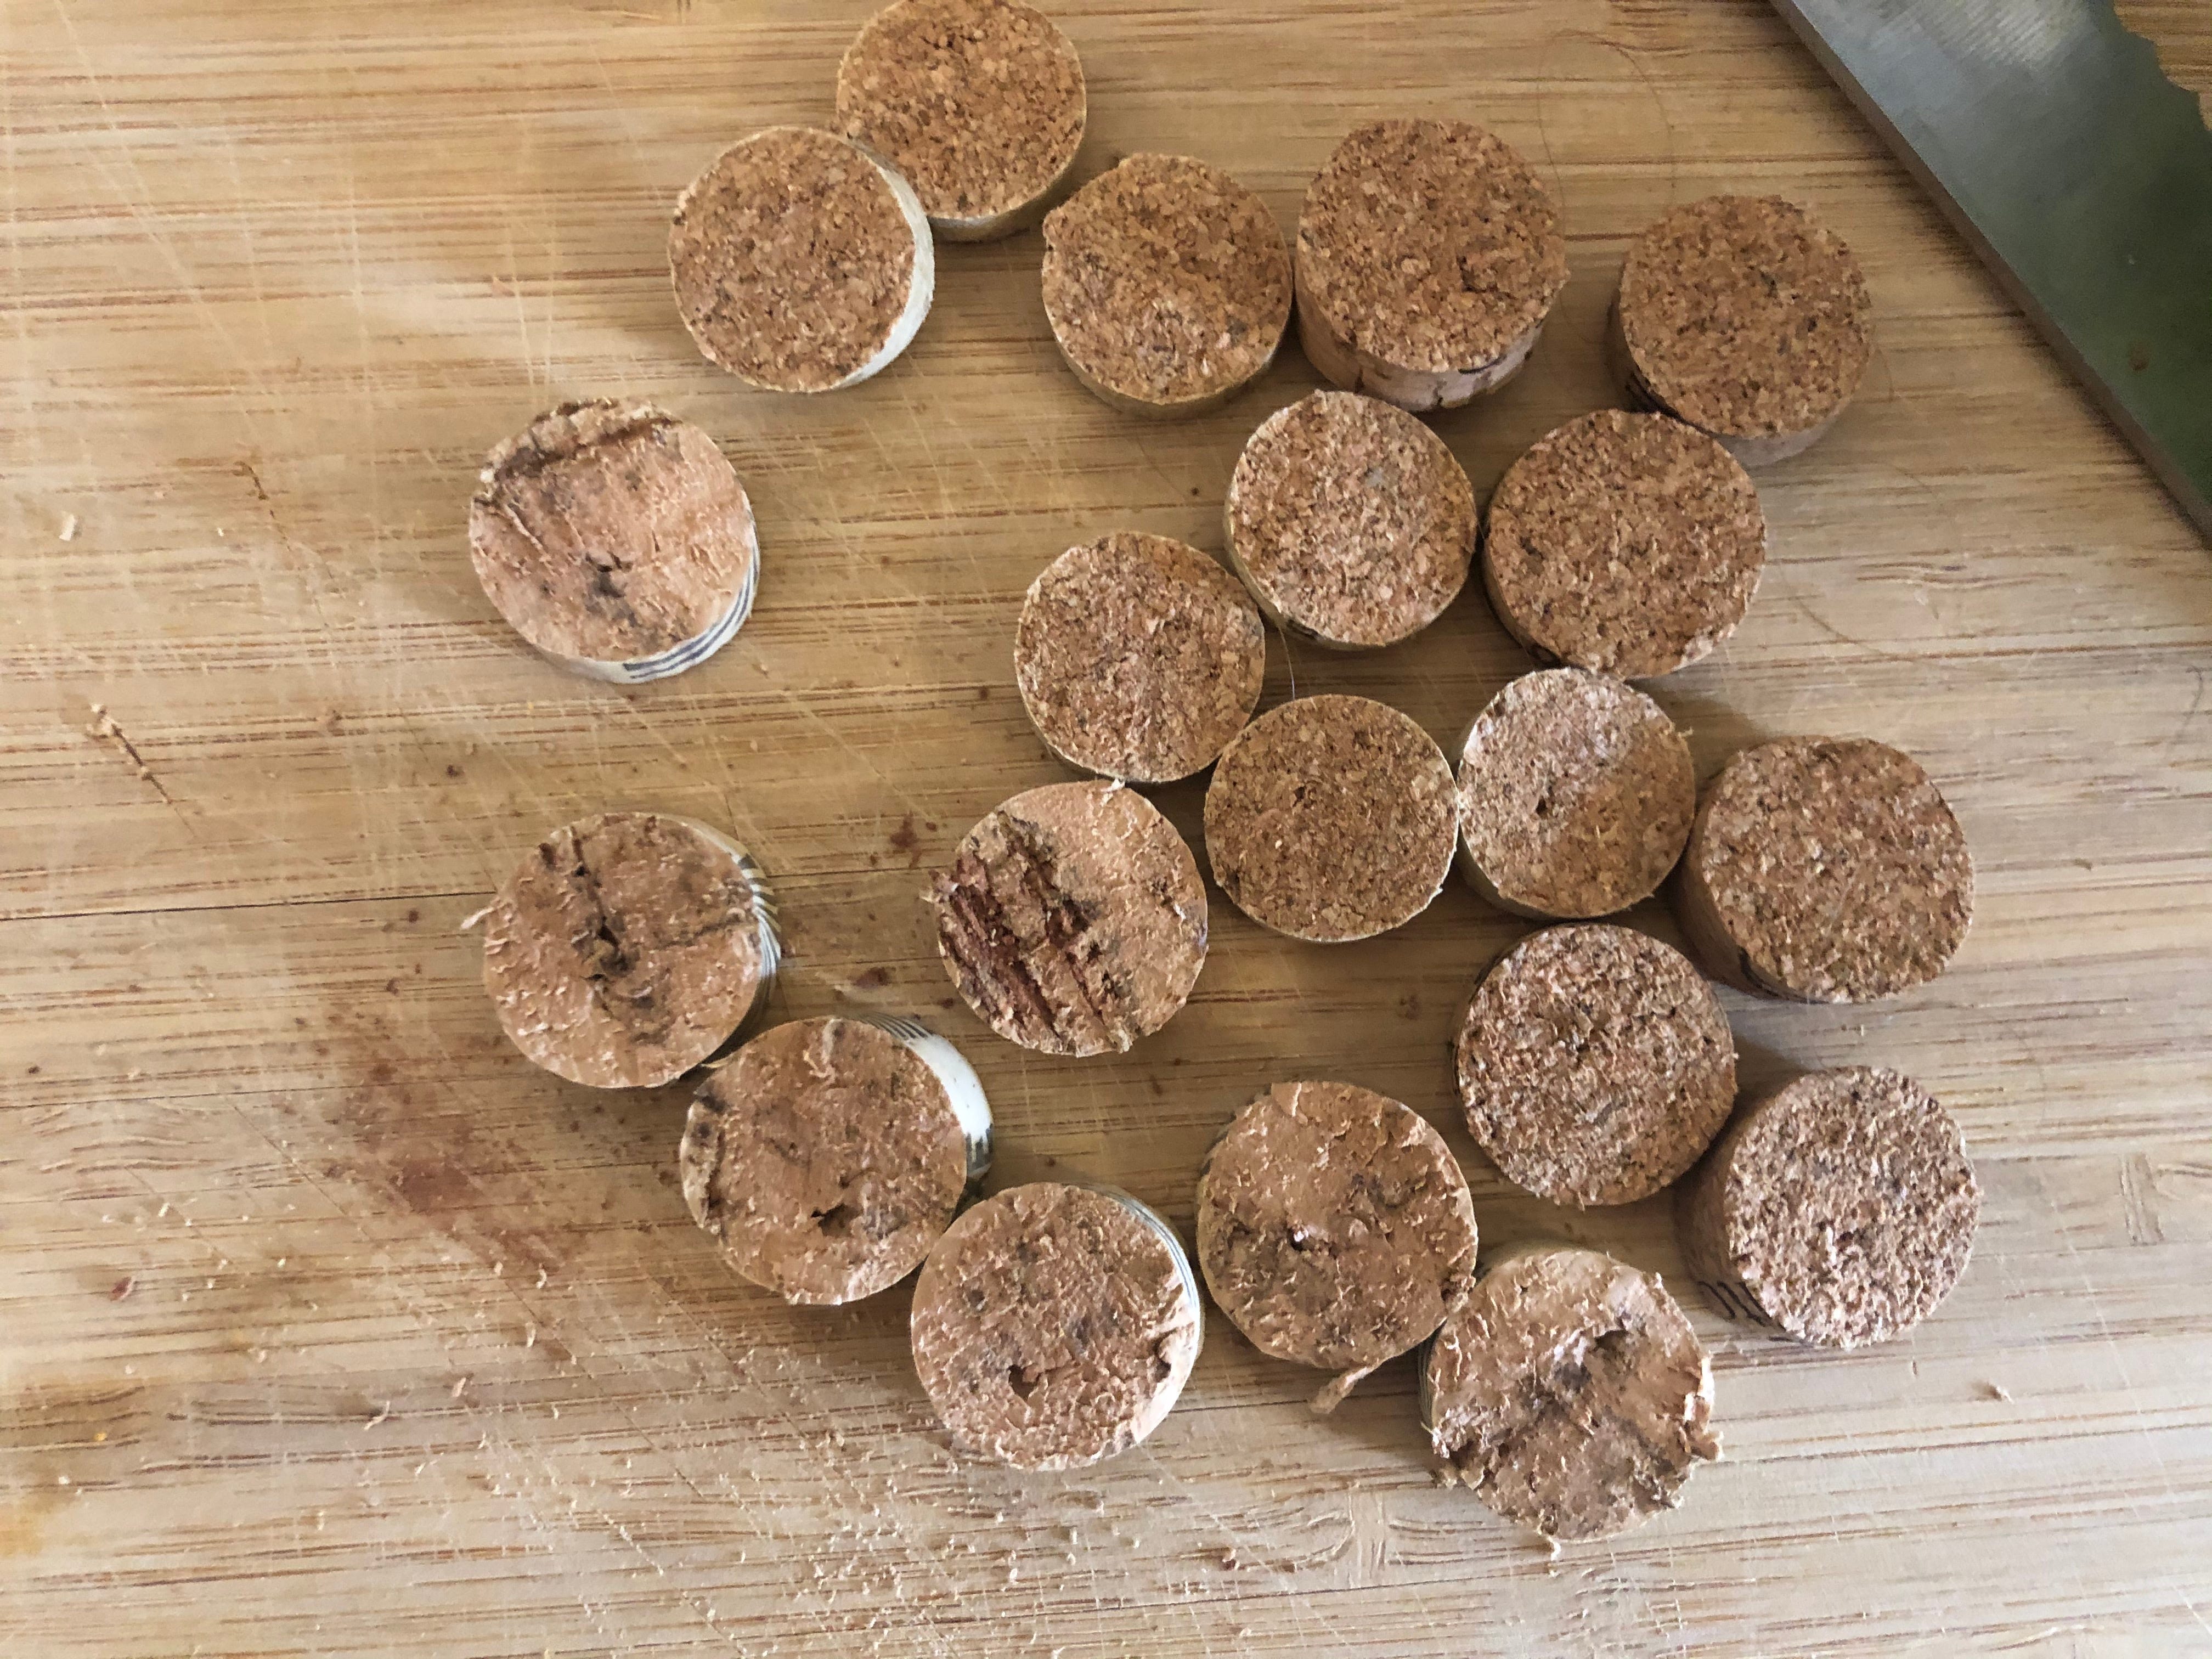
Carefully cut your corks into about 2 cm thick rounds. Each cork will get you about 5-6 rounds. I tried a couple of knives and let me tell you, the best way to cut a cork is slowly and with a bread knife. If you aren’t the best at eyeballing, you can use a ruler to mark where to cut before doing it.

When you are done cutting, you should have a collection of roughly identical circular rounds.
Now it is time to prep your frame. Mine is from the dollar store and a leftover from another project, so it’s not the most beautiful frame. You can certainly choose a better-looking one, but I wouldn’t invest in a super expensive one for this craft.
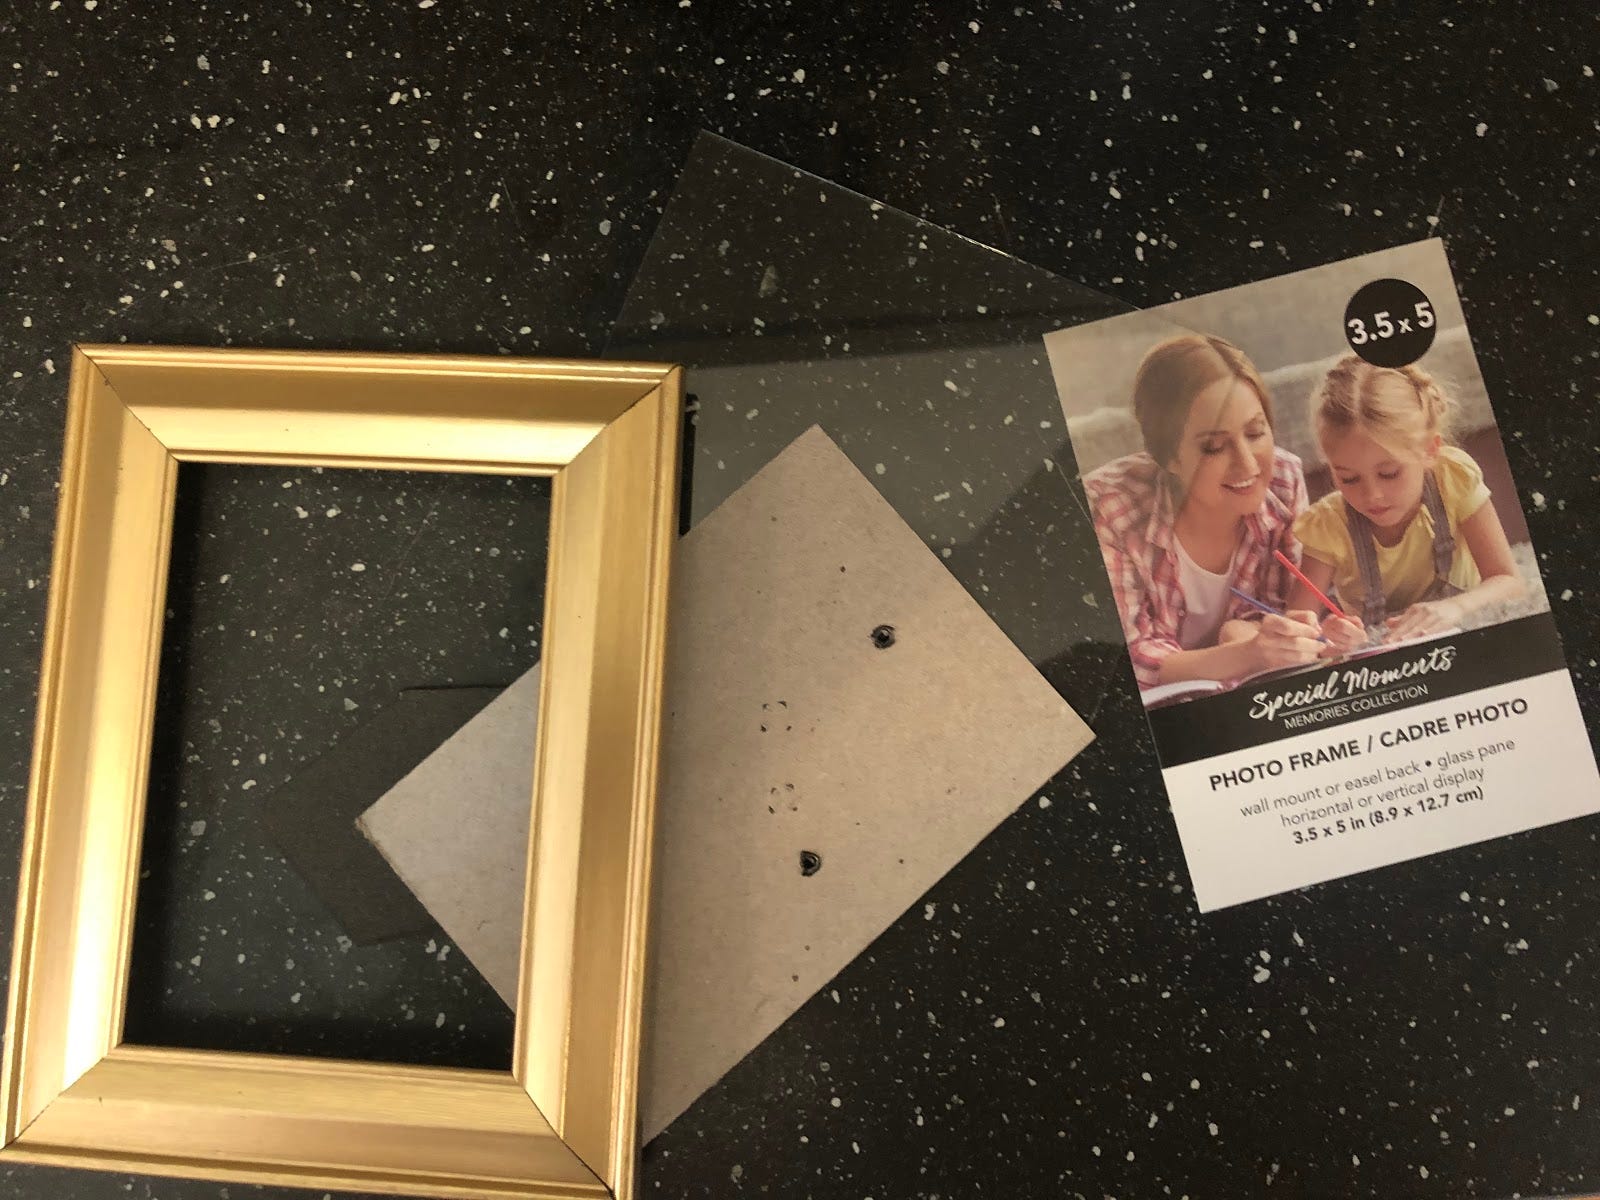
Take the glass out and then flip over the liner or add a piece of card stock of the same size and put the back back on the frame. You will then be ready to start arranging your cork rounds. I would advise laying them out before you commit to gluing them to your flipped frame backing or card stock. I used shoe glue because it’s what I had at home, but any strong glue will work.

Once you get close to the sides and the corners, you might want to cut corks in half to fill up awkward spaces. The easiest way to do this is to place the cork in the correct position and then mark where you need to cut. Take it to your cutting board and follow the mark. Then glue it and drop it in.

Gaps are natural, no matter how hard you try to fill them all, there will be some. That’s fine. I think it makes it look fun and homemade anyways. When you all your corks are glued in, let the glue dry fully. I applied pressure in the form of a book as well to make sure the glue set correctly.
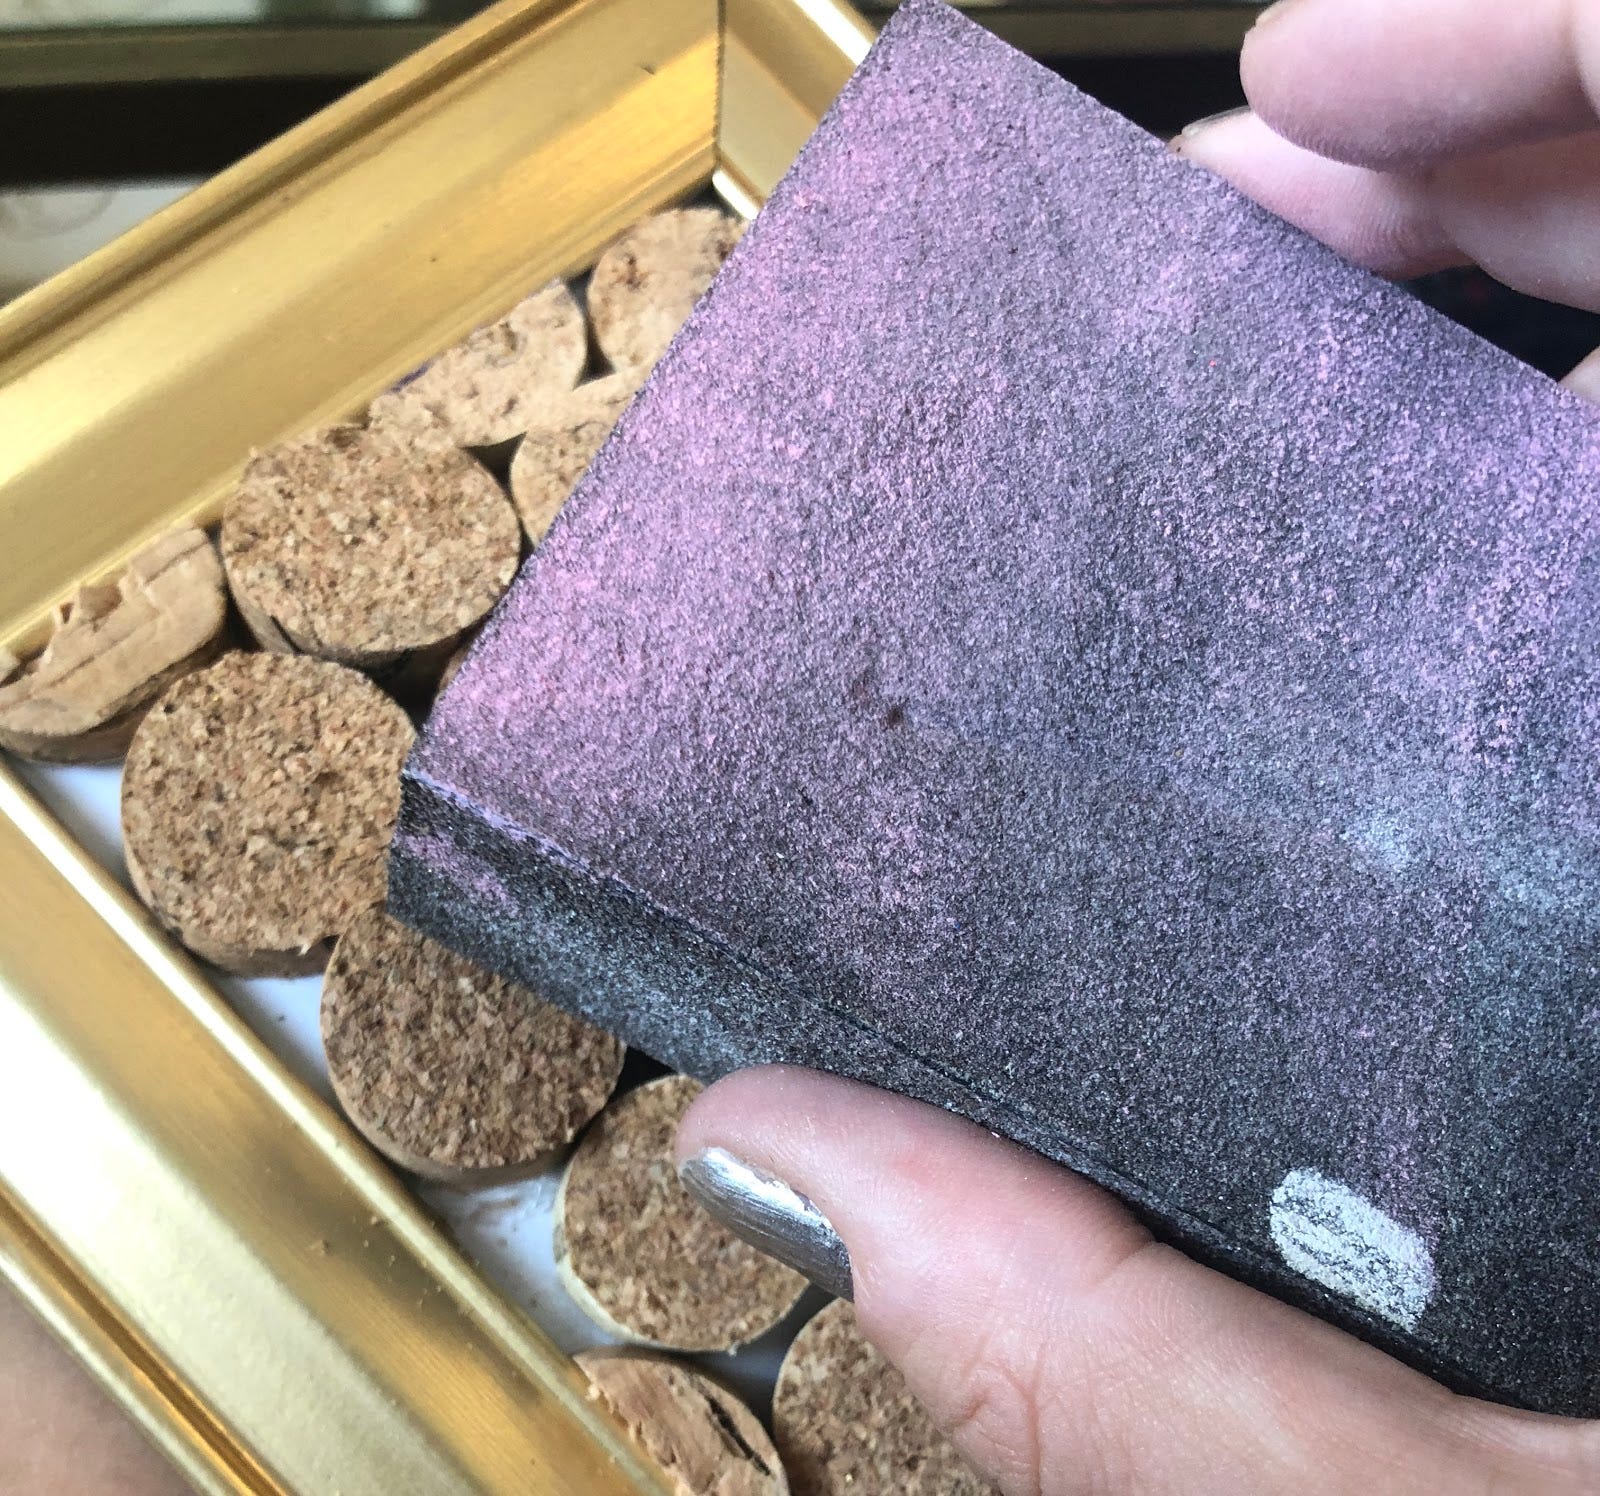
When my glue was dry, I decided to stand my corks a bit with a sandpaper block. I did this because I realized that my rounds were a little uneven. If you marked your corks before you cut them or have a steadier hand than I have, you won’t need to do this step. Also, it is fine to leave the corks at different levels, I just thought mine looks better slightly smoothed out.
Now it’s time to decorate. I added pops of color by mixing a couple of different pinks from white and red acrylic paint. Acrylic will work the best here. I randomly painted several of the corks and then let the piece dry fully. I also snuck in pink paint in some of the spaces between the corks (to be honest, I don’t think this did much.)

I know I started this Craft Cult with a coaster from my friend Dawn and right now, this craft looks absolutely nothing like it. I decided to use the coaster as inspo and use the Taylor Swift lyric embedded in it to finish off my corkboard.
Here’s the thing, I am not great at lettering. If I did this again, I think I would have used letter stickers or letter beads. I didn’t have either so I used a sharpie on the frame and acrylic on the cork. It is not my favorite, but I think the concept works better than my execution. Maybe I should work on my calligraphy skills more.

I let the black paint dry and then it was time to load it up with pins.

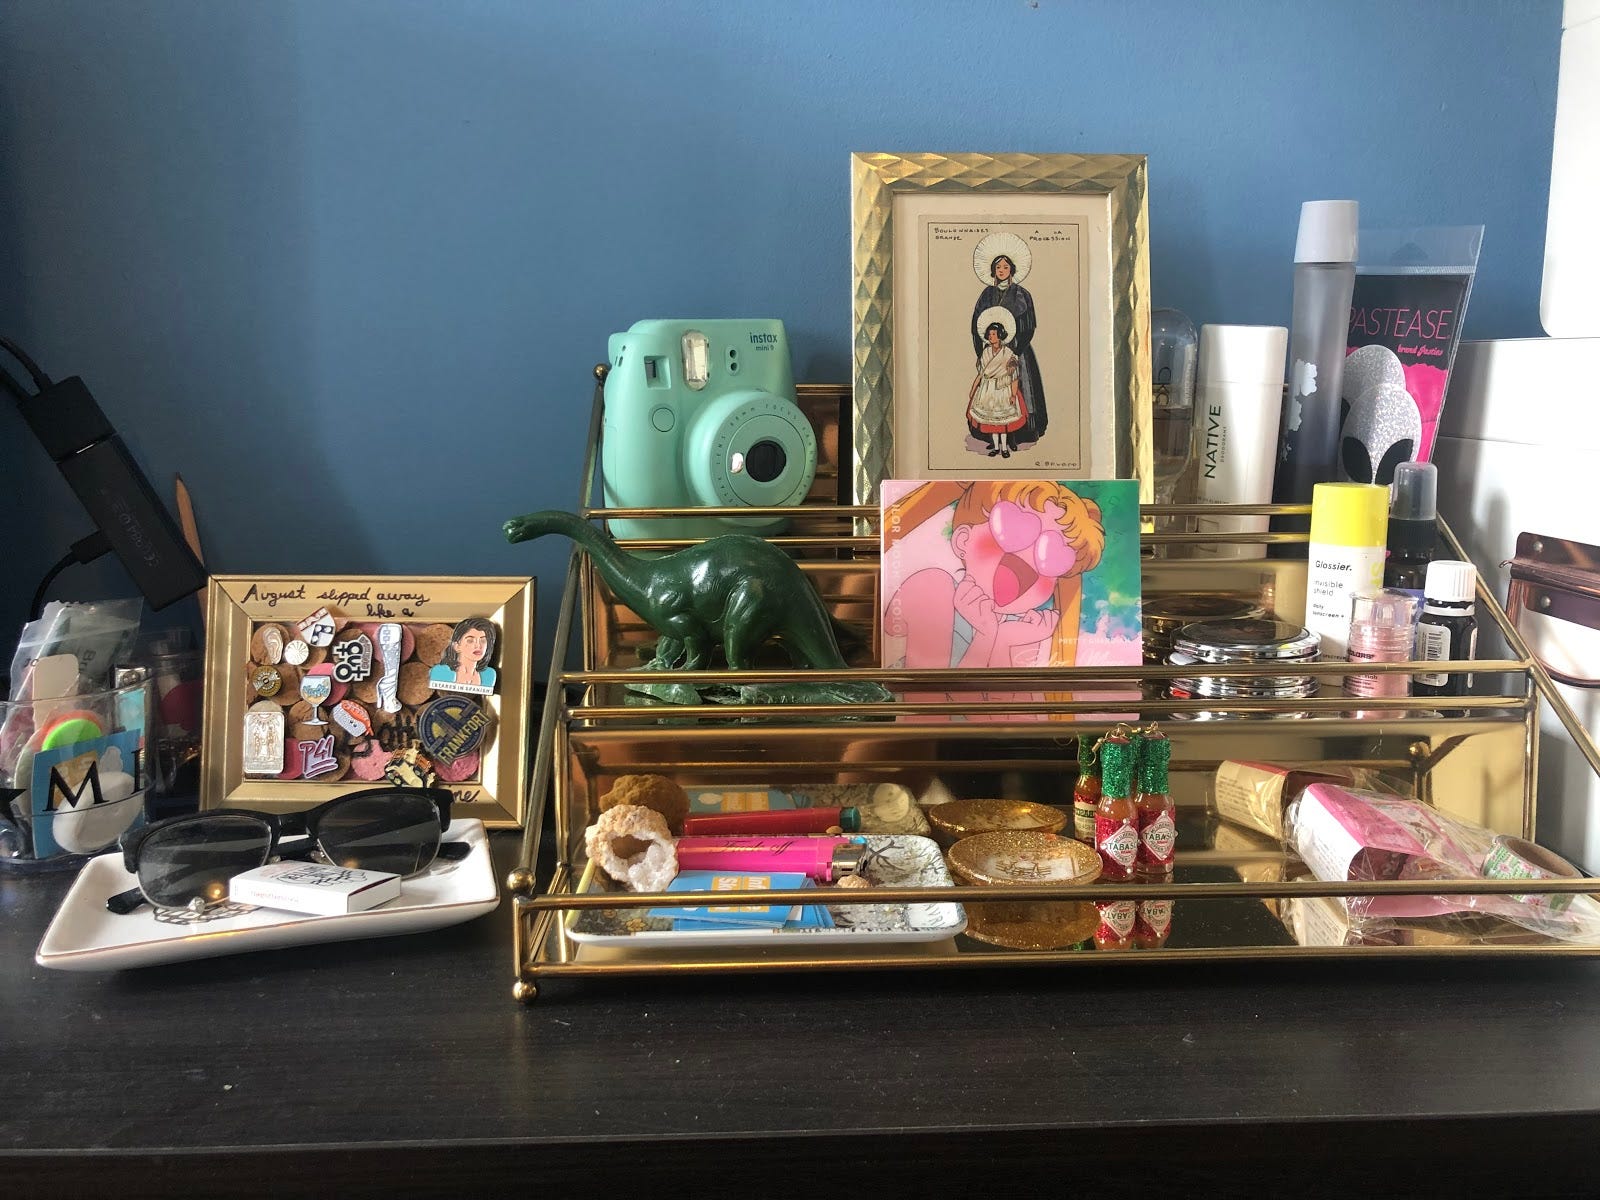
And then I put it next to my other various beauty organizers and bam, I was done.
If you want to do this for a corkboard or a sewing organizer, instead of pins add some push pins or needles. If you want to do coasters, just make sure your rounds are even and glue it to either felt or a piece of cardboard instead of putting it in a frame.
This has been a heavy news week. Things are pretty dark right and one of the darkest stories is about the eugenics that ICE is practicing. It’s a terrible story and really highlights how we need to keep calling for ICE to be abolished. It is a great time to call your representatives and voice your concerns about ICE. I am sure there are petitions online, but the most direct action you can take is to call and email your reps.
As always stay safe and stay crafting