


Sage, Rosemary, and Way Too Much Time
Remember grade school? Well we are going back to it with our own handmade paper.

Hi all you cool crafts and kittens,
Thanks for sticking around for the second installment of Craft Cult. If you are new to the Cult, it’s a lot more like this

And less like this.

Though if you ask me, there are a lot of similarities between these two.
If you missed our first newsletter, you can find it here, otherwise, let’s get into it. Since we started out with something complicated and specific, we are going to take it back a step this week and do something that literally everyone will have the materials for.
We are going to make some handmade paper. Most people have probably already done this. It was probably when you were 6 and in Ms. Jennifer’s 1st-grade class. Quick question, do you remember how to do it? Probably not. So let’s do it together! This is a great craft for beginning crafters and is a perfect one to do with kids.
I am changing it up a little, my paper is going to be a specific type of paper. I am going to show you how to do seed starters, but it’s only one little difference from making regular paper so feel free to just leave the seeds out.
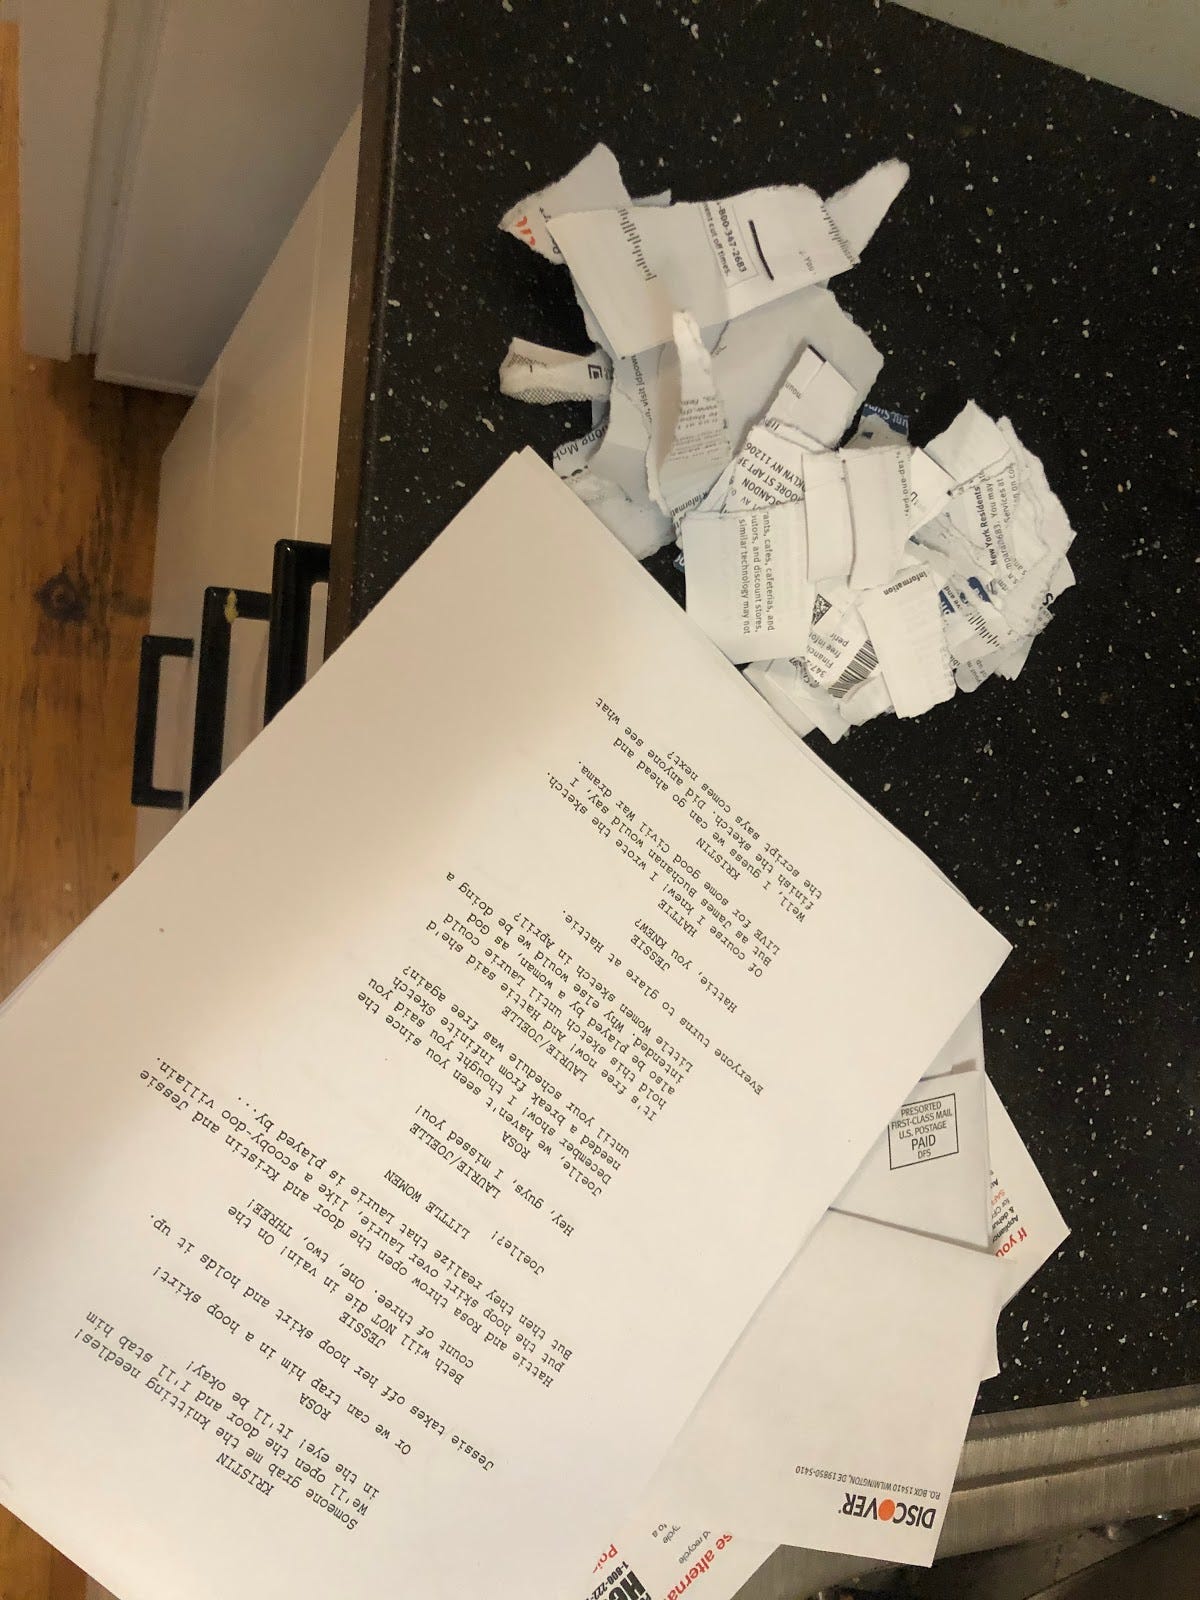
The first thing you need to do is start to rip up some old/unneeded paper. I used junk mail (make sure to only use the paper part of it. Nothing shiny, no plastic, no $100 Amazon gift card when you switch to Optimum today) and I also used a couple of pages of an old Infinite Sketch script (our April show was canceled due to the Rona, watch us online.)
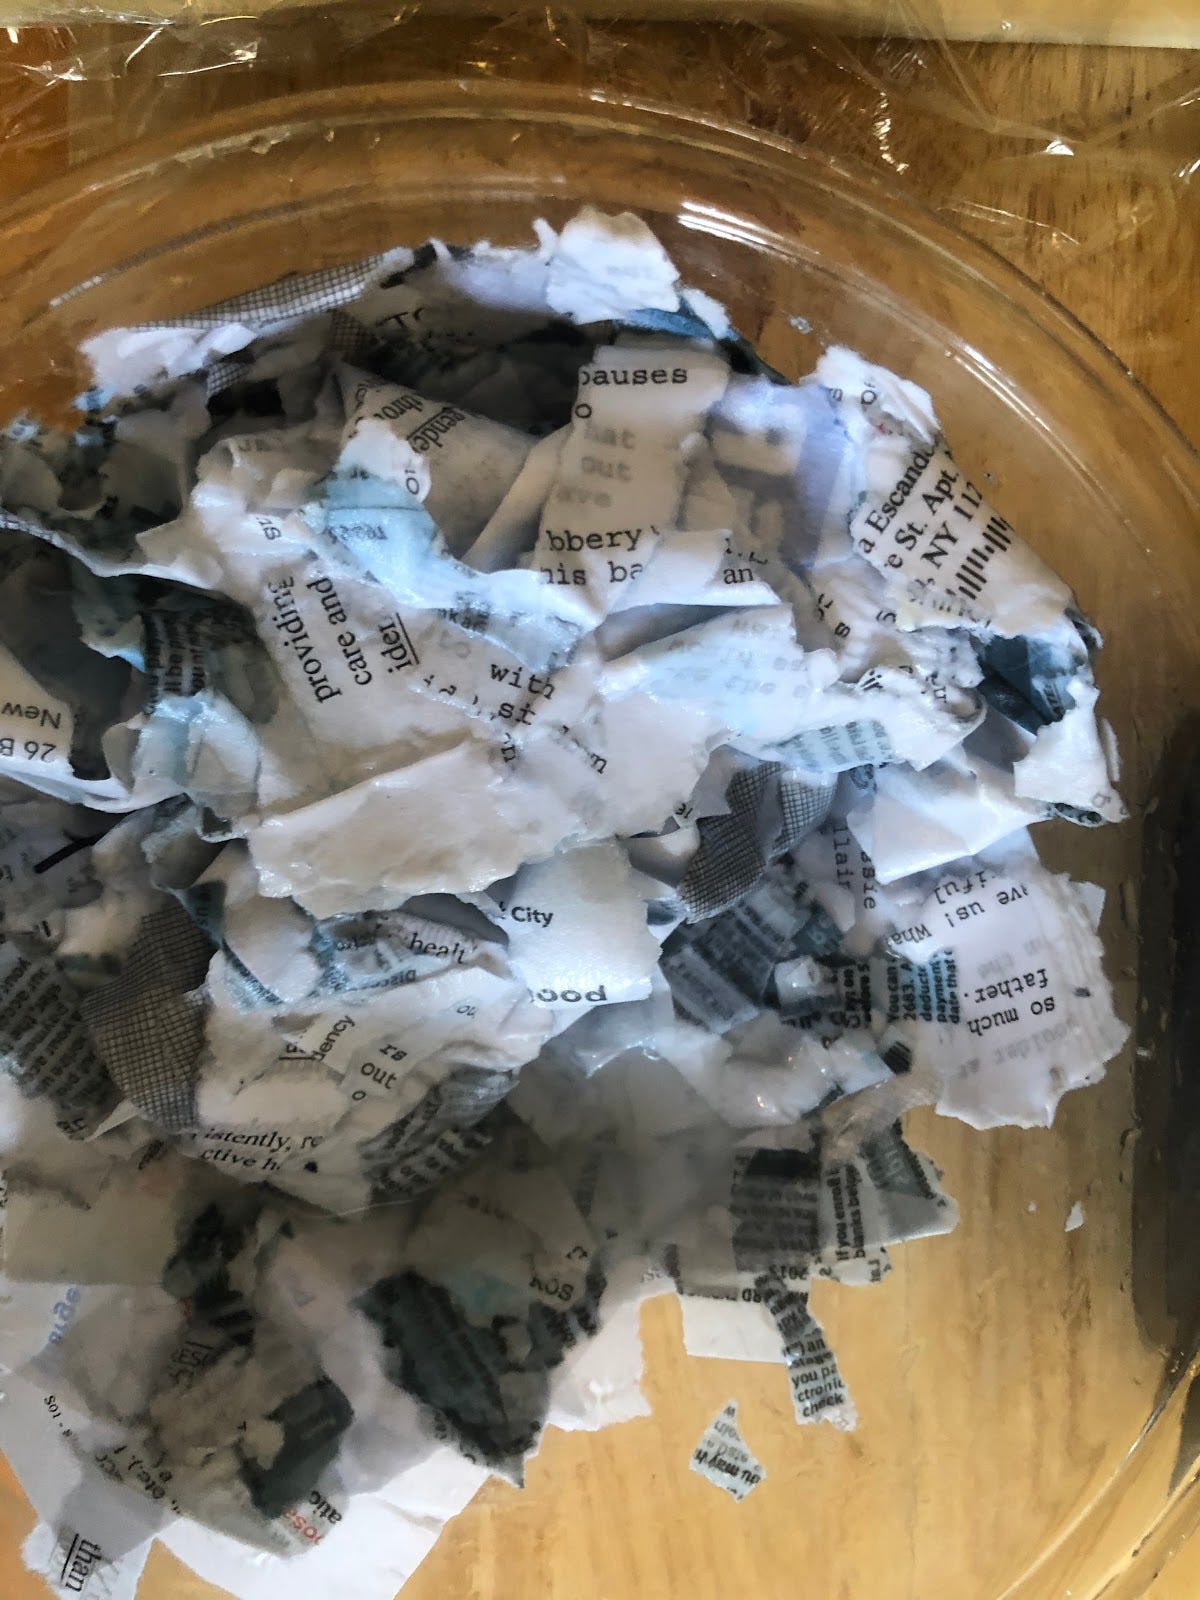
Once you have torn up the paper, you need to submerge it for at least 4 hours. If you can do it for longer and truly, you can do it for longer, (where are you going to go?) you should. Soaking it overnight is great as well. Little tip, if you want the paper to come out white, add vinegar to the soak. I like it having some color, but if you don’t, vinegar will draw out the ink.

When the paper has soaked, go ahead and drain some of the water off and stick it in the blender. If you have a food processor or a hand blender those will work better, but any blender will be fine. If you drained a lot of the water out of the paper, you might have to add a little water back in during the blending stage if you are using an upright blender. I had to add about ½ cup of water to make sure the paper was fully blended.

Now, there are 2 ways of going forward from this point. There is the real way and there is the way I am going to teach you. The real way works better but calls for a specific tool that almost no one would have in their house. It is called a mould and deckle. It is pretty much a screen stapled to an empty frame. I had all the tools to make one at home, but in trying to keep these crafts simple, I decided to skip it. If you have all the supplies and want to make paper regularly, I would make one because the paper does turn out better (flatter, thinner, more uniform, less rustic), but if you aren’t planning on becoming a paper enthusiast, it’s probably not worth it.
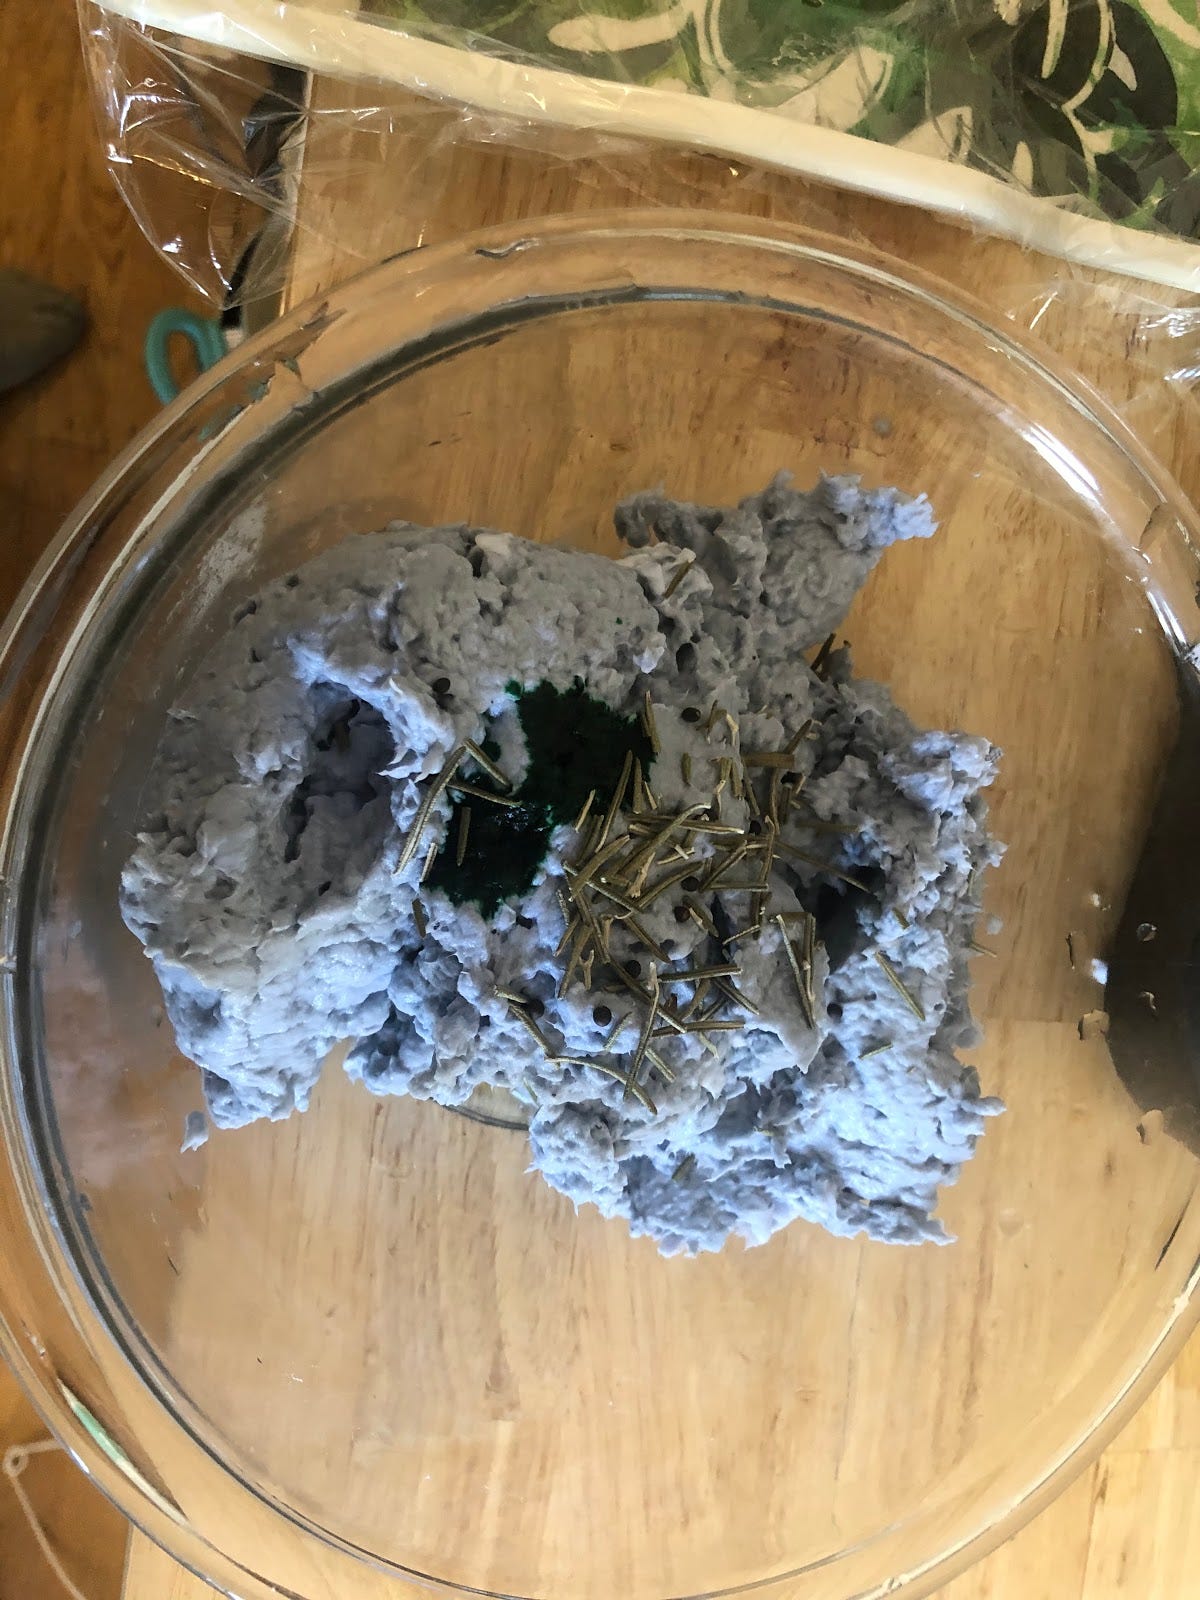
So let’s learn my way. When the paper is fully blended ie there are no big pieces of scripts or Discover Card statements left in it, give it a litte squeeze to take out some extra water. It doesn’t need to be too serious, we will take out a lot more water later, but it makes that step easier. Then you can mix in some fun stuff. This step is fully optional but it makes the paper your own. I added sage seeds (the only thing that makes this a seed starter), rosemary, a little food dye, and an essential oil called “field.” The rosemary is great because it’s 3D and will show up in the paper but it didn’t do as much for the scent as I wanted it which is why I added the essential oil.

Me adding essential oils to everything.
A little note, I added everything after blending. It’s important that if you are adding seeds that you add them after the blender step as to not break them, but I think it is best practice for everything. Other ideas of what you might want to add in are glitter (my usual fave), dried leaves or flowers, confetti, pigments, etc. anything you might want to make it more fun.
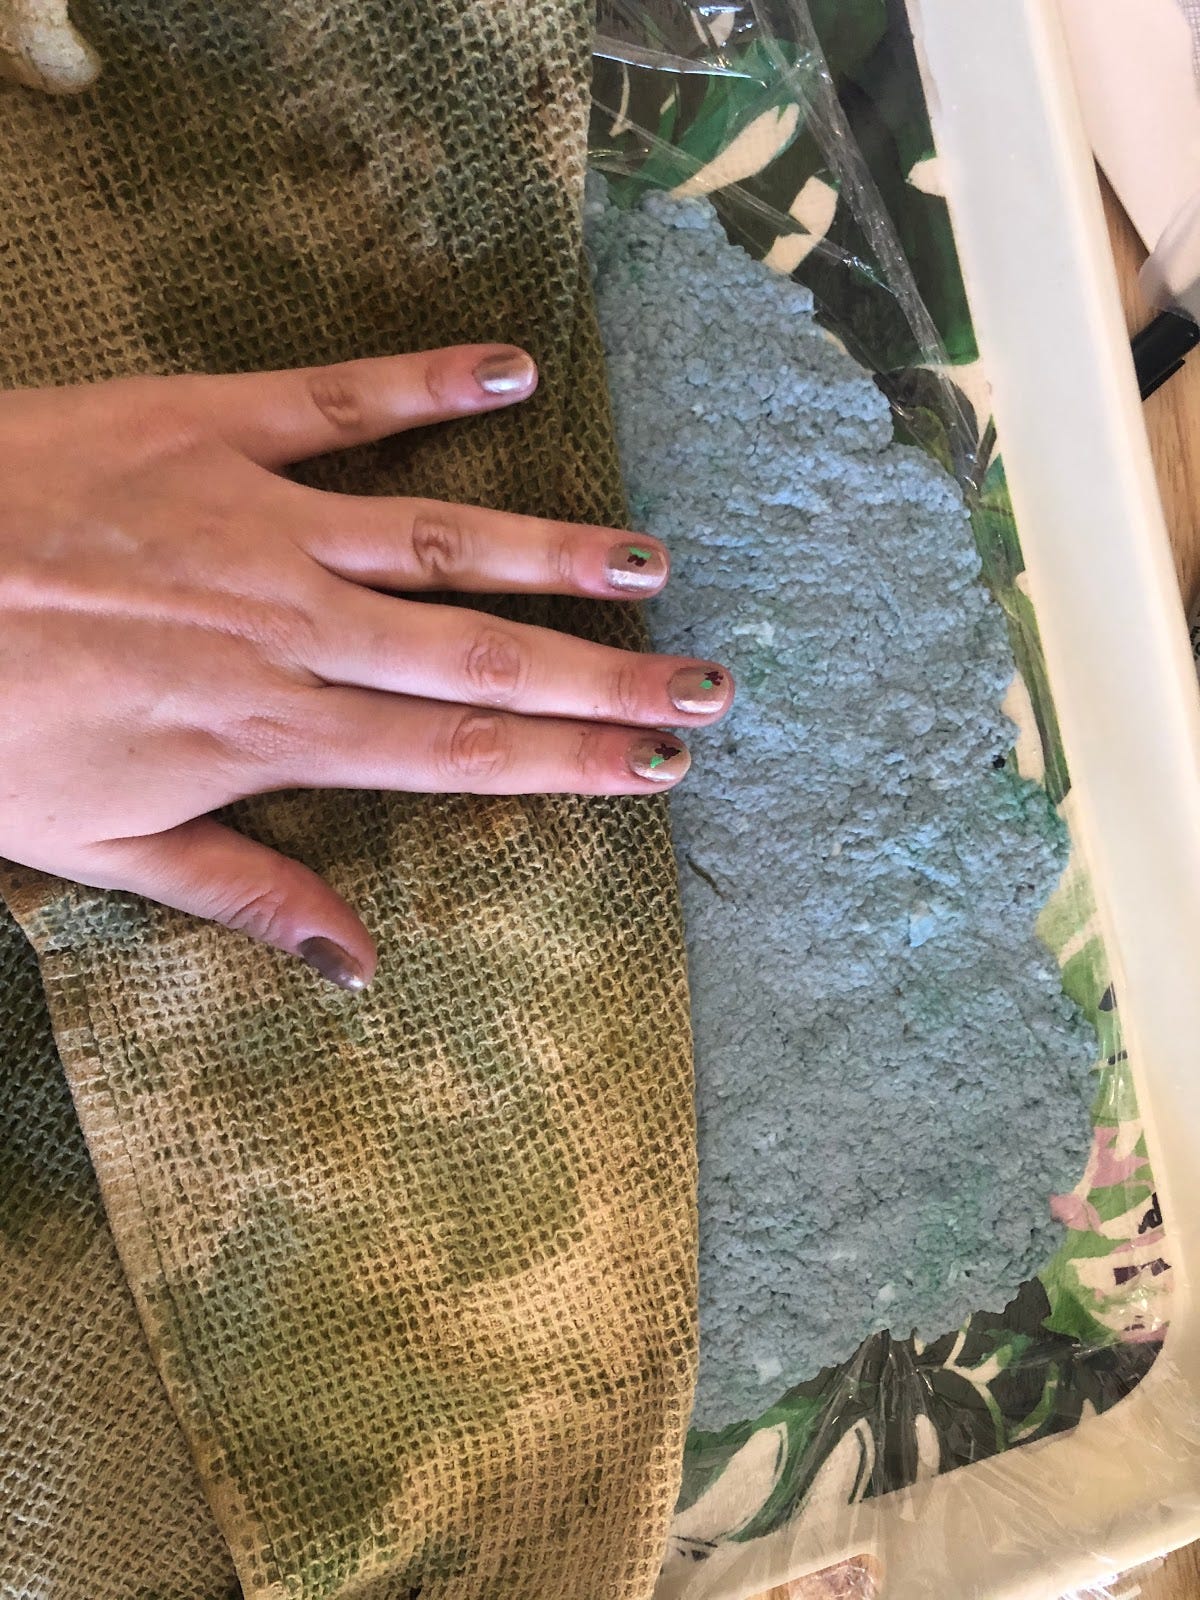
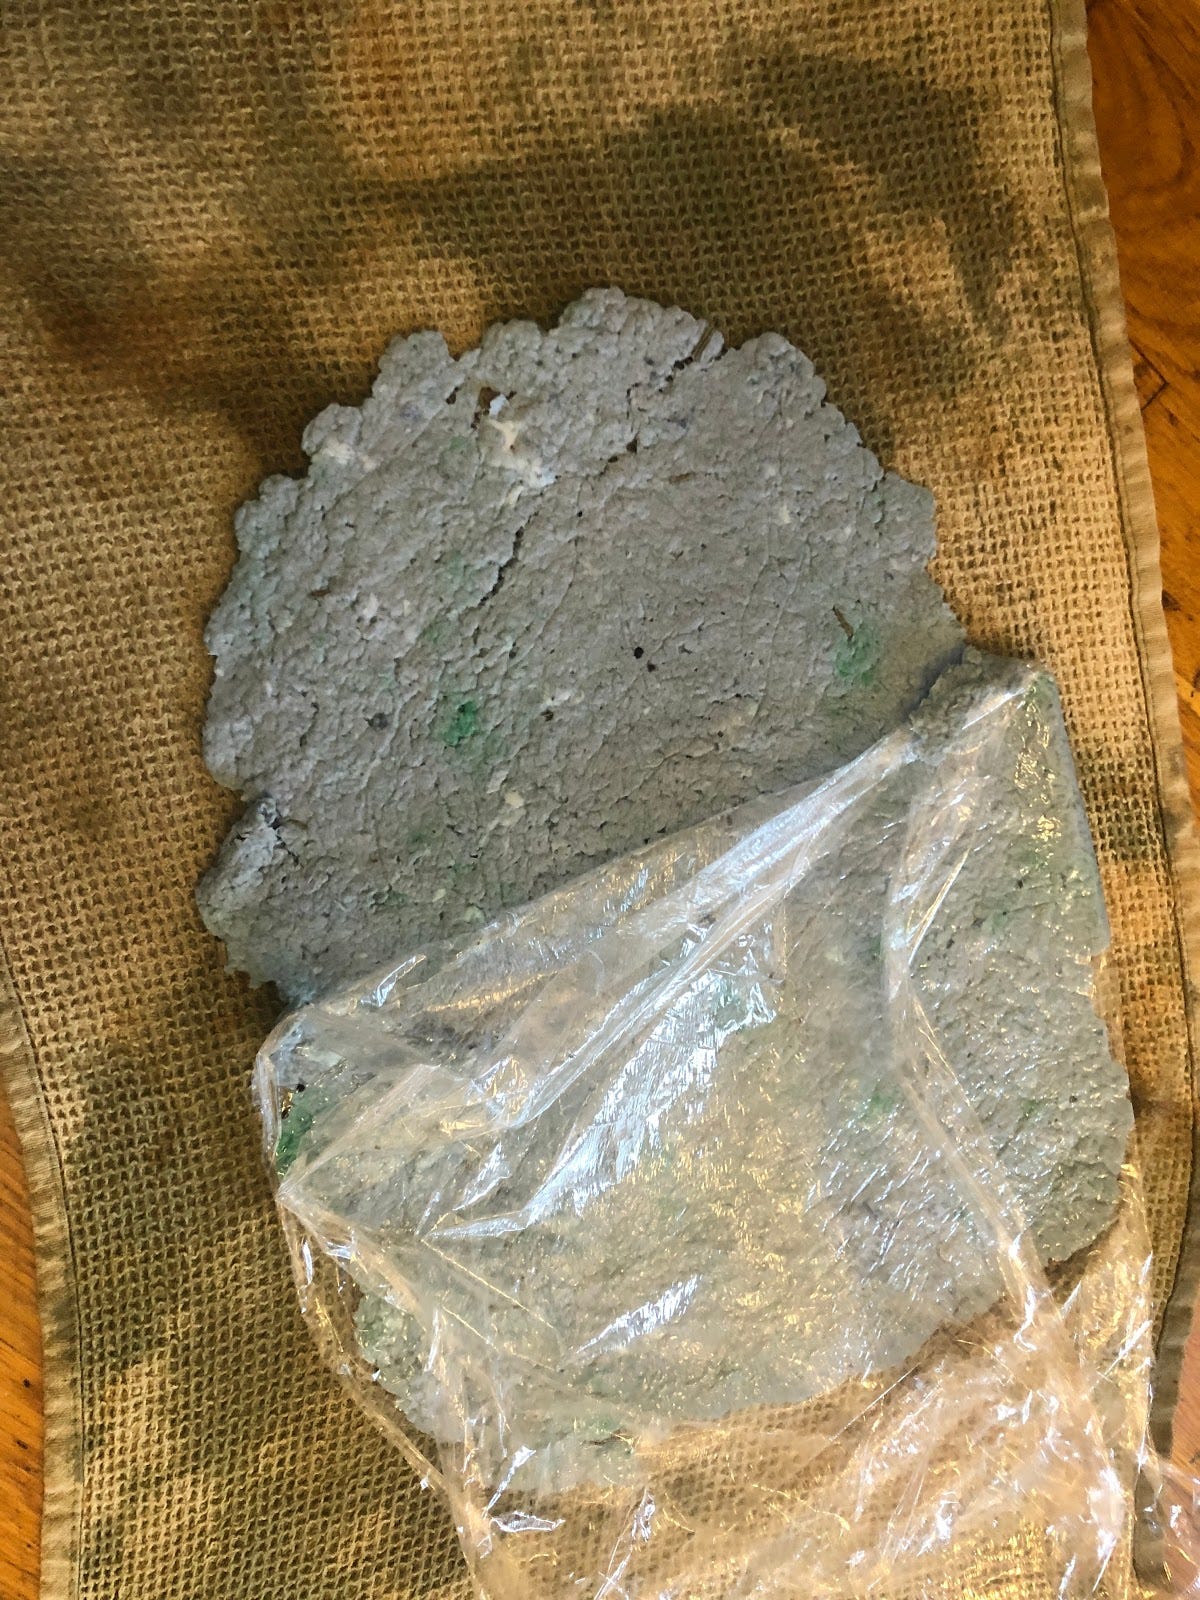
Once you add everything you want, mix it up carefully. If you added pigment or coloring, you might want to mix it a lot, I did the minimum mixing so it would have a bit of a tie-dye effect. After it’s mixed to your liking, add it to a tray lined with plastic wrap. You can also use parchment/wax paper, but it tends to get a little more sticky in my experience.

Flatten the paper pulp down. Take a shmata or for my non-New York readers a rag and press the water out of the pulp. If you are doing this with kids let them start and then make sure to finish it off. It’s really important to get as much water as you can out of it.
After pressing all the water you can out of one side the pulp should start sticking to the shmata. Transfer the paper to the shmata and either flip it back onto the tray or get a second rag to squeeze out the water from the other side. When you get out all the water you think you can. You might want to sprinkle on more essential oil or coloring as pressing out the water may have pressed some of it out too. Set the paper to dry. It takes at least 24 hours and possibly longer depending on how much water you pressed out and the temperature/humidity of where you are.
If it is taking too long, you can warm it in the oven. Set the oven to about 200-220 Fahrenheit and place the paper in. Let it warm for about 15-30 minutes depending on how wet it was going in. If you leave it in too long it might get a little crumbly or too stiff. Also if you added seeds to your paper, I wouldn’t recommend adding heat as it might kill the seeds (depending on the type of seeds they are).
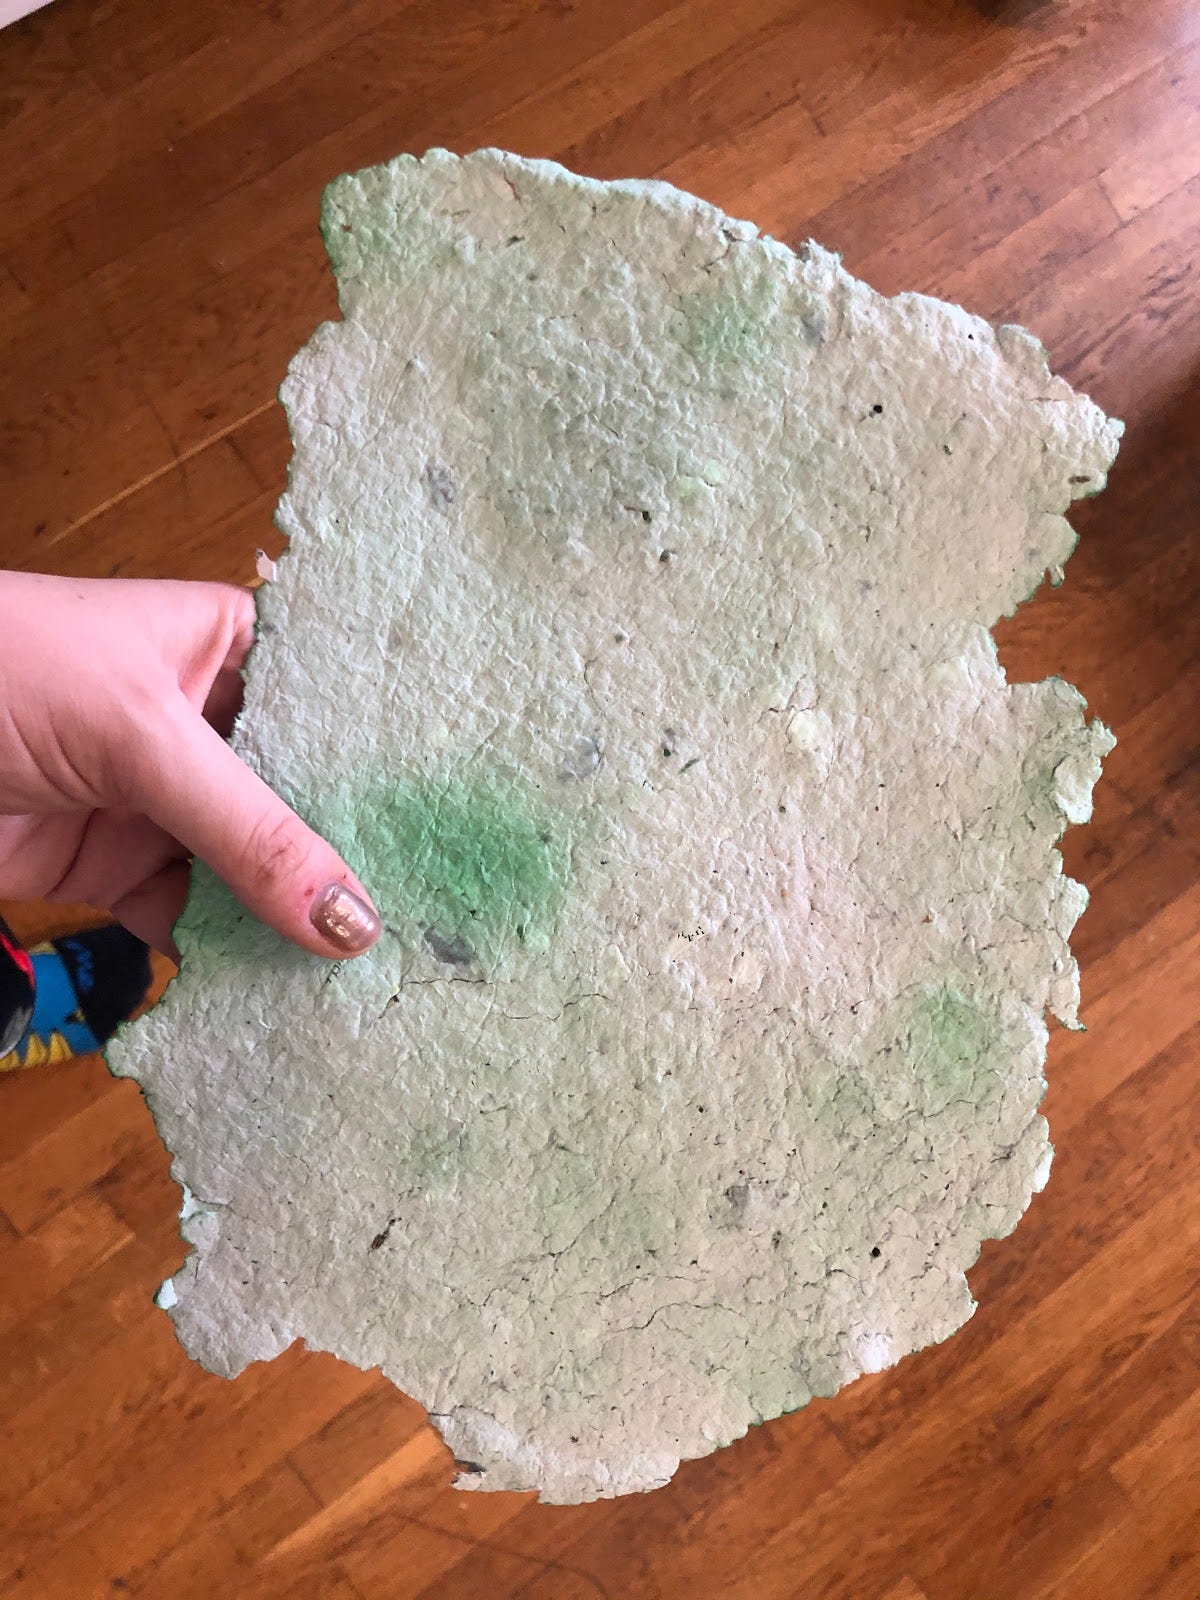
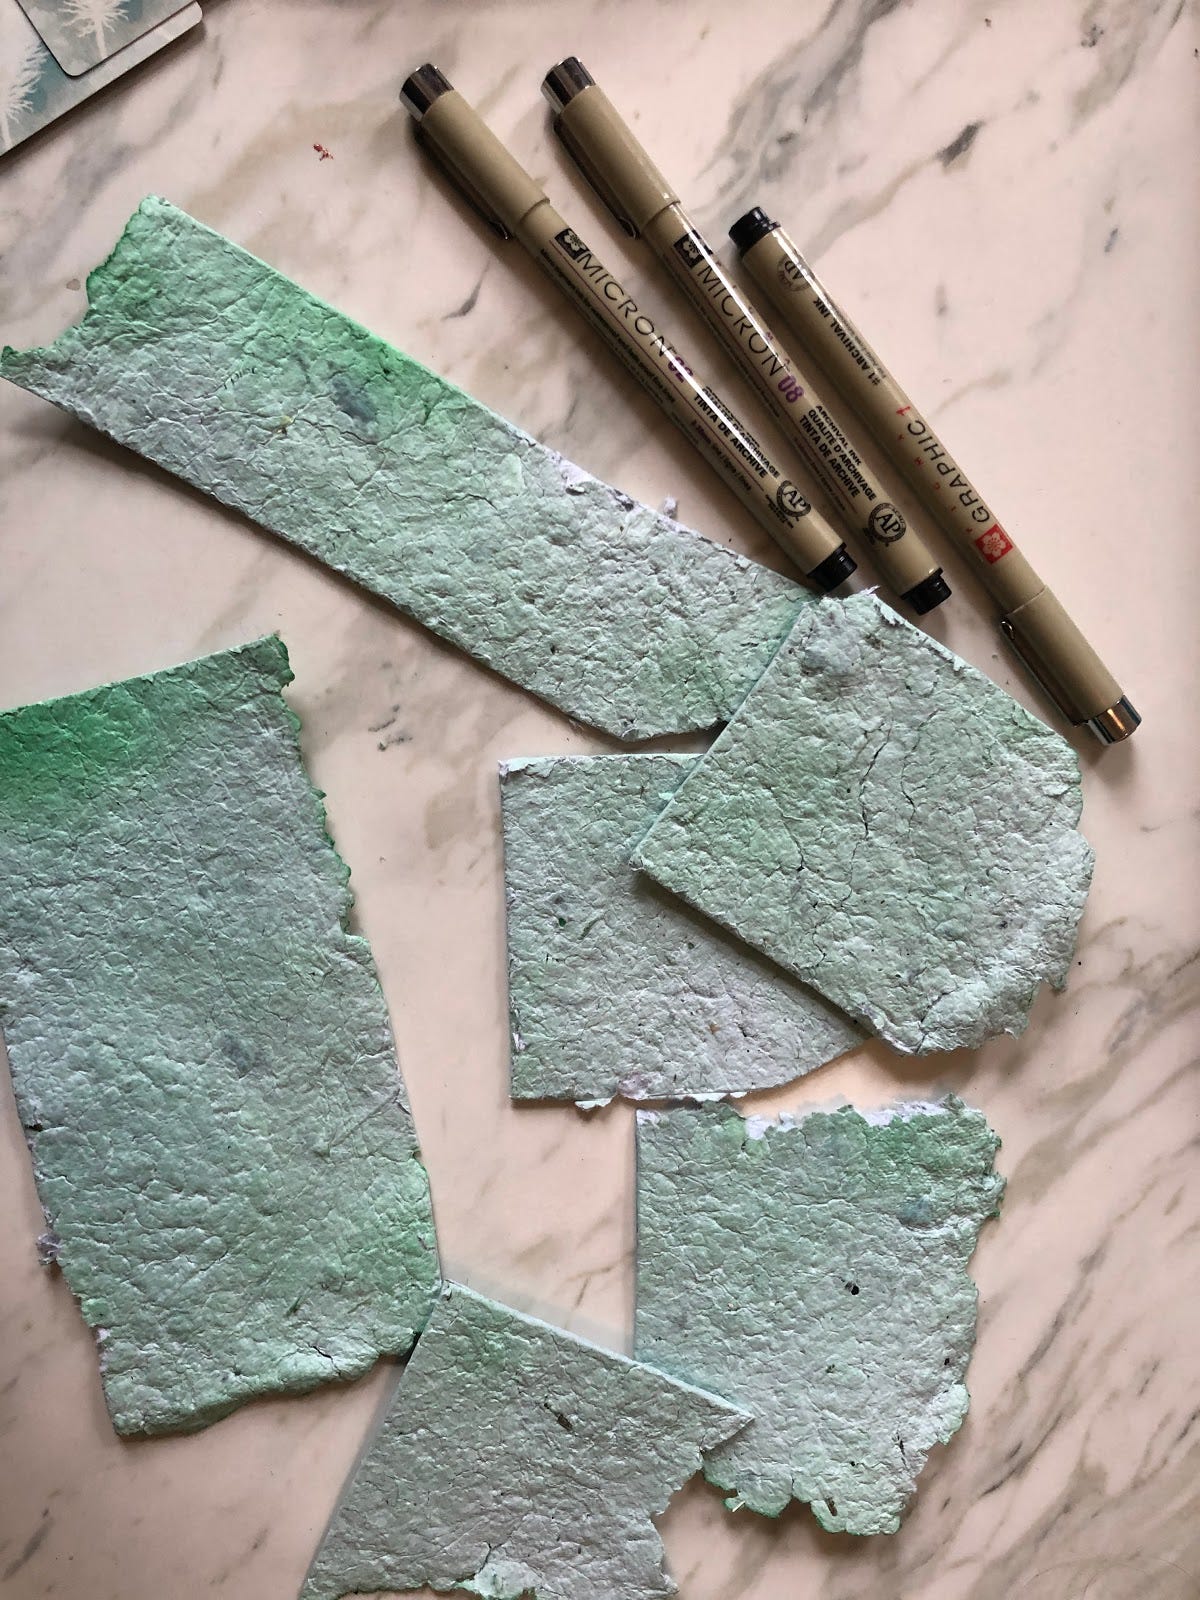
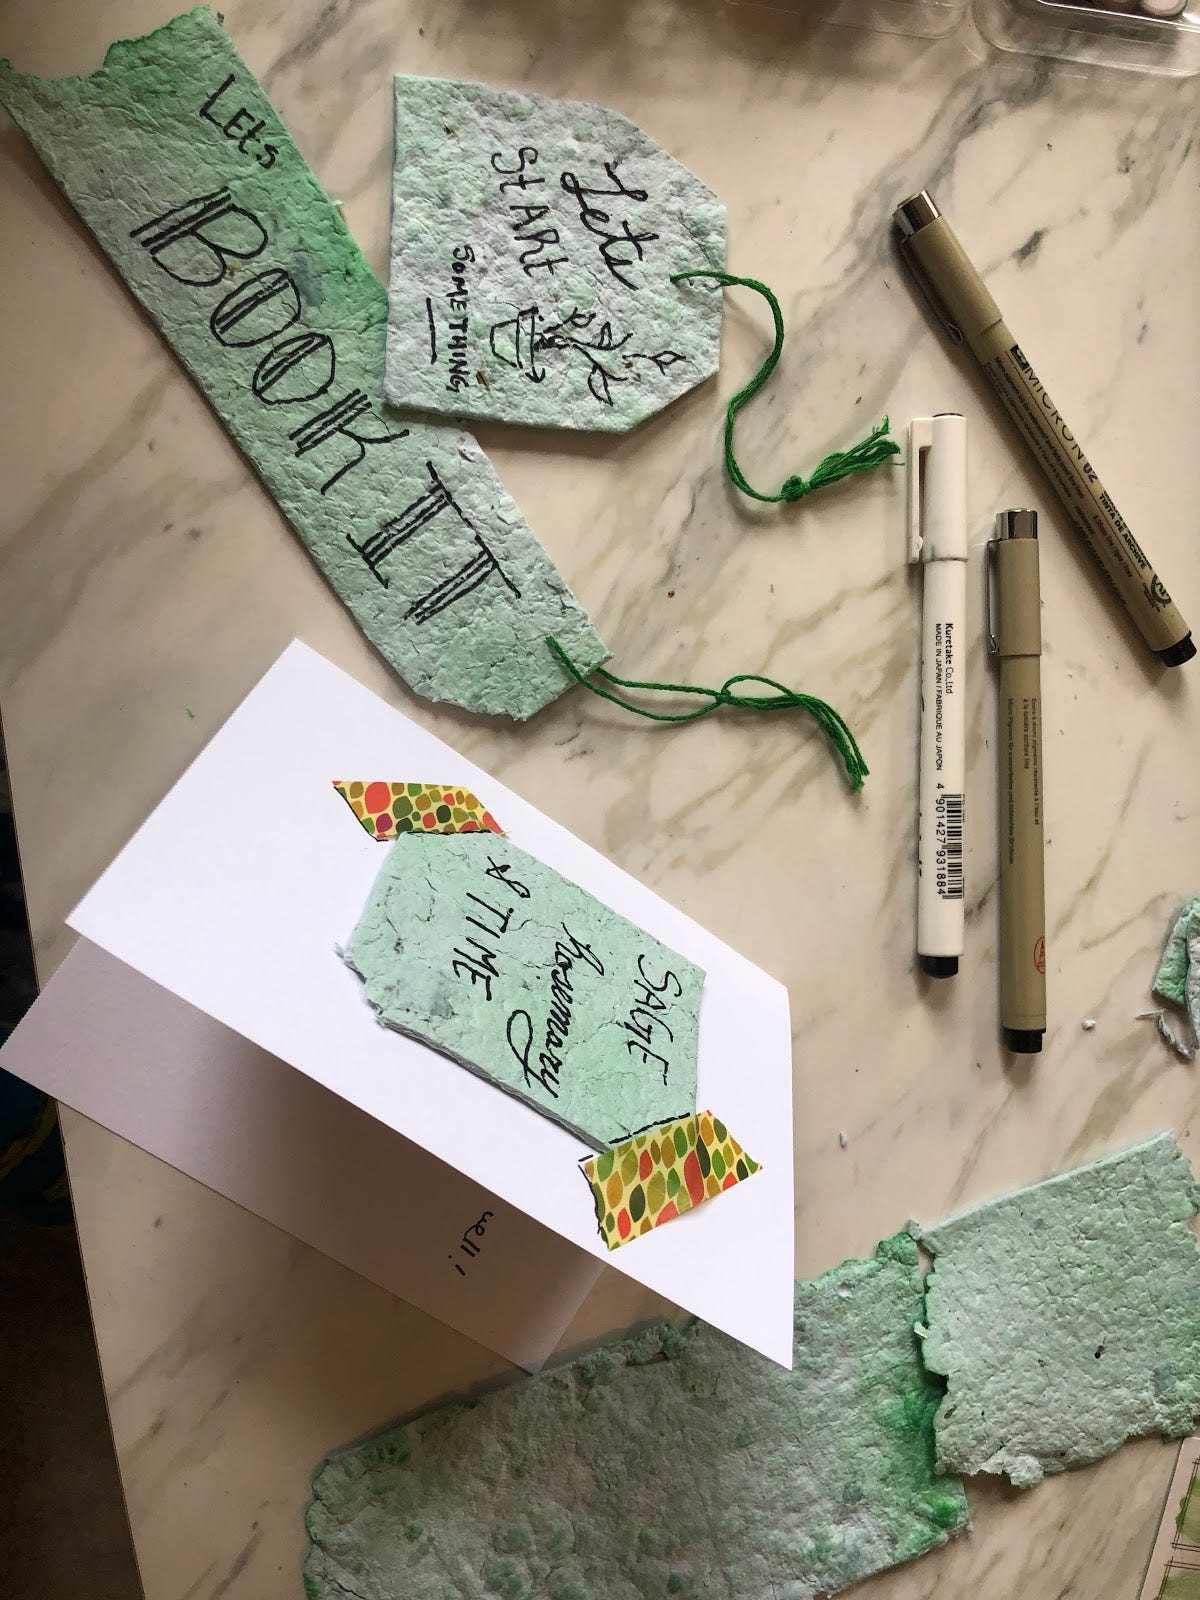
When the paper is fully dry, you can cut it to the desired shape and draw or write on it. I made a gift tag, a bookmark, and taped a seed starter to a larger card, but this last step can be whatever you want it to be. It’s your paper, go crazy with it.
That’s really all there is to it. It takes some time because some of the steps take days, but it’s a really great way to make personalized cards, gift tags, notebook covers, and more.
I wanted to end this newsletter with some things I have been loving while on lockdown. I’ve been making a lot of my own Chex Mix, but only making a third of the recipe at a time (there are only 2 of us here after all and this is very much a party recipe.) Also, every recipe for this says you have to bake it for way longer than you actually do. Plus, using 3 types of Chex? Seems like a way big Chex is trying to make us buy more Chex to me. If you just use rice Chex, it tastes the same.
Another favorite quarantine hack of mine is making your own broth. I love making soups and I always buy vegetable broth, but it’s really easy to make and if you are home anyway, its really something you can set and forget. Start saving all your vegetable clippings. I put mine in a bag in the freezer. When you have enough, just dump them in a pot with a little seasoning and simmer for about an hour. It’s that easy. I add a little deactivated yeast at the end. It makes it thicker and more hearty. Plus it gives a saltier taste without blasting it with sodium.
While you are crafting, also always a great time for a podcast. It’s perfect because you don’t have to watch anything and it doesn’t use your hands. I wanted to call out some of my favorites. I love Bechdel Cast out of LA. It’s a feminist movie podcast and laugh out loud funny. The Next Binge Thing from Amber Rollo and Gabe Pacheco is brand new and super fun. The Nostalgic Front is super easy listening and will make you miss the 1990s. If you are queer (or an ally) I would also highly recommend, Dyking Out, it’s so funny and gets deep when it needs to. If you want more, my friend Matt Storrs has a great list of what I would call too many good podcasts on his website.
I hope you liked the second Craft Cult. I am having a great time doing these. I’m committed to keeping these 100% free (I don’t think anyone has extra money right now), but if you wanted to support me in a non-financial way, you could rate my podcast or give it a download. You could subscribe to Infinite Sketch’s YouTube channel or watch our videos. Or you could share this newsletter with your friends!
I will be sending out the next newsletter next week, so make sure you subscribe if you haven’t already!