

Post Some Bills

Think of this as a long hand-letter to my crafters,
Is this an episode of Criminal Minds? Because we are shoehorning in a quote. "The post-office is a wonderful establishment! The regularity and dispatch of it! If one thinks of all that it has to do, and all that it does so well, it is really astonishing!" ~ Jane Austen (for some reason.)
That’s right, we are going to talk about the post office. I know I don’t usually get into the heady stuff until the end of the newsletter, but I wanted to start off with it this week. Trump is sabotaging the postal service and it’s actually a really big deal and a threat to our democracy. Trump attacking the post office in a year where most voting should happen by mail because you know - the pandemic, is dangerous in itself. But if his calls for defunding the post office actually work, we could lose one of the most important public services we have. The post office is one of the few governmental agencies that is actually mentioned in the constitution, Article I, Section 8, Clause 7 of the Constitution, known as the Postal Clause or the Postal Power, empowers Congress "To establish Post Offices and Post Roads.”
As a standup comedian, I know we ALL make fun of how the post office sucks, but it’s a lot worse if we don’t have it and private companies get to set the cost for sending mail. It sucks to have to wait at the post office but it is going to suck more when without competition, FedEx can make sending a postcard $4 because it helps their shareholders. I don’t want to get to into the weeds, but pretty much the Republican party has been trying to get rid of the post office for years and dealt a pretty big blow in 2006 with an act that insured that the agency would always be losing money. If you want more info here’s a good summary and here is another helpful one.
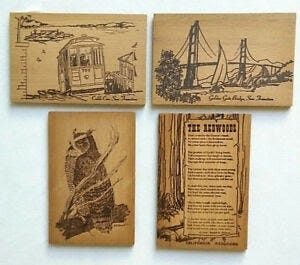
But how can you help the post office? There are many ways, but one honestly, one of the easiest ways is to buy stamps. Here are some more. But you might ask yourself well, Rosa, I have bought a bunch of stamps, now what do I send? Well if you are a long time Craft Cult reader, you know I love a postcard. So for this week’s Craft Cult, we are doing a fun spin on a classic mailer, wooden postcards.
For this craft, we are going to transfer a photo to a piece of wood. While I am teaching this technique as a postcard craft, the process itself can be used on anything wooden. When I was a kid, my sister used this for commemorative plaques. It works great for wooden coasters or on a wooden breakfast tray. Pretty much once you are comfortable with the process you can use this on all types of decore and home items, but I am going to limit it to postcards for this newsletter.
Wooden postcards have been around since the 1904 World’s Fair where they mostly had puns printed on them like "Exposition is more than oak-a", "it is ash-tonishing", I wood spruce up and come", and "You walnut regret it." They became wildly popular through the 1950s but have since become less common.
You might not find them in stores anymore, but they are easy to make. You will only need 3 things for this craft, a thin wood such as balsa, mod podge or gel medium, and a printer or a photograph.
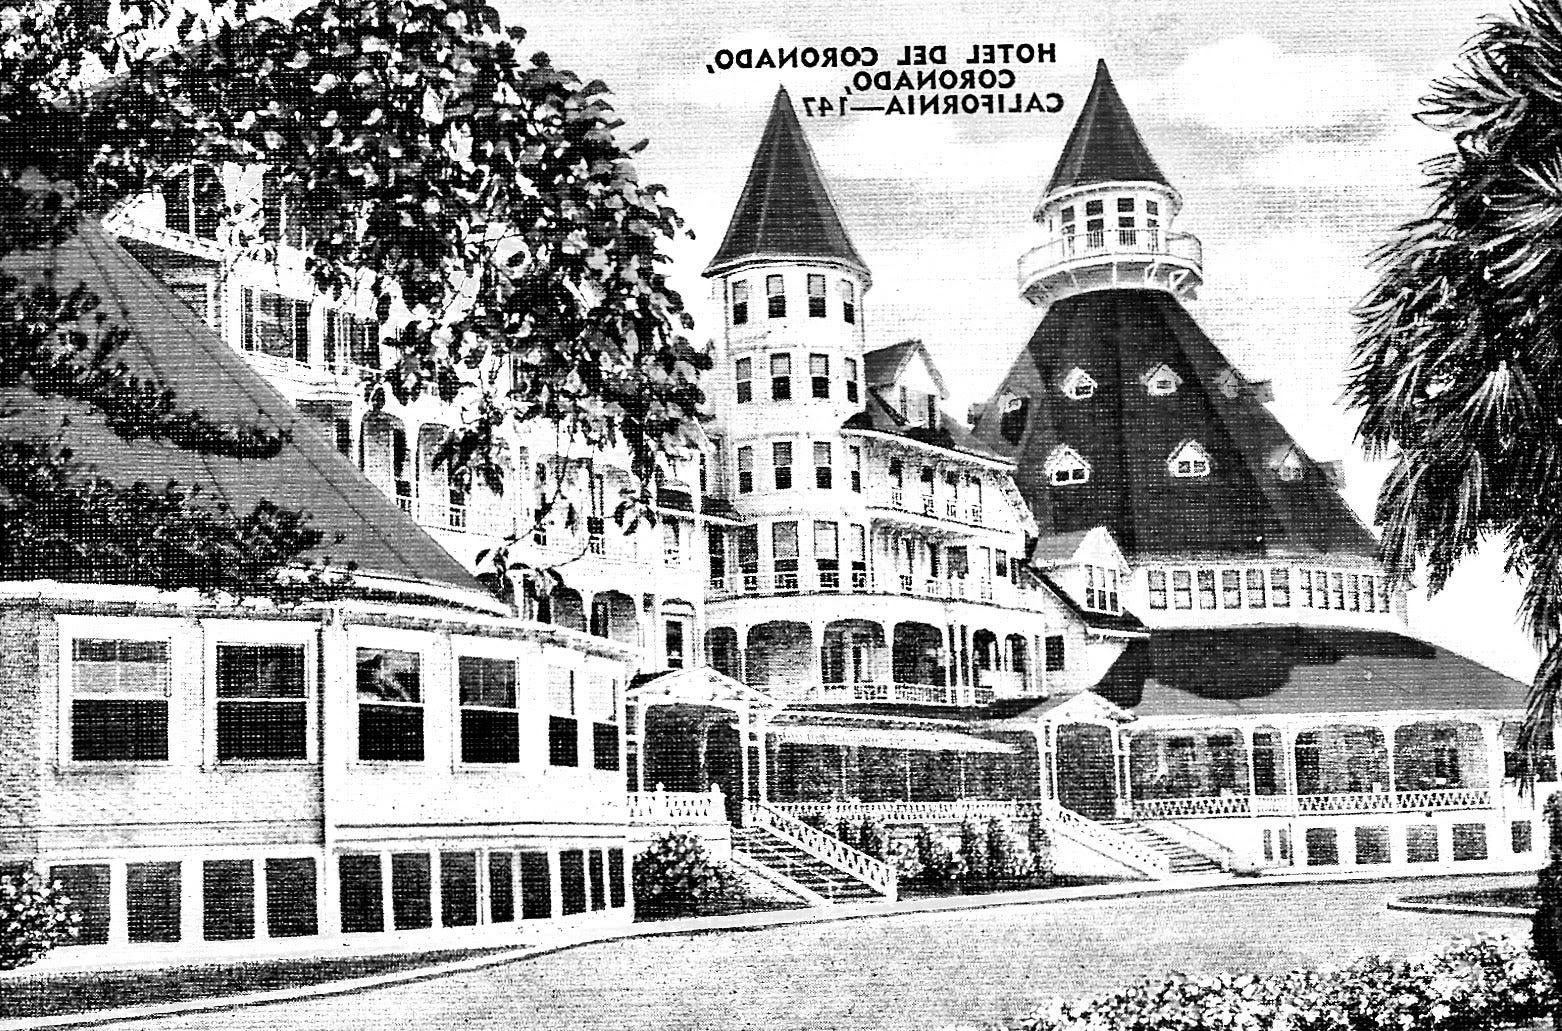
First, find your image. It can be anything. I used an old postcard image from the Hotel Del Coronado in San Diego. This image looks like it was from about 1930-1940 but I am not sure since the hotel opened in 1888 and the facade hasn’t changed much.

I then set it to print in greyscale and flipped the image (this is important for the transfer process only if your image has lettering). You can choose color or black and white, I just liked the look of black and white for this one especially since many vintage wood postcards weren’t colored
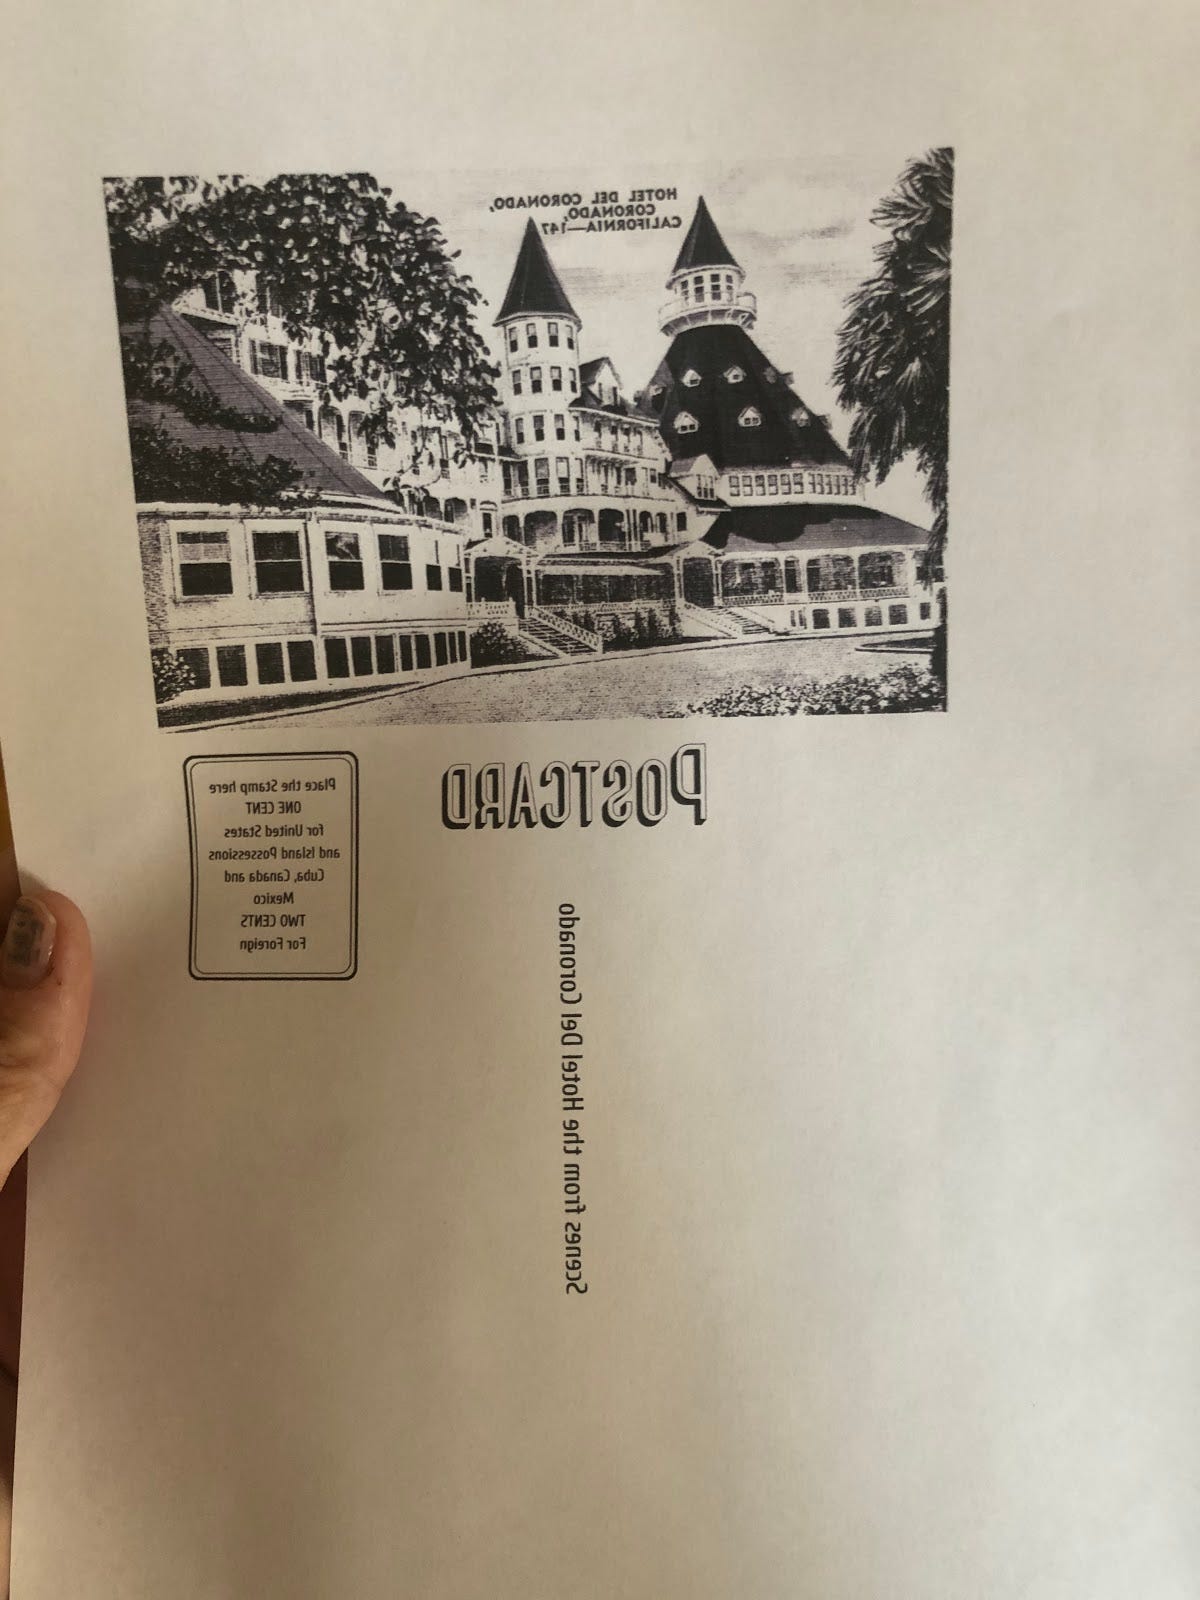
I also printed out a back for my postcard based on an old Coronado postcard that I saw online. (I messed up part of the process for putting it on, so I had to change it for my final postcard, but I will get into that later.)
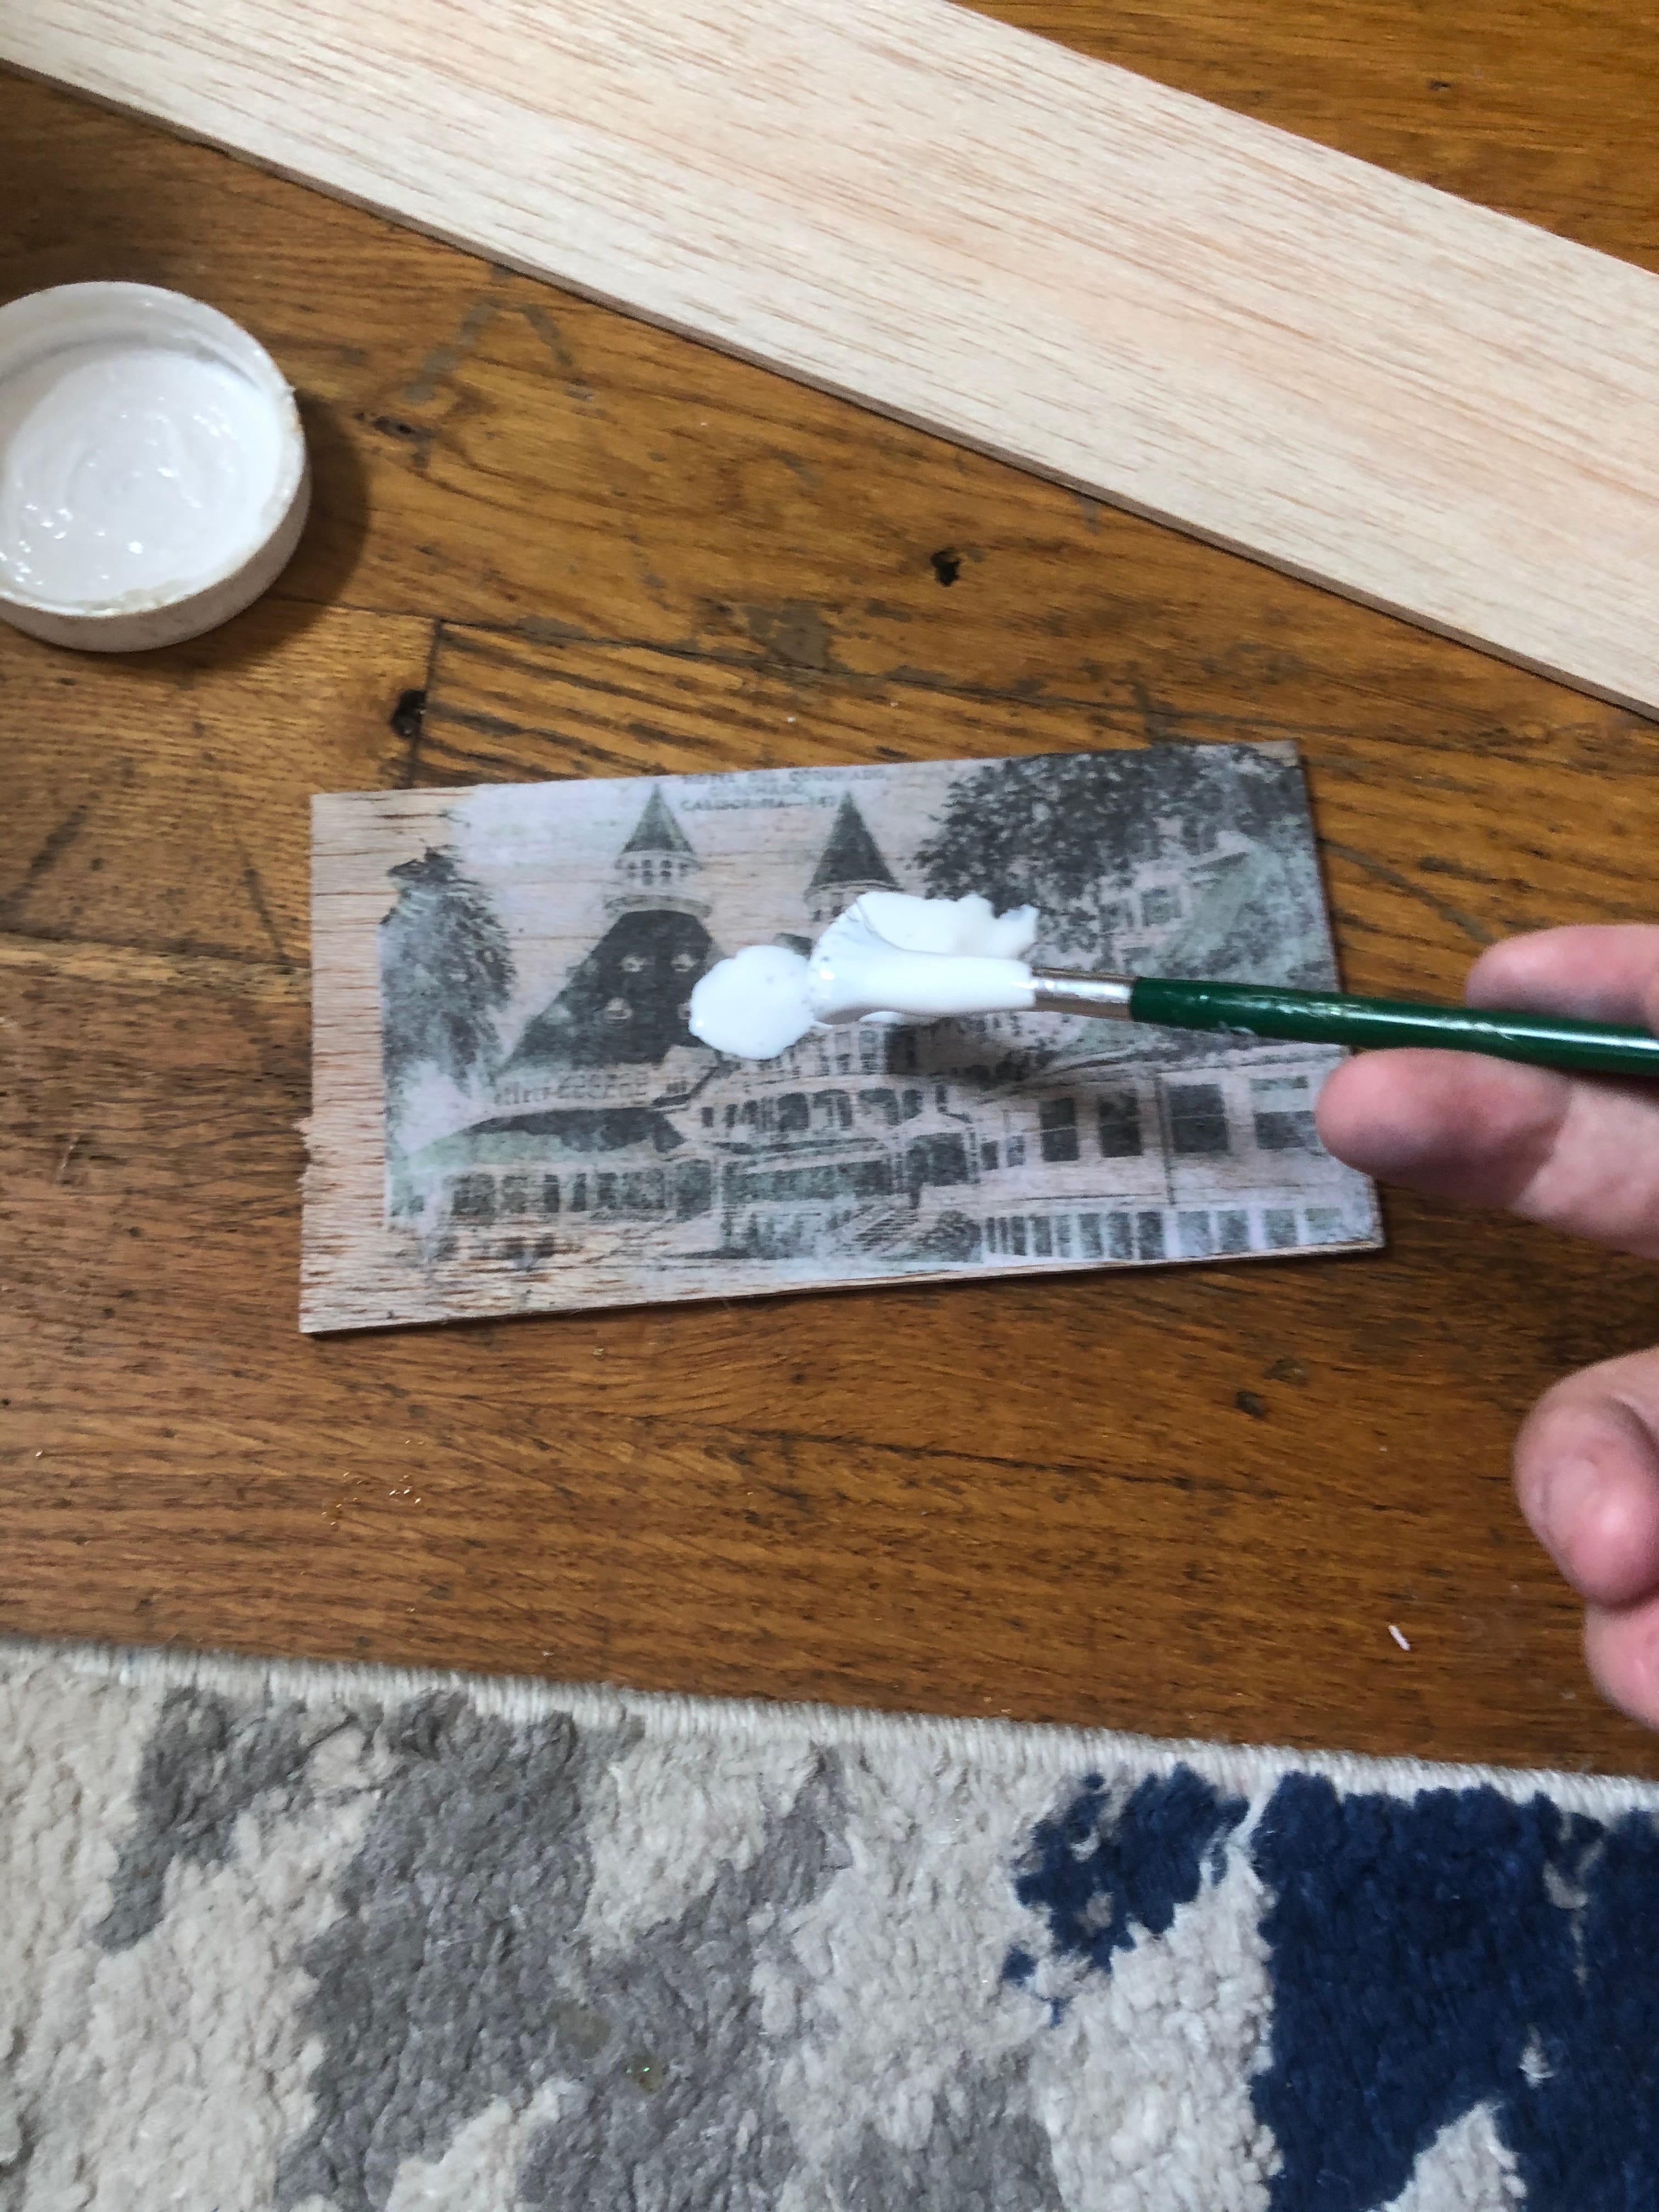
Once your image is printed, cut it to the size of your balsa wood and coat the photo in your mod podge fully. Really make sure that the whole image is fully covered. I am using classic mod podge for this craft, but they actually have a specific product for photo transfer. It works slightly better, so if this a craft you want to do over and over, it might be a good purchase, but not necessary. Gel medium will also work for this process if you don’t have mod podge. I am also using balsa wood, which I am a little nervous about because of how pliable it is. A thin hardwood will be slightly hardier in the mail and work just as well in the transfer.

Once your image is covered with mod podge, flip the sticky side onto the wood and press out any air bubbles. You want to make sure it is completely flat with no pockets of thick glue or creases. The easiest way to get it to lie flat is to press with your hands and then run the edge of a credit card over the back of the photo. Then it is time to wait. You should let the mod podge dry for at least 12 hours. It will seem dry before then, but it is better to let it sit. I waited about 24 hours for mine.

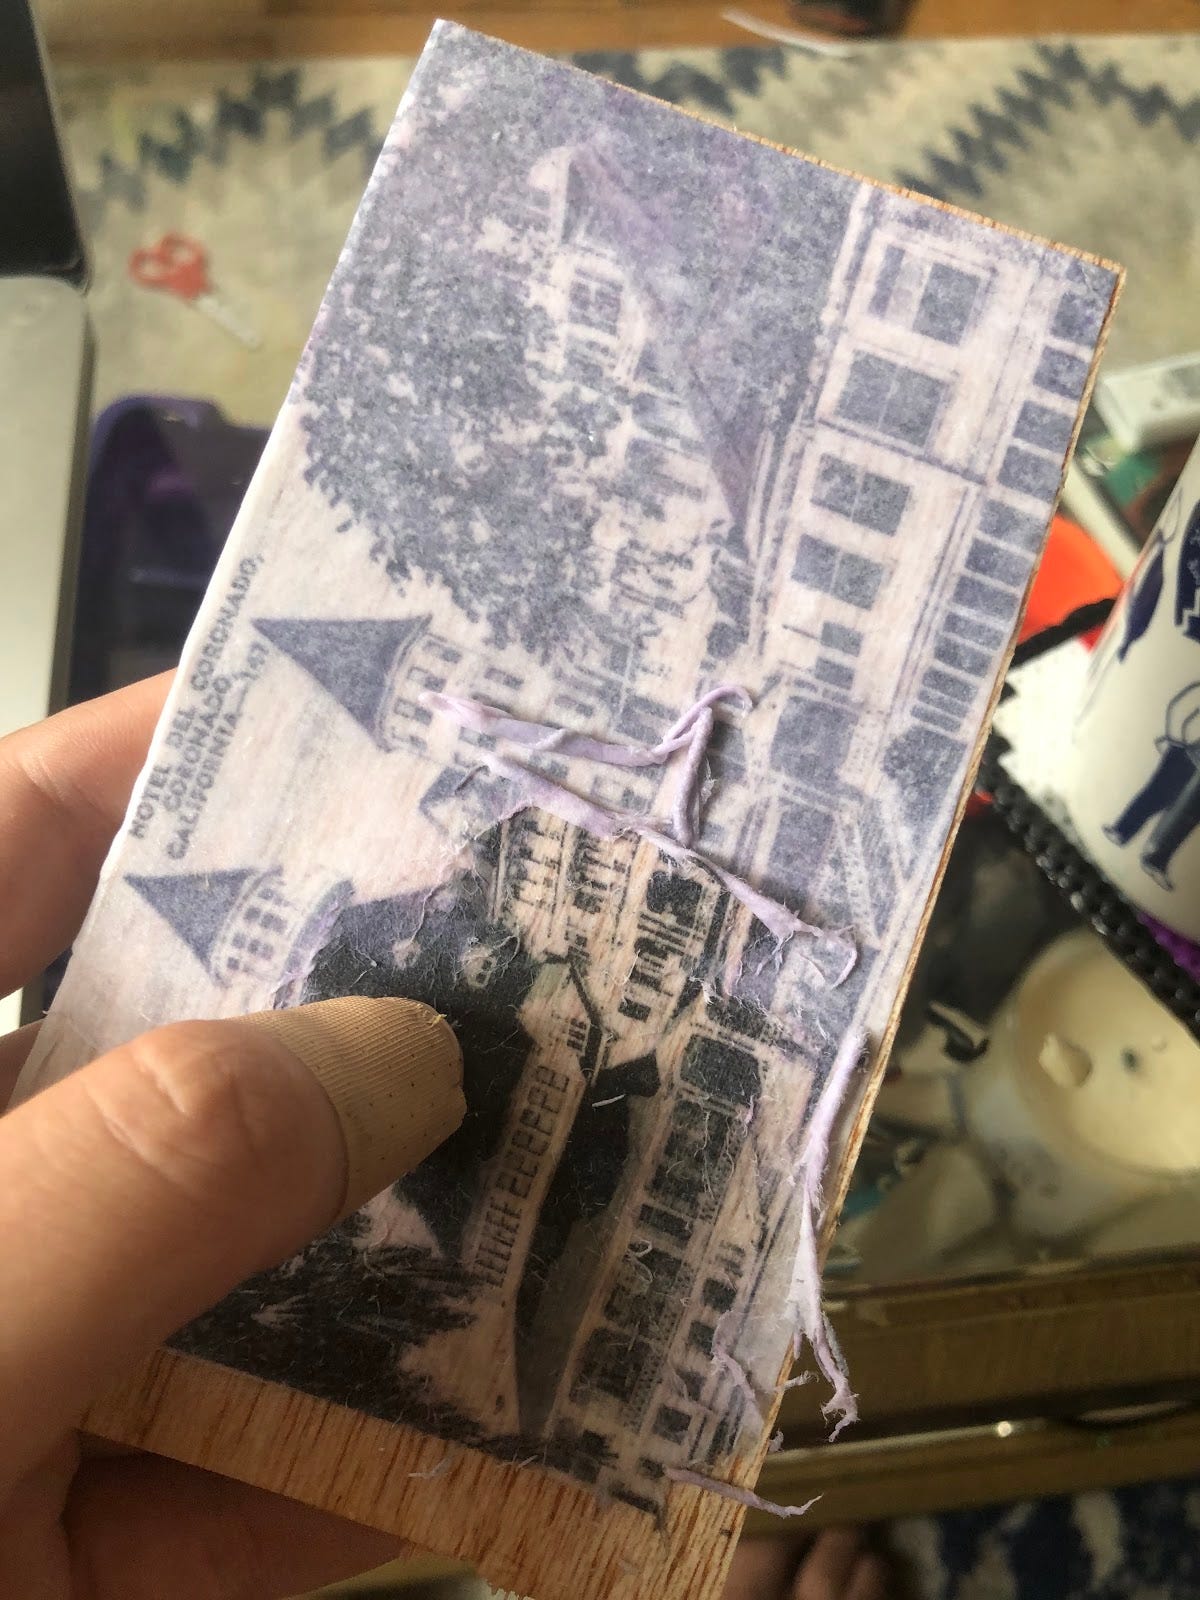
After your glue has fully set. Get a glass of water and wet the paper. You need the paper to get really wet and stay wet for the next step of the process. I had to keep reapplying water. Slowly peel back the wet paper. It should rub off leaving your image behind.
You want to take this process very slowly because you can accidentally peel off the image as well if you press too hard or go to fast especially around fine details such as faces or lettering.
When your paper is fully rubbed off, seal it with a second layer of modge podge.
When that dries, you should have a transferred image. Now, let me tell you how I messed up the back. I did this same process, but before I sealed the back of the card, I wrote my message just because it is a little hard to write after the mod podge is down. However, if you do this, make sure to use a sharpie or a pen who’s ink doesn’t bleed. I used ink that does, so when I covered the back in mod podge it bled all over the place.
So I added a layer of paper to the back and just wrote ontop of it. It is not quite as elegant, but it did the job.
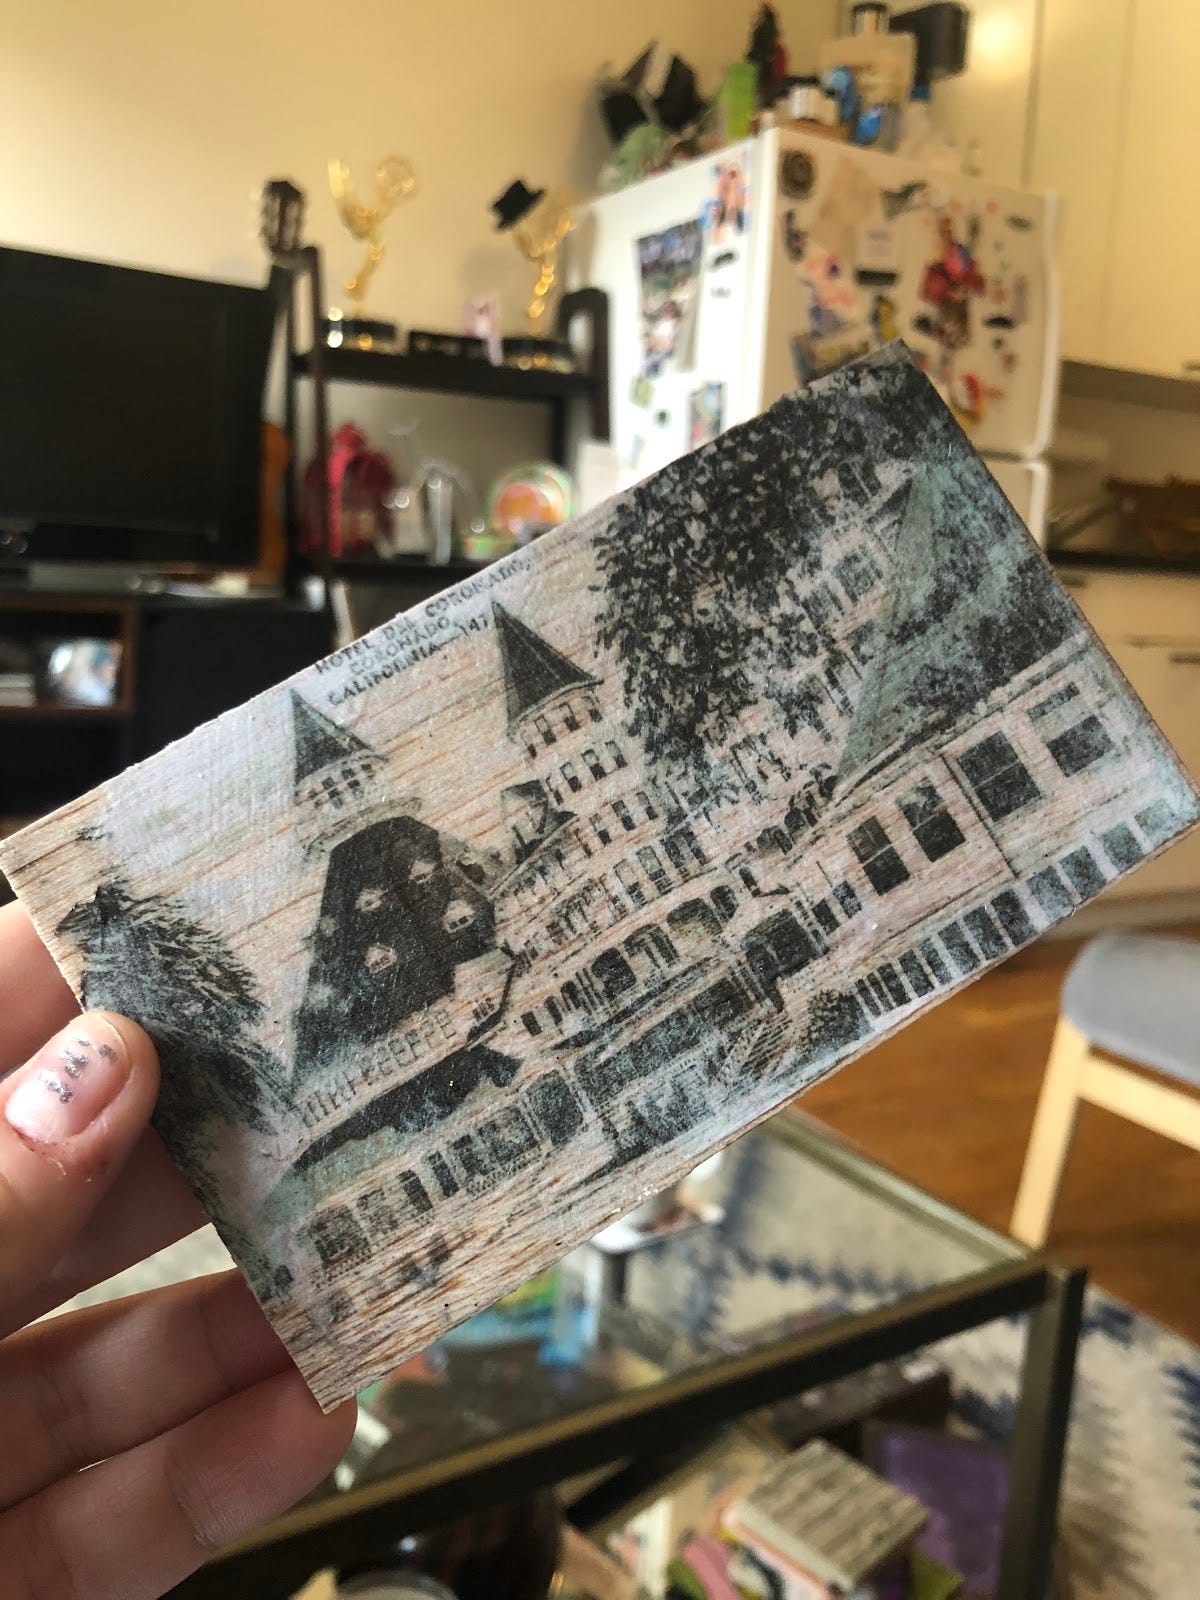
Here is the finished front, which is a lot more elegant.
I am sending this today, so I will update you on how it does in the mail. It should be light enough with balsa wood to use a normal stamp as you would for any postcard, but if you use a slightly heavier wood you may have to use two.
I know I did most of my usual news and everything bad happening in the world sign off at the beginning of this one, but I am going to drop one more resource on ways to help save the USPS. It really is important!
That’s all for Craft Cult, but remember to defund police, refund the post office and, of course, stay crafting.
As always, it would mean a lot to me that if you liked this post or this newsletter, you would share it with your friends.