


Makin Banks
Alternative title Saving Mr Banks? Does that read? Anyway we are crafting my take on the piggy bank.

Hi, I am Rosa Escandon and Welcome to Craft Cult,

This one is going to be a short one. I had planned on doing a different craft today, but I started it too late and it takes about 3 days to do. I promise it’s cool and will be the next one. So today’s craft is a short, but I think easy one even for people who have been scared to try out these crafts so far.
Albert Einstein once said “[Capitalism] as it exists today is, in my opinion, the real source of evils.” And on that note, we are making banks today. I hesitate to call what I am making a piggy bank, I would call it a display bank. I am not sure that is a real thing. Usually with my crafts start with something I have done before, a skill I know, or inspiration of seeing something cool and trying to make it my own. This one fully came out of my head, so maybe these exist outside this newsletter maybe these don’t.
When I was probably about 10, I got my first piece into a local art show. I honestly think they accepted everyone, but I was very proud of my piece. It was a shadow box that was pseudo inspired by Joesph Cornell who continues to be one of my favorite artists. So today’s has a little of that look.

Cornell’s Setting for a Fairy Tale, 1942
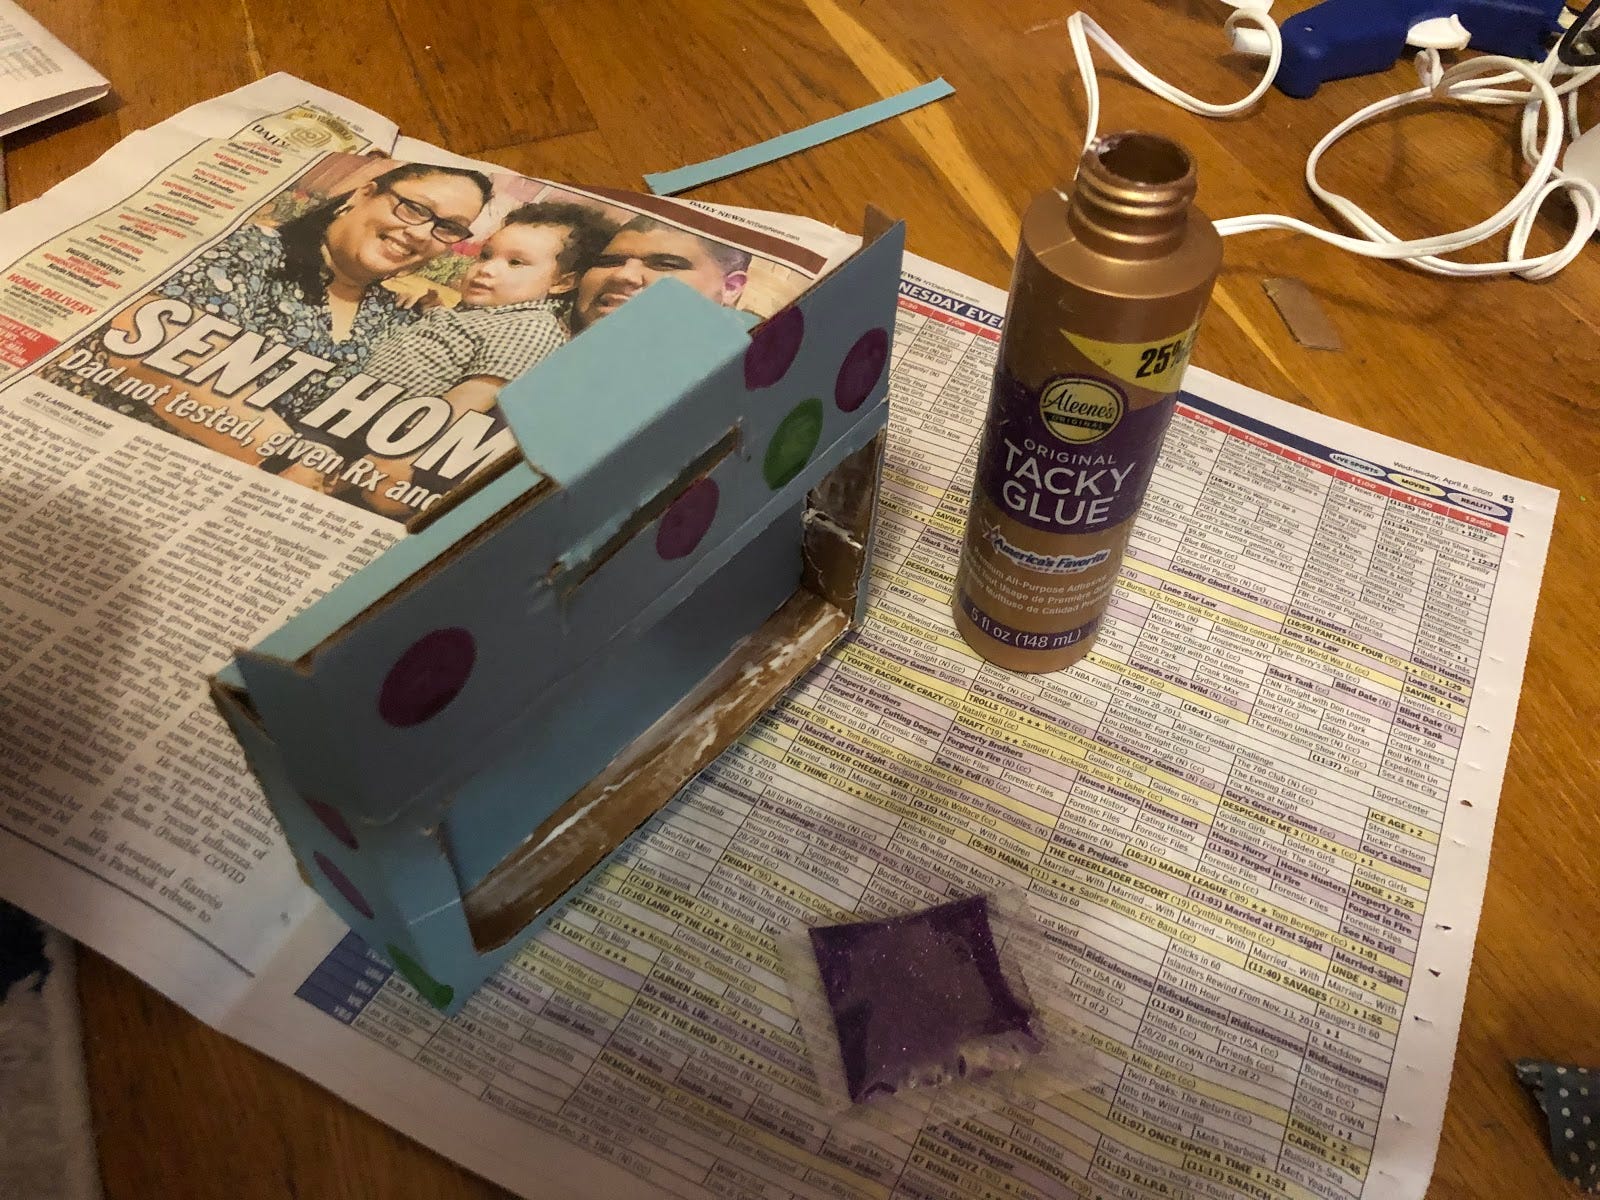
I started with an old box that once had vitamins in it. This box had a cardboard insert in it, so you might need two boxes if you are using a box that doesn’t already have a compartment.
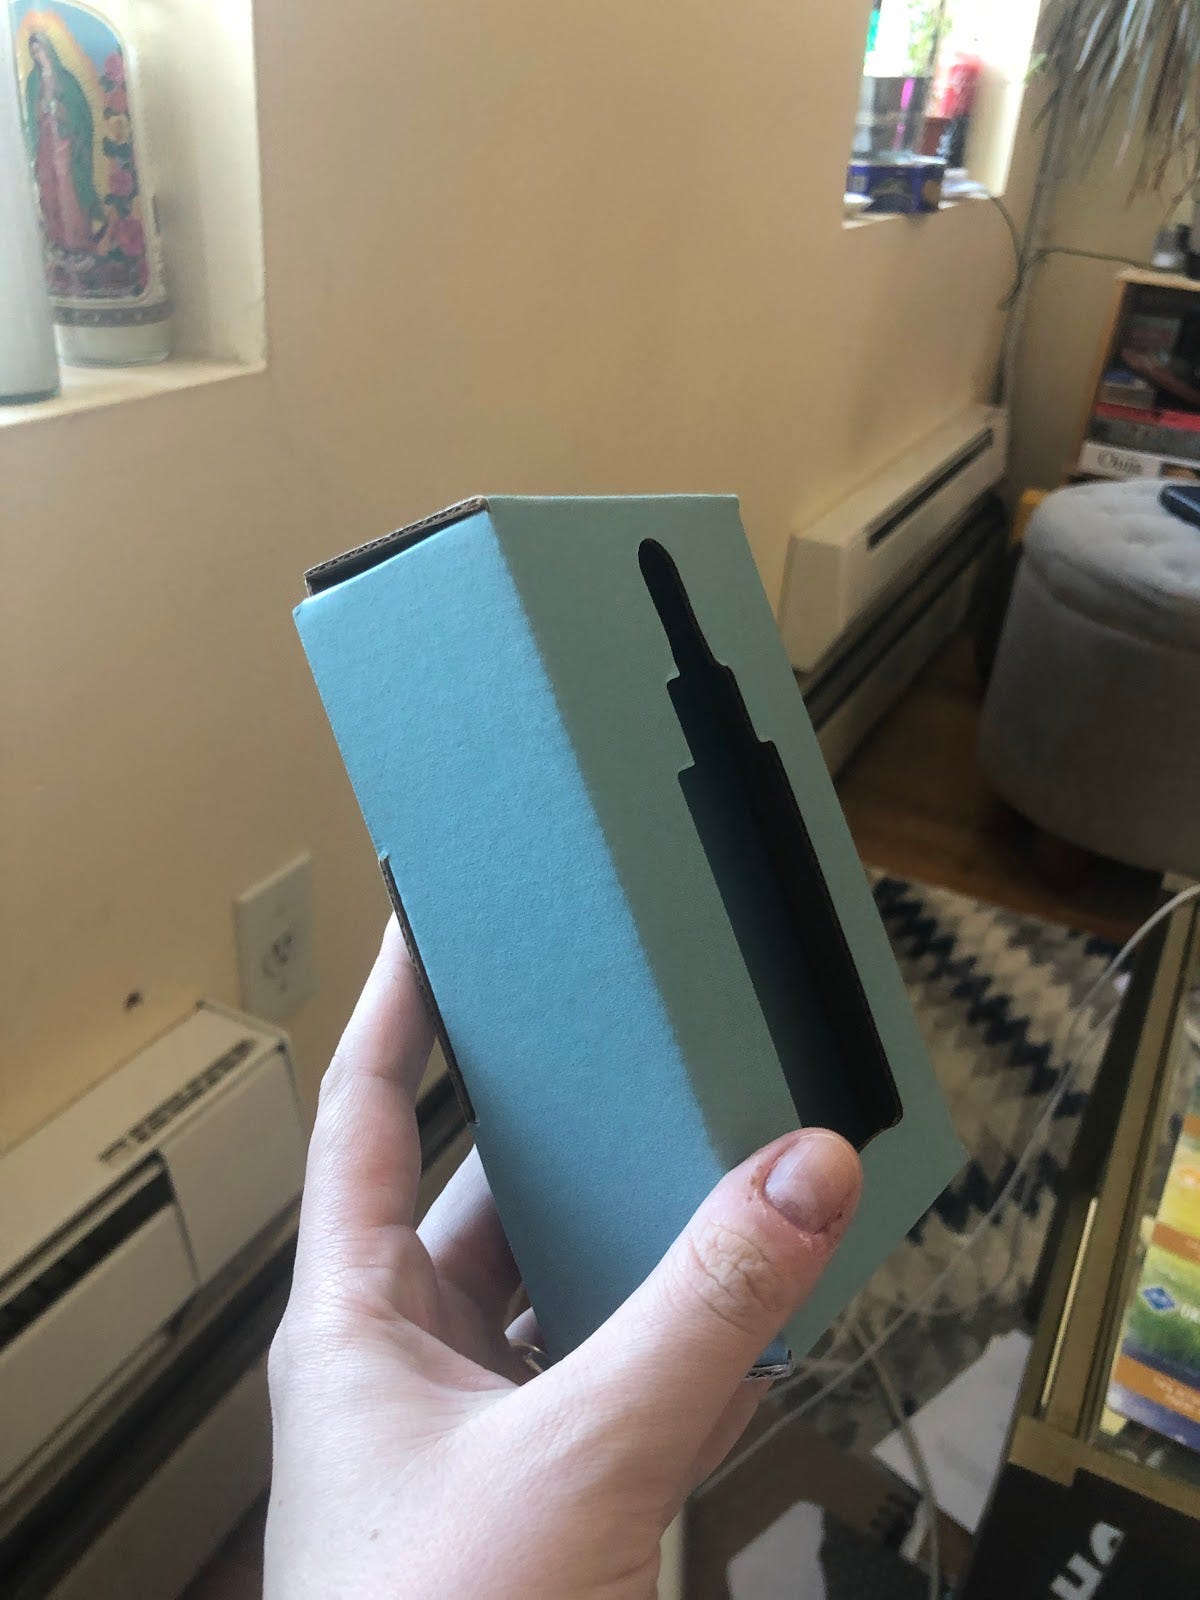
I first deconstructed the box to cut two holes. One of the top to be the coin slot and one on the front to be the window into the shadow box. I had to take it apart and put it back together because as long time readers know, I cannot find my Exacto knife. At this point, I think it is either gone or I left it at my friend, David’s house (which in a quarantine means it’s gone.) If you have one, you probably don’t have to take the box apart. Make sure that the coin slot hole is towards the back of the top, so when the box is closed the slot will lead to the bank compartment and not he display area. Also, don’t worry if your cuts aren’t perfect, they will mostly be covered up, just try your best to keep them a vaguely uniform.
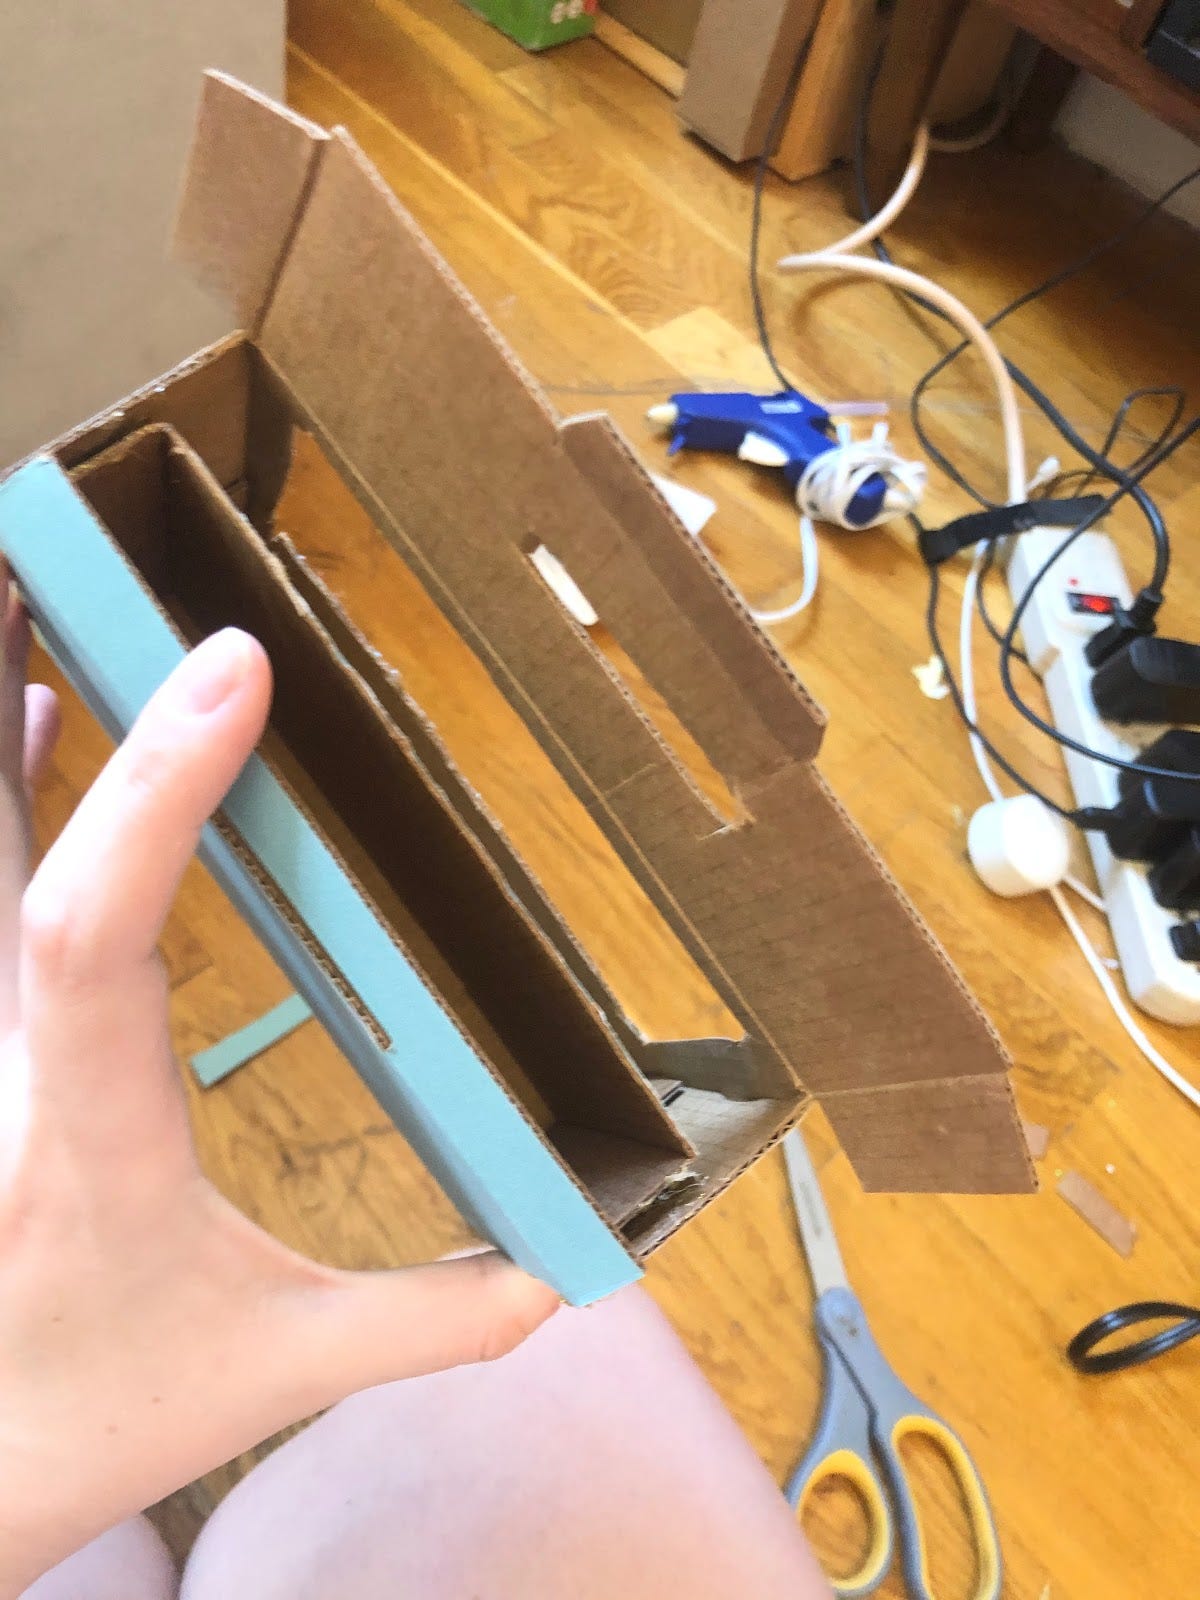
Then I reinserted the compartment and tacked it down with some hot glue. If you need to cut a second box to make that compartment, it’s easier to put this into place if you cut a piece longer than you need and then fold the sides to make flaps. I then sealed the back on the box in place with a little glue.
Okay, time for the fun part, decorating. Really you can do whatever you want now, but I am going to show you what I did. First, find something to display in the front of your bank. I chose a postcard. I often buy vintage postcards from junk stores and flea markets. Most of them are blank so I can send them, but every once and a while I get one with writing. Below are photos of a couple of my favorites
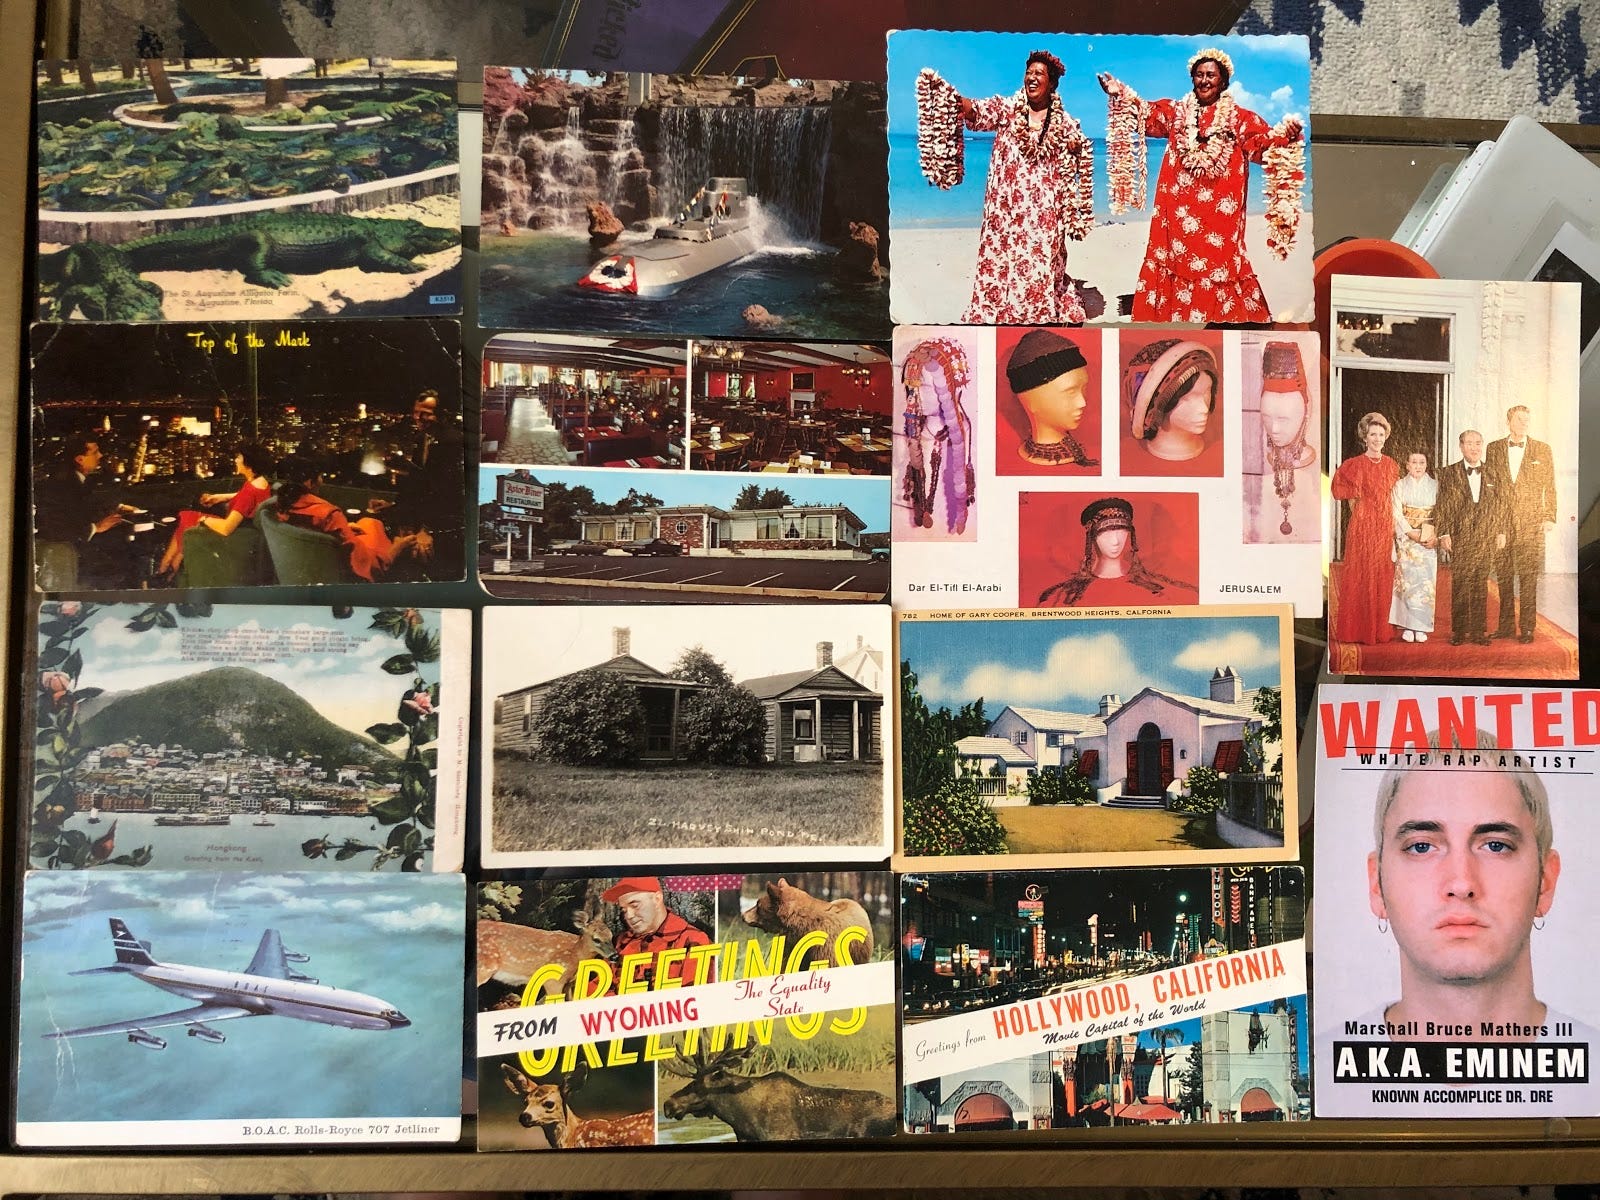
And yes you saw that right, one of them is just a picture of the Reagans with the Japanese Prime Minister in 1981.
(From top left: Alligator farm in Florida, Disneyland Submarines, 1960s Hawaii, The Top of the Mark SF, a diner off the PA turnpike that had its own postcard, The Palestinian Cultural Center in Jerusalem Traditional Headwear exhibition I think probably 1970s, Reagans 1981, Hong Kong at New Years probably around 1950 or late 40s, a nondescript house, Gary Cooper’s House, a Boeing, Greetings from Wyoming, Hollywood circa 1960, and finally Eminem.)

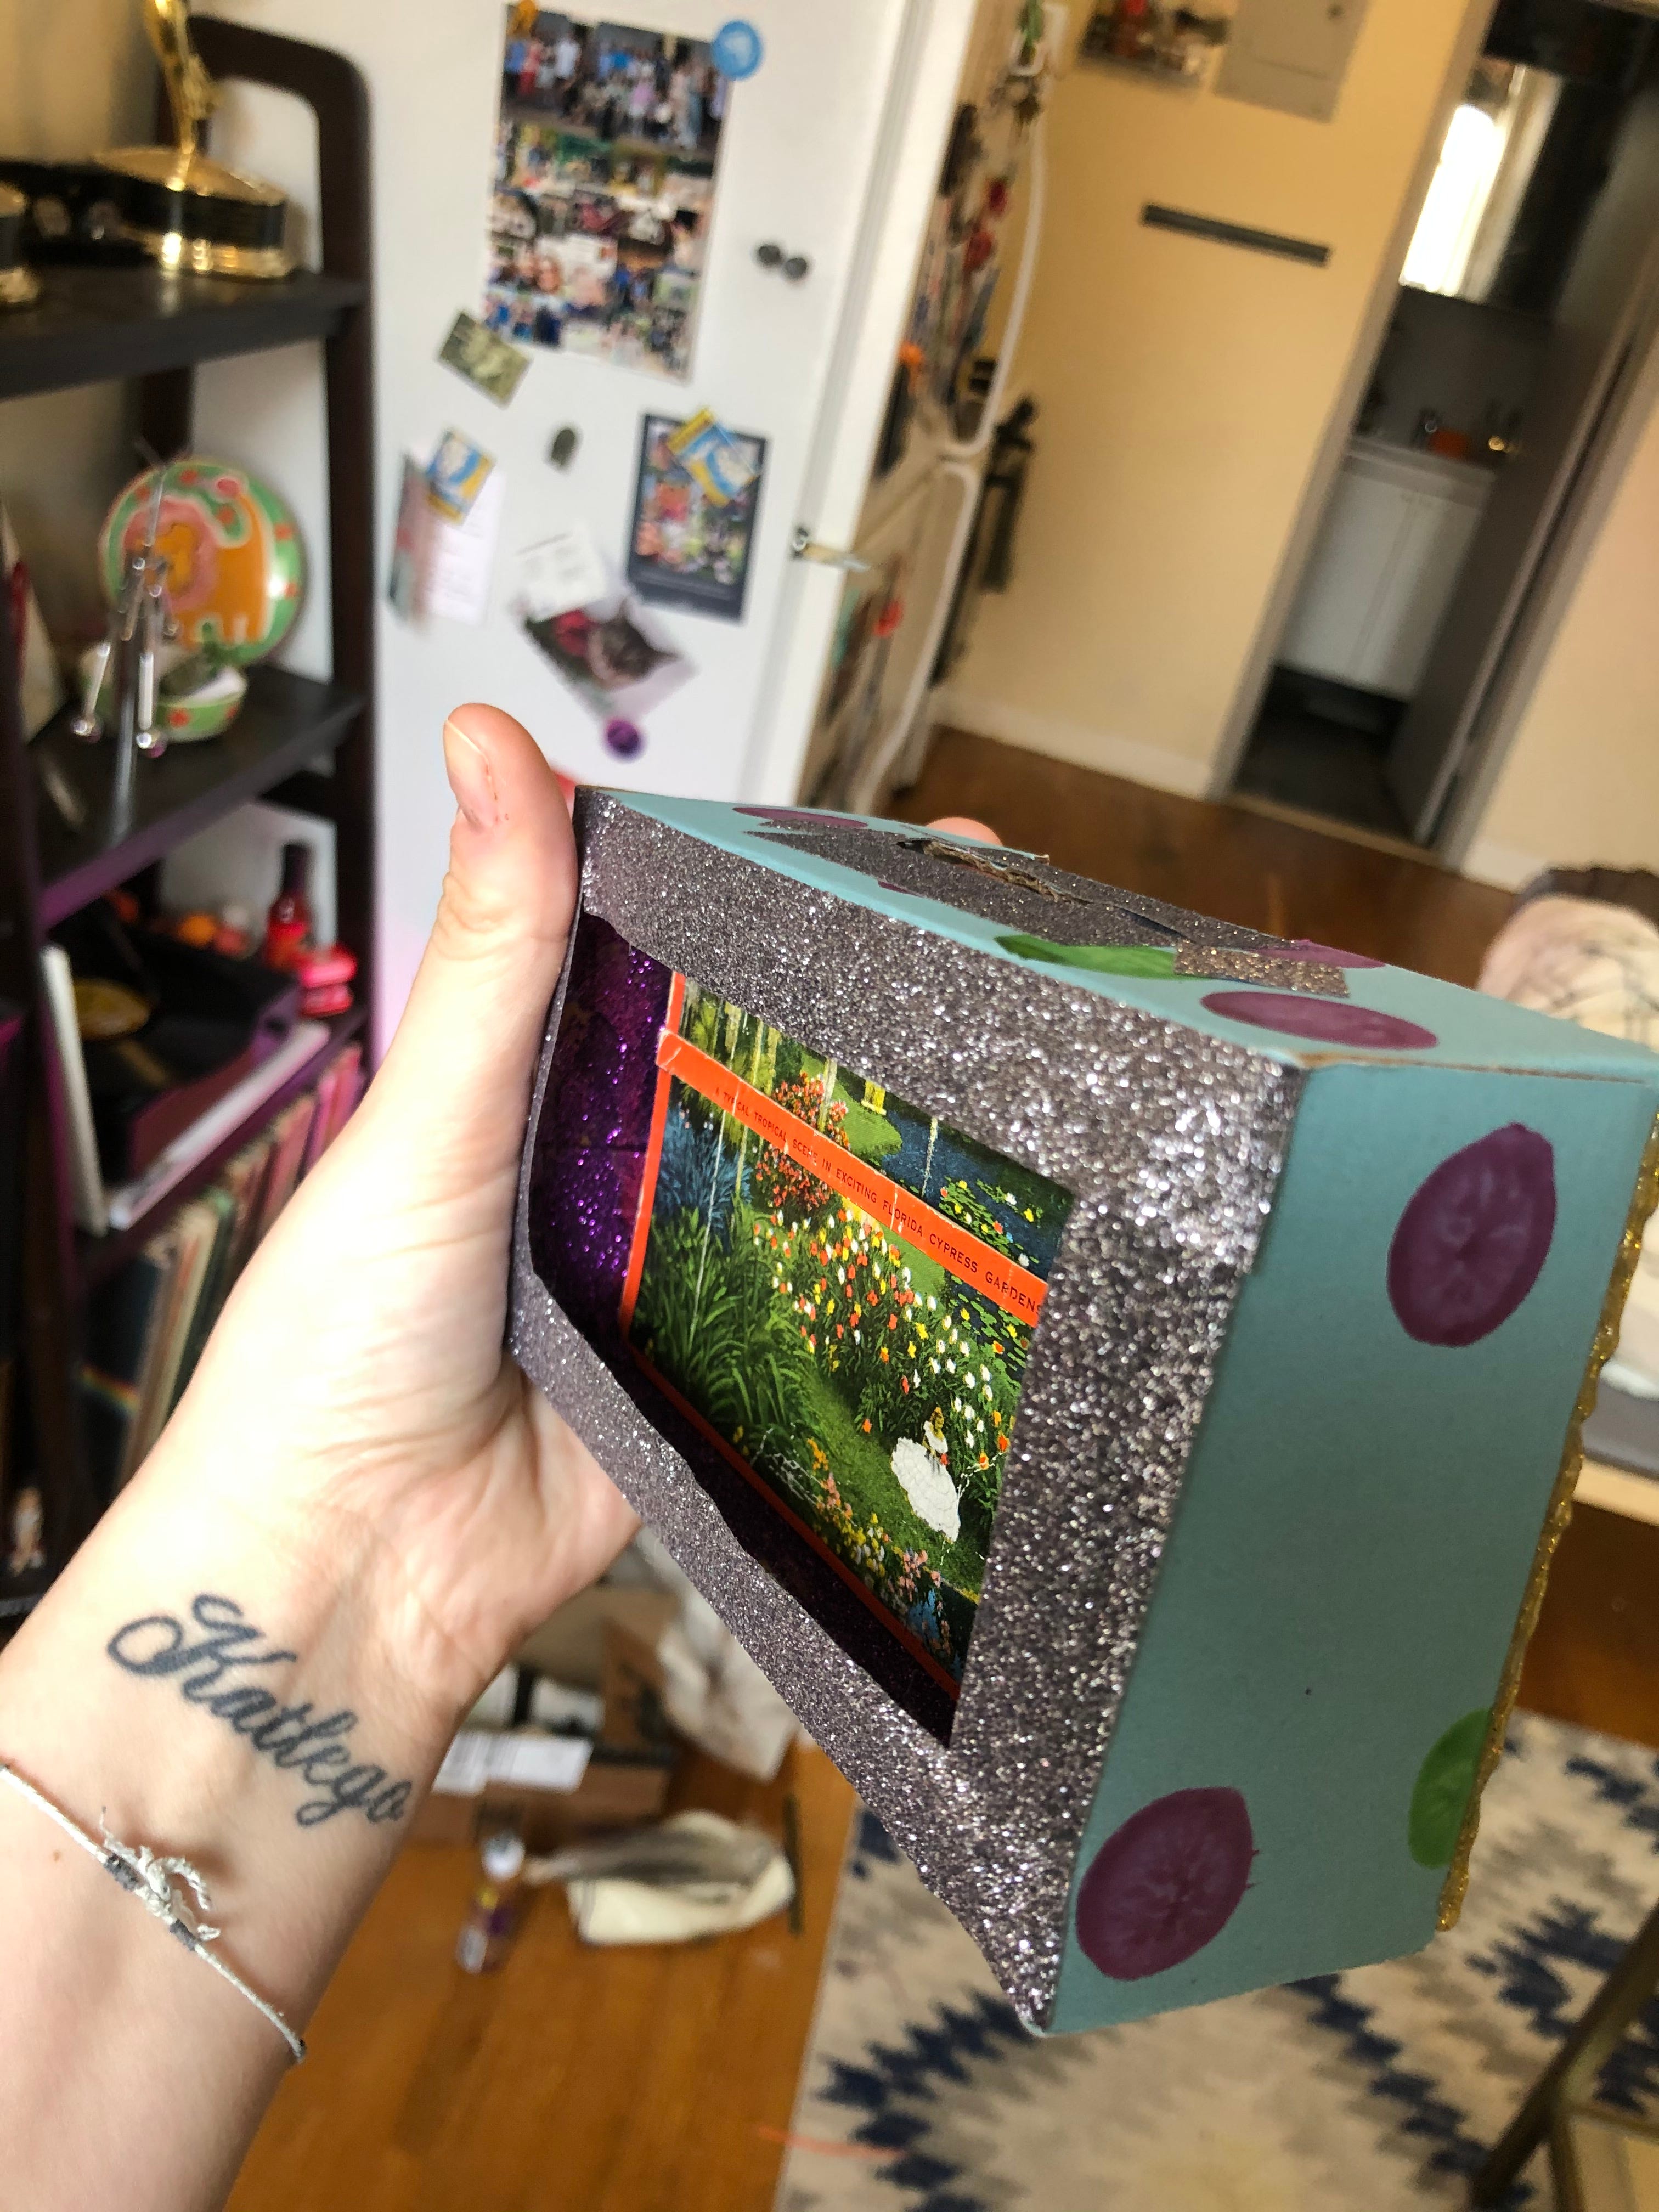
Today I decided to use one from Florida that was sent in 1949 and written to someone’s friend in Ohio. I was sad to see I had to cut it down slightly to fit in the frame of the box. I took a long moment to think about the history of objects and historical value before concluding that just because something is old doesn’t mean it has to continue to exist in its original state and maybe reuse is more important than preservation for some objects. But that’s my inner monologue, you can also just use a photo or drawing you like.

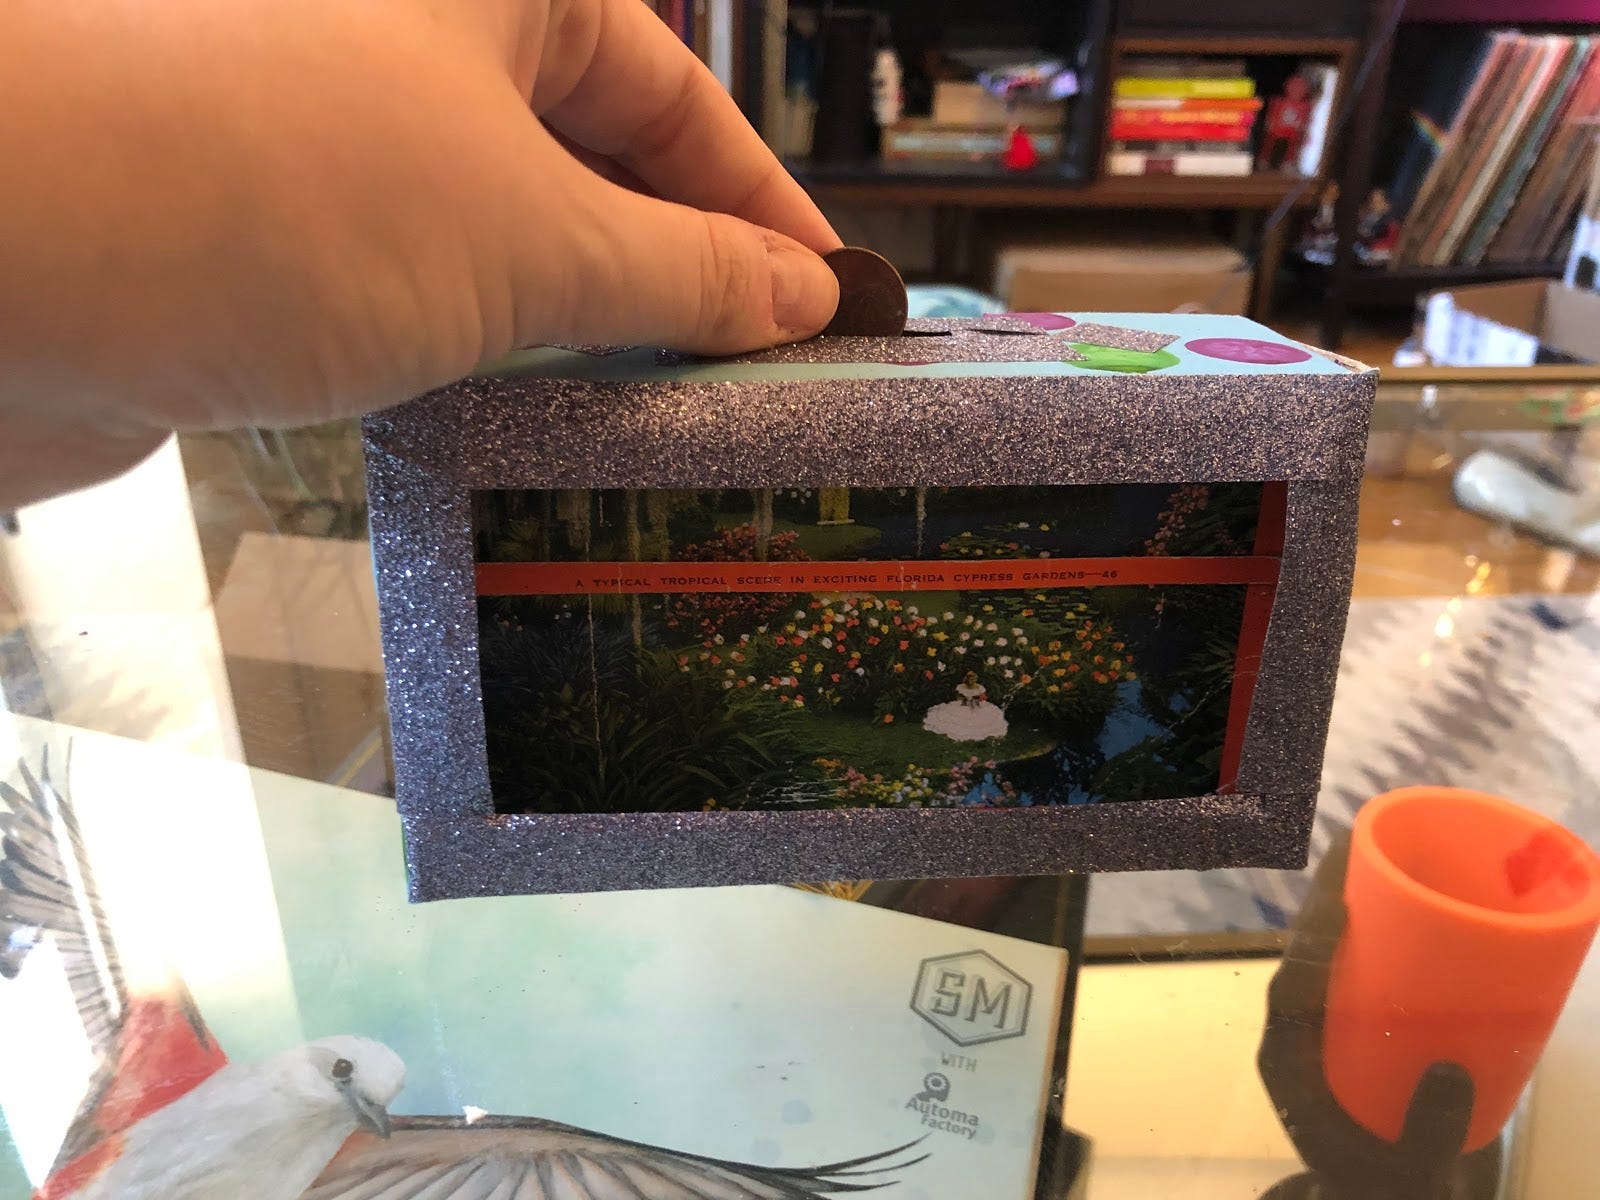
Once I cut down the postcard to fit, I collaged the piece I cut off back onto the front, because I thought the caption of the photo was too funny to get rid of.
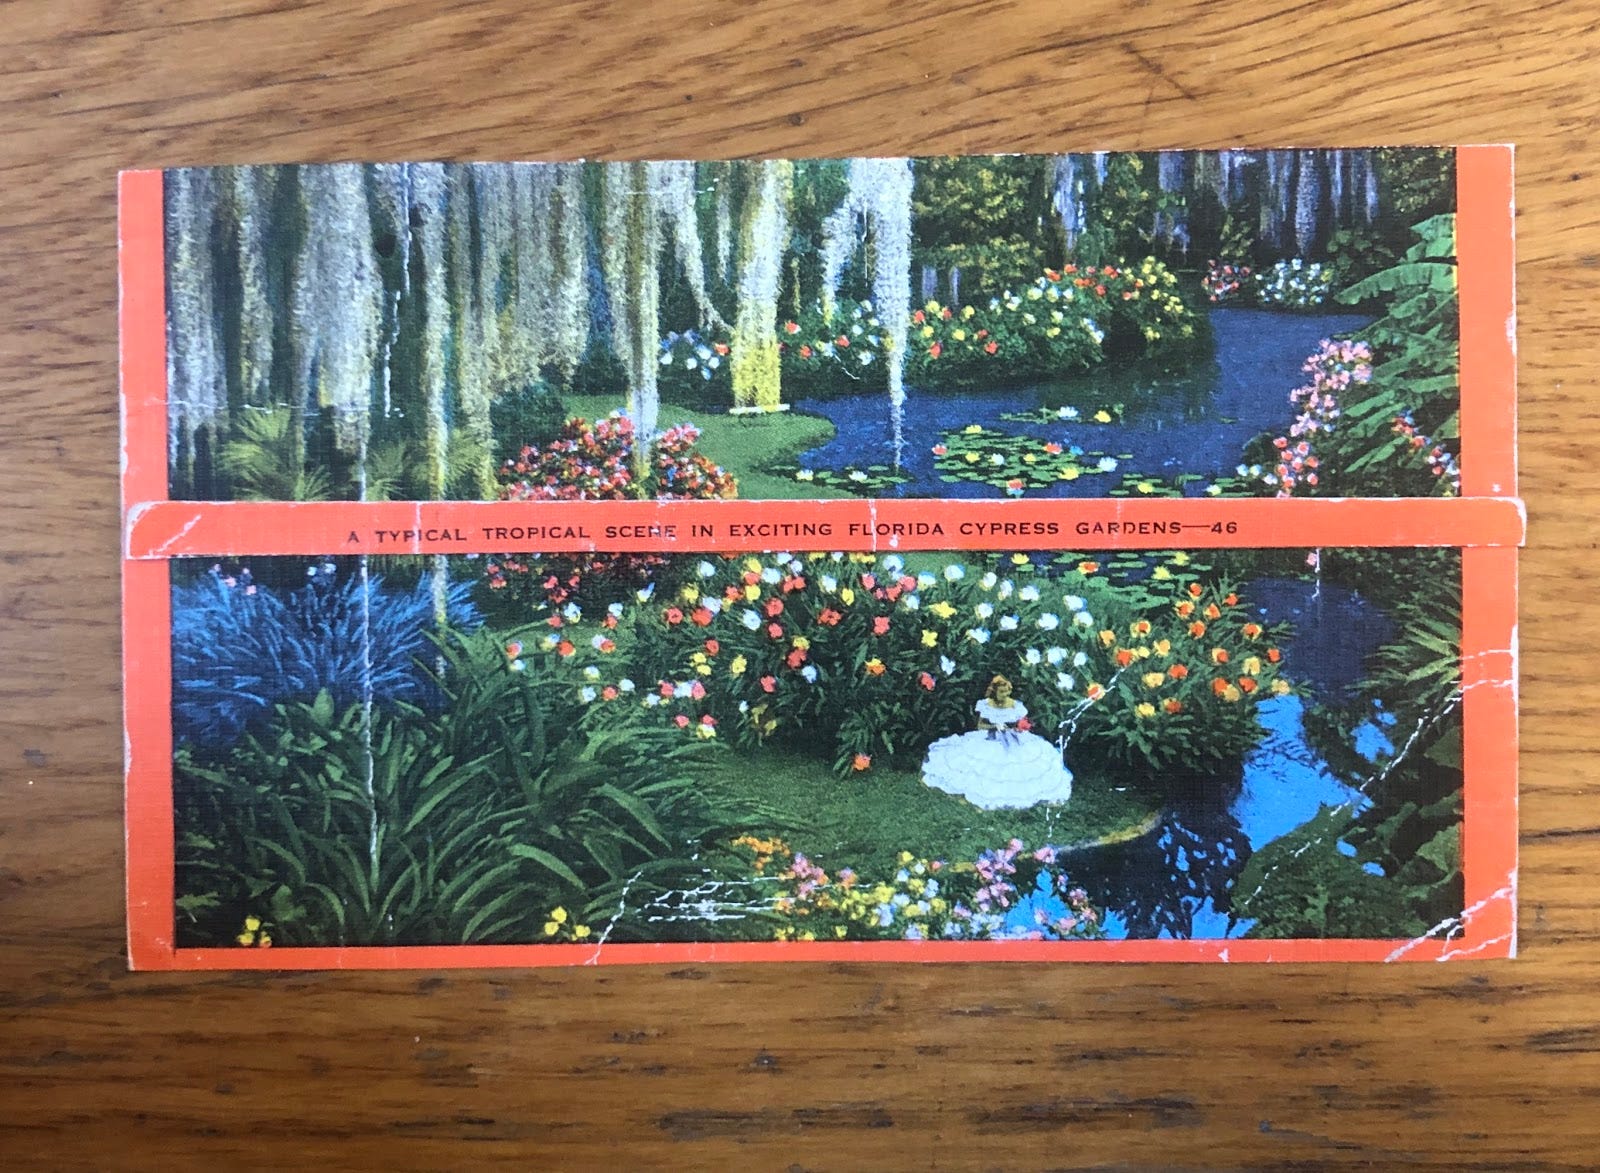
Yes, typical. Sitting alone in a Gone with the Wind dress in Lakewood Florida. Fun fact: while this card is from the late 40s, this place still exists. I have not been to it.
I then started to decorate the outside of the box. I used bingo markers to got at a drag show to do a fun little polka dot design on the outside and then let it dry.
Once it was dry, I decided to add my personal fave glitter to the inside of the display. I don’t think this step did that much but it covered up the exposed brown cardboard and I think gave it a little bit extra.
When That was dry, I dropped in my postcard. To finish the box, I covered up my roughly cut edges with washi tape. If you don’t have washi tape, you can glue on decorative paper to achieve the same effect. I added the same tape to the slot’s rough edges as well.
Then you can start dropping those coins in.
This was s short one, but hopefully, a quick one that anyone would feel comfortable doing. The next one is going to be longer.
I will leave you with some things I am loving right now. Now is a great time to trying new things. Sometimes it doesn’t work out. I tried cutting my boyfriend’s hair yesterday. Honestly, it did not turn out great. But hair grows back and I learned a valuable lesson about my own creative limits. Also cleaning up. My therapist-mom says you should find something you can control at this time. For me, it’s been bootleg Marie Kondo-ing my apartment. I’m going to be honest, I have some hoarding tendencies, so asking if ‘something brings me joy?’ The answer is always going to be yes, so instead, I ask, “Would you rather have the space that this object takes up?” Sometimes all you need to do is organize to get that space you need.
