Honey, I Shrank The Dinks!
We have both a kid and adult version in this one!

What up Dinks,
Welcome back to Craft Cult, today, we are going to be talking about Shrinky Dinks. Now, I know what you are thinking, “Rosa, the instructions to make Shrinky Dinks are right on the package? I don’t need to read a newsletter to learn about them.” And first off, I thought everyone was reading for my writing? Secondly, yes, I know everyone knows how to do Shrinky Dinks, but do you know how to make your own? Do you have project ideas? See you need me.
In this Craft Cult, I am going to teach you how to upcycle your own Shrinky Dinks (it’s a great one to do with bored children) and then if you stick around, I am going to be making some Shrinky Dink earrings, which adults will love.

What is a dink to shrink if not just plastic you let children put in the toaster oven? If you don’t have Shrinky Dink ™ in your home while on lockdown you can recycle a specific type of plastic to make you own.
You want to look out for clear single-use plastically that is usually used in food storage or delivery. Often they will have a small 1 with the recycling sign on them and sometimes are called PETE or polyethylene terephthalate. Pretty much if it is the same type of hard, thin, clear plastic that would be used in one of these, you have the right thing:

Mine came from the tops of the large hummus to-go from my favorite Mexican-American-Middleaster Fusion Deli, Bushwick Pita Palace. When this is all over for New Yorkers, I can’t recommend their hummus enough and the old Syrian man who runs it is my fave.
But, I digress about Pita Palace, if you have ordered take out during the shut-in, there is a high probability that you have dink material.
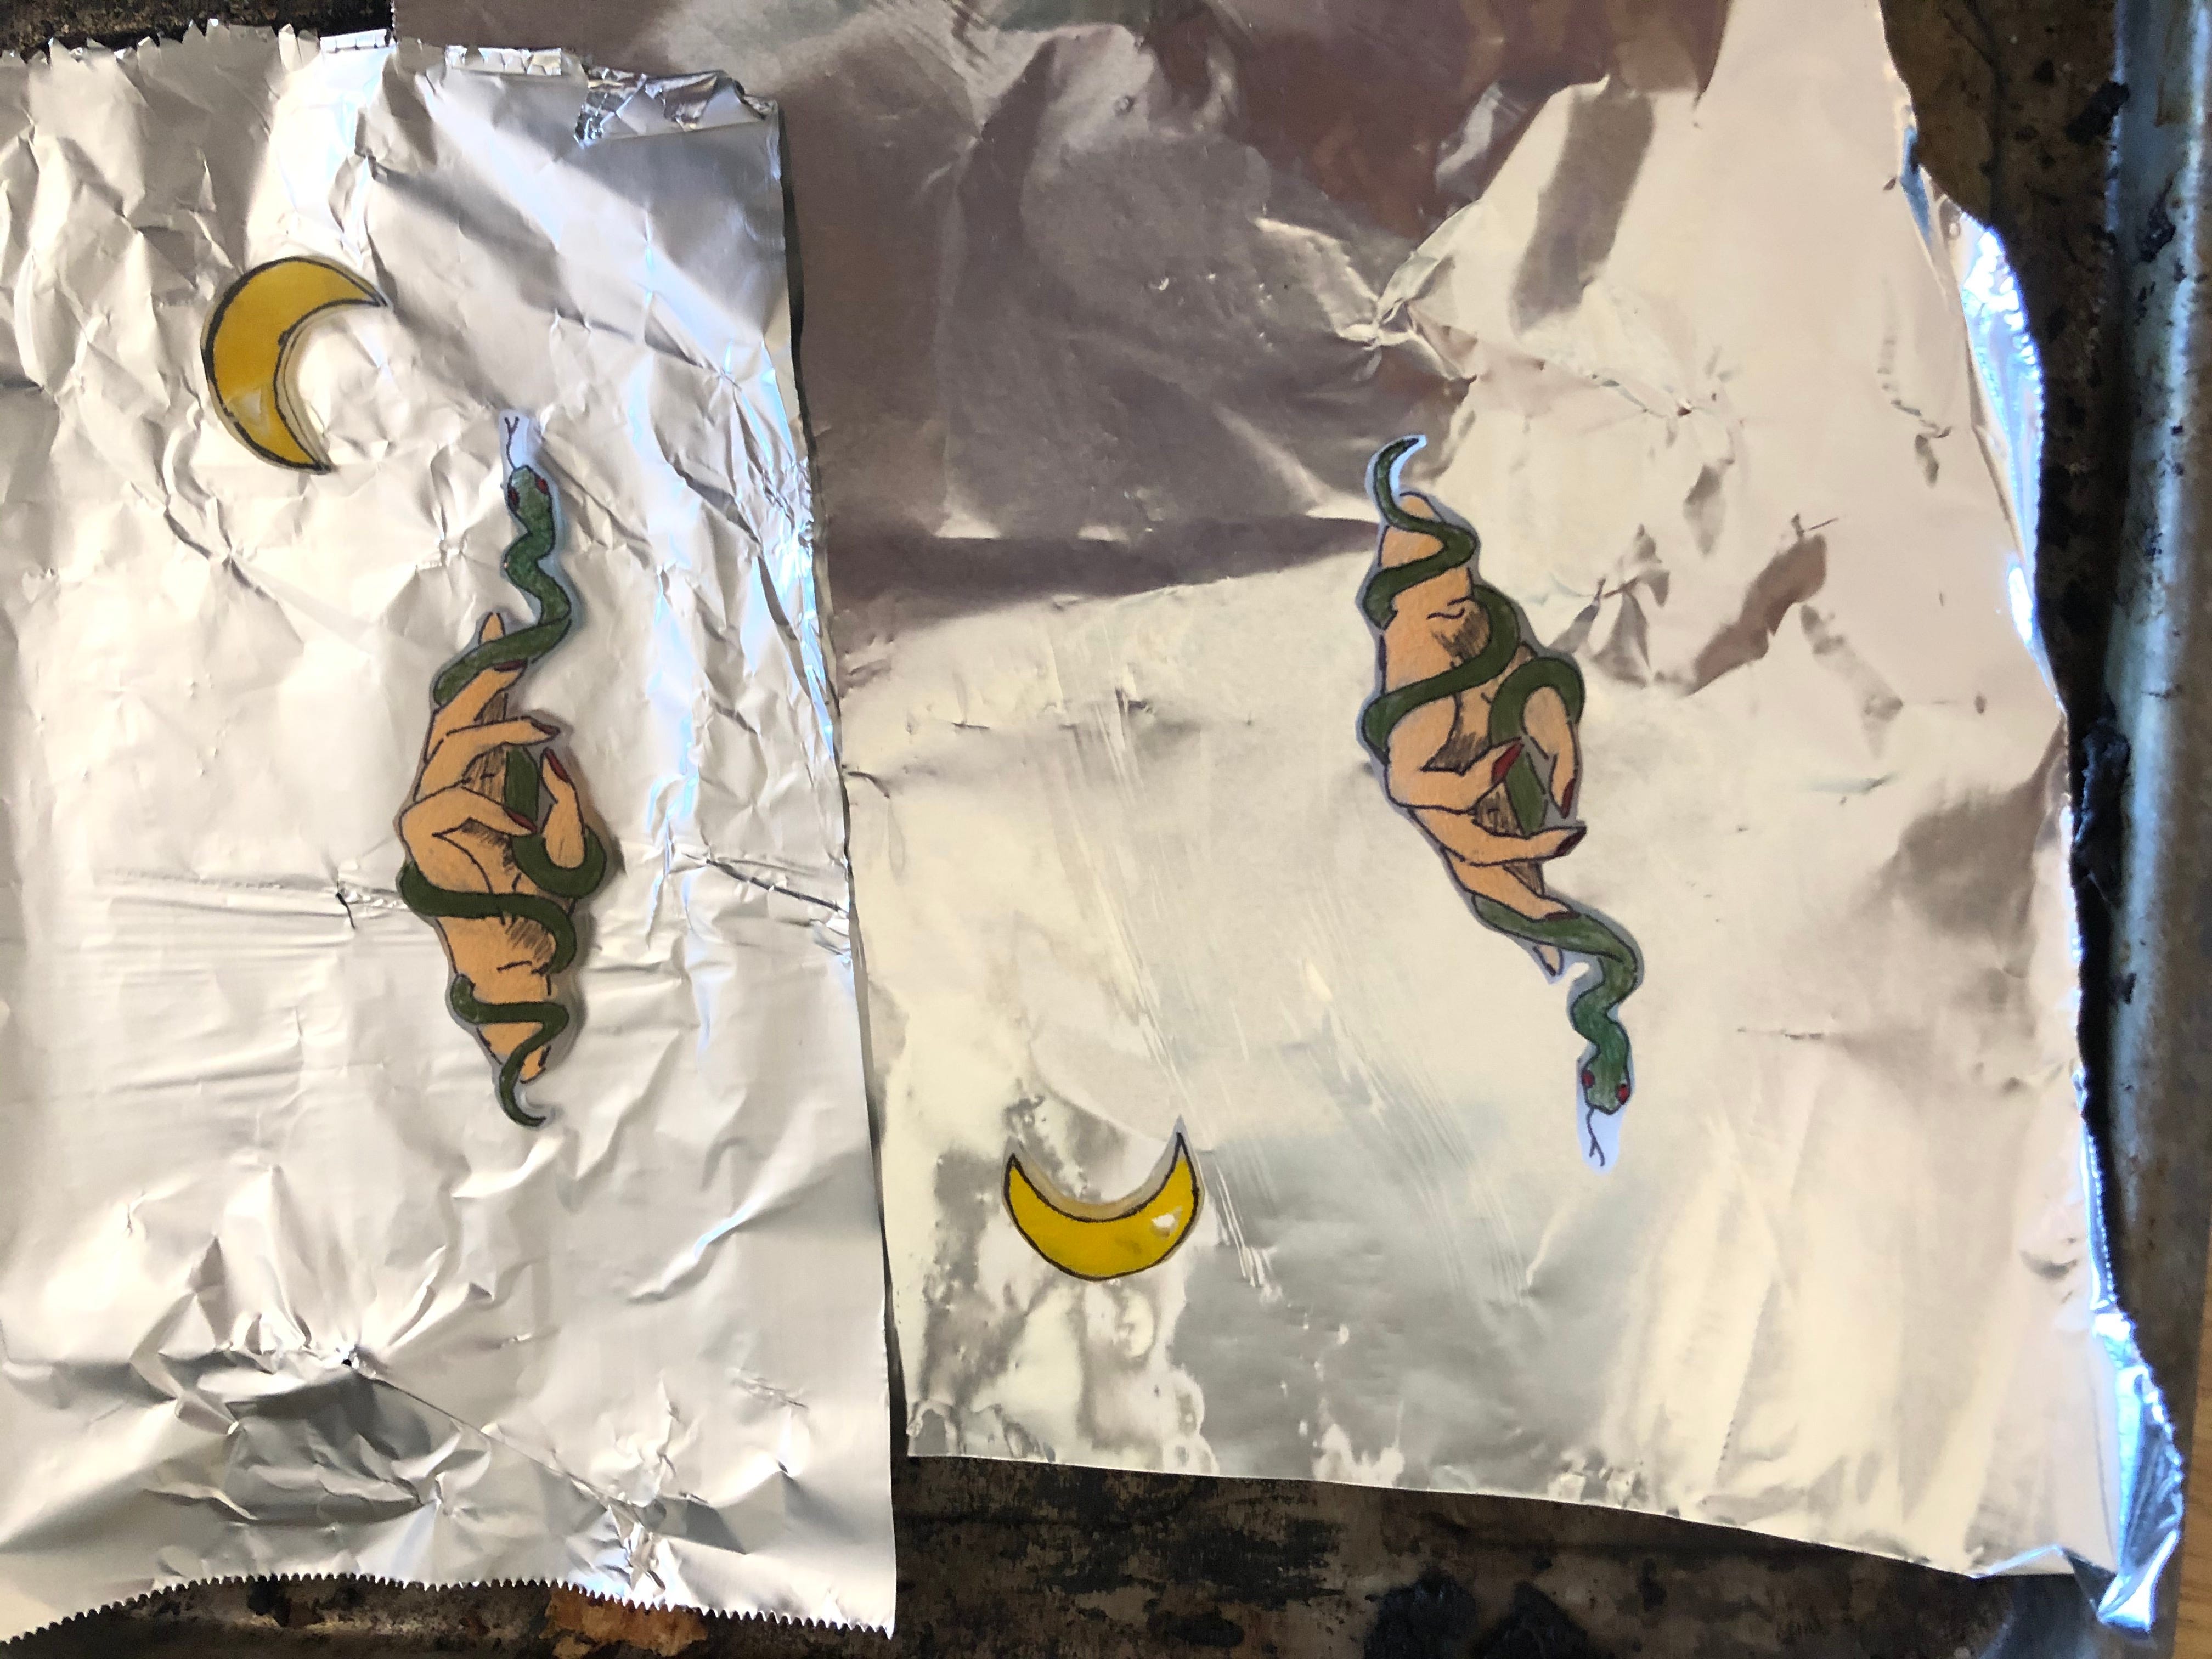
You can draw directly on the PETE with a permanent marker. When you are satisfied with your design, you simply follow the same instructions for name-brand Shrinky Dinks.
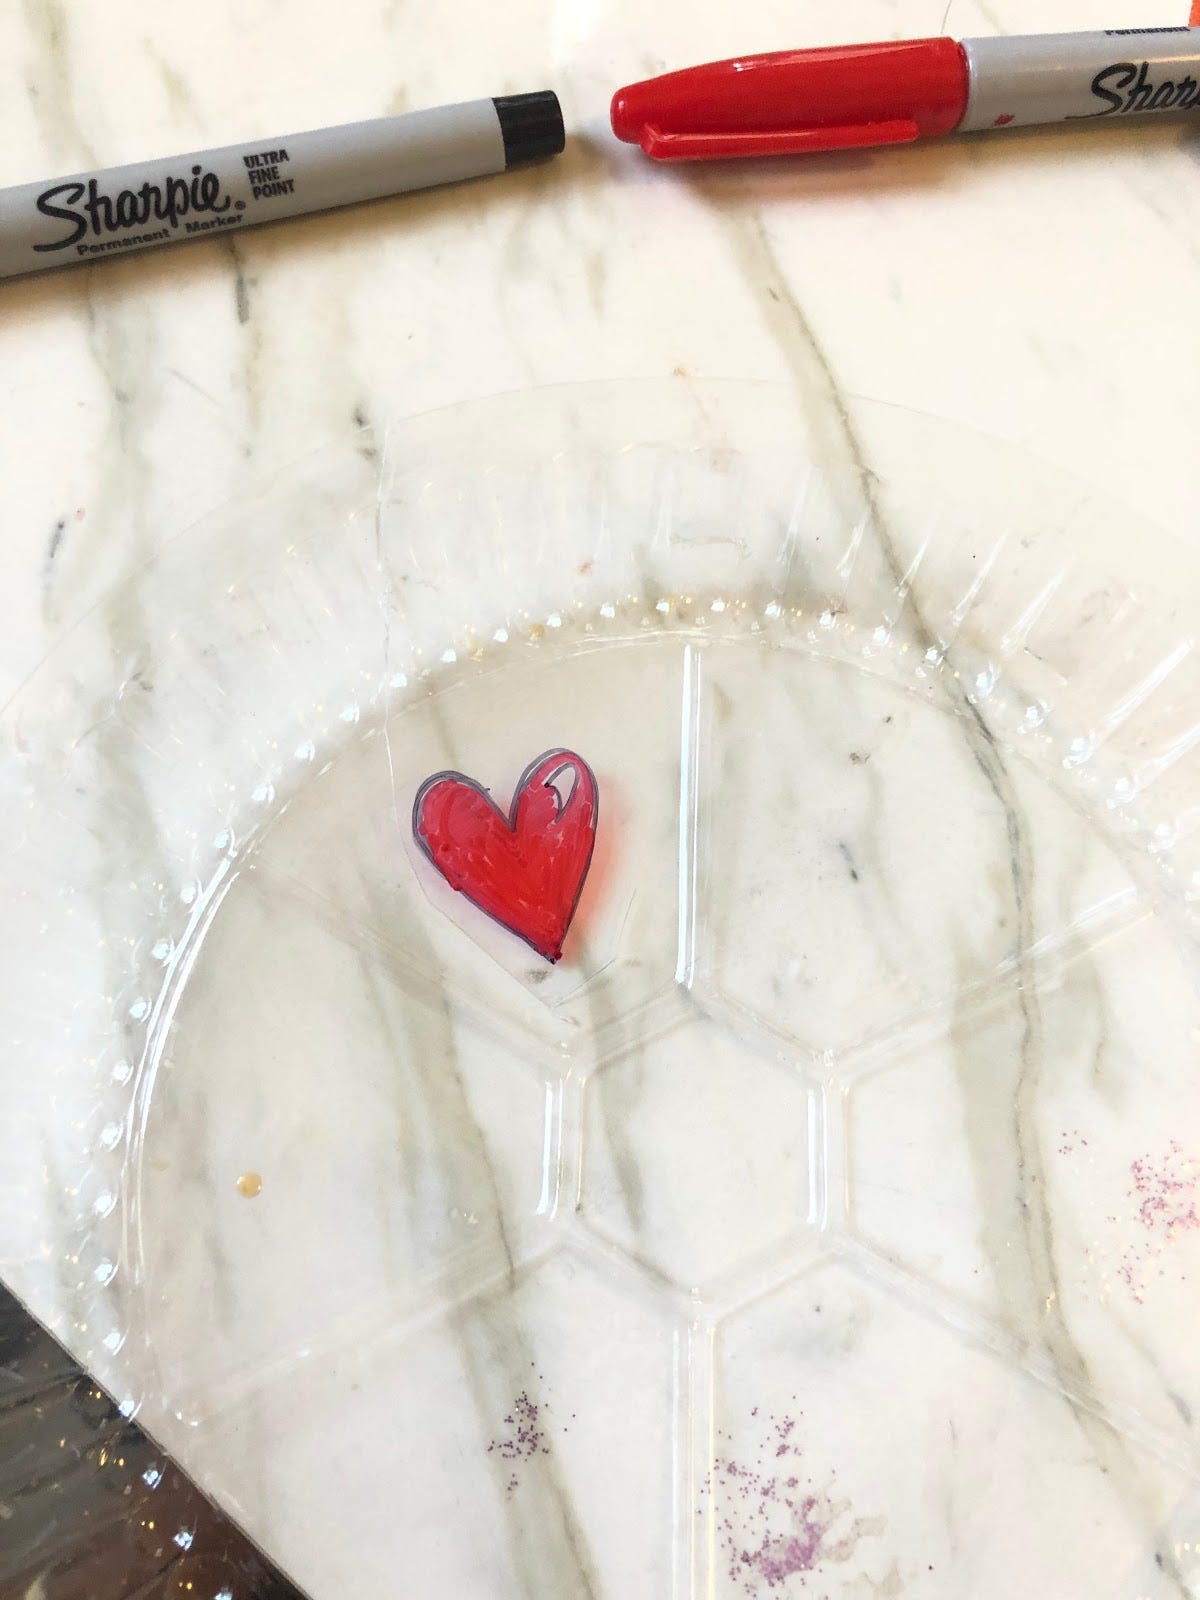
Cut out the design and place it in a toaster oven set to around 325 degrees for about 2-3 minutes. Watch it while it is in the oven, it should crinkle up and then smooth back down at a smaller size, that’s when you know it’s done. I like using the toaster oven better, but if you don’t have one, using a regular oven is fine, also please don’t judge me about my dirty toaster oven, I know I have to clean it.

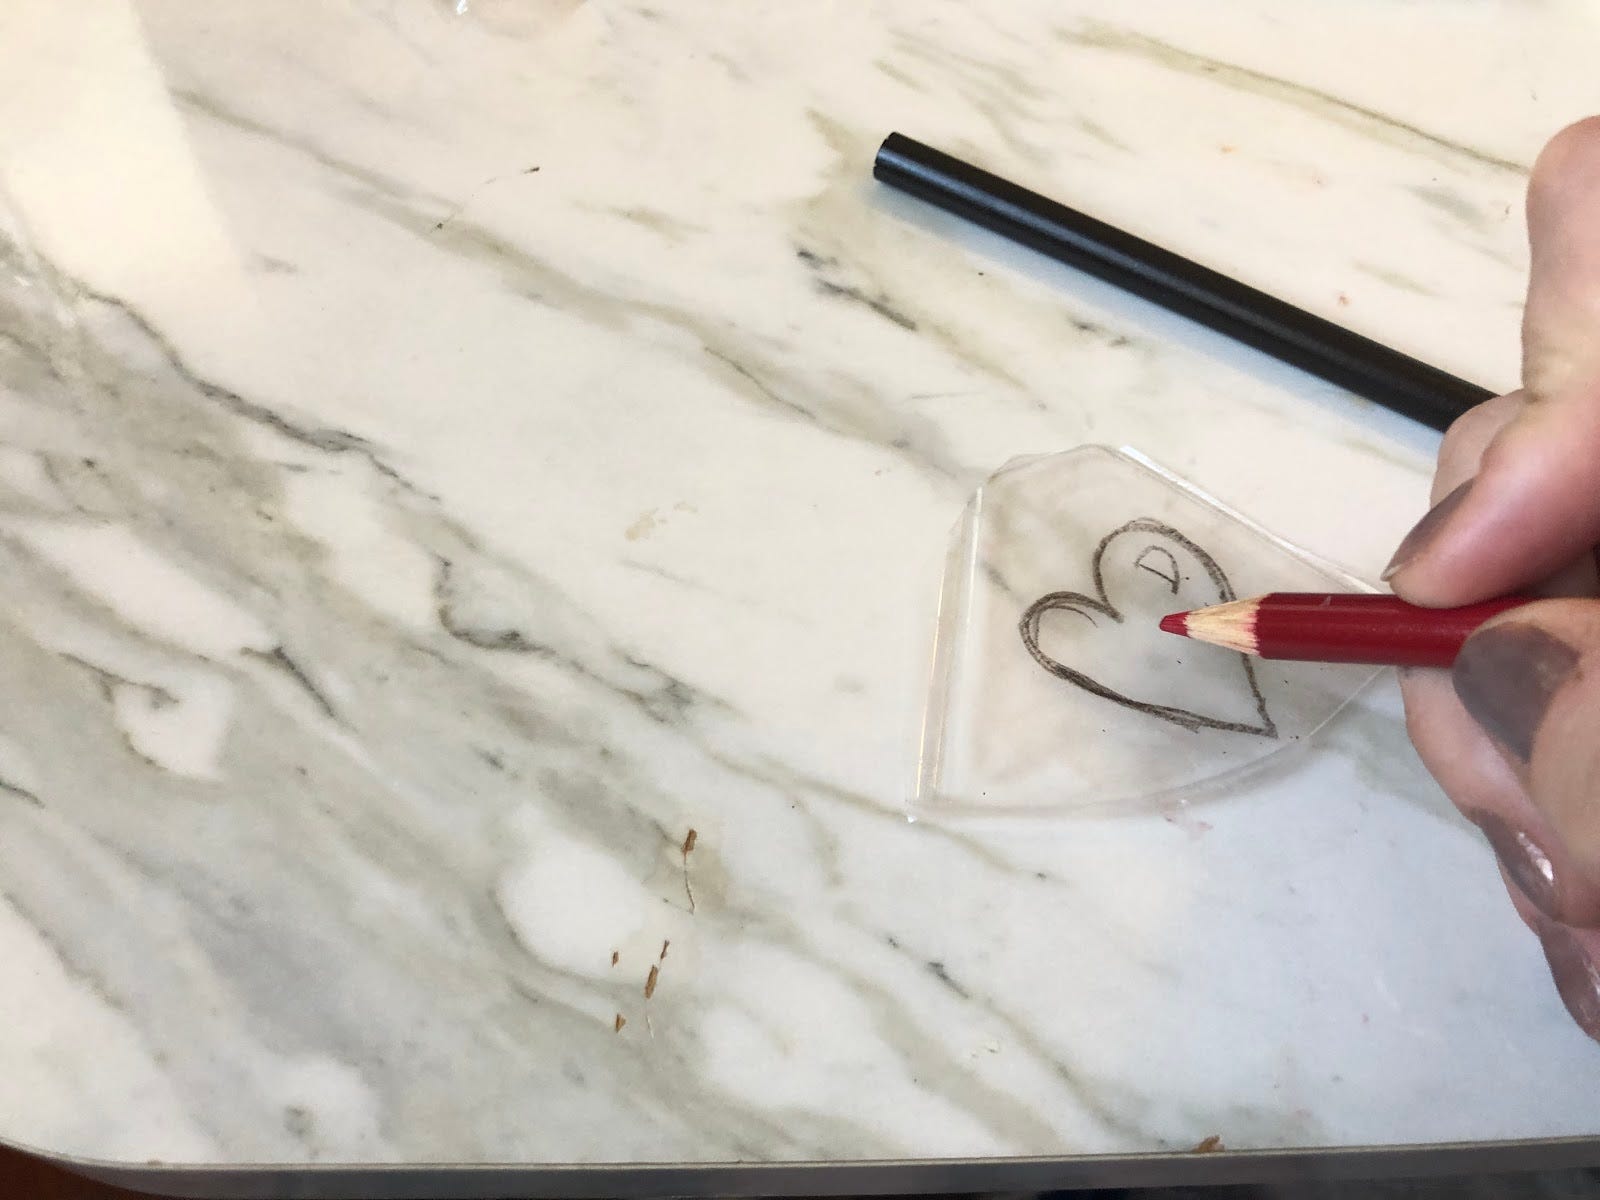
But let’s say you don’t want to give children permanent markers because that’s a terrible idea. You can prep your plastic so that you can use colored pencils on it. First, you have to get sandpaper or if you don’t have that, a nail file or pumice stone. I used a nail file myself.
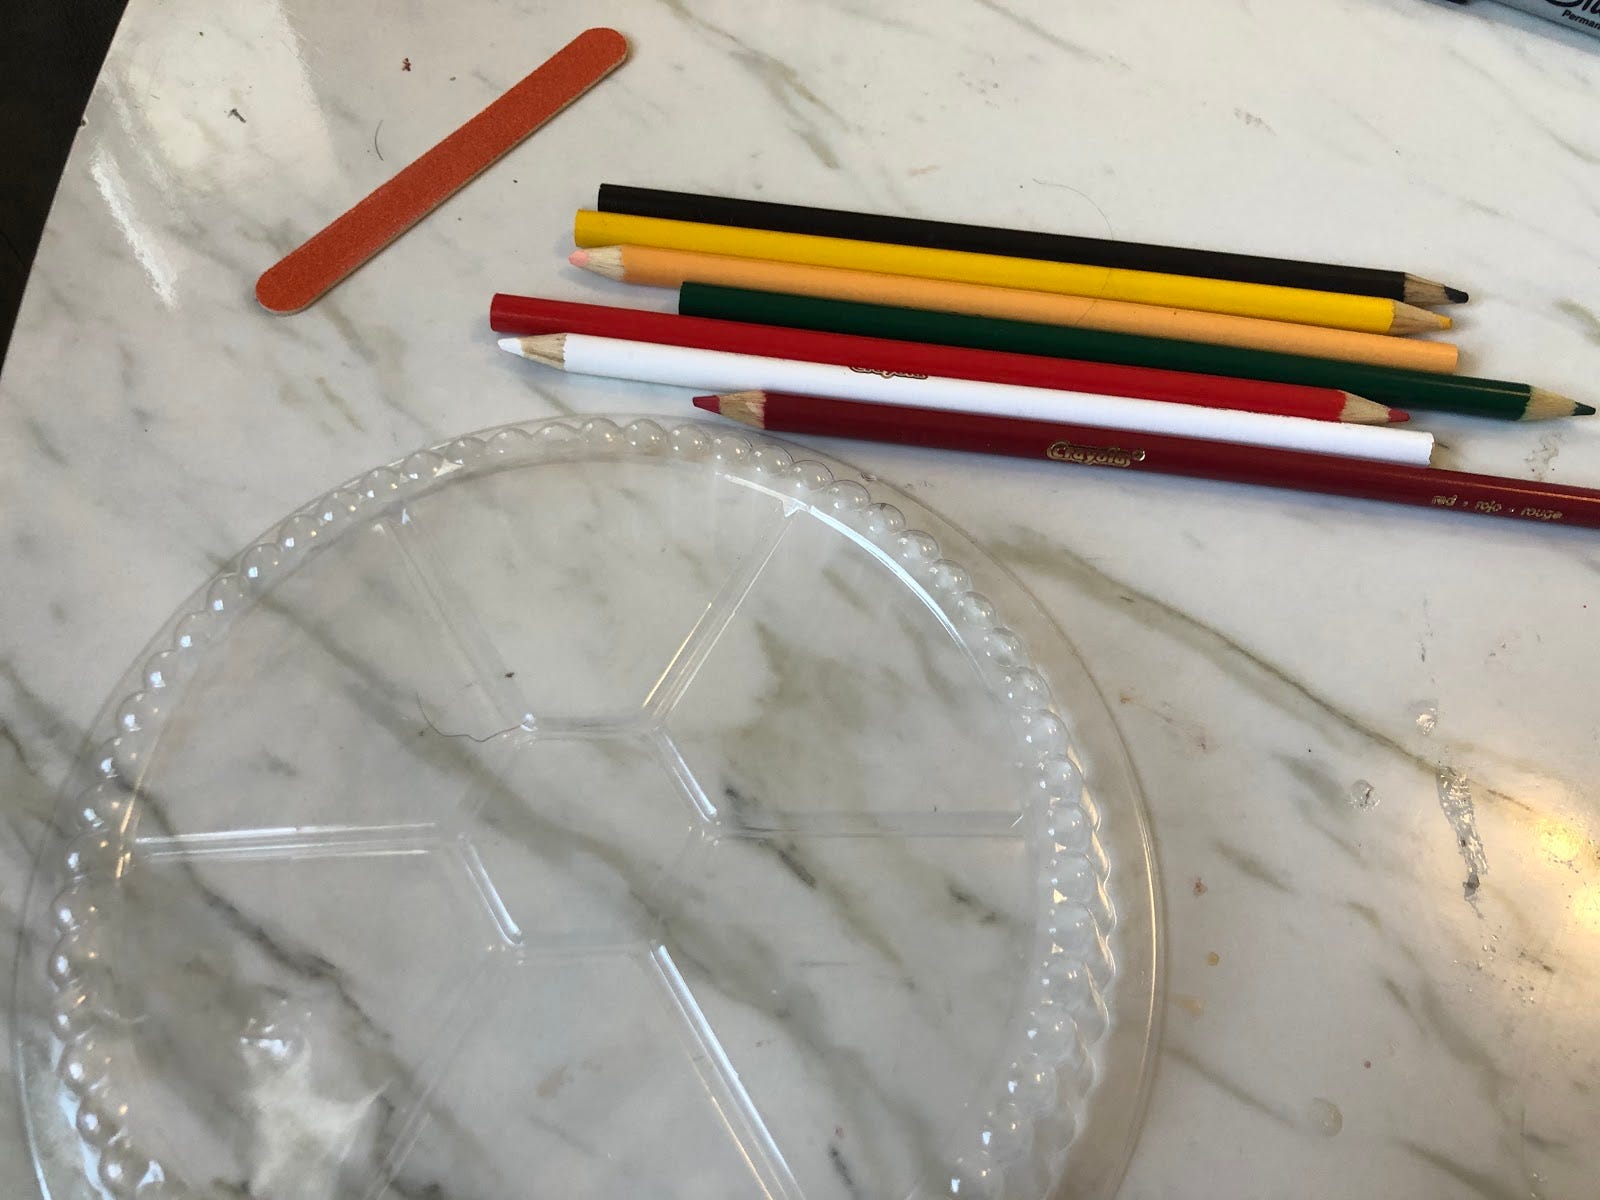
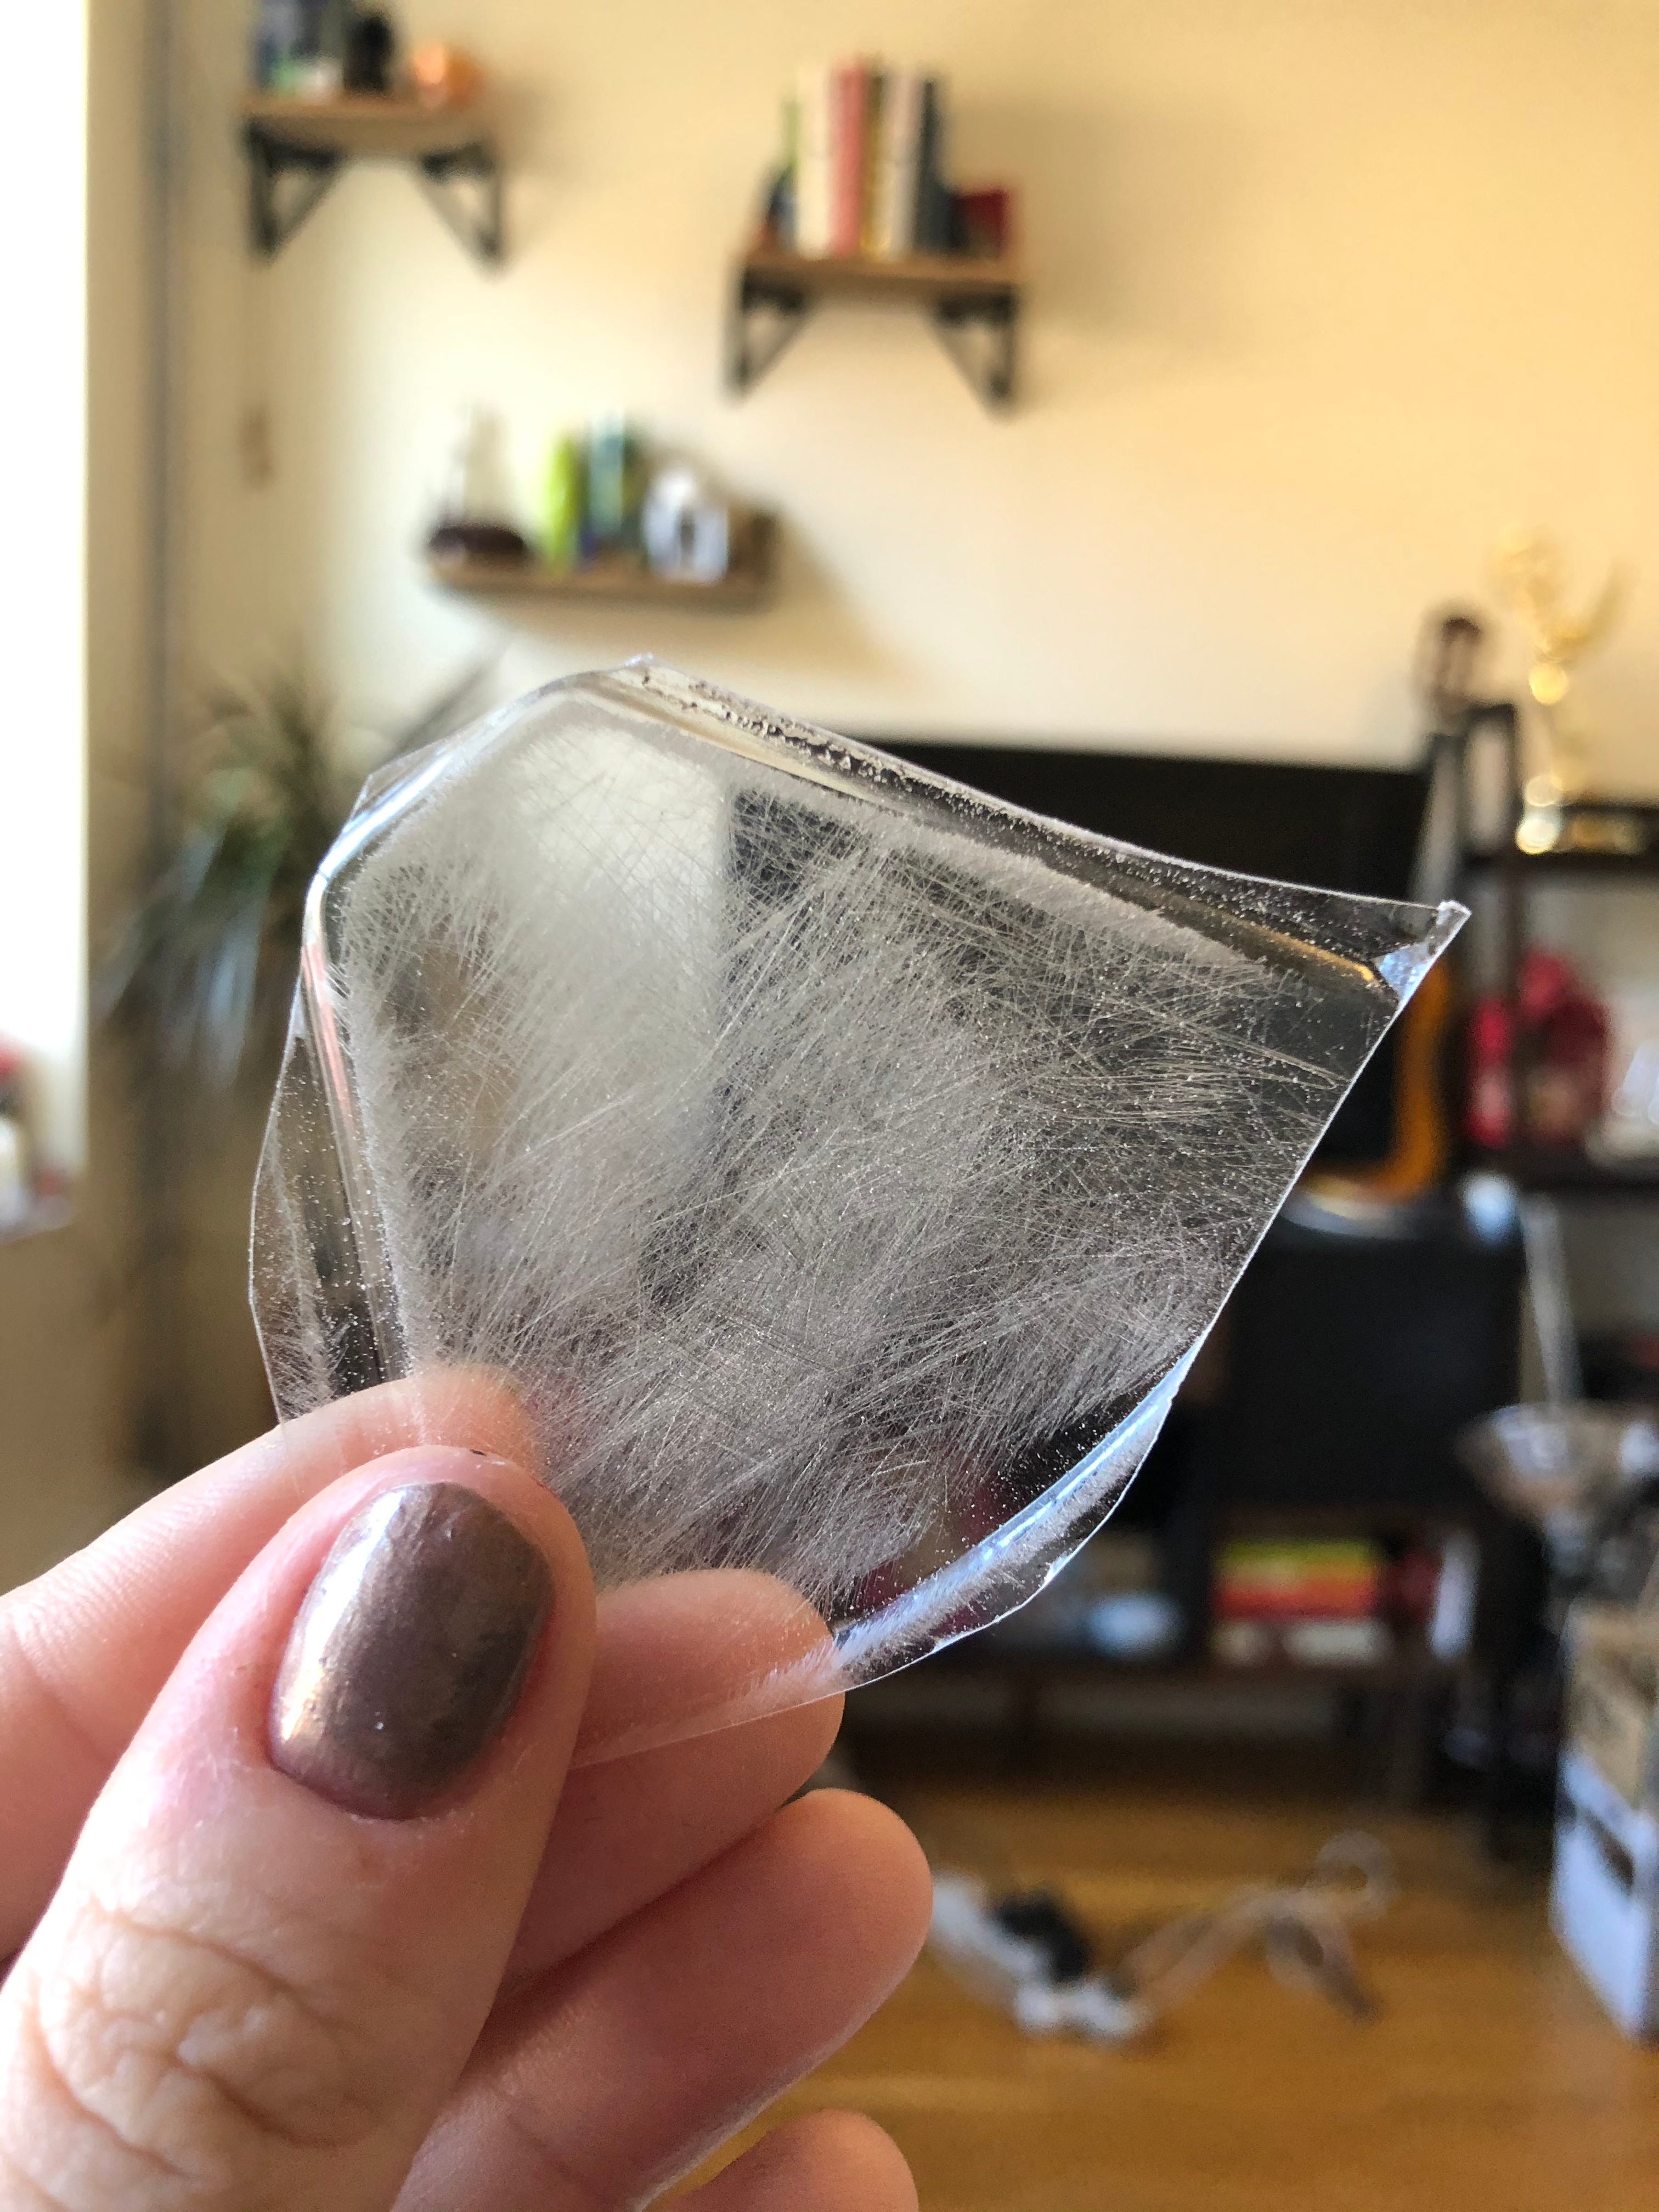
Cut out of a piece that you want to use and then start scratching it. Scratch up one side of the plastic until when you hold it up to the light you can see the whole thing is covered in scour marks. You can now use a colored pencil instead of a permanent marker.
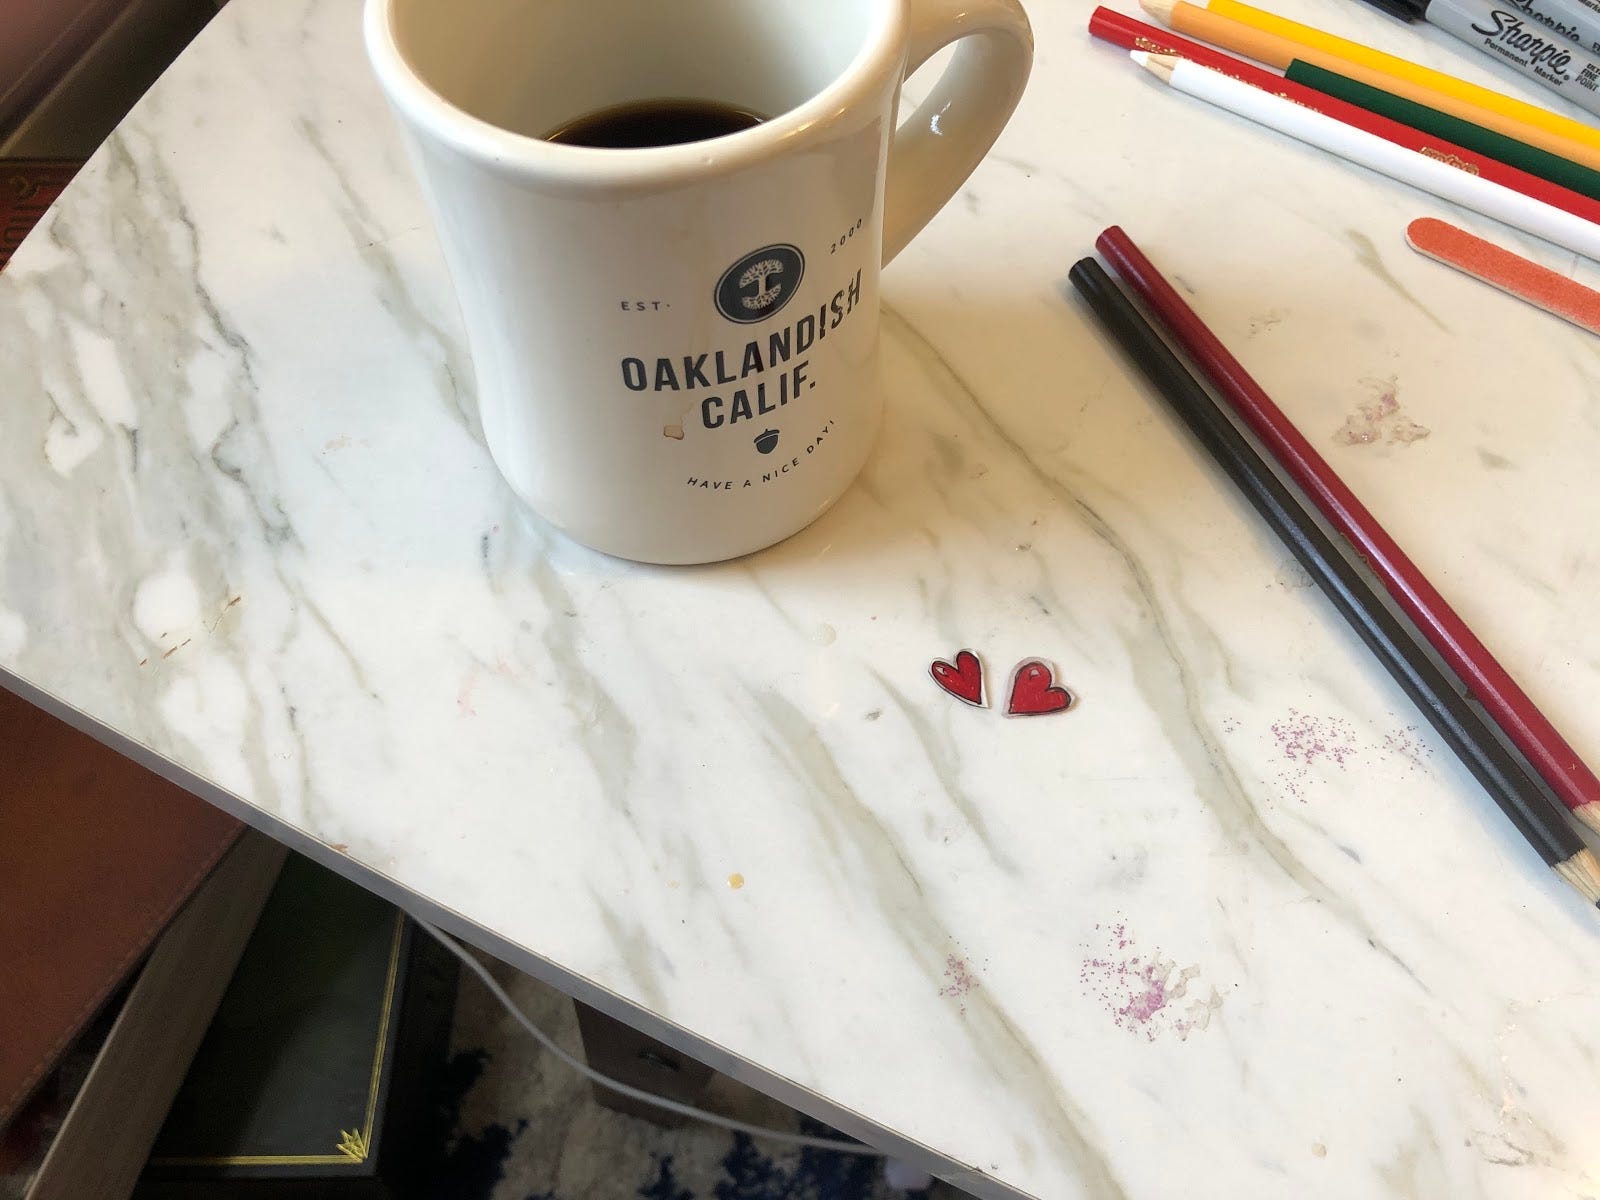
Follow the same steps as above and viola you made your own Shrinky Dinks.
Now the great part of Dinks you can draw anything on them, but, adults, you might find yourself with the problem, okay so I made some little plastic things, what do I do with them now?
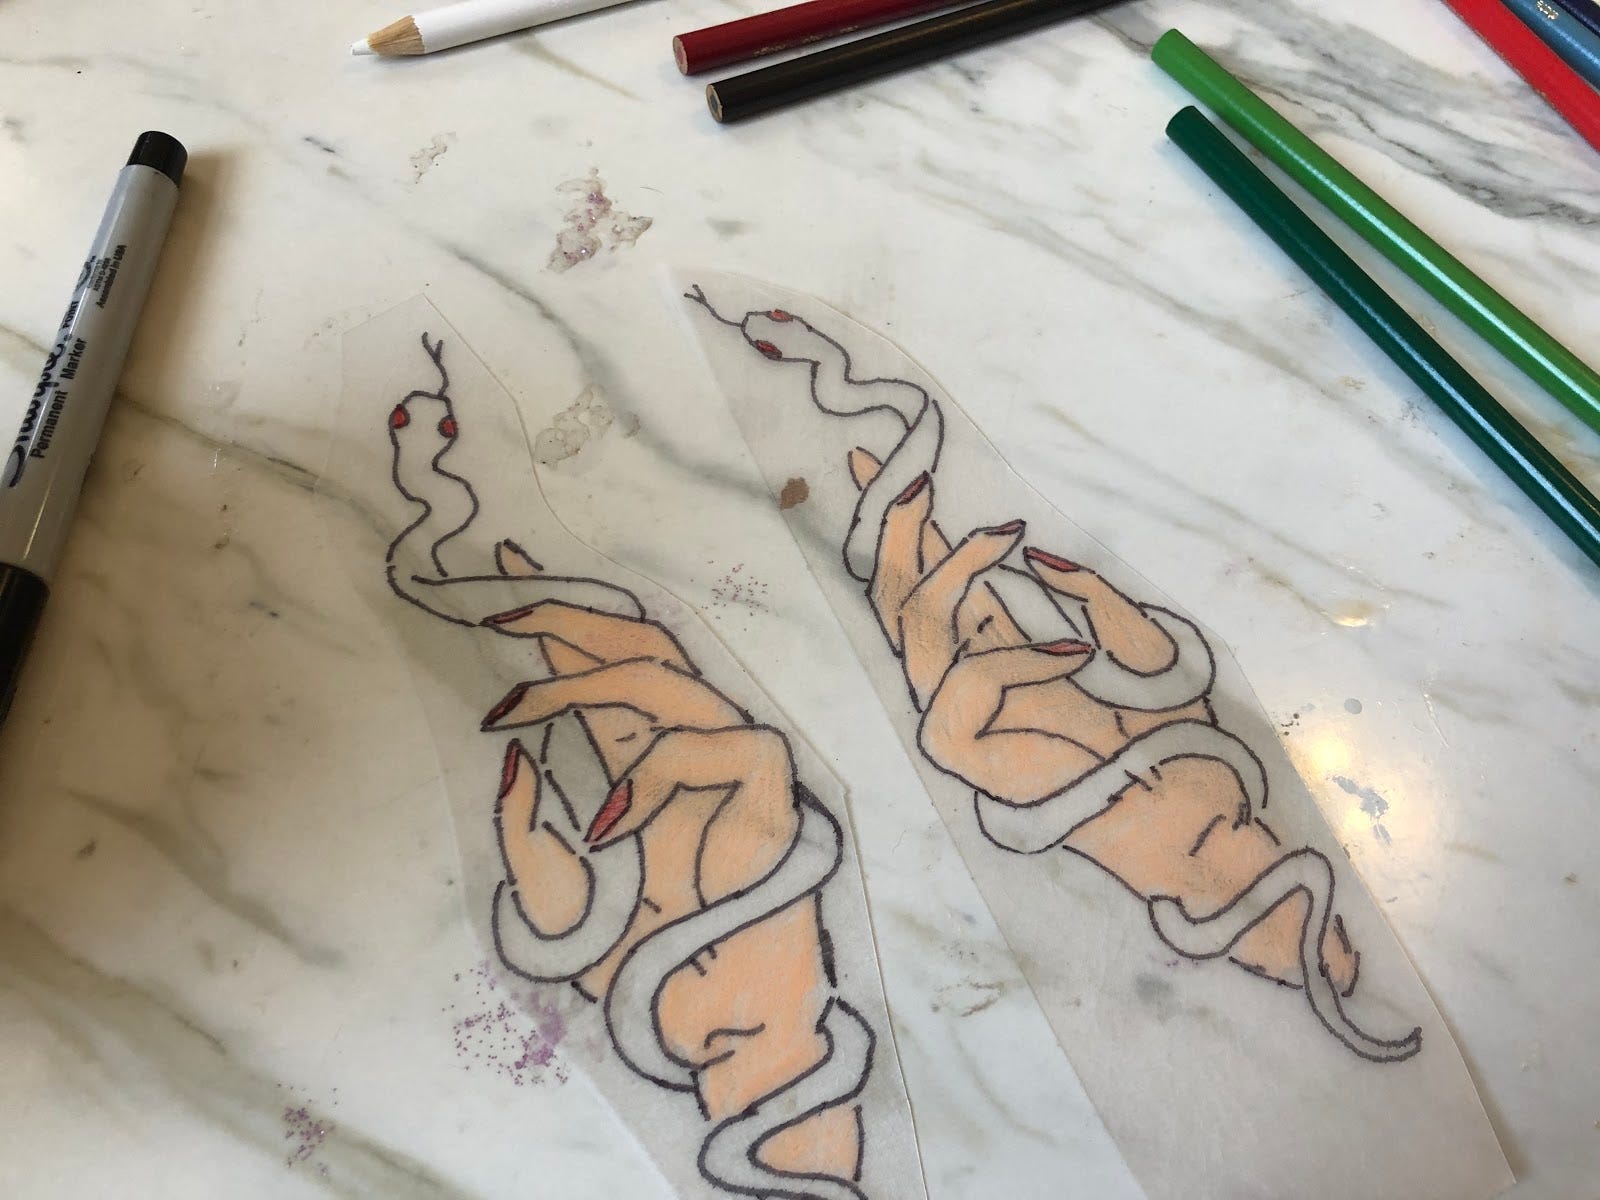
Well, my favorite thing to do with them is to make earrings and I am going to show you how. In this project, I am using Shrinky Dinks ™ because I didn’t have a big enough take out container to do what I wanted to. If I had a clamshell container, I would have used that. So start by drawing something you want as dangling part of the earrings. I drew a hand with a snake in it, but it can be anything. If you aren’t a great drawer, you can always trace something, even my design below (WE COULD ALL HAVE MATCHING EARRINGS! Very exciting for me).
While I drew the first earring, I traced the second so it would be identical. A little tip, I always mirror the drawings. If you are tracing the second, just flip to the other side of the original drawing to create the mirror image before you trace the second outline. When you have your outlines, color them in (I used colored pencils.)
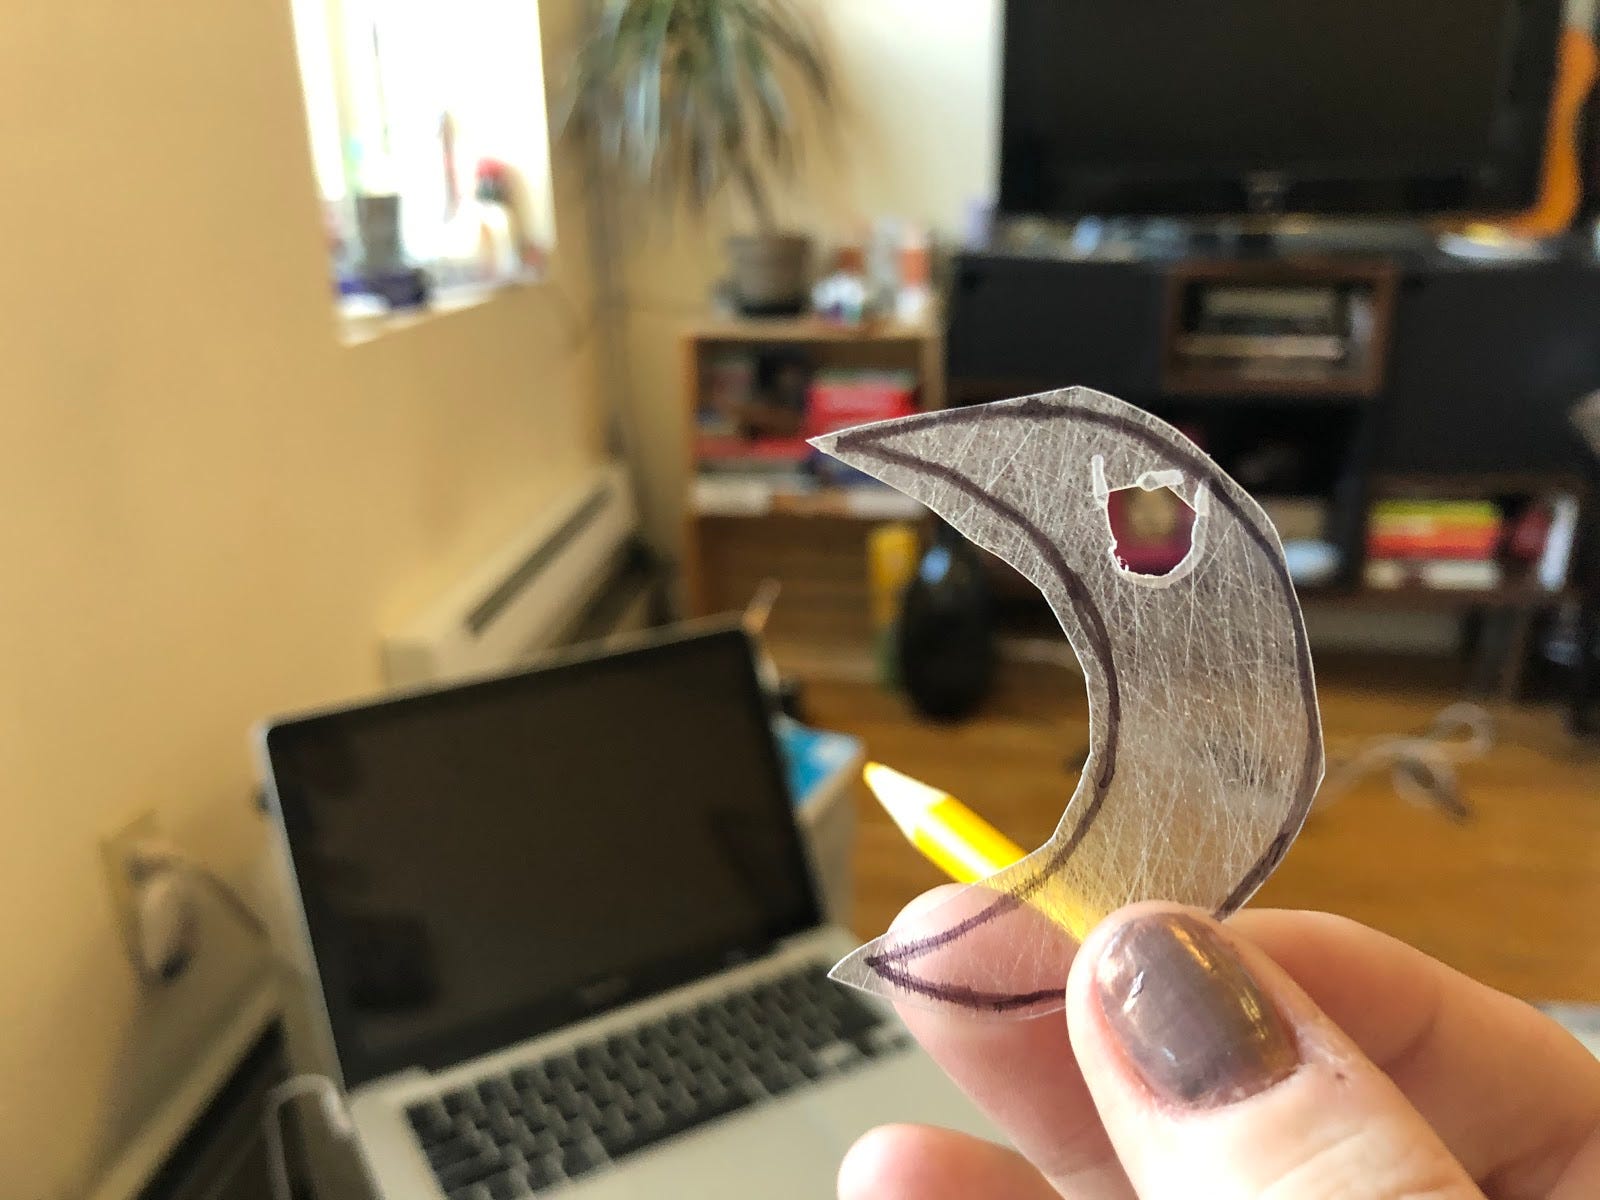
Repeat this process with a smaller, simpler drawing. I usually limit myself to a shape. I made a moon for these. Then make a hole in it carefully using a scissor or Exacto knife. I used a scissor because I couldn’t find my Exacto, but an Exacto leads to a much cleaner cut. A little tip, make the hole bigger than you think because it will also shrink up dramatically.
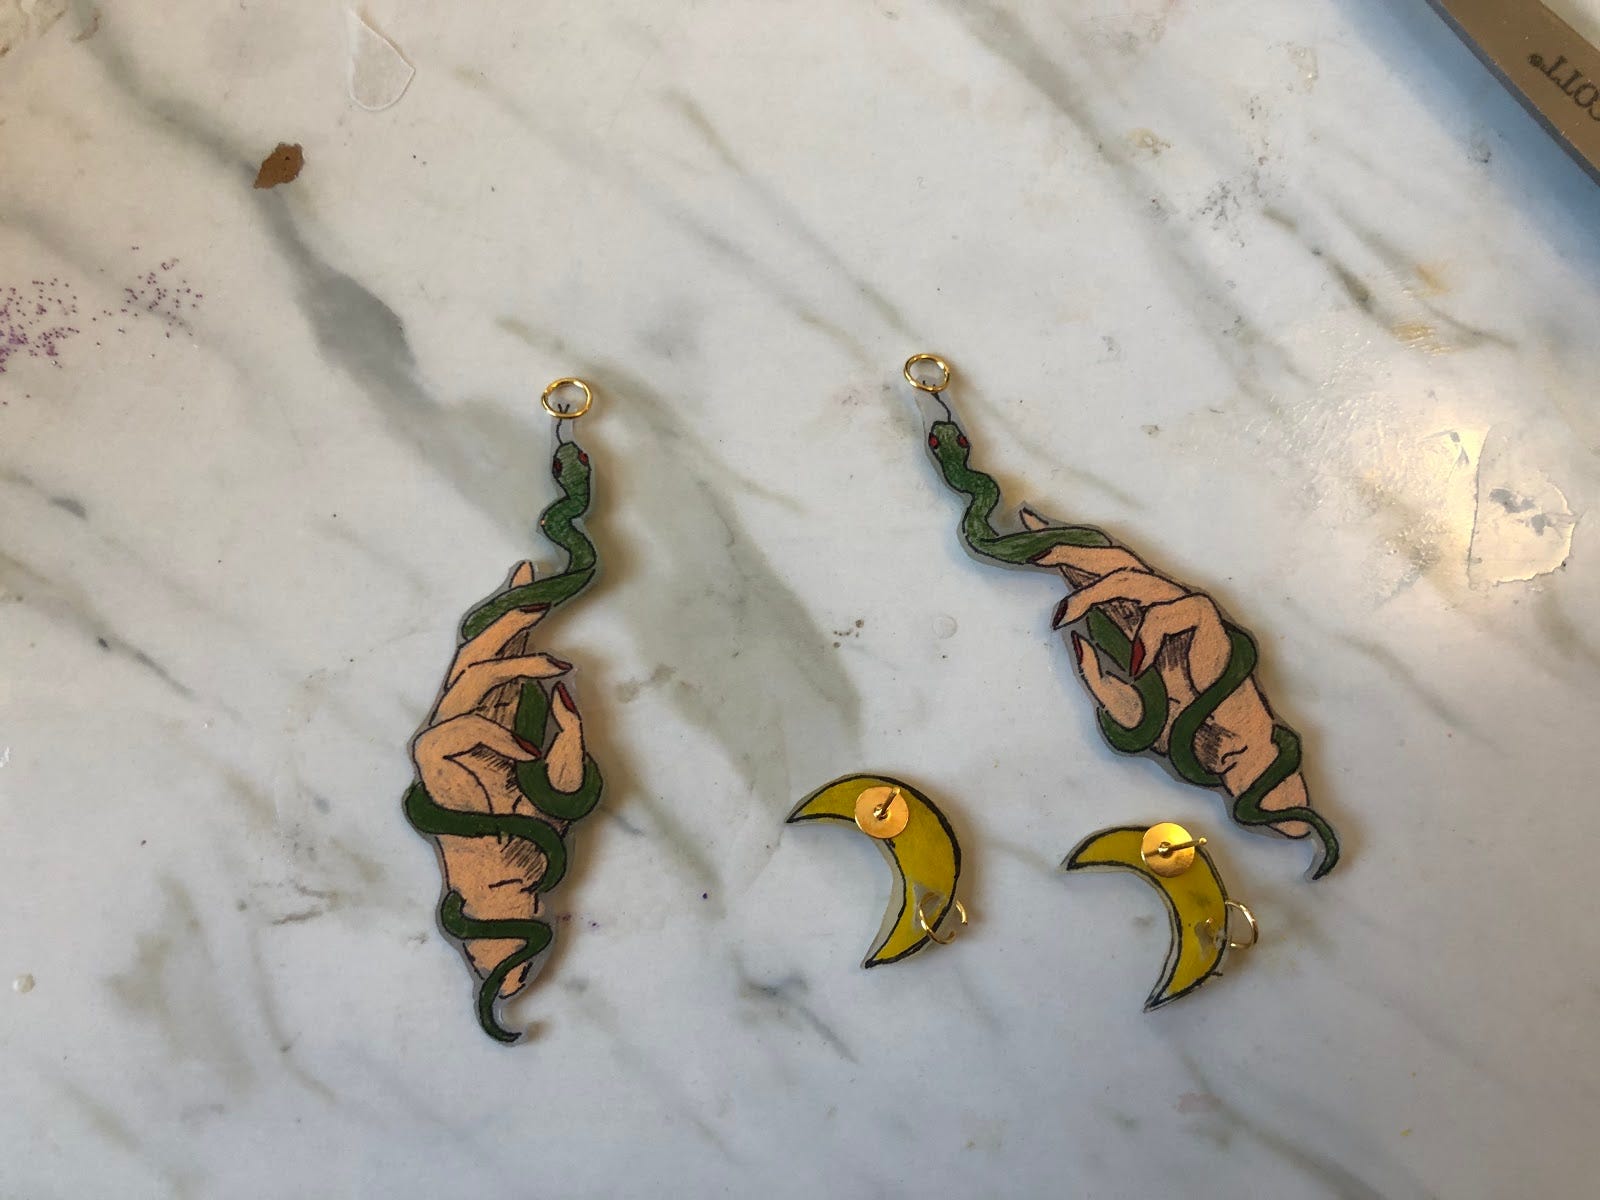
Make sure to cut them out fully and then they are ready for the toaster oven. These are pretty big, so they will curl up pretty drastically in the toaster, just keep them in the oven until they fall back down. You can always give them a little press when they are still warm if needed.

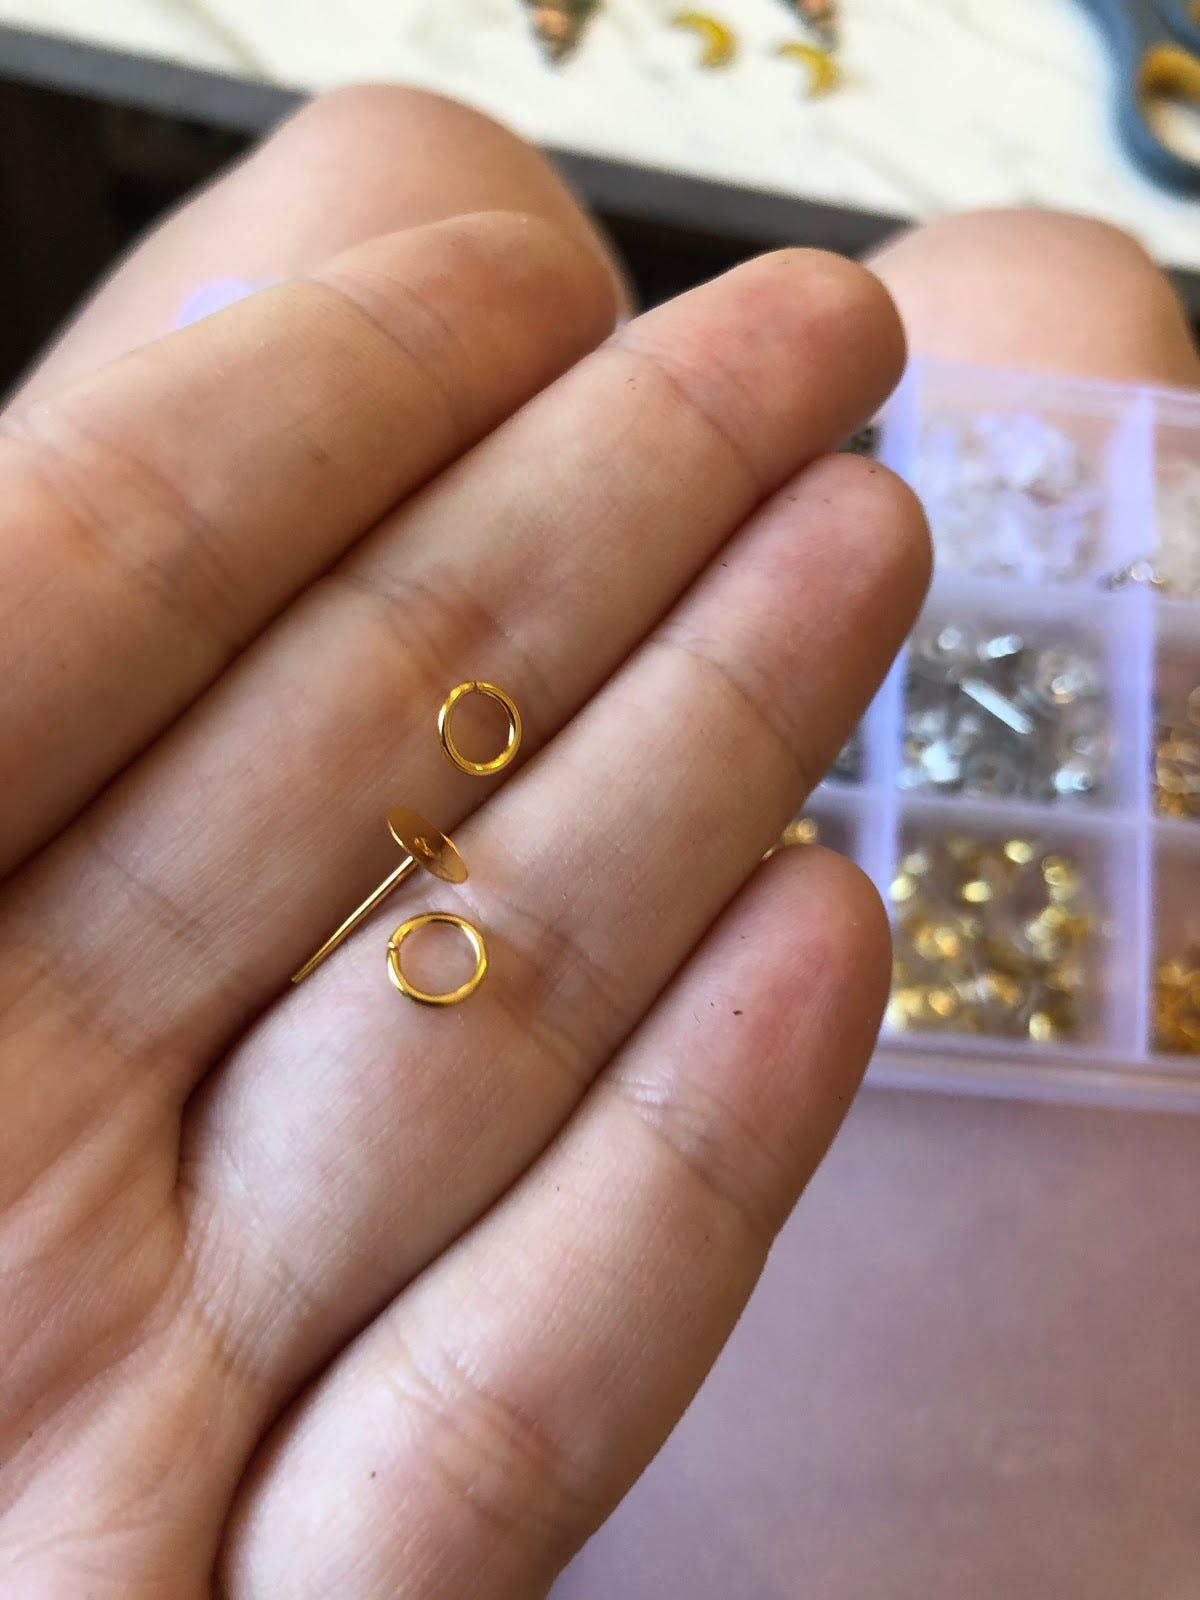
Once they are cooled off, we can start adding our earring parts. For each earring, you will need three parts: a post and two rings. You can either buy these or take them off of old, unwanted costume jewelry. The three parts should look like this.
Place one of the loops through the hole made in your smaller shape. Glue the other to the top of your larger image. Note on the glue, a bunch of different ones work. I usually use *surprise resin* but most strong glues with work for this step. Try to use one that is a little bit 3D in nature, like an epoxy or hot glue. Glue the post to the back of the smaller shape.
When the glue is dry, connect the two loops and close them tight (you should be able to do this with your finger, but you can use pliers if needed.)
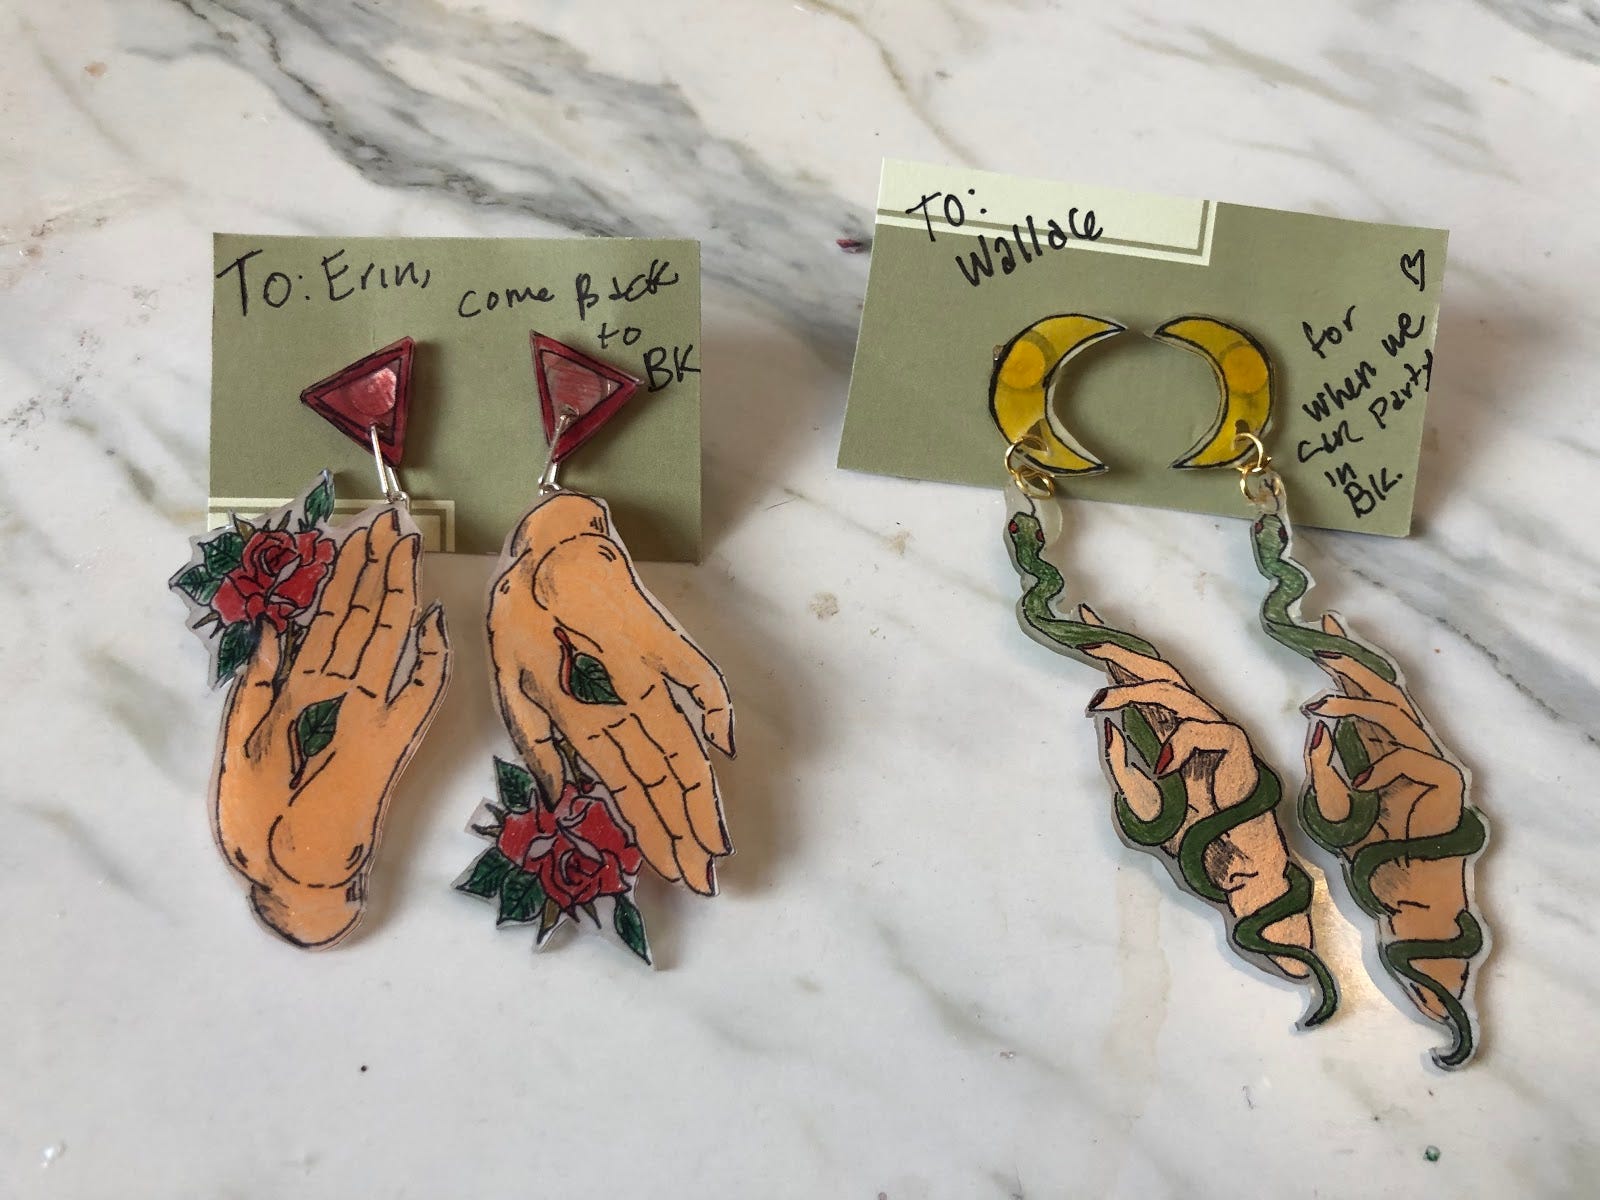
And there you have it! Your earrings are done. I added upcycled card stock to the back of mine since I am giving them as a gift, but if you are keeping them, they are ready to wear.
Speaking of gifts? Do you want to give a gift to a sweet grandmother and her sewing group who are making masks for families in need? From the GoFundMe: “The Greenbriar Sewing Group is an amazing group of six women who are part of a 55+ housing community. They make sweaters, shirts, and blankets for elderly veterans and people in hospice care, as well as blankets for animal shelters and other various projects. These women dedicate their time, skills and love to providing simple comforts and necessities to those in need.
Recently, they've begun making safety masks for those in hospice care for family visitation time. This is helping them spend time with their loved ones while helping them keep COVID-19 at bay. They're also giving them out to community members and friends who are volunteering for things like grocery deliveries to folks who need assistance.” They are running low on supplies and could use your help to make more!
Here’s the link to donate.

Some things that I have been loving to close this out. Yesterday was my birthday and my lovely boyfriend made my favorite food, Falafel. I guess it’s really easy if you have a mix. Also the Masked Singer. I am not friends with very many people over 40 in middle America, so no one wants to talk about their predictions with me. So if you have any hot takes, please send them. That and am I into TikTok now? If you have anythings you are loving in quarantine, reach out, I would love to hear them! Reach on social media (@humancomedian) or my website.
As always stay inside, stay crafting.