


Hit This Newsletter With A Bat For A Surprise!
The edition where Rosa realizes the gritty reality of making piñatas, so she makes a snow globe.

Hola mis Crafters. ¿Qué tal?
Could I have looked up “crafters” in Spanish? Yes, I could have. But my Spanish is not good enough to know words that my Abuela didn’t say all the time and I didn’t want to lie to you about my skills.
Not lying about skills is going to be important this week, because I accidentally took on a craft that is much harder than it looks. I am still going to teach you it as well as some ways to simplify it, but I don’t want to sell it as an easy craft. If you stick around, however, I am going to teach a second craft that is super easy, only takes a couple of minutes and is great for kids. So you have an option to skip the first one. That being said, piñatas.
I love a piñata. I think most of my childhood birthdays had one at them. Last week was my birthday and my little niece FaceTimed me and said it was about to be her birthday too: big Aries energy happening over here. So with birthdays on the mind, I decided to make my own mini pinata.
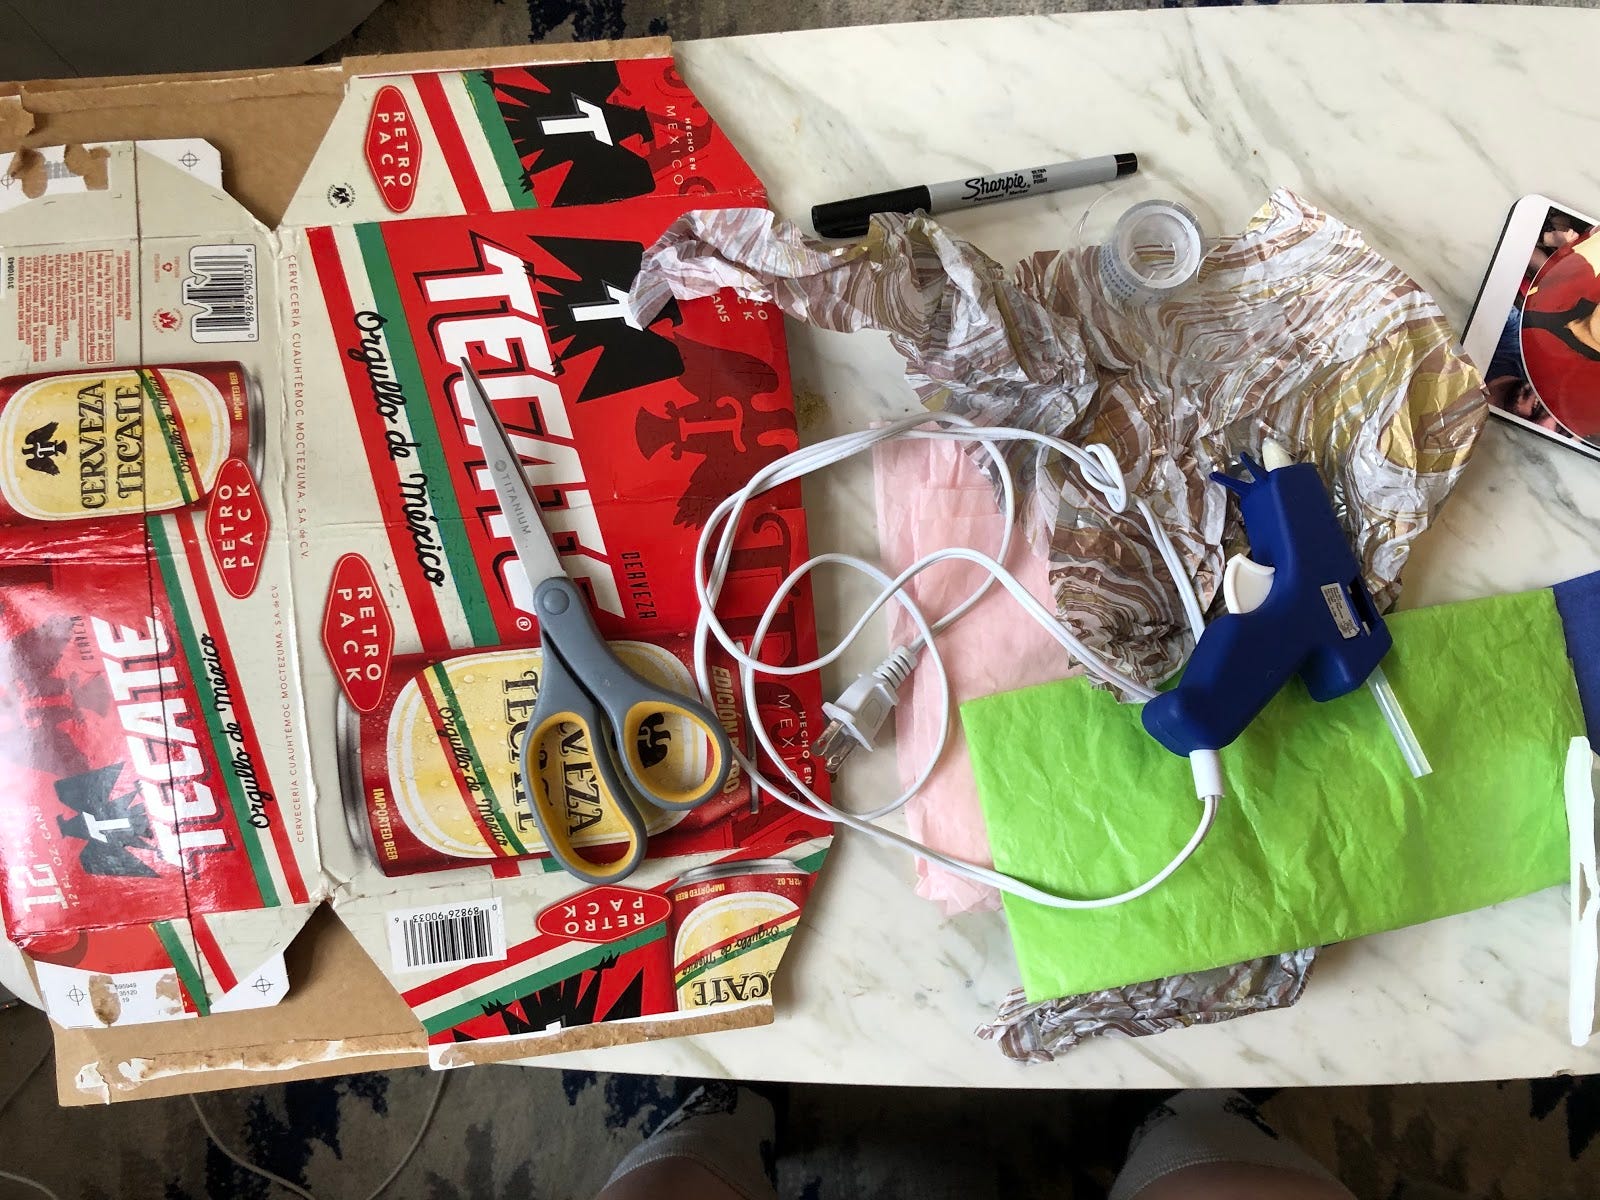
I started with an empty box (don’t worry, I didn’t drink all the Tecate, mom, they are in the fridge), crepe paper leftover from the holidays, hot glue, tape (I had scotch but masking tape works a lot better for the first step at least), and a marker. Later on, you will also need string or ribbon.
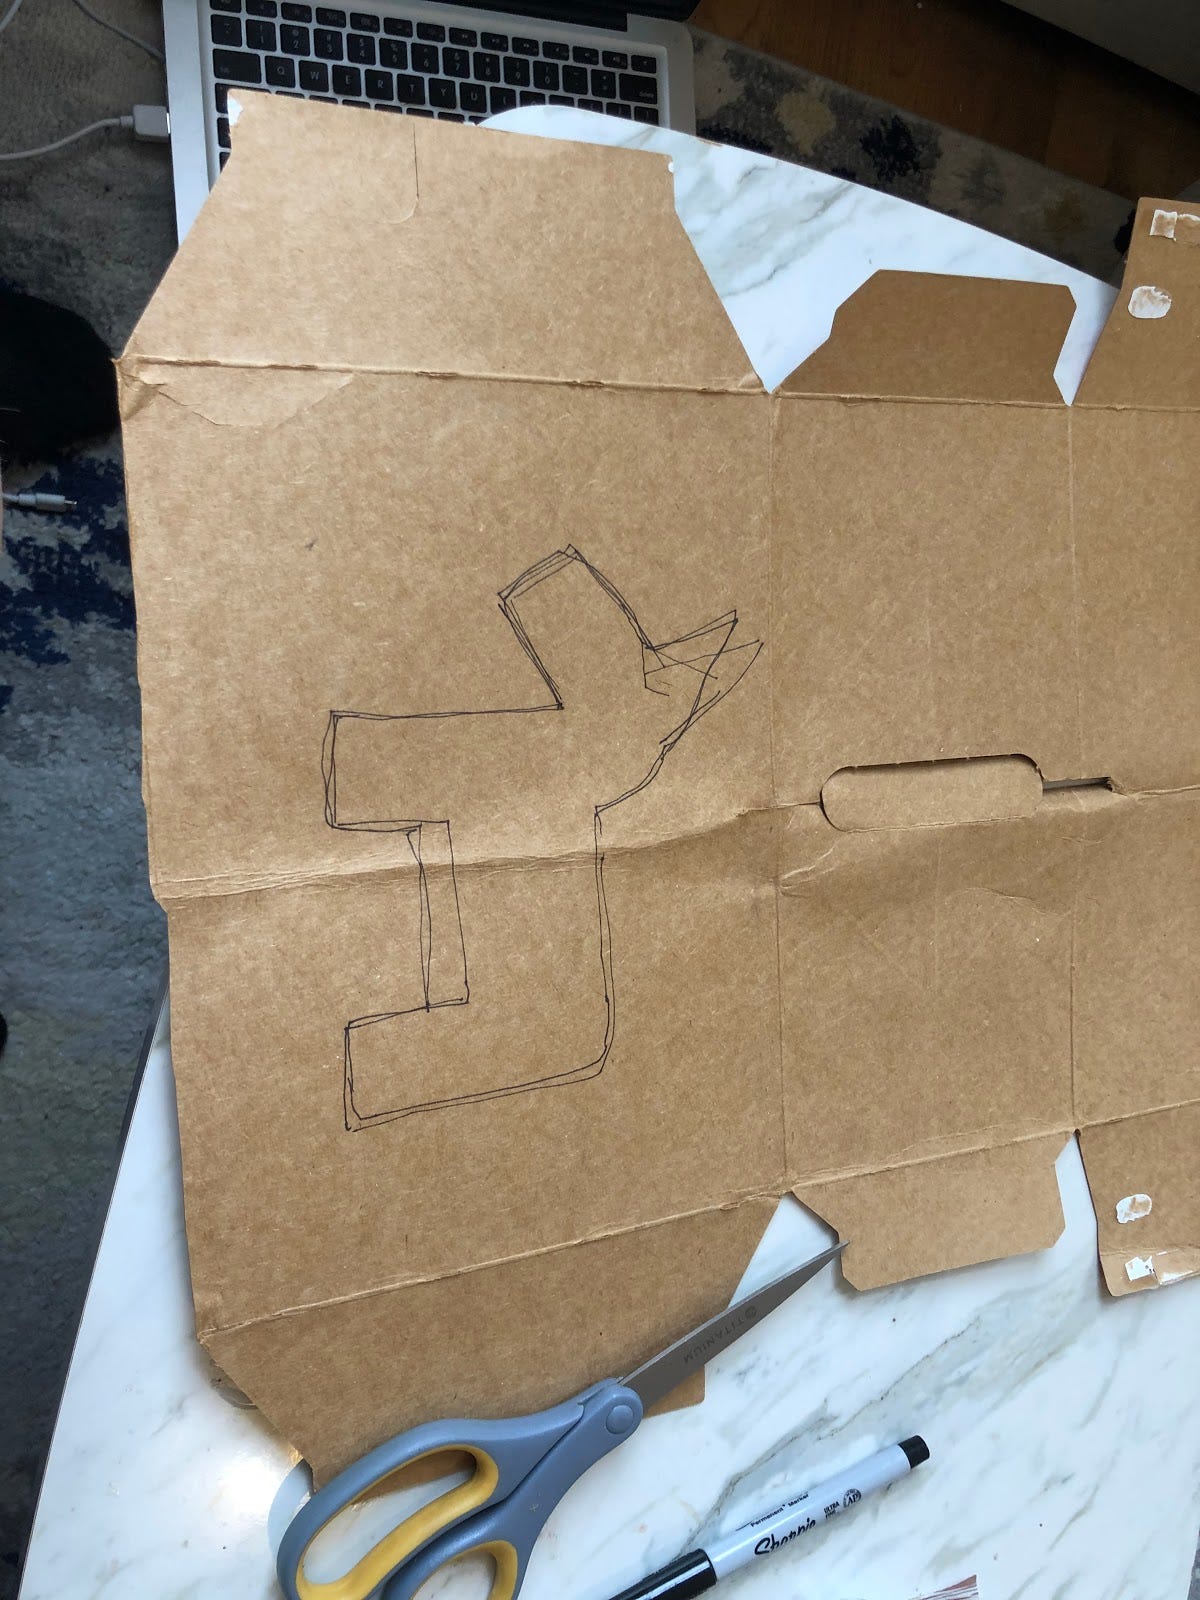
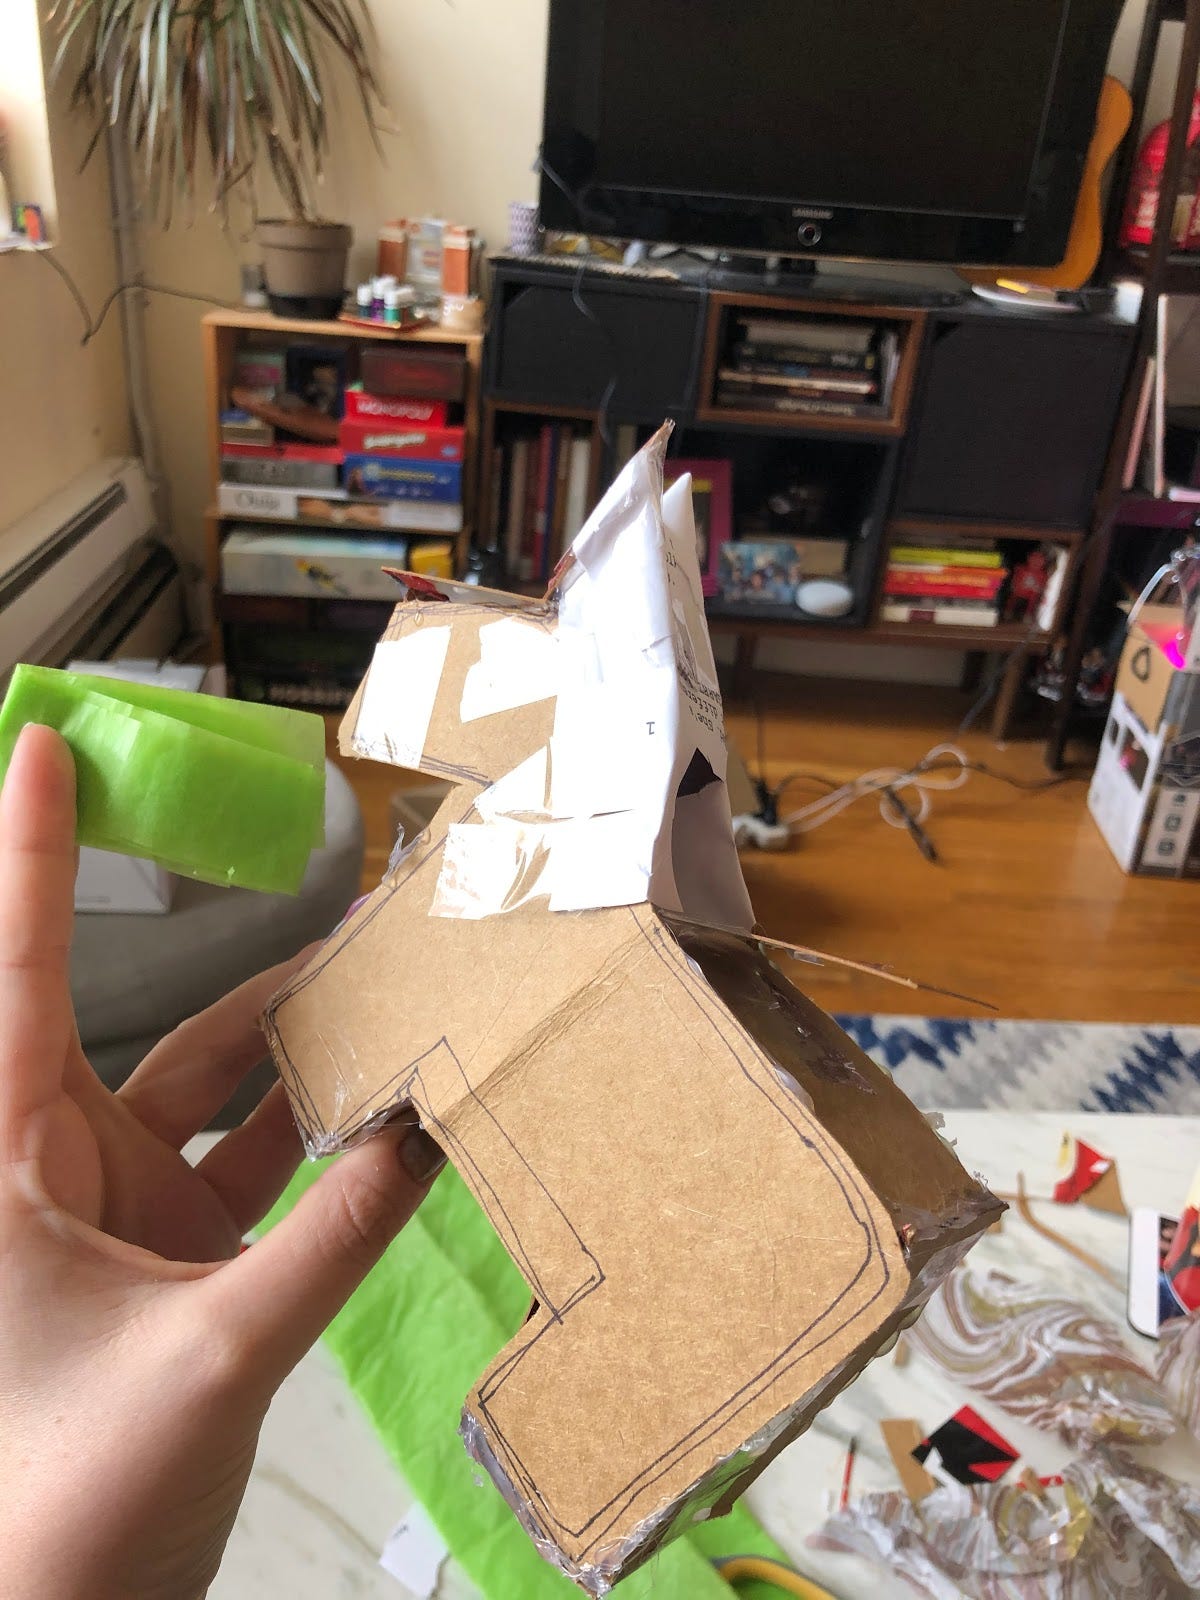
Once you have your supplies, draw your desired shape onto the cardboard. This was my first big over-complication. I picked a very tricky shape. I wanted to make a burro, if I did this again, I might go with a circle or cone. Just something with fewer edges and folds.
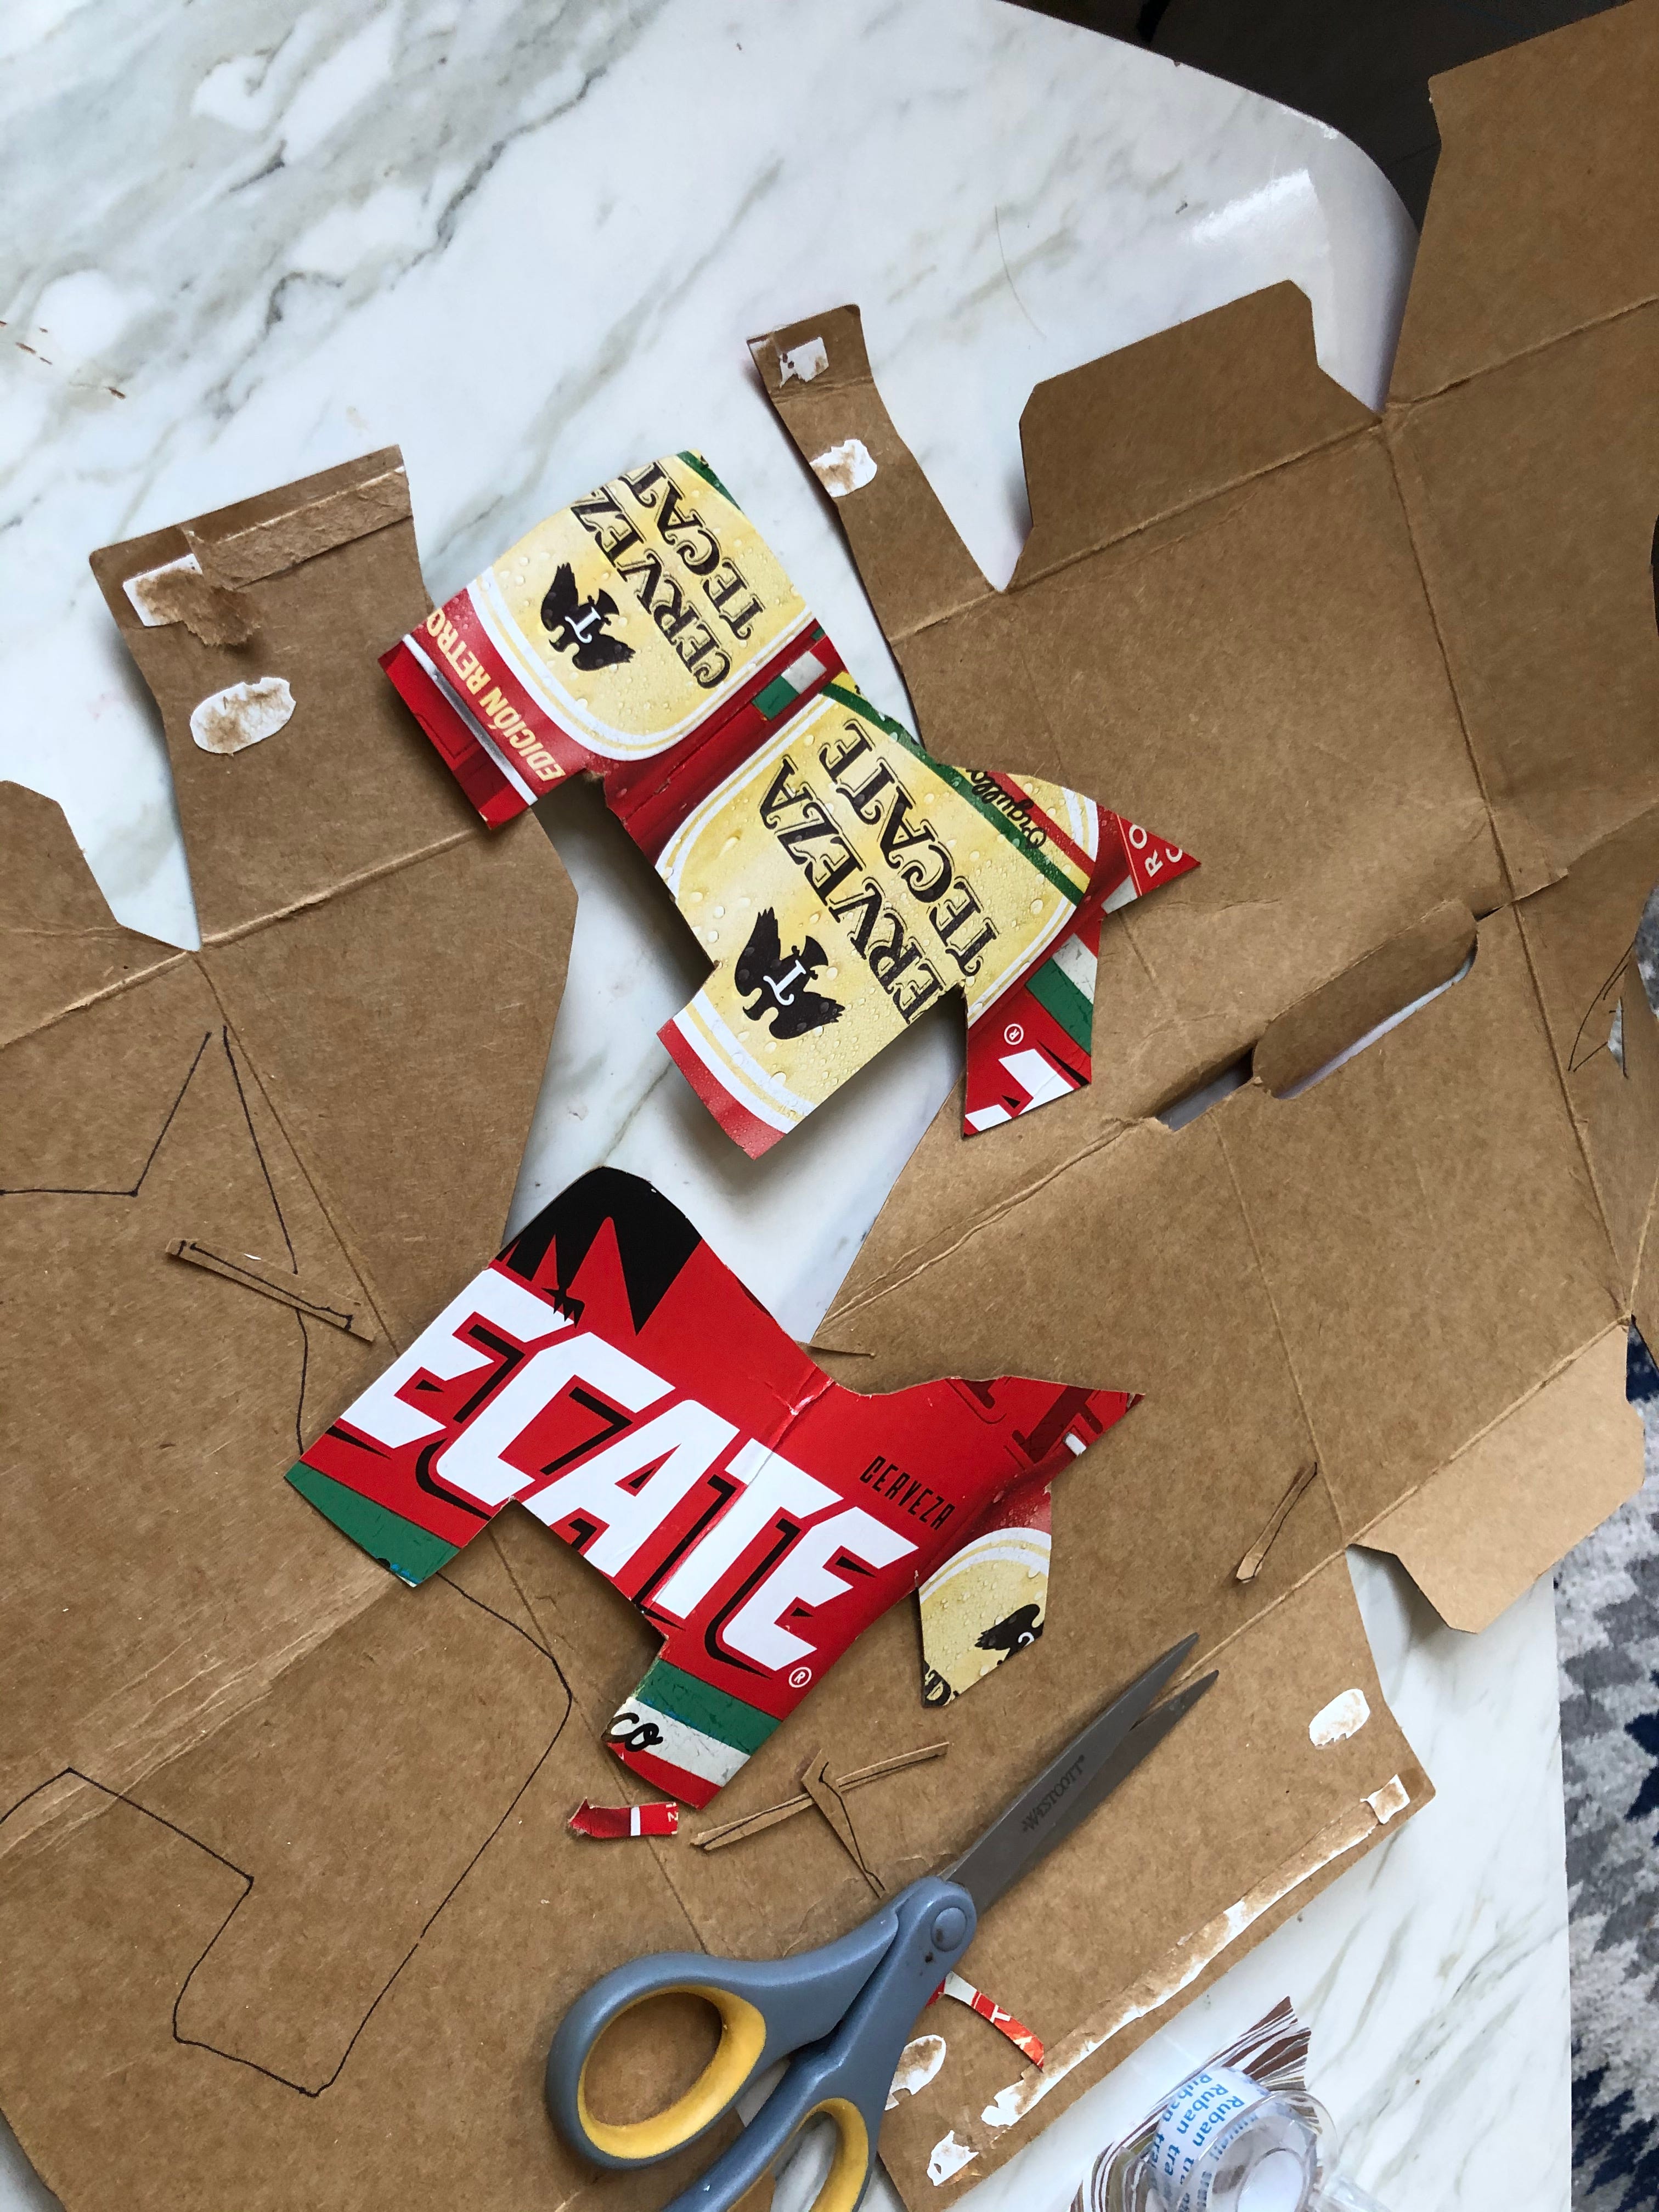
When you are happy with your shape, cut it out and use it as a stencil to draw and cut an identical shape. Then cut a long and thin rectangle out of the cardboard. (I should have taken more photos of this step and I apologize, I didn’t.)
Once you have the rectangle, start to attach it to the first cut out shape. Start with the sides, leaving the top and bottom open.

I used hot glue. This pinata is going to have a flap to reveal the candy because my boyfriend would not be happy about me swinging a bat in our tiny Brooklyn apartment, but if you want to use a bat, use the glue sparingly or consider using masking tape instead because it will break apart more easily.
If you want to make a flap at the bottom, attach a piece of cardboard across the bottom but only glue one side of it. I put mine between the legs of the donkey so that the flap rests on one of the sides of the legs. If you don’t want a flap, attach the full bottom fully.
For the top, I used paper to complete the head. It was easier to cut around the ears since they were small. I taped the paper down and made individual ears. (For those wondering, the paper was another page of the same Infinite Sketch script that I used for our paper making project.)
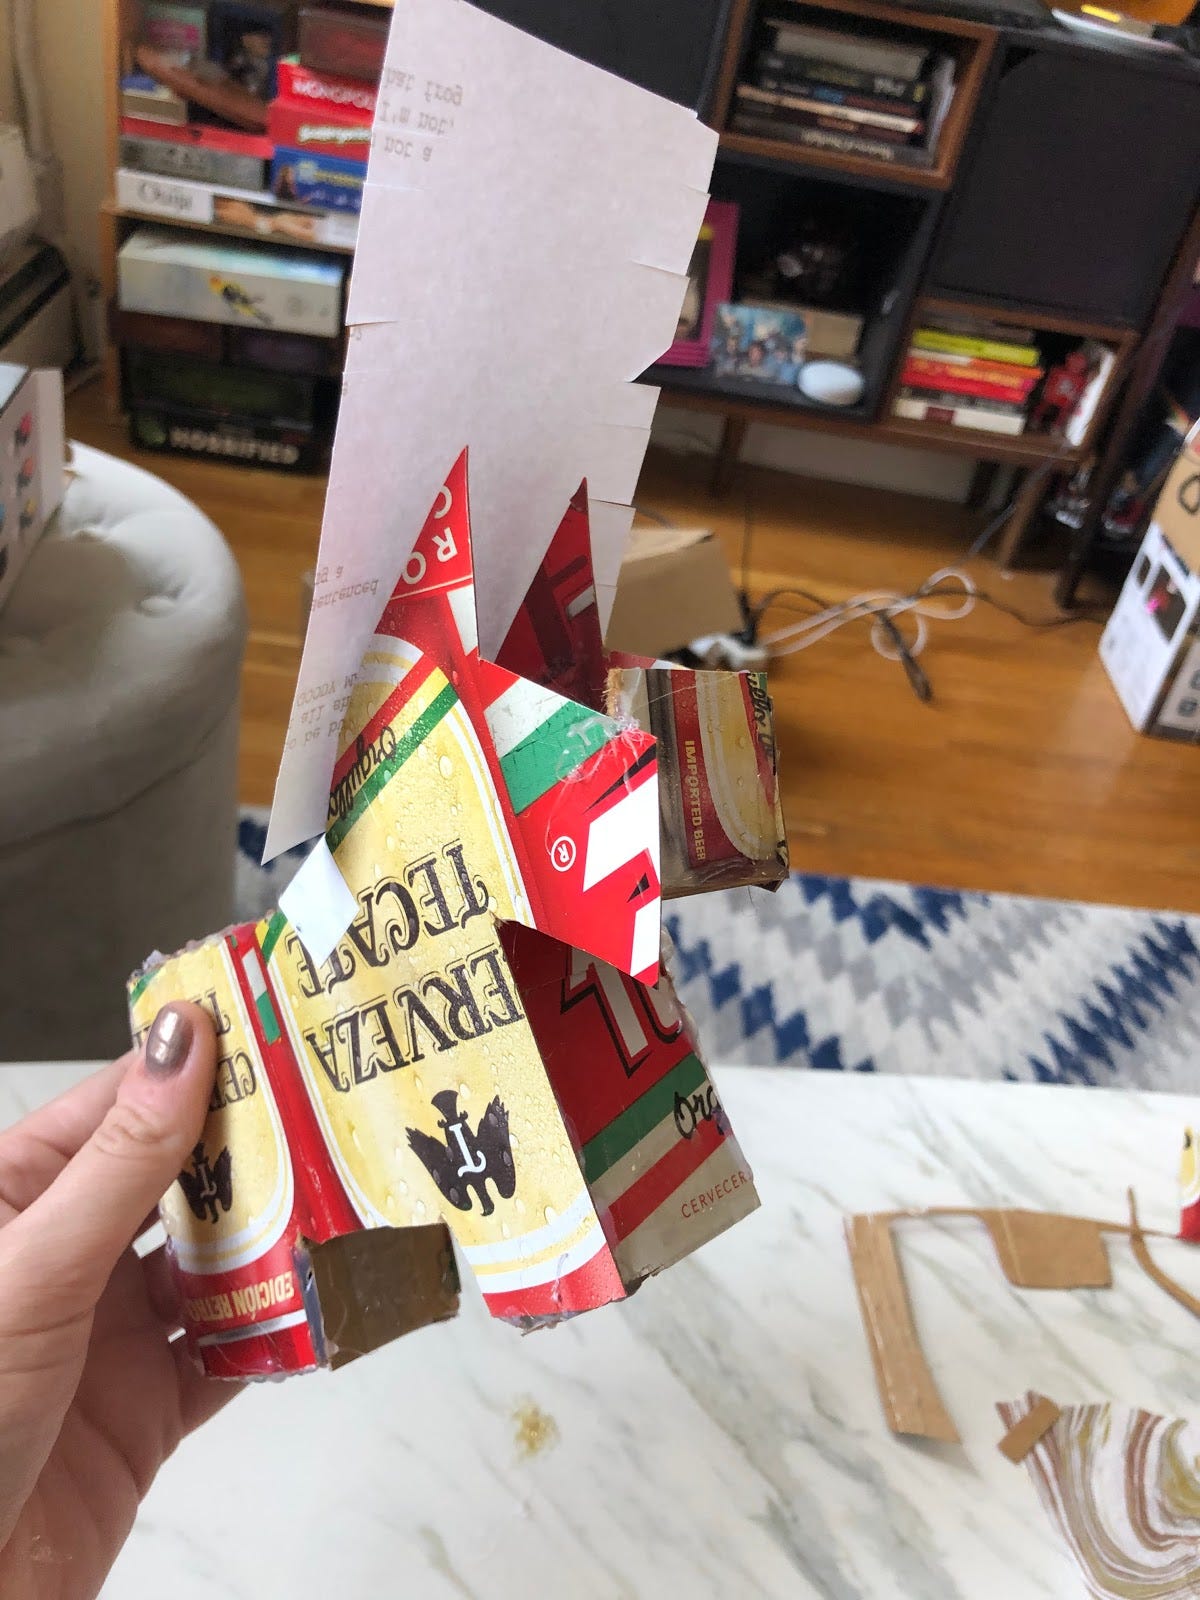
After I covered the head, I made a cut in the paper to the back of the head. I then added a piece of cardboard to the top. To complete the structure of the pinata, added a cardboard flap to the top so it would be easy to add the candy into it later.
Again, I would advise on picking an easier shape, because this part of the craft took me a while and it also complicated the next step.
When you have your inner structure made, you are ready to decorate with crepe paper. I went with a pretty traditional look, but you can put the paper on it any way you chose. If you are doing it my way, Cut a strip of the crepe paper and then folded it in half lengthwise a couple of times. When it was folded up, I cut small notches into it and then unfurled it.
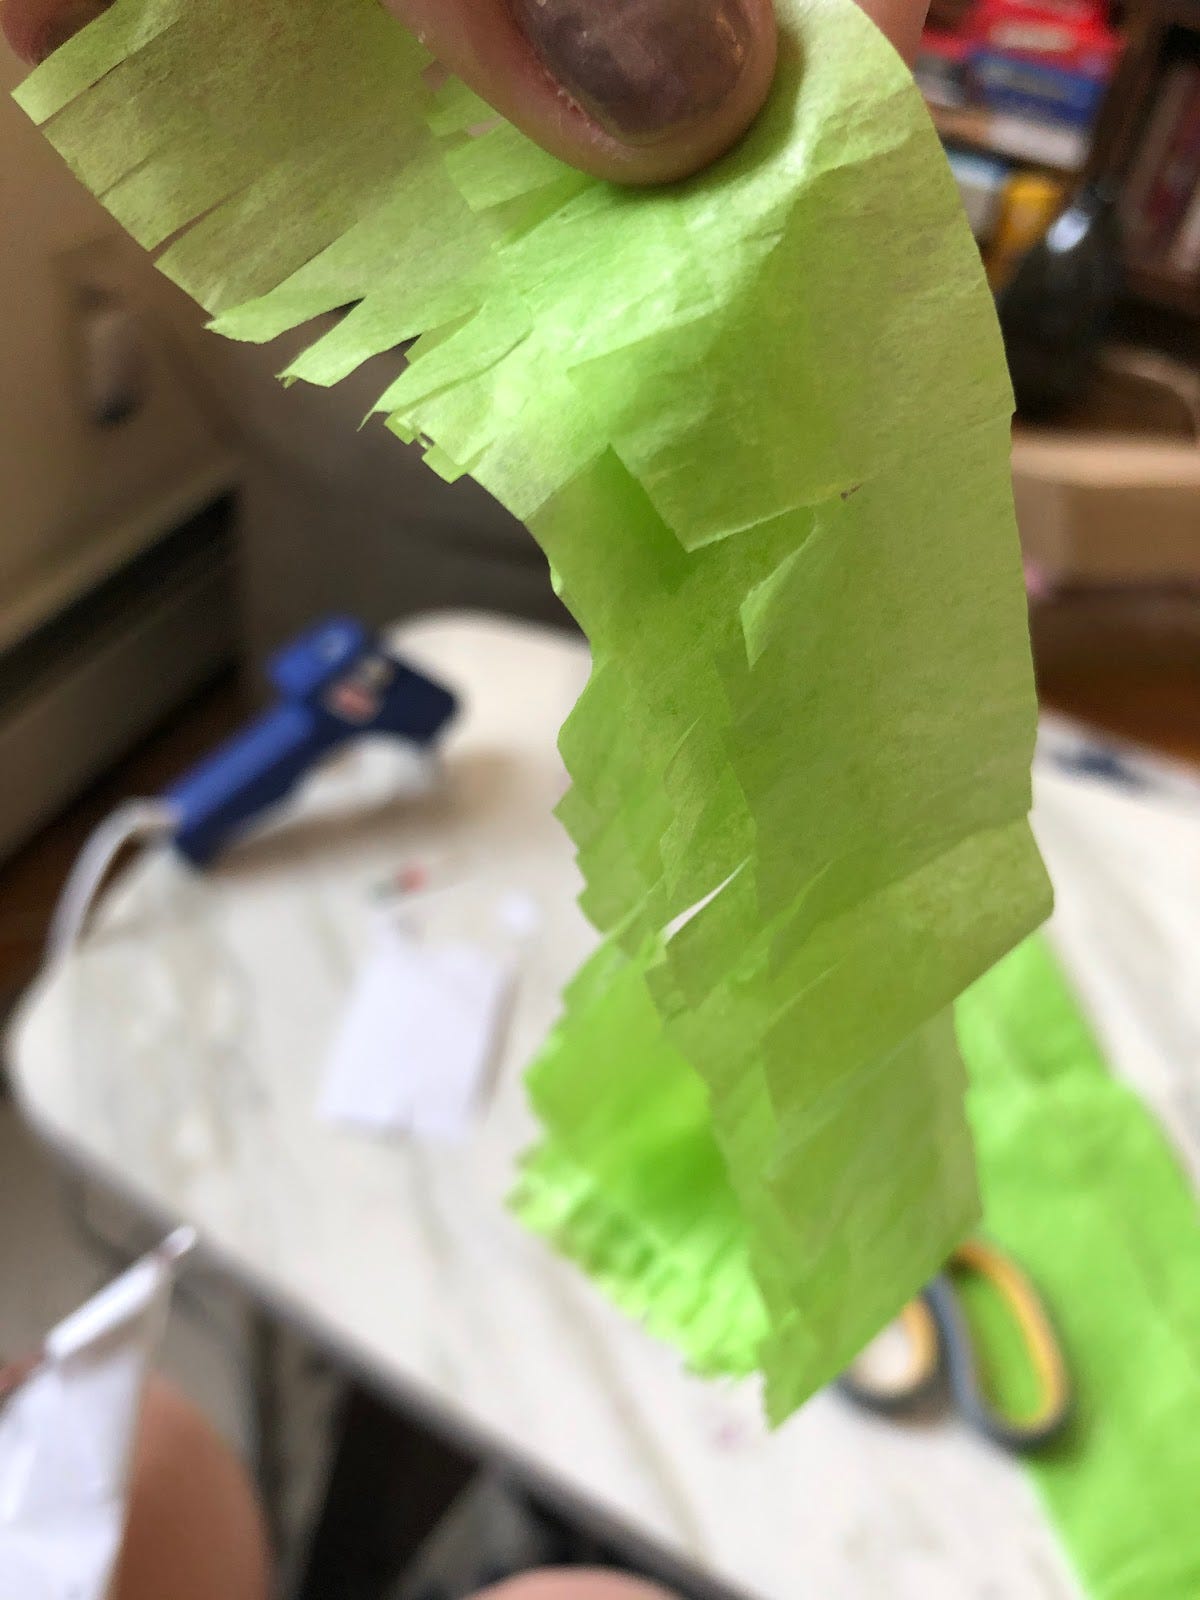
In the end, you should have a long strip of notched paper. Start attaching it to the frame of the pinata. I used clear masking tape and only attached the tape to a few key spots on each strip. You can also use glue, but it can get sticky. I used some hot glue later in this process so the tape wouldn’t show, but tape works great for the legs and body. Start at the bottom and work your way up. Each strip should overlap the last one. Repeat this step around the legs and body.

As you can see from this picture, I added a ribbon to the loose edge of the bottom flap. If I did this again, I would have done this before starting to decorate it, because the more crepe paper you add, the harder this becomes. Don’t be like me, do it before. I used hot glue to attach it. Whatever you use to attach it, make sure it’s attached well because if not, the ribbon will detach from the pinata when you pull it to get the candy and then you will need to get the bat out.

A quick note, I went back and covered the bottom of the feet with a crepe paper, this was fully just an ascetic choice as I didn’t want people to see that I made this out of a Tecate box. I also attached a string with hot glue to the top so I could hang it up when it was done. After, it was time for the head.

On the head (and later the back) I cut up the long strip to make smaller pieces and added them in layers around the back of the head and ears. I used dots of hot glue to add the crepe paper to the top of the head so the tape wouldn’t show. You could also use craft glue but then you need to wait for the glue to dry between the layers and I had already been doing this for two hours at this point and didn’t want to. Much like the feet, I added a single layer of crepe paper to the candy flap to disguise my burro’s alcoholic past.

I then covered the back similarly. The hardest part of adding the paper was to the weird angles of the head and ears. If you pick an easier shape, you can just do the strips and not worry about the weird parts of this. Once your shape if fully covered, you are ready to fill ‘er up.
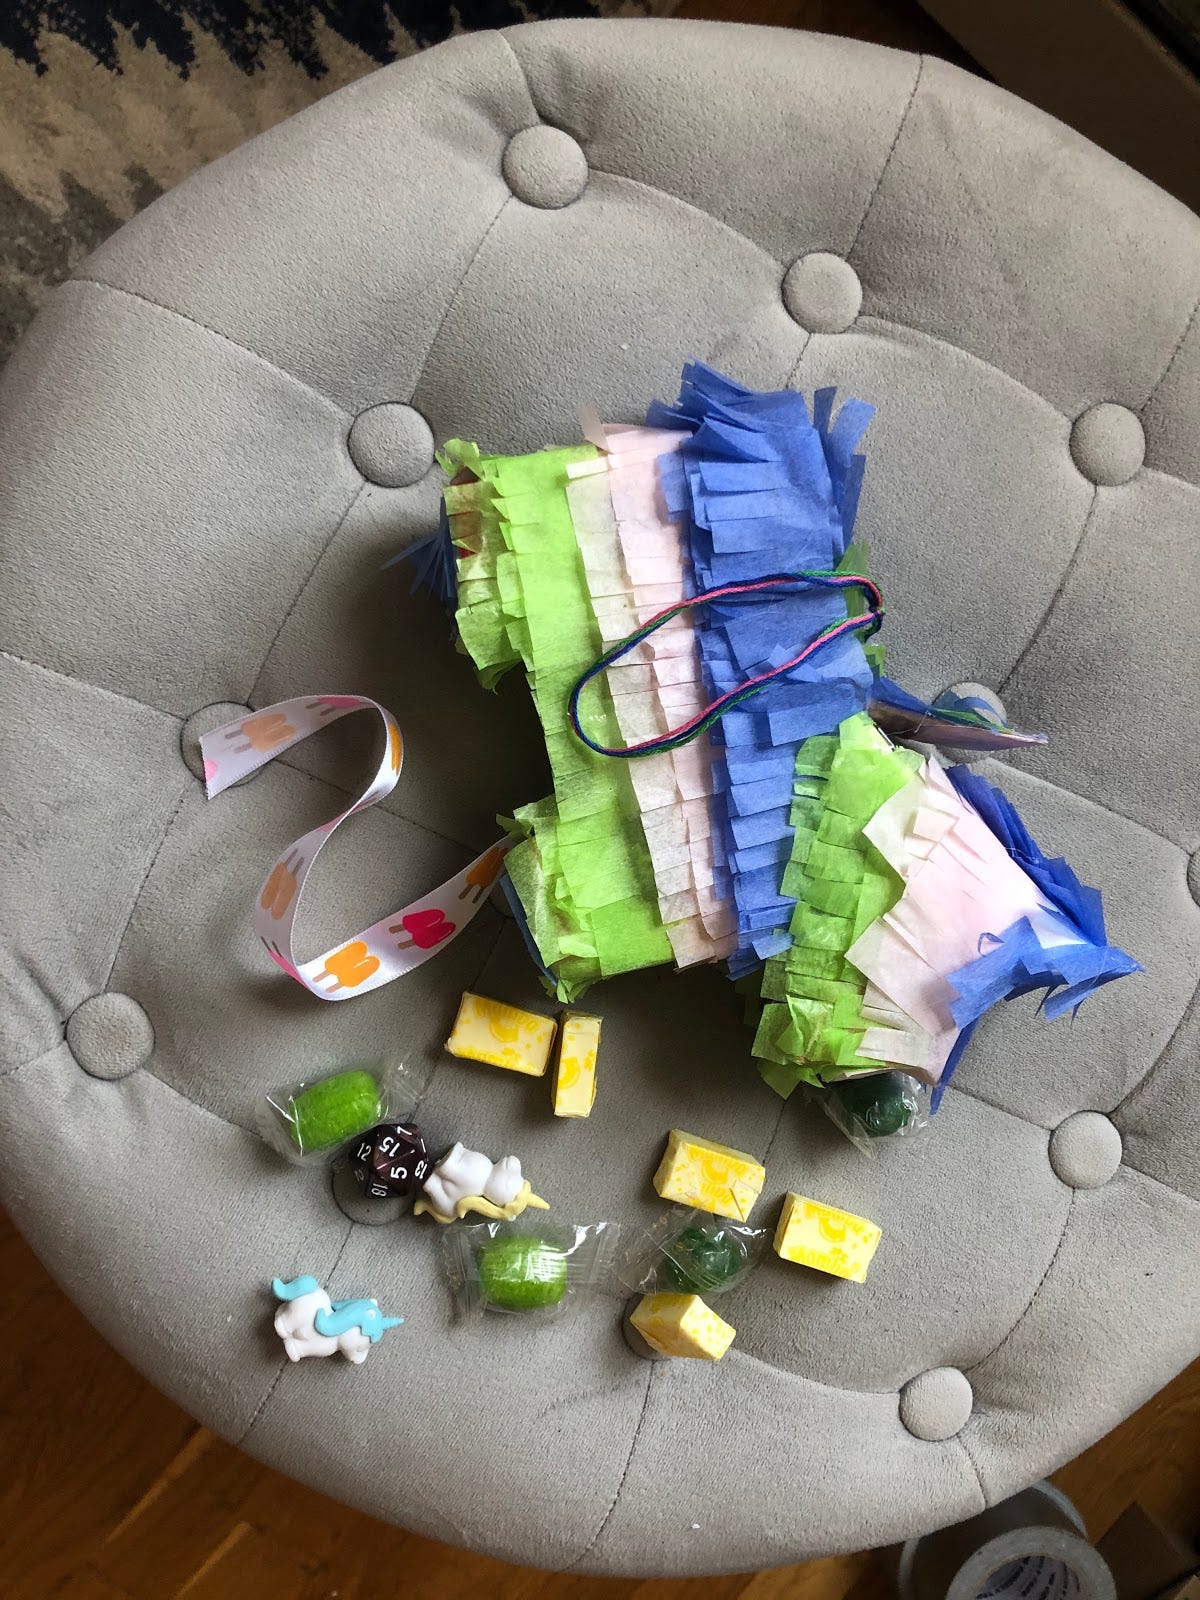
Get some candies, small toys, or games and place them through the top flap.
Finally (and one this one I mean finally), you are ready to pull that ribbon and get your birthday cheer on.

Please excuse my hair, crop top, and Guy Fieri sweat pants. Actually, forgive everything about this.
Okay, so honestly, I had never made a pinata before and I kind of struggled through that one. Probably why the photos are not as good as usual and why there are so many steps. As promised, I am however doing a second, much easier craft.
I think I like pinatas because the idea of having a surprise inside is so magical. In that spirit, let’s make some snow globes. This is a much easier craft, that is super great to do with kids. I was supposed to be in Palm Springs last week, but my trip was canceled, so I decided to make my snow globe Palm Springs themed. Yes, I know it doesn’t snow in California (I’m from there.)
First thing is first, get a jar. I used an empty jalapeno jar, we go through about 1 every 2 weeks (again, I am from California), so we always have them in the house. Good other jars include empty jam jars, used-up tiny mason jar candles, Trader Joe’s pesto (I have hundreds of these jars in a stockpile just waiting to be empty). Any jar will work as long as it’s empty and airtight.
When you find your jar, make sure it’s completely clean. I ran mine through the dishwasher and then poured boiling water on it. That was probably more than necessary, but because mine had something pickled in it, it had a bit of a smell.
Next, I did the completely optional step of drawing on the jar. I think it adds a little something. I plotted out my design on a piece of paper because I found it hard to letter on the curve. I then stuck my paper into the bottle and traced it with a permanent marker.

If you are making this with kids and don’t want to deal with a permanent marker, have them draw a background. After their art is complete, affix the paper to the back of the jar on the outside with tape.
Next, you need something to go inside it. Small toys are the go-to for craft bloggers. You can put anything in it, but I would recommend something plastic or ceramic. Metal tends to rust in these and can make the water inside brackish over time. If you really want to use something metal or nonwaterproof, you can use a sealant on it before you put it in, but it’s an extra step.
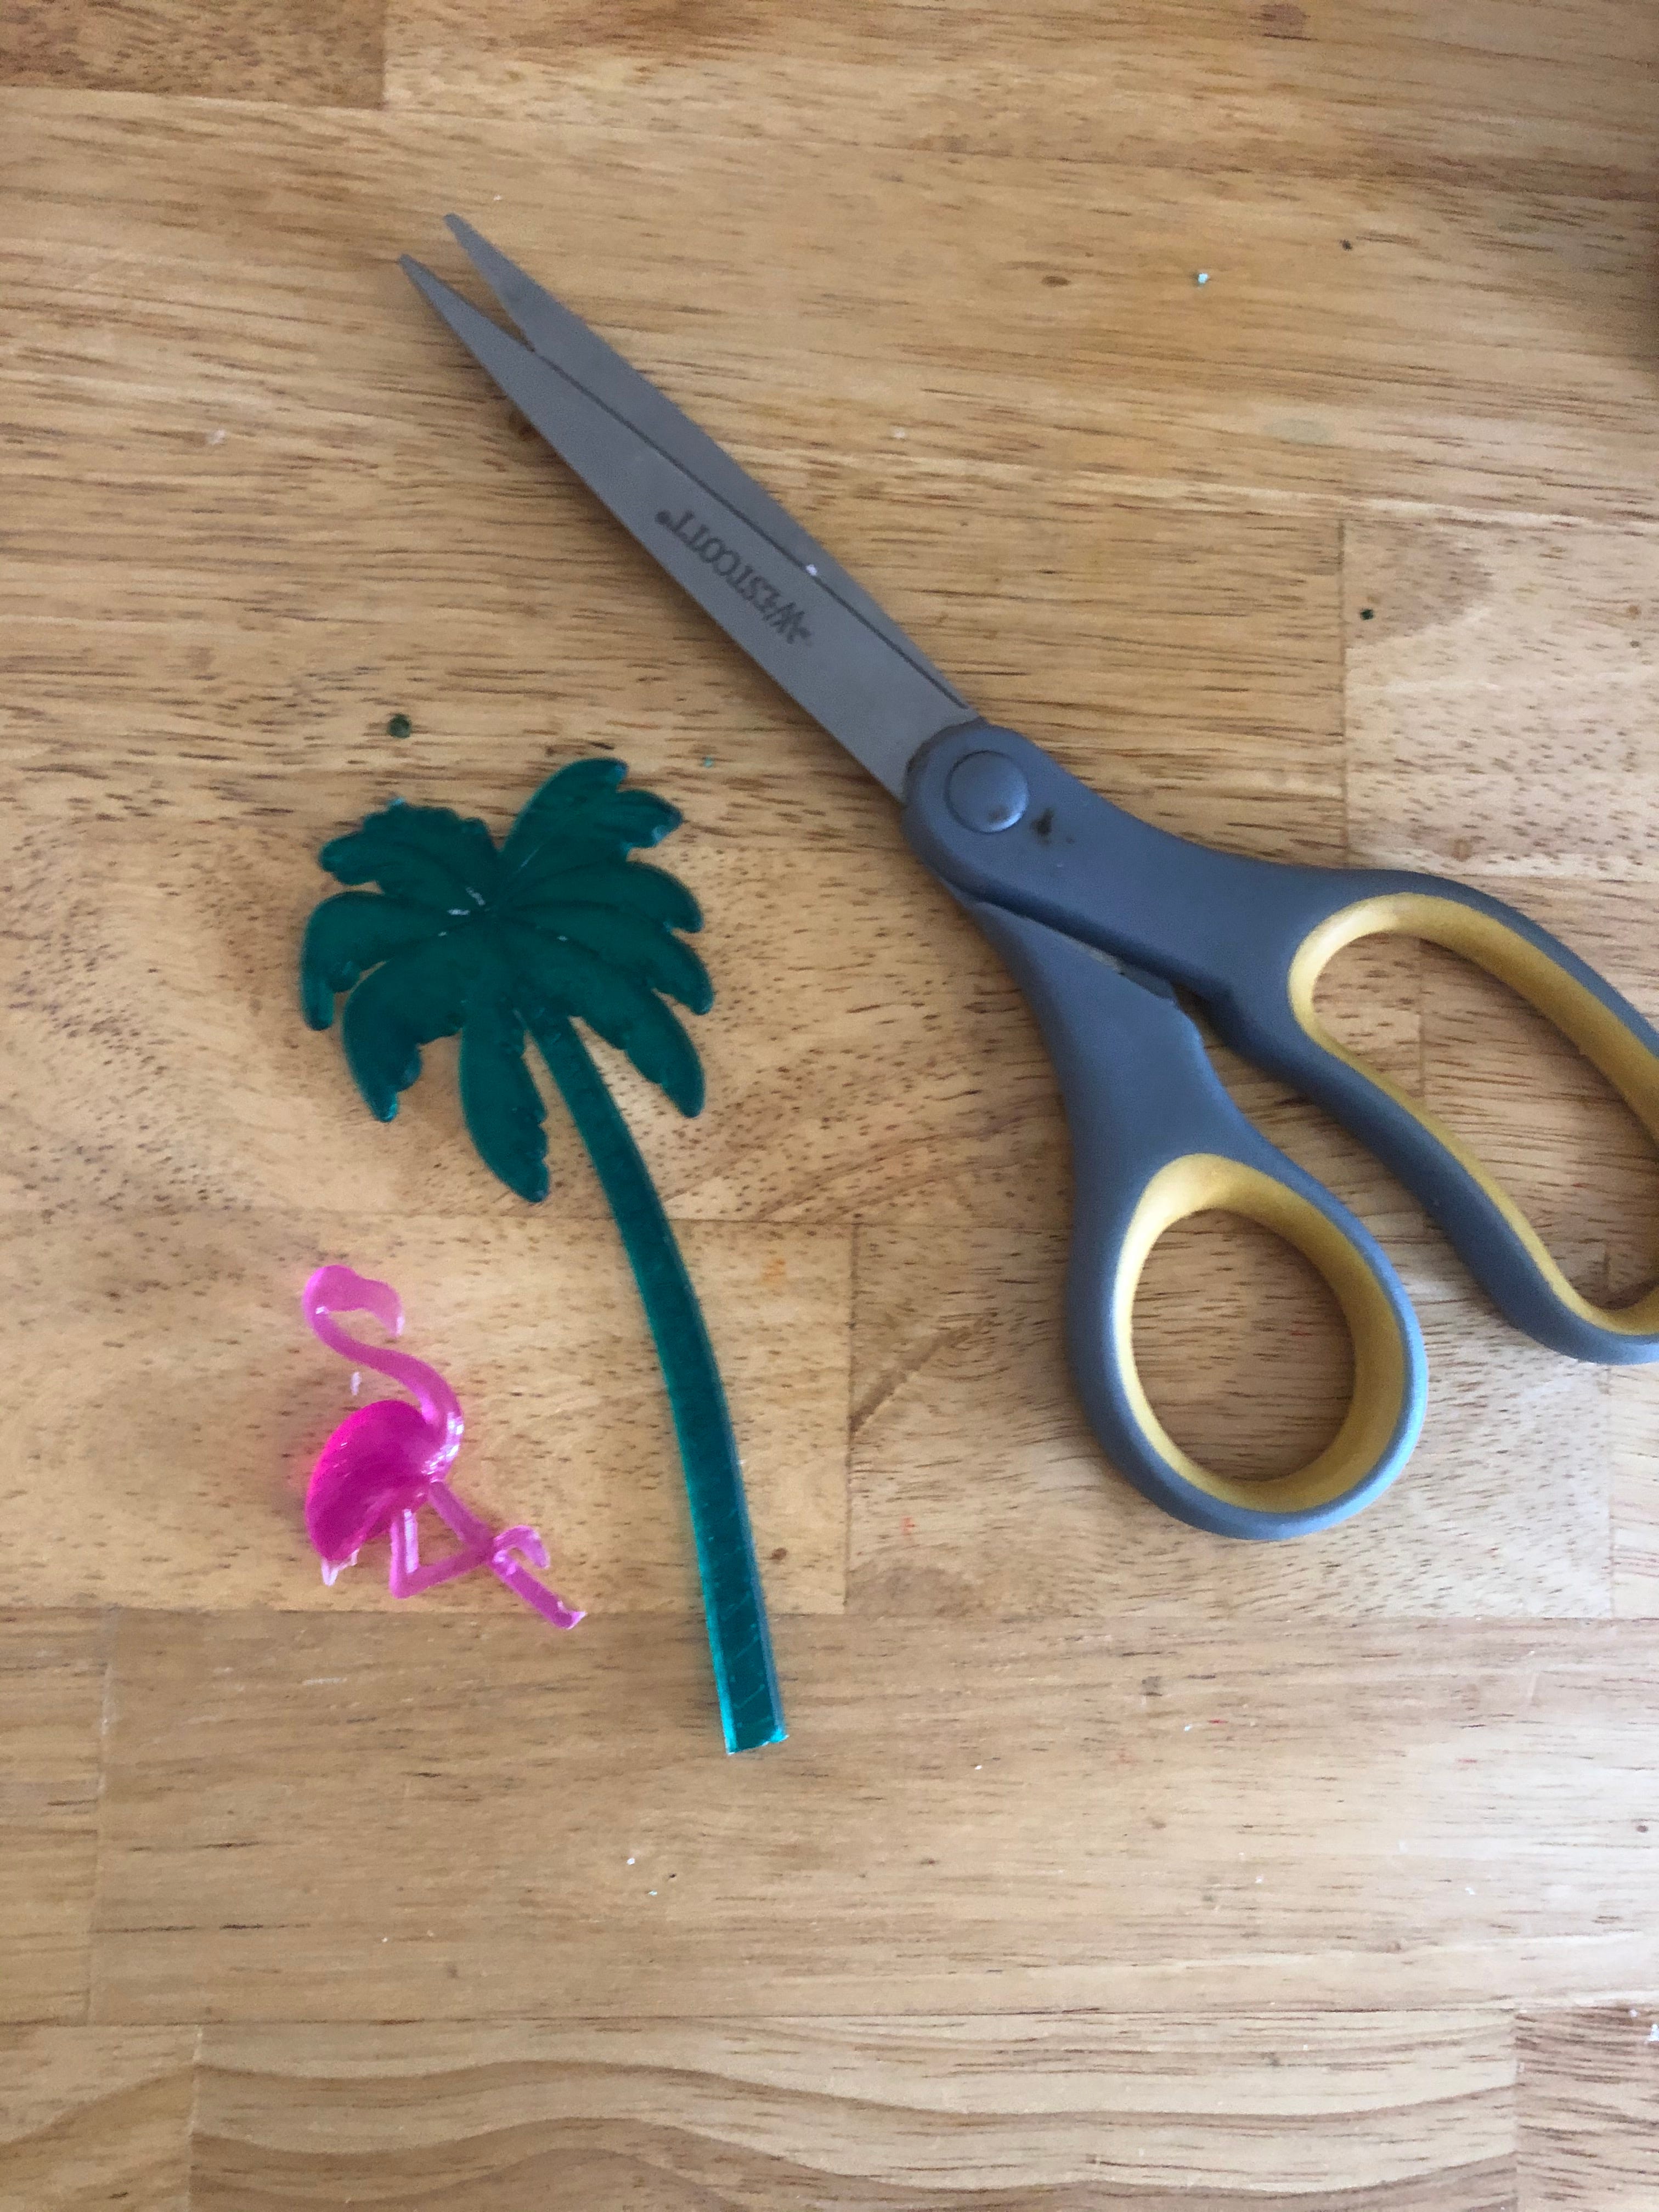
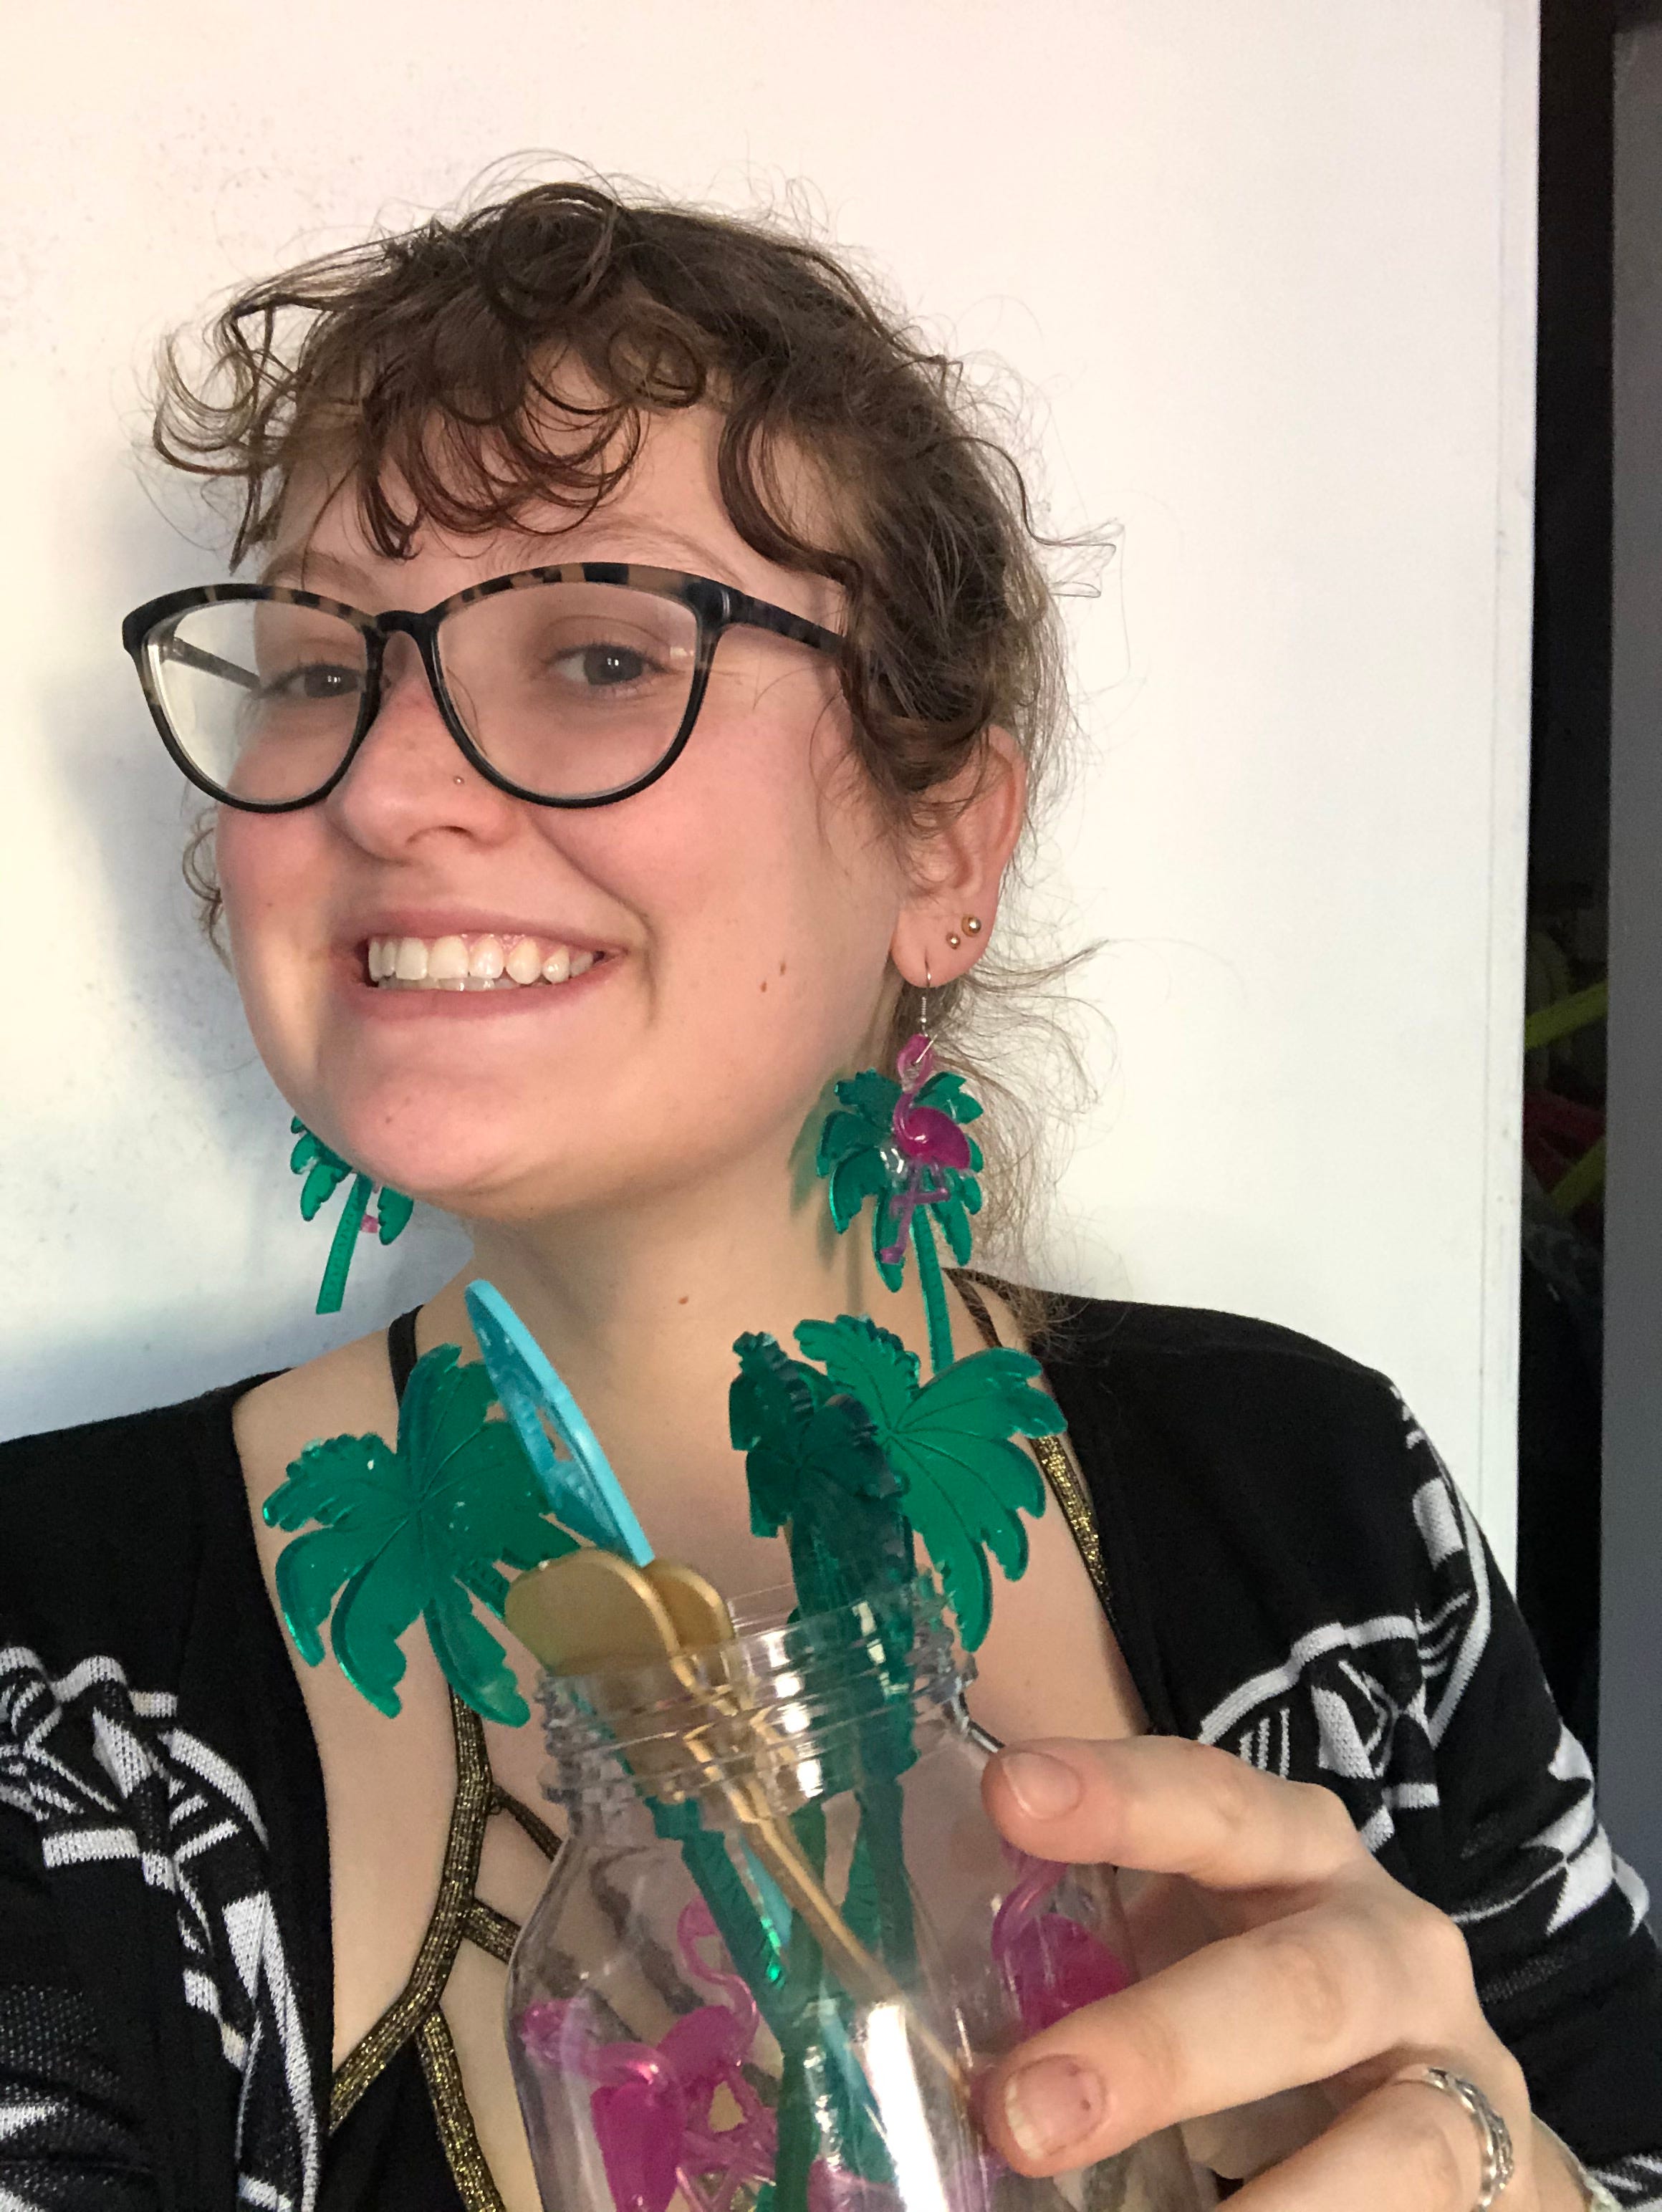
I chose two cocktail stirrers that I stole from the Polynesian during my friend Wallace’s Birthday Cocktail Hour last year. I then cut them down to the desired size. A quick side note, I love cocktail stirrers for all types of crafts. If you are ever at a bar and order a big, tiki drink (when that’s allowed again), keep the stirrers, you will find a use for them. Plus if you are nice to the bartender, they will give you extra. Me pictured below with my cocktail stirrer earrings and collection.
Anyways, back to snow globes. Glue down your items to the inside of the jar lid. I used 2 types of glue in this. I used shoe epoxy because it’s waterproof and then I used hot glue on top to keep them upright when drying. If you use just hot glue it’s probably fine, but sometimes the figures can dislodge because it’s not fully waterproof.

Wait for the glue (glues) to dry completely, and then get ready to fill your globe. Fill the jar most of the way with water. You need some air in the globe to make it work so make sure not to fill it up fully especially since some of the water will be displaced by your figurines once you insert them.
Add glitter to the water. You can also add multiple colors of glitter or other small objects. Whatever you want to flurry in the globe. I did just classic white glitter, but you can get creative on this step. Most crafters will also add a tiny bit of glycerin (you can find this at drug stores) or corn syrup at this step, I had neither in the house so I went without it. Glycerin makes the snow in the globe fall slower especially if your snow is a heavier glitter or contains heavier objects.

Now you are ready to attach your lid to your globe. I added a little shoe glue around the inside edge of the lid and hot glue around the outside once it was completely closed just to make it super watertight.

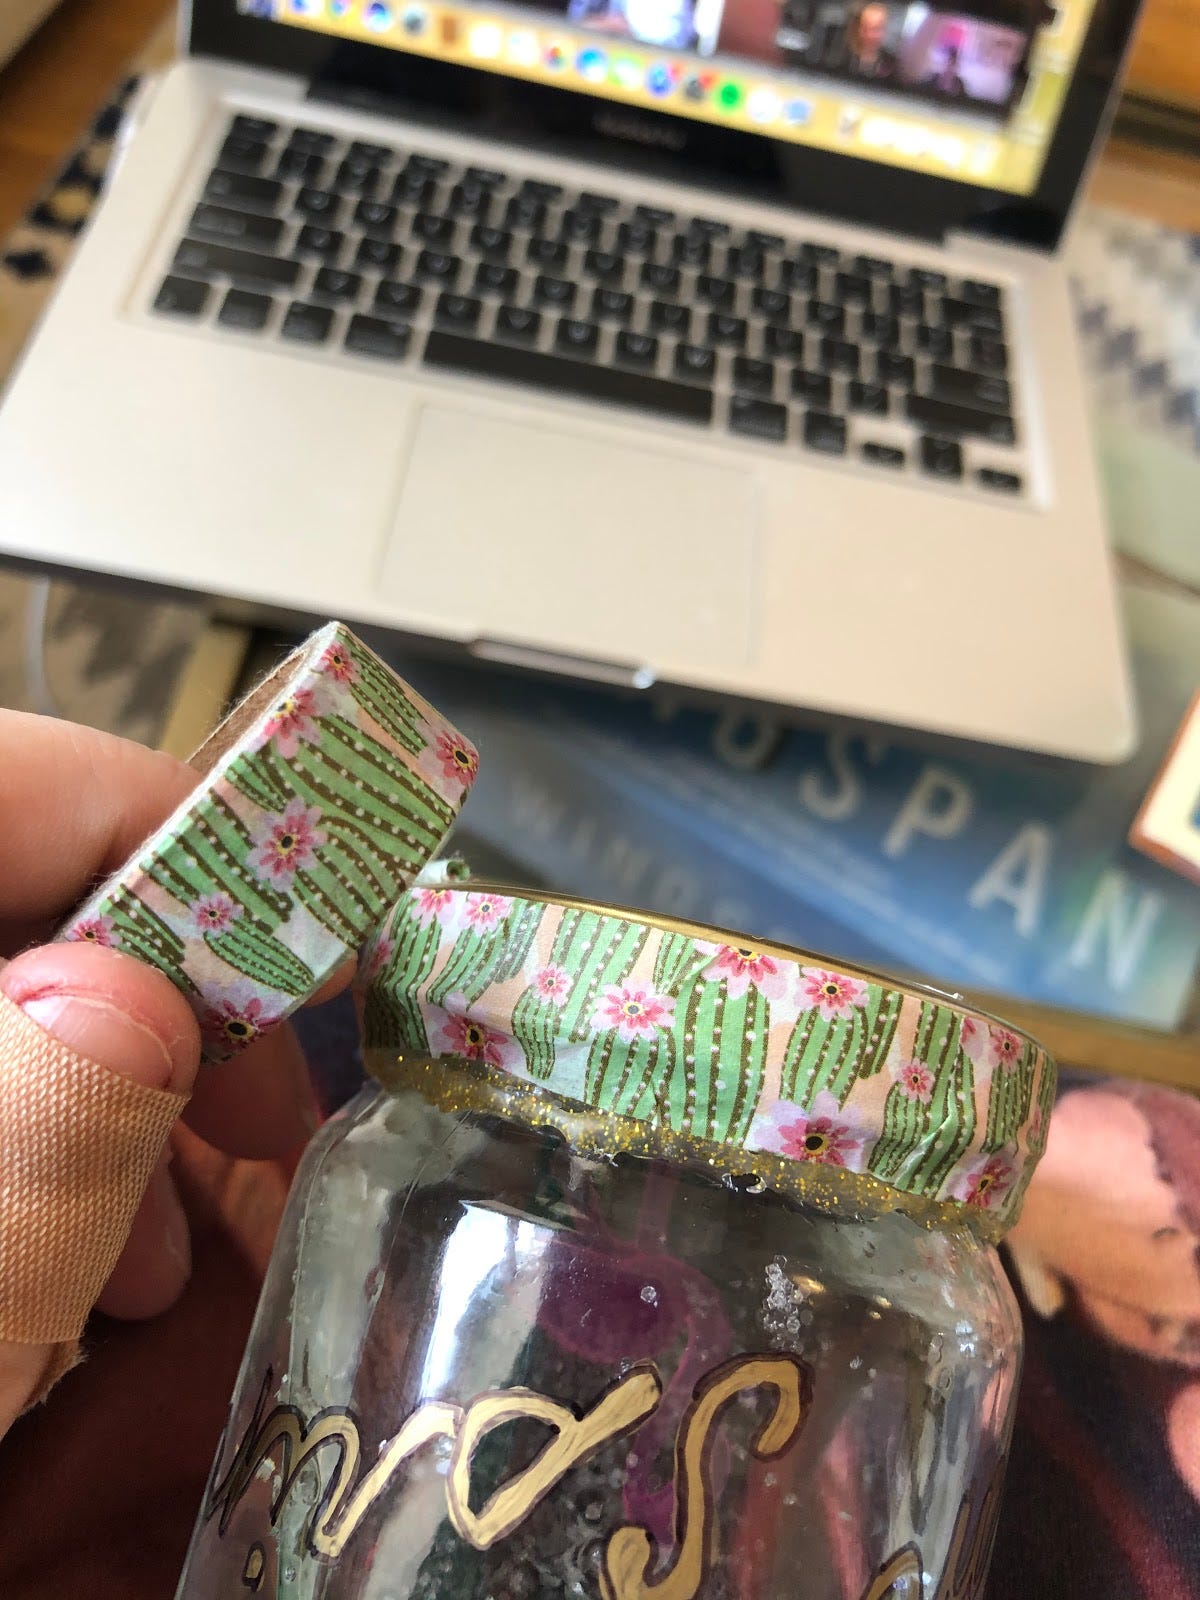
Finally, I didn’t like being able to see the hot glue on the outside, so I added a strip of Washi tape with little cactuses on it. If you aren’t familiar with Washi, it is a Japanese tape similar to masking tape but has not residue and usually comes in a color or pattern making it great for crafting.
If you used glue on the inside, keep the globe upside down until it dries, once it does, you have your own snow globe.

I know this was a long one because we did two crafts. But hopefully, you stuck around!
Things I am loving right now, board games. We have a lot in the house since I worked part-time in a board game store/after school program before I became a non-essential worker, but if you don’t already have board games at home, there are ways to play board games online. There is a great site that will let you play Codenames online, I played with my siblings over zoom and it worked great. If you don’t know how to play, there is an instructional video for the physical version of the game that works for the online version. You can also do Cards Against Humanity online (it’s not my fave game, but good for parties) and there is a similar game along with a trivia game built into the app House Party. There is also a system to play D&D online, but that might be a push for most casual game players. If you want to dip your toe into D&D before playing yourself, there are a bunch of D&D podcasts, I love Lost In The Multiverse (who’s DM I also have a non-D&D podcast with) and my friends just started a new one, The Beeftown Chronicles.
And as always, share photos with your crafts with me. You can always hit me up on social media (@Humancomedian.)

Crafters is "artesanos" sorry it was bugging me too much.