Hi,
Long time no talk. I took May off. Honestly, it was the first time I go to go home in over a year and I needed to trash as many commitments as I could.
I started this newsletter because people were stuck inside. I got back from California to a New York where that was no longer the case. I’m still wary of everything reopening, but I have to face the facts people aren’t stuck inside anymore. However, it’s my hope that they still want to read about some crafts.
That being said, I am changing it up a little… just for my own sanity, I am changing craft cult to a bi-monthly schedule (the one that comes out twice a month, not every other month) or I guess you could say, bi-weekly (the one that comes out every other week, not twice a week).
Speaking of bi-s… look at that flawless segway, happy pride month!
A couple of weeks ago I posted a viral TikTok about candles at Target that came in Pride colors to look like flags.
There are a lot of pride flags, here are just a couple for those who aren’t familiar.
I got a lot of comments on this TikTok saying that Target didn’t have their specific flag or that their local Target didn’t have them. But it’s easy to make a pride candle if that is something you are into. Also if you want just an intro to candles more generally, I would read this newsletter that breaks it down more than this post will. All you need is some candle wax, a couple of jars, and crayons.
I decided to use two white candles instead of just wax. This also helped because it gave me a jar to use.
Place your jarred candles into a pot with water and let the water boil. The wax should melt quickly. I poured my wax from both candles into one of the jars so I could use the other. Remember to always use oven mitts or heat-resistant gloves when working with hot wax. The glass will also be hot.
(I don’t know why this picture is so bad, I must be rusty.)
If you don’t want to do this step, you can also use another jar. As a bisexual, my house is full of empty jars, which did help this craft.
When your wax is melted take a wick (it can be from one of the candles or a separate one if you are like me and make candles a lot) and stick it to the bottom of the jar you are going to use. Some people use glue dots, I just use a little wax and let it harden before the next step. I also use a fork and a bit of tape to keep the wick upright. I find it helps with all candle making.
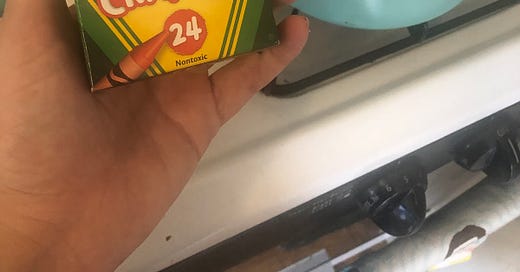
Once your jar is prepped, add a layer of wax and a crayon of the color you want. I really eyeballed how big each color layer, which led me to a problem at the end. You can always measure and mark the outside of the glass for a cleaner end product. This was my first try doing this, and I only added a fourth of a crayon and I think it came out way too light. I would change that if I did it again.
Them make sure the crayon dissolves and mix the color around in the jar.
Put the layer in the freezer and let it set. This should take about 30 min. I would advise turning off the burner under the rest of your wax until you are about 5 minutes out from doing your next layer.
When your first layer is set, mix up your next color and pour it in.
Repeat the process with your next color.
In the end, you should have a layered candle that looks something like this. Please don’t make fun of my layers, this was a learning process.
I am not going to make my endnote too long this time since I am just getting back at it. But since it is pride month it’s a great time to help trans people and trans youth (really you should be doing it all the months). Donating to trans aide groups like some that you can find here or going to actions in your city is better than dancing on a Citi Bank pride float and always will be.
Stay happy, stay safe, stay crafting.


