


16 Candles, Well Actually There Are 21 Candles In This Post
You guessed it, we are pouring some candles today.

Good morning Crafters, Good morning Ms. Goode,
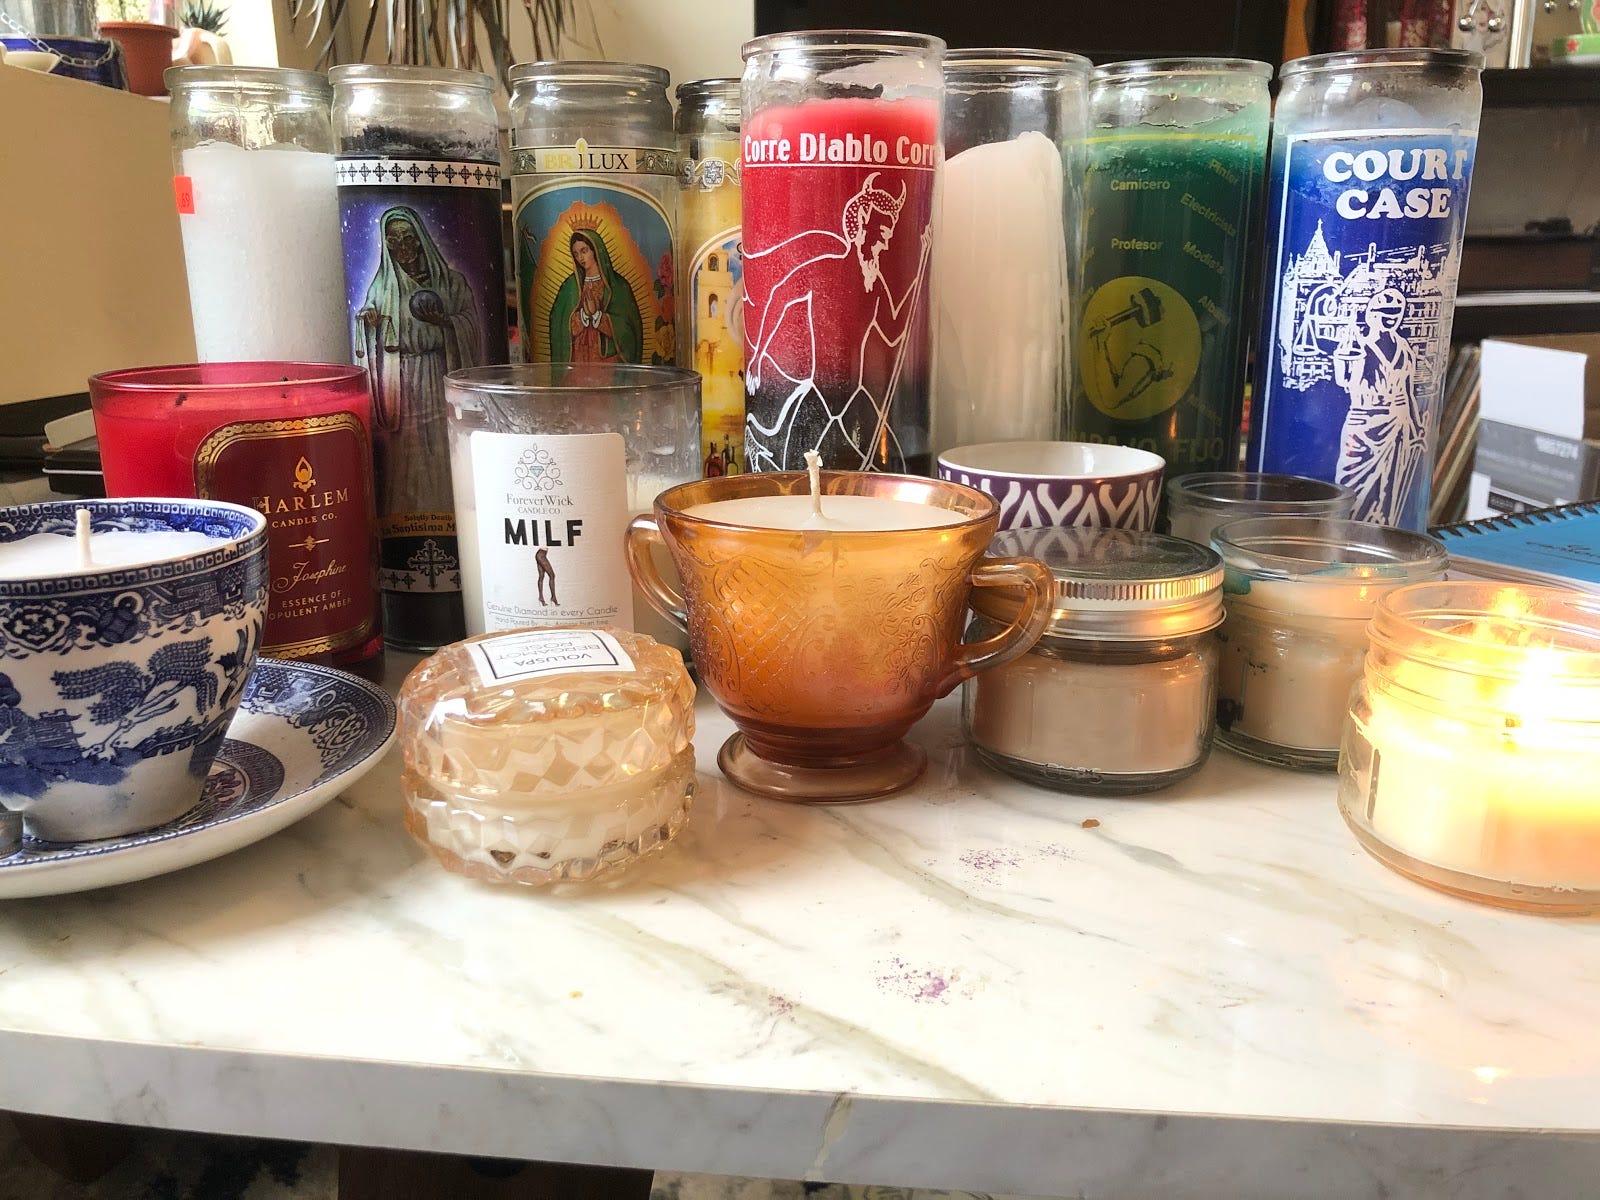
Thanks for coming back to Craft Cult. Today, we are going to talk about my greatest obsession: Candles. I listen to a podcast about candles. I regularly make candles. Here’s a photo of just the candles that were scattered around my living room as I wrote this.
Some may tell me, “that’s too many candles. Why do you need them all?” So I made a helpful infographic about why I need all these candles.
So why are we talking about candles, other than that it’s clearly my favorite topic? Because today, I am going to teach you how to make your own candles. Well, I am almost going to teach you how to make your own candles, I am really going to teach you how to up-cycle your old candles.
Usually, when you are making your candles, you start with pellet wax. This is a big plastic bag of shredded unscented wax that you can buy at any craft or hobby store and then add scents into. I have some myself at home and along with other candle-making specific doodads, but today we aren’t going to use any of that. We are going to only use things you should have at home.

To start, gather up some candles who are at the end of their lives and I will quietly sing Danny Boy to you. Look for candles that have burned down and now can’t light correctly. Usually, even when the wick is gone or has gotten so far down you will burn your hand if you tried to light it, there is still a good amount of wax in the candle. You see this especially in candles that are thick or have a larger wax to wick ratio. You can reuse this extra wax to make more candles. For this craft, we are only using candles in glass or metal jars. If you want to use a candle that isn’t in a jar, just put it into a jar or a pot and use the same steps.
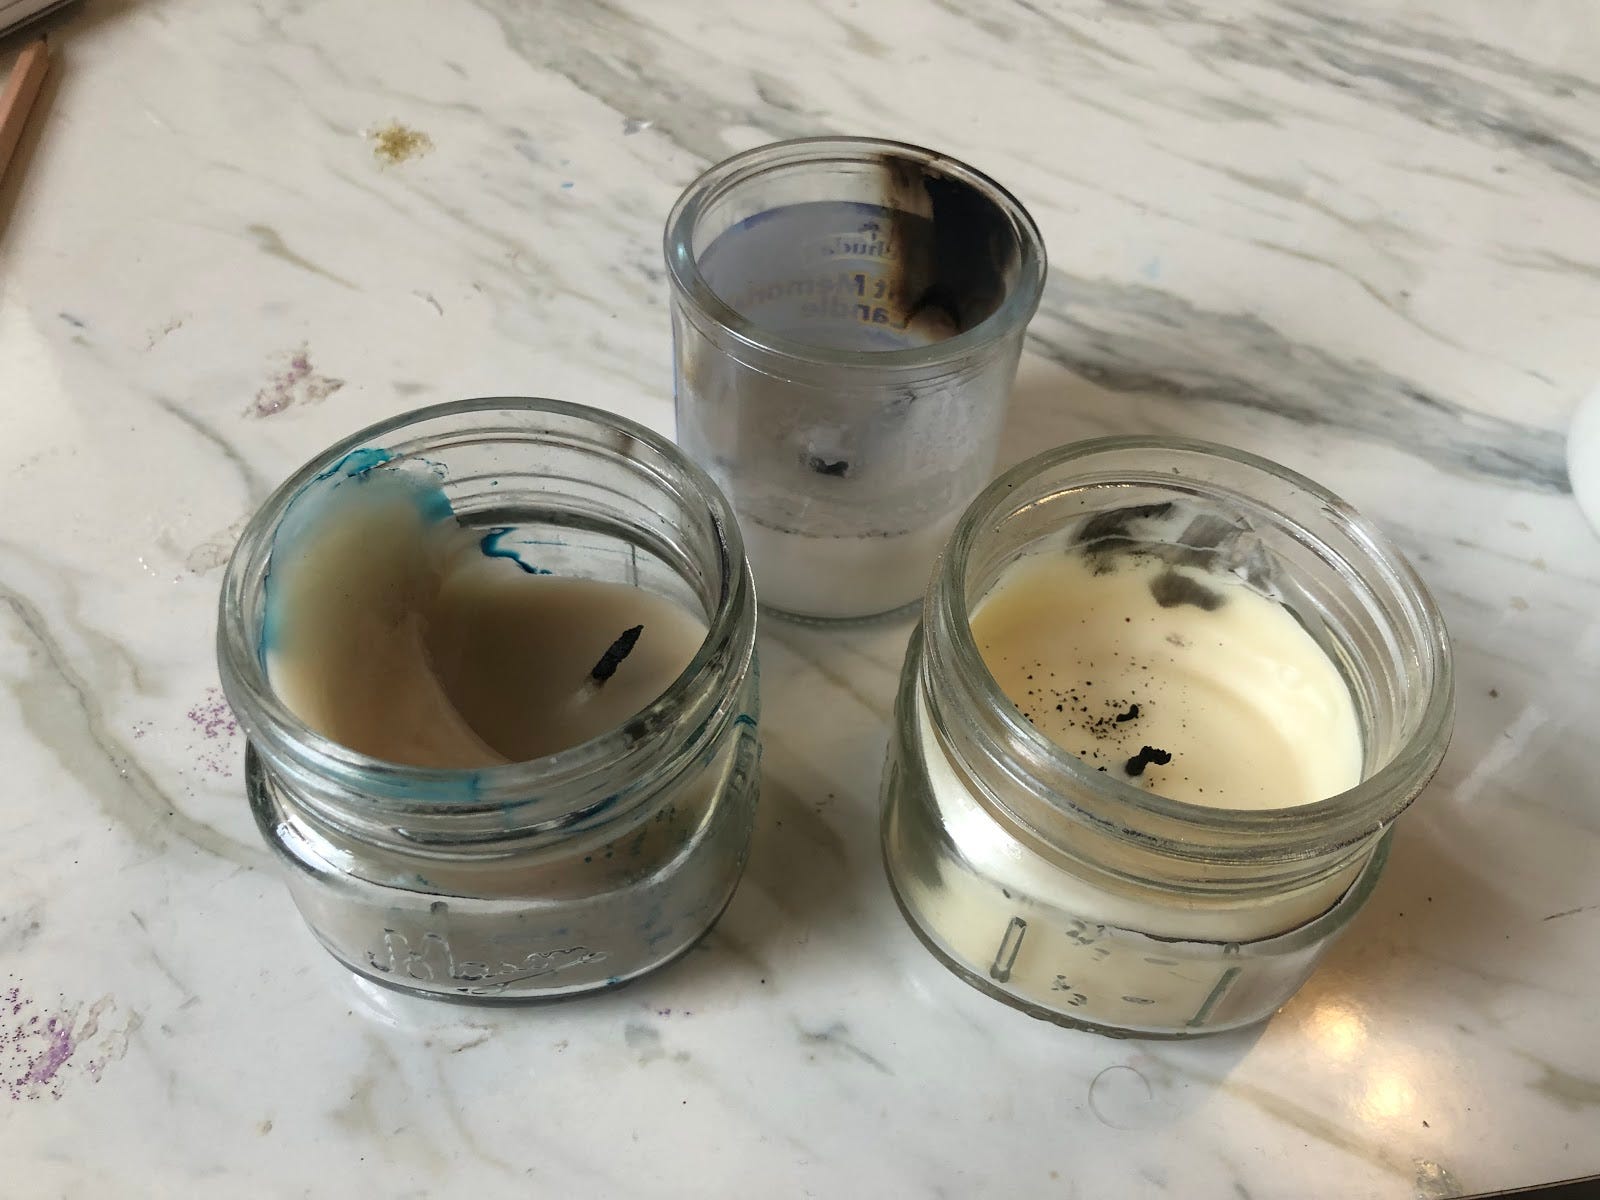
It’s important that all your candles are made of the same type of wax. All the ones I am using today are paraffin wax, but if you want to work with beeswax or soy wax, just make sure you combine it with like waxes. Also, don’t use gel wax, it’s a whole other thing and you aren’t 7 and this isn’t 1998.
A quick note, if you plan to melt down multiple scented candles, think about the scents you are combing. For the candles I chose, one was vanilla and one was Carmel Brulee scented, so when mixed they kind of smell like vanilla pudding. Usually, similar scents combine well. Think about scent categories, earthy, sweet, spicy. If you stick to one category you should be fine and honestly, I have made good candles even mixing very different scents. Just be careful if you are choosing candles like chocolate and grapefruit to combine.
The next thing you will need is a wick. I really recommend buying wicks online. They are usually pretty cheap and easier/better to use than what I am going to show you. However, I understand that most people don’t have a package of wicks already at home, so you can make your own wick.
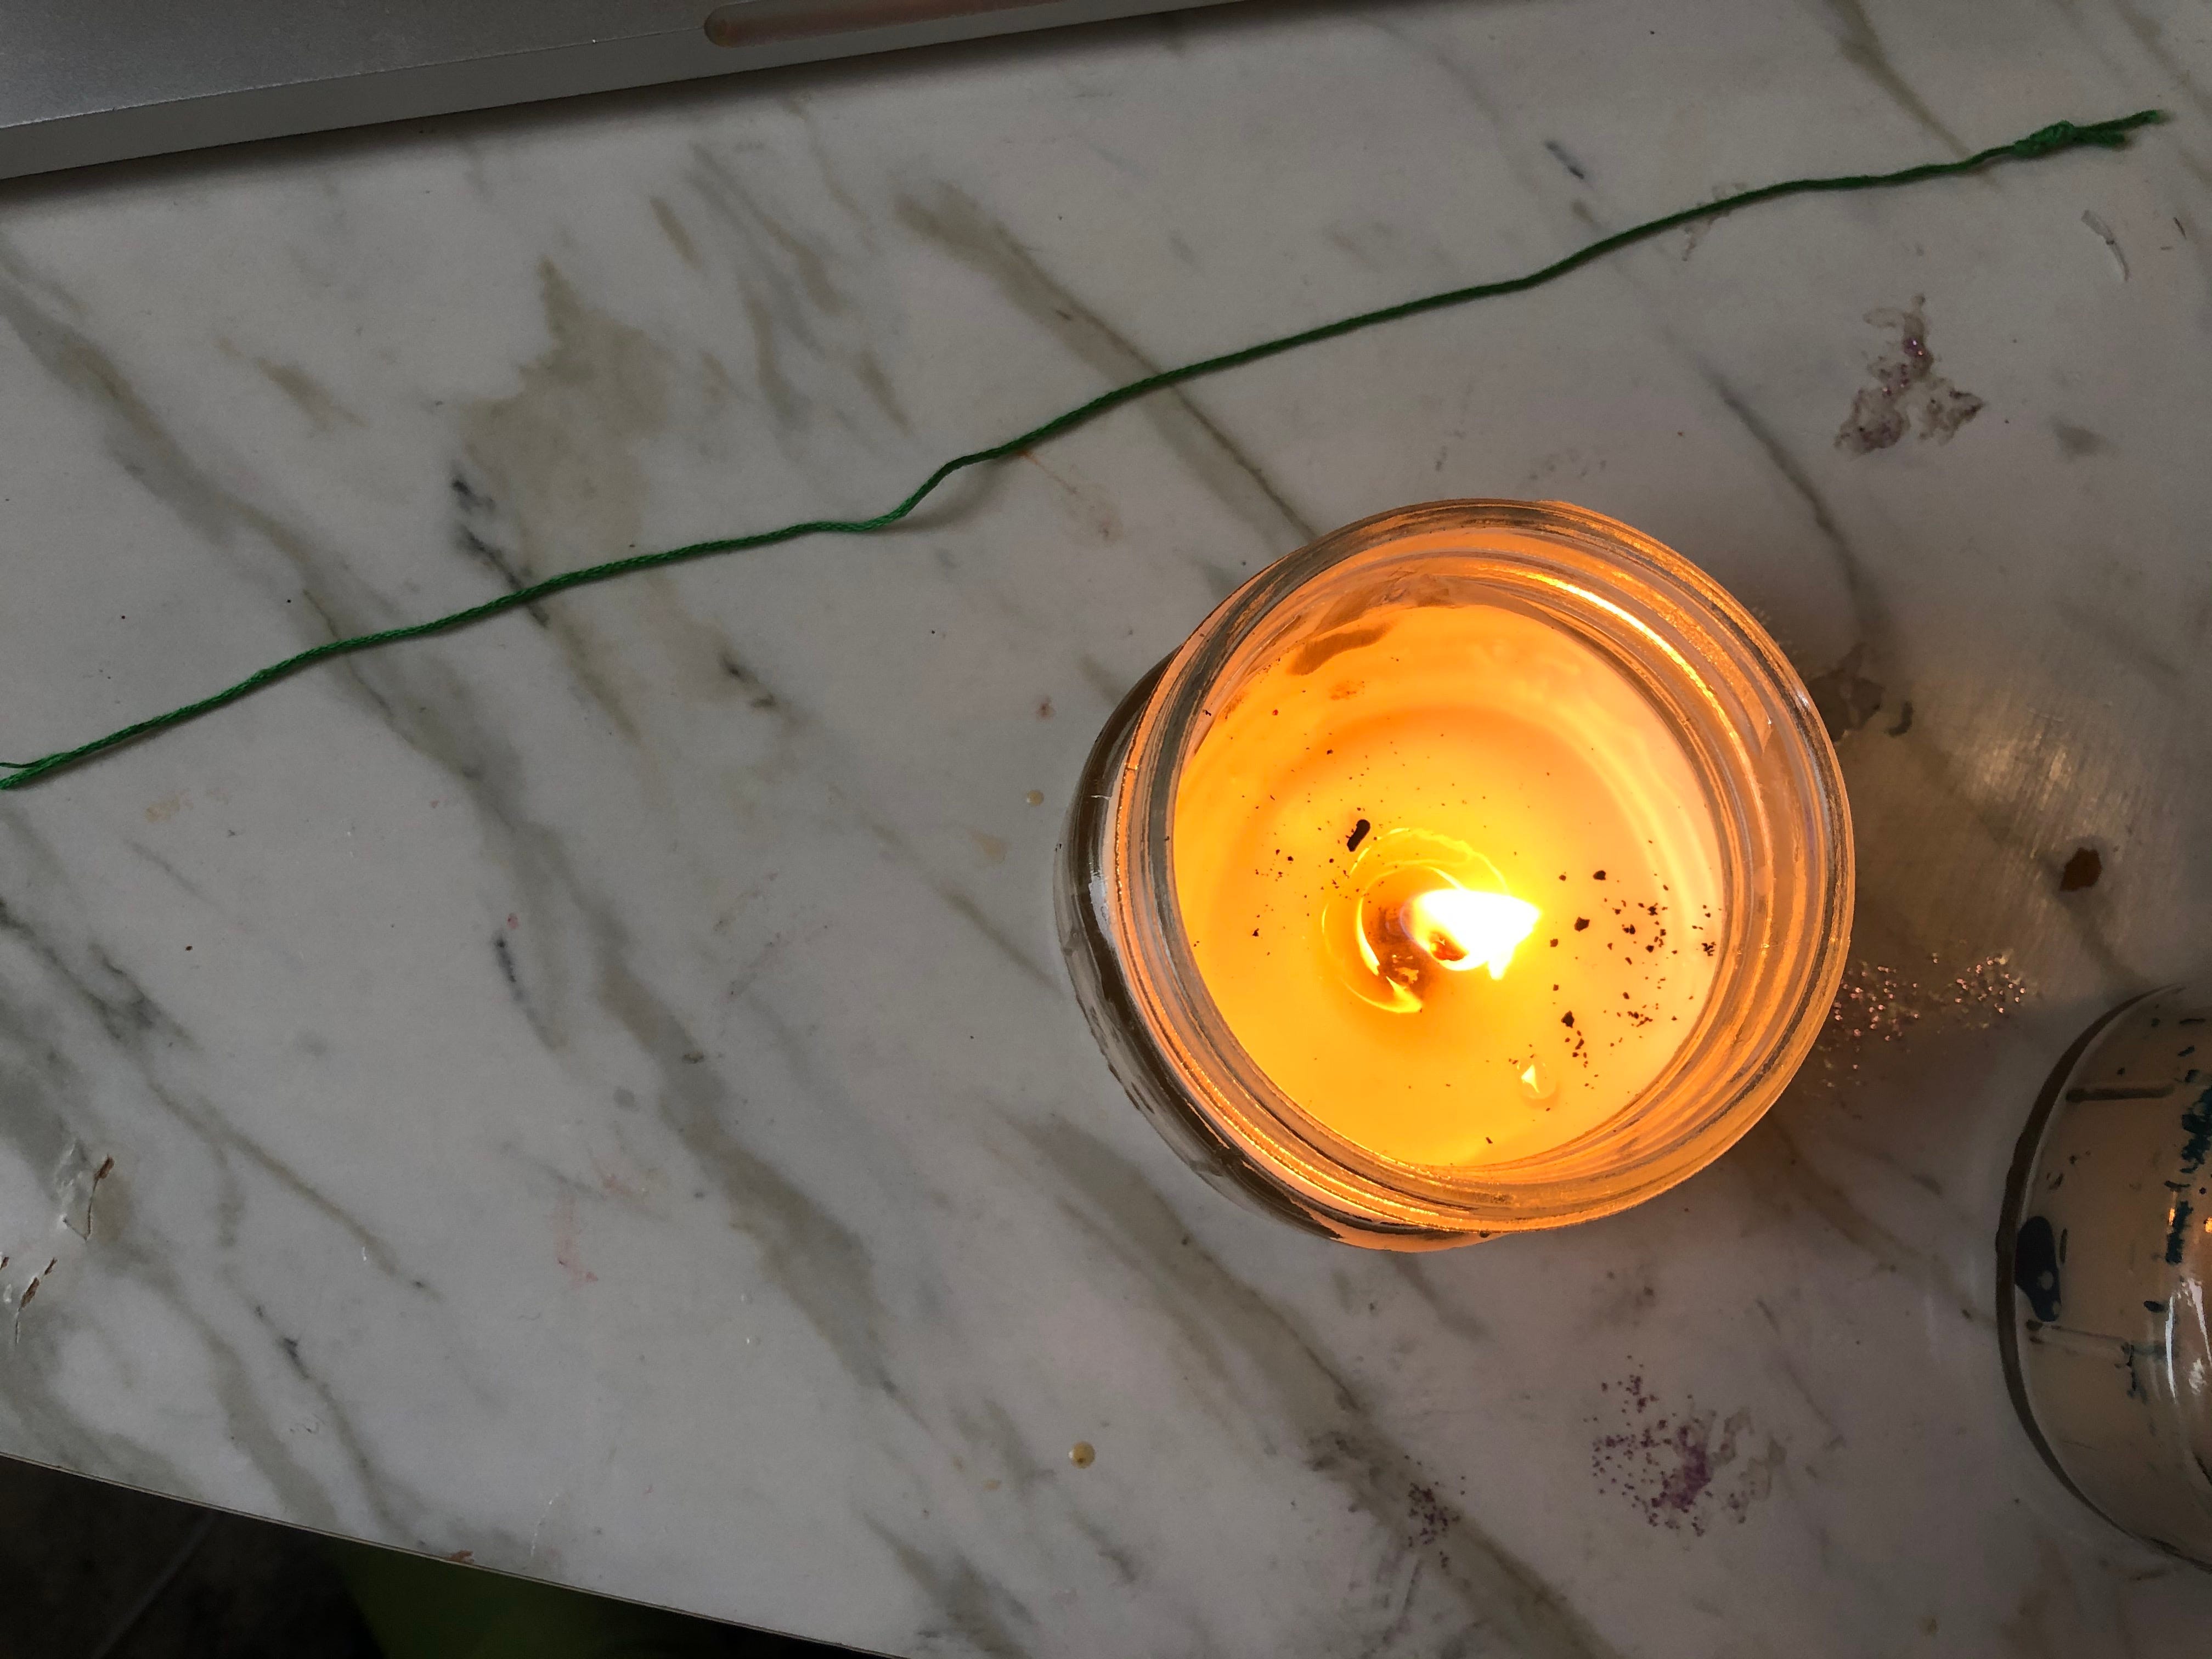
To start, find some cotton string. It needs to be 100% cotton (you don’t want to set polyester on fire.) Yarn, macrame rope or any stiffer, wider cotton string is the best for this because it is thicker, however, I didn’t have that in my house so I used embroidery floss. I slightly regret my choice. If I was to do this again with embroidery floss, I would have braided or twisted a few strands together to make a thicker wick. Thicker wicks tend to burn longer, better and are much more aesthetically pleasing. Once you have your cotton string, light a candle. I used one that I will also be melting down for this project, it doesn’t fully matter, but again be mindful of scents.
When the wax starts to pool in the candle, blow out the candle and but the string in the hot wax for a couple of seconds. Take out the strings and let it cool.
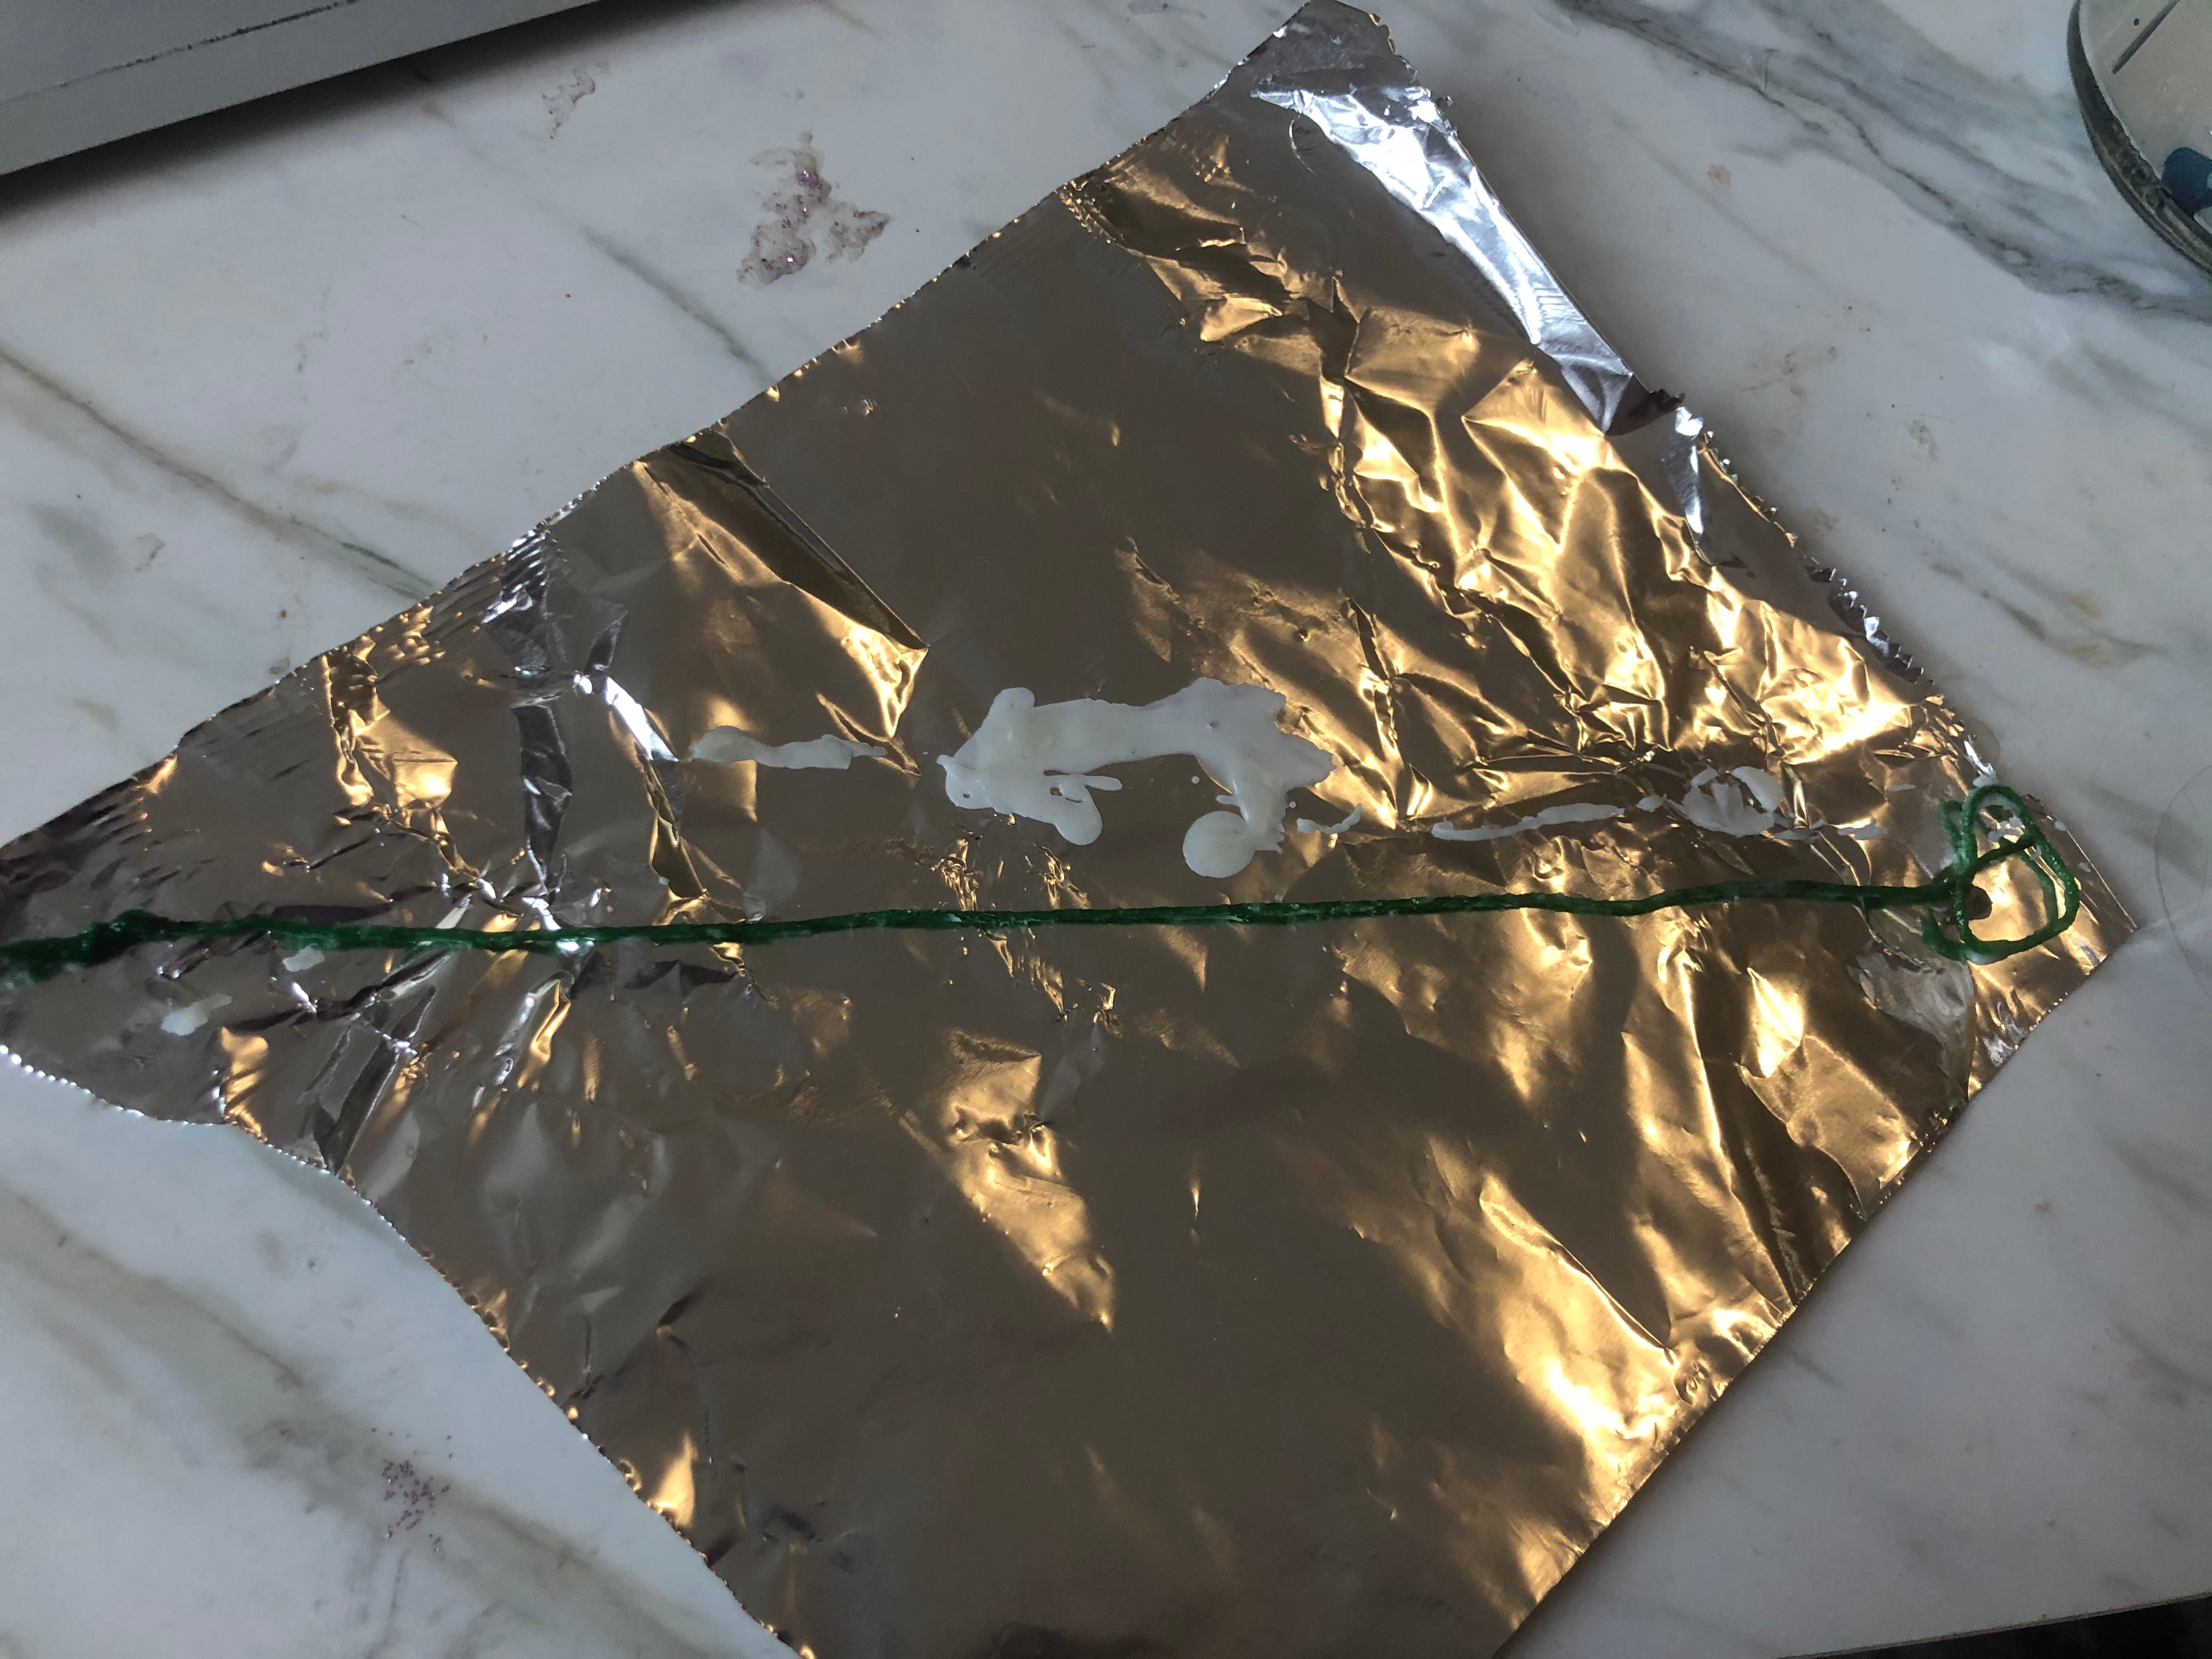
Again, I made a mistake using such a thin string. If I did this again, I would braid together multiple of this thickness.
While you wick is drying, get a pot of water and put it over minium heat. As a note, I always use one of our “bad pans” while doing this. You will see that the good pans are hanging on the spice rack (the blue ones) and the bad one on the stove. You won’t damage your pans doing this, but sometimes wax can get into the pan or a film from the outside of the candle, etc so I prefer to use pans that I don’t cook food in. Yeah, you heard me right, I have crafting only pans in my tiny New York apartment, somebody needs to stop me.

You should have enough water in the pot so that when you put in your old candles about half of the jar’s height is submerged. If you are using candles that were not in a jar and added them to a pot, put the pot over the boiling water to create a double boil.
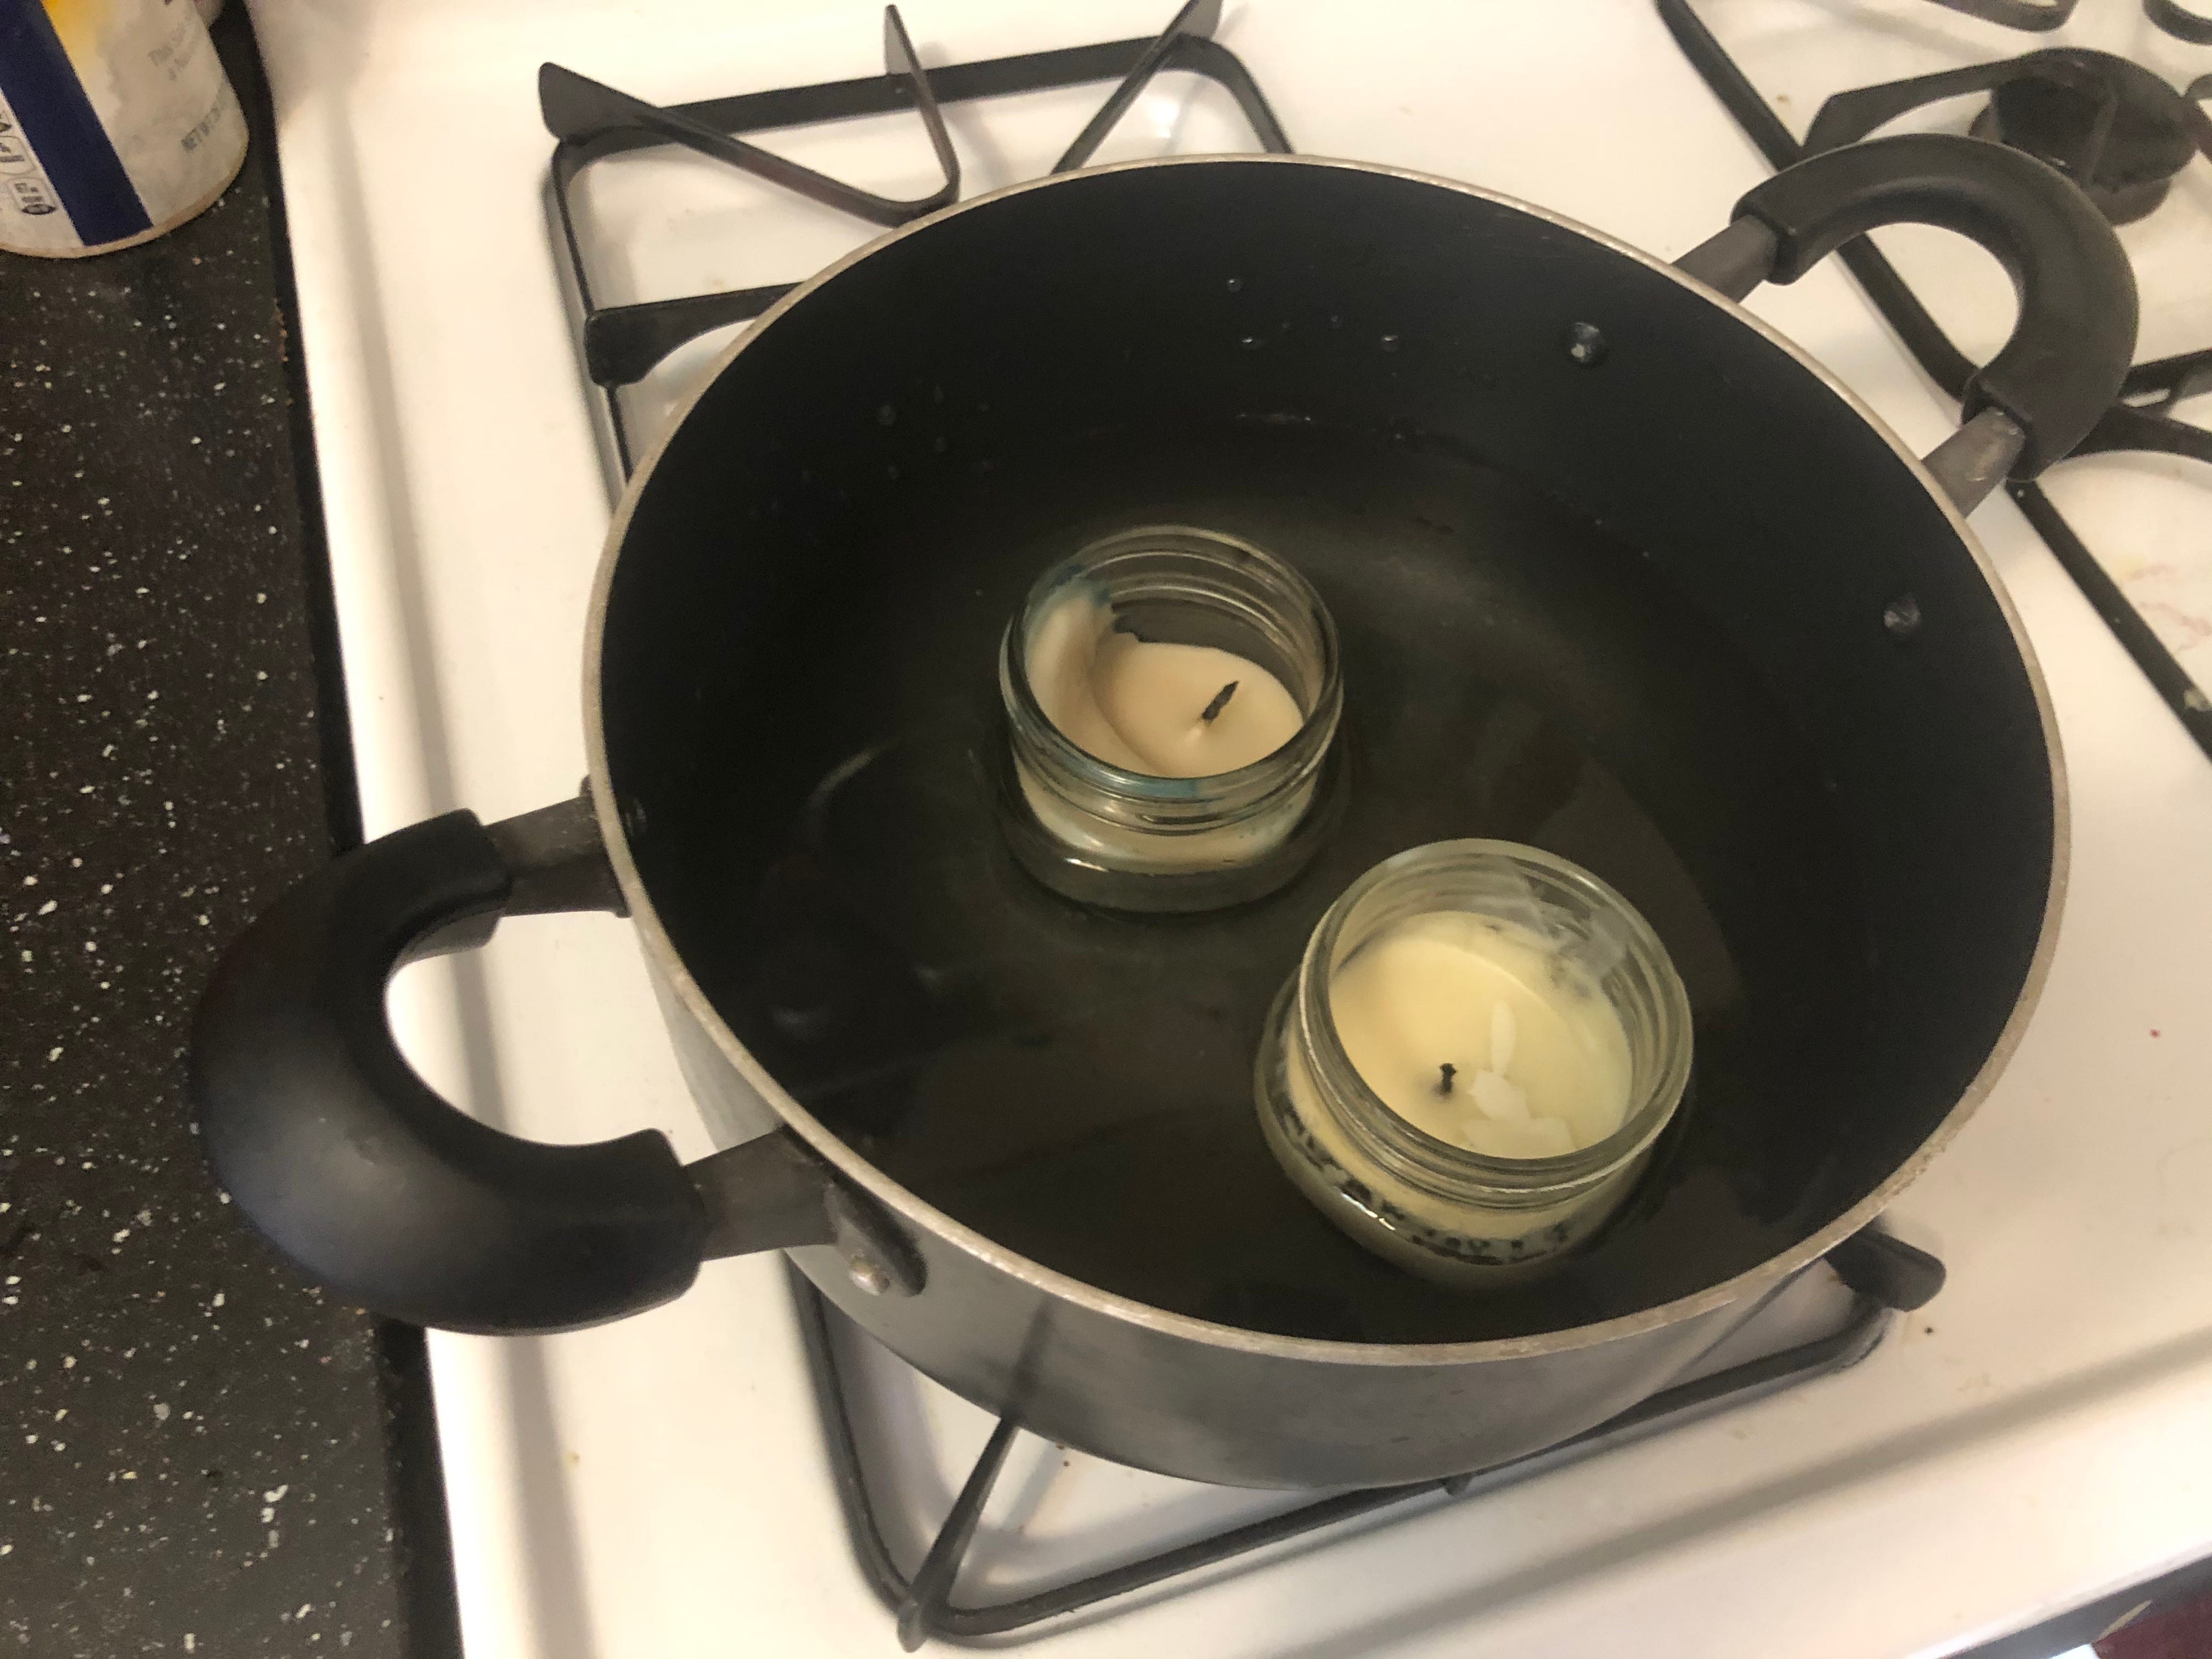
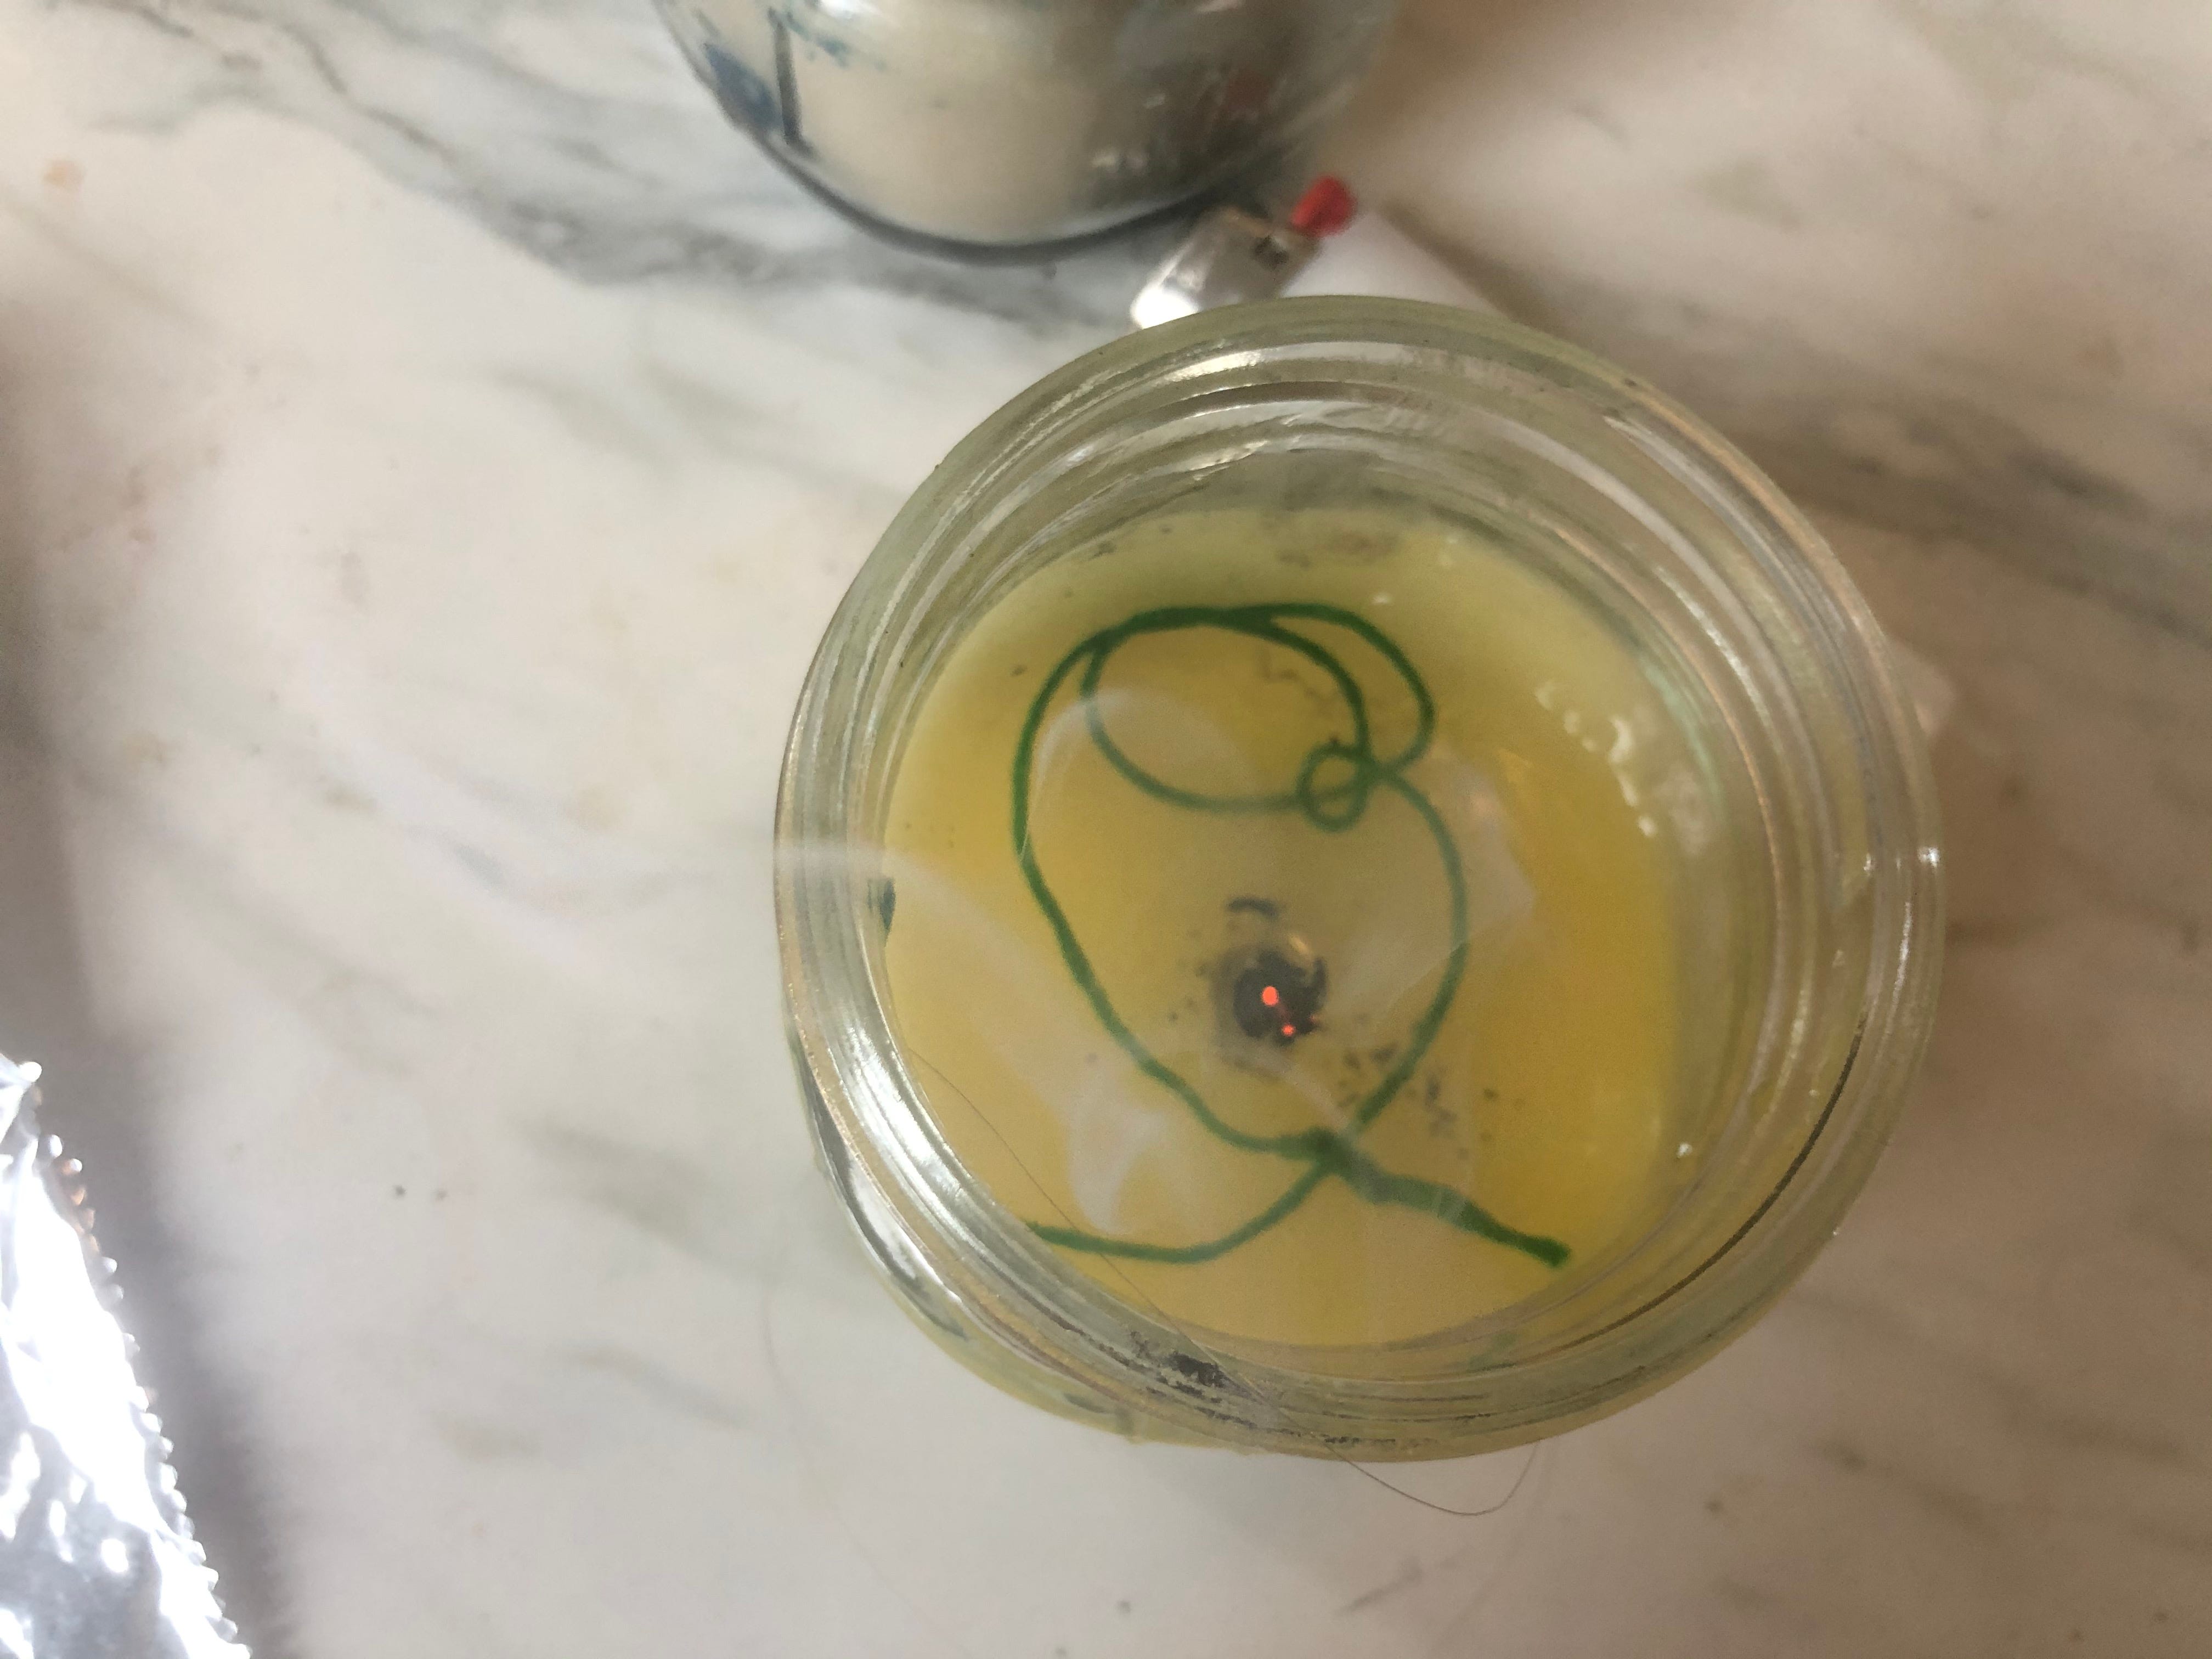
As the water heats the candle wax will start to melt. If you want to add more scents (for example I added vanilla extract to give it an extra punch of flavor), you have to make sure you heat your candles to 180 degrees Fahrenheit to make sure it binds with the wax. To check the wax heat, simply stick the end of a turkey or candy thermometer into the wax. They make special candle thermometers as well, but you don’t need it unless you are trying to get really fancy. As the wax melts, get your wick ready. Get a new jar or metal/glass container that you will be pouring into (I often use vintage teacups when pouring a new candle). Place the wick into the container and pour a little wax to stick the wick to the bottom. Let that cool and rest the wick on top of a stick, utensil, so otherwise to keep it up (you can also loop it around the utensil for extra security.)

Finally, take the melted candles out of the hot water (carefully, let’s just say your girl has burnt a finger) and pour the melted wax into the new container.
Try not to move the candle for a couple of hours after you pour the wax as it might mess up how it sets. Let the candle set for 24 hours and bam, you have a new candle.
There are a lot of ways to make candles, so if you know it another way, that’s awesome, however, I do think this is the easiest (especially if you already have wicks!).
So here are some things to end this one that have made my quarantine better. Did you know that a ton of Jane Fonda Work Out Tapes are free on YouTube? The 1980s ones are surprisingly hard for being taught by a woman who doesn’t sweat enough to ruin her own blue eye shadow and the 1990s (2000s?) ones are very easy. I like to alternate back and forth. Kast is an app that lets people share their screens. My sketch group all watched Clue (1985) through it the other night, would recommend both the platform and rewatching Clue with a bunch of comedians if you can.
Thanks for hanging around for today’s Craft Cult. I am going to be sending the next one later this week and it’s going to be a great one for kids and adults so make sure to tell your friends to subscribe. If you do any of the projects from this newsletter, please throw a pic up on social media, I would love to see them. Use #CraftCulter (CraftCult by itself turned out to be a beer hashtag Instagram) or tag me @Humancomedian (FB: Rosa Escandon)
Happy Burning!
