


Long time no see!
Sorry, there was no Craft Cult last week. I am going to be honest, weekly content is hard and on top of that, some of my crafting energy has been going to a new project I have been working on. I am making ten eps of an original crafting show, Craft It! on Rizzle, a short video app. Every week I have been doing minute-long how-tos on viral crafts, some of which you have already seen here :) It’s been fun, but a lot of crafting!
So I am writing the same craft up here that I doing for the show this week (it comes out Fridays on the app if you want to check it out), so I am sorry in advance if you follow me everywhere and don’t want to see it! This craft comes from Pinterest originally and is really simple, but you need two things: Perler beads and jump rings. I have both. The rings are leftovers from my Etsy earring-making side hustle. I have pearler beads mostly because of my boyfriend. He doesn’t like crafting very much and wouldn’t call himself creative but the one craft I can get him to do with me is make Perler bead designs. Here are a couple of his pieces (I only share because I think they are super cool).

Don’t worry, we are going much simpler. We are going to make a daisy chain.
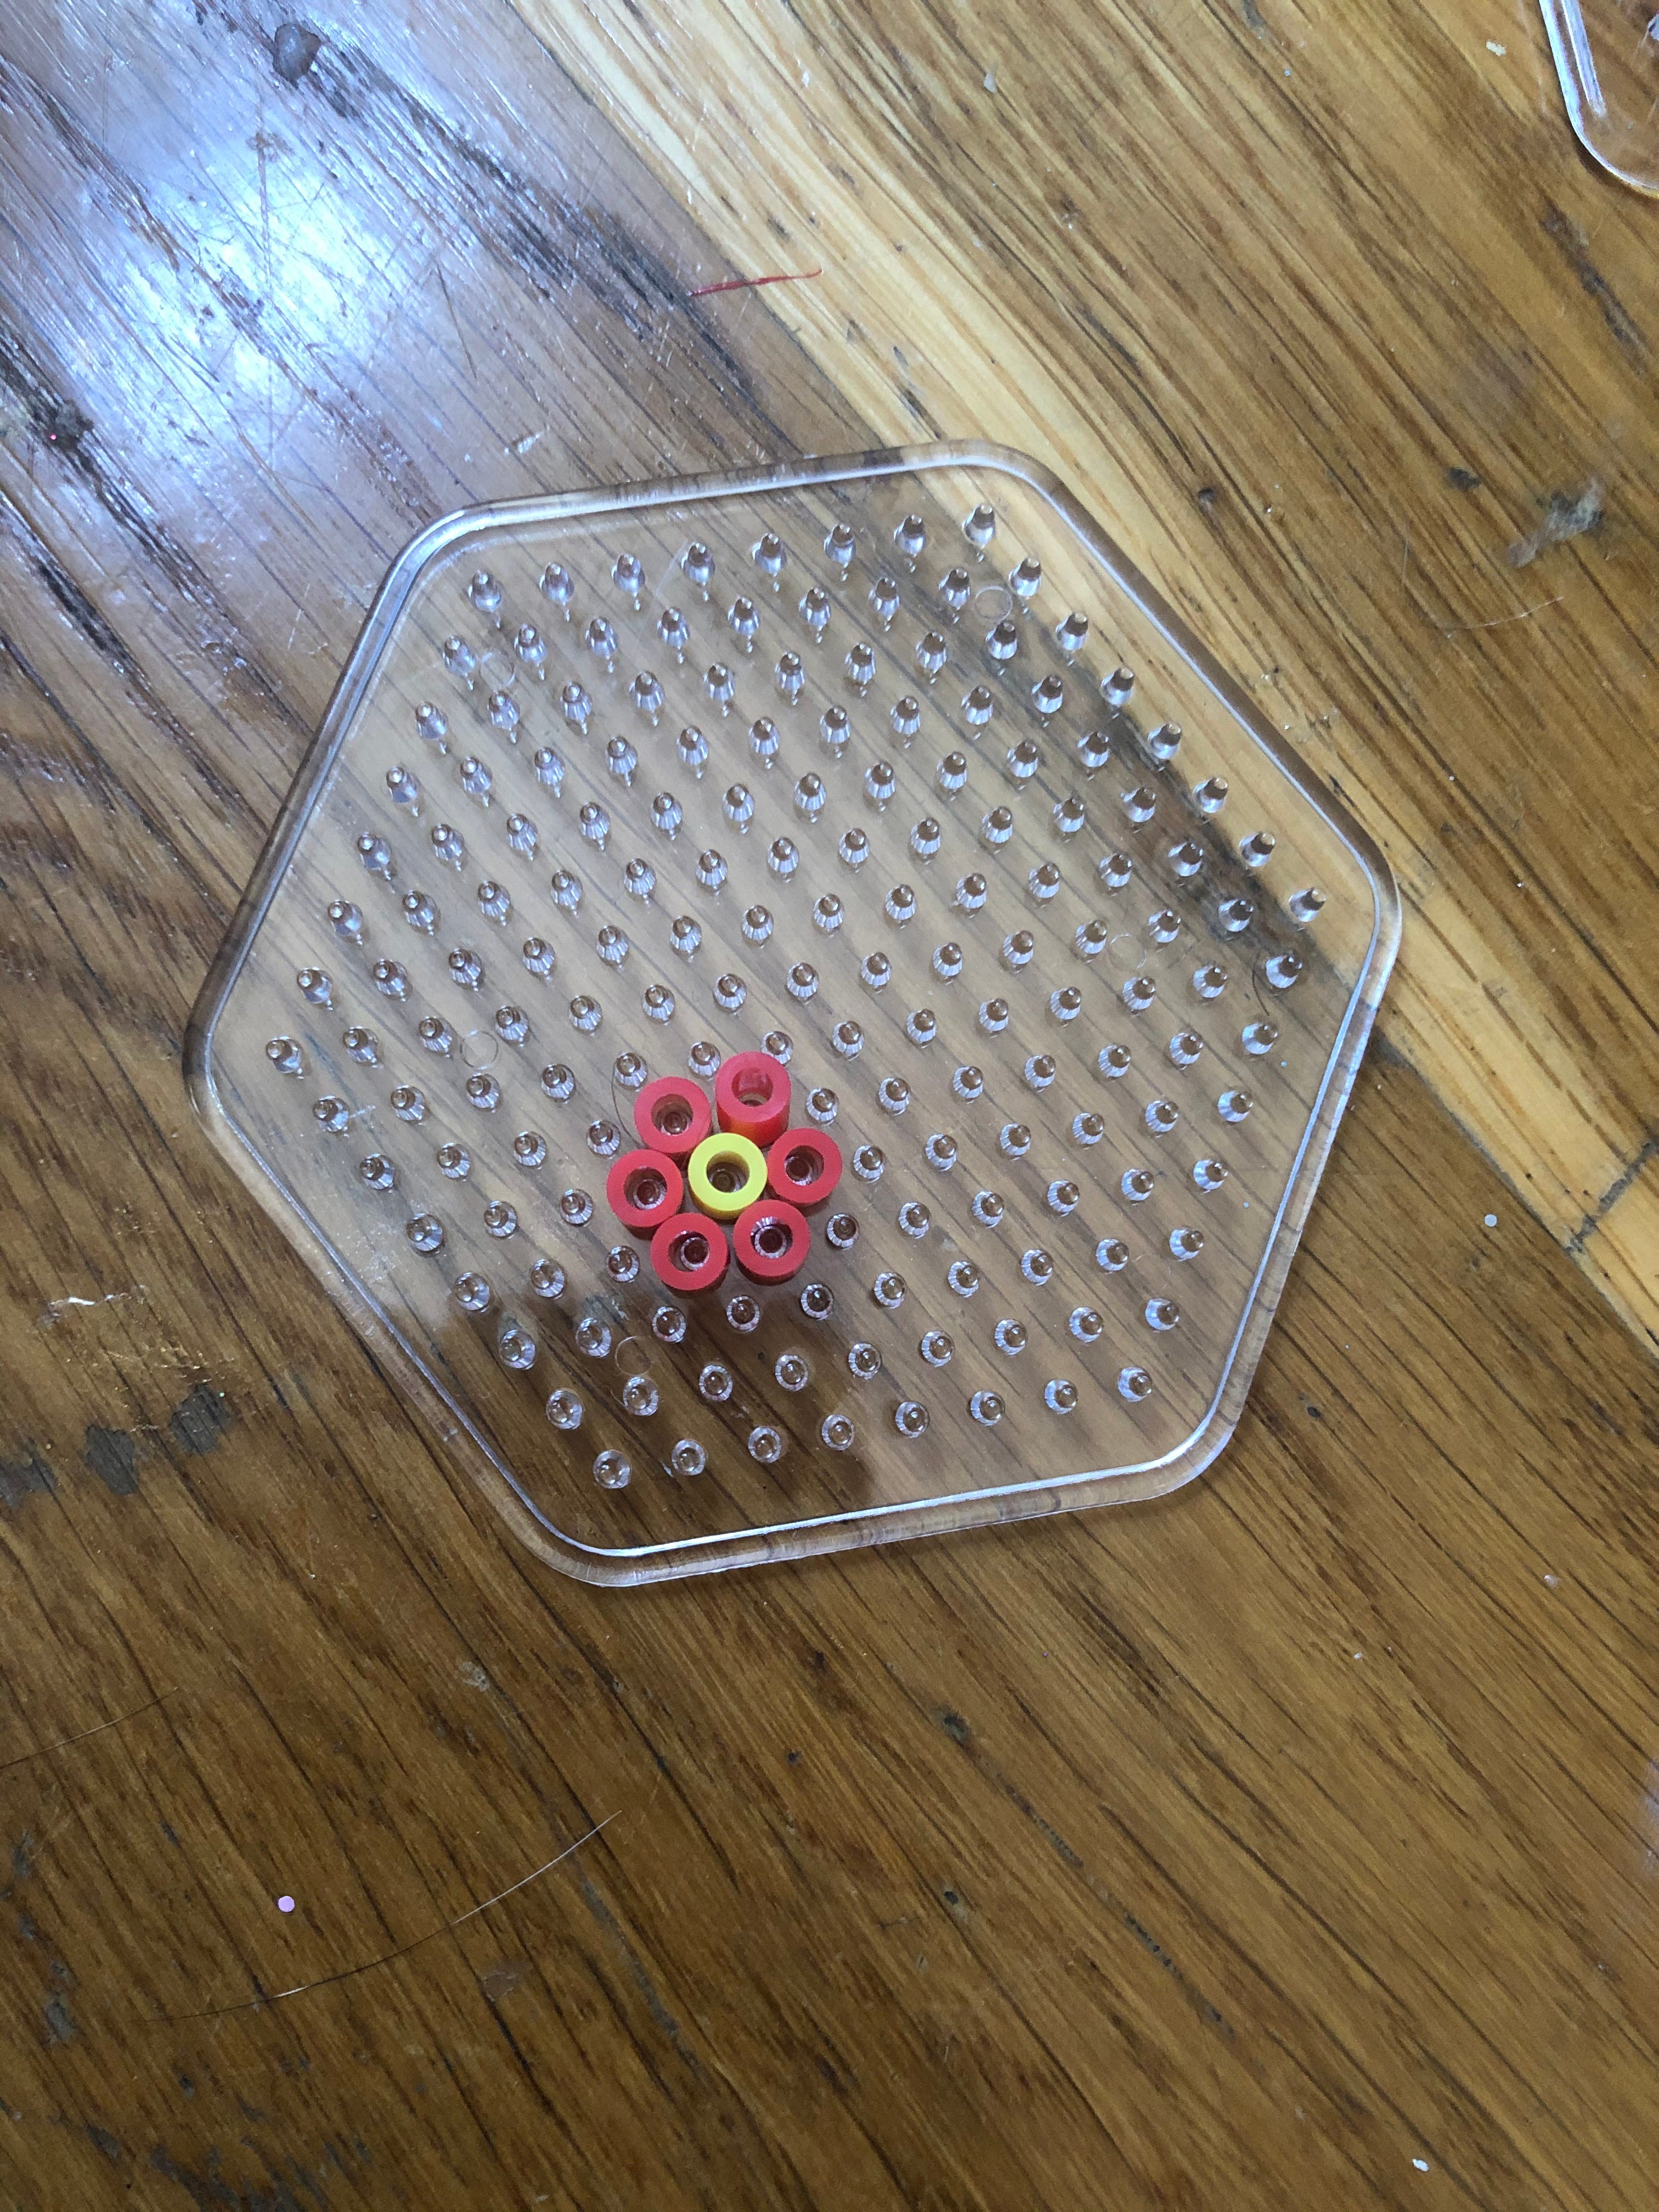
To start you are going to need Perler beads and a hexagonal board. It’s important that the board had hexagonal pegs. Most sets will come with one or two, they are usually the ones that are weird shapes.

Start by adding a bead of one color onto your board and then add six beads of a different color around it. It should look like a little cartoon flower.
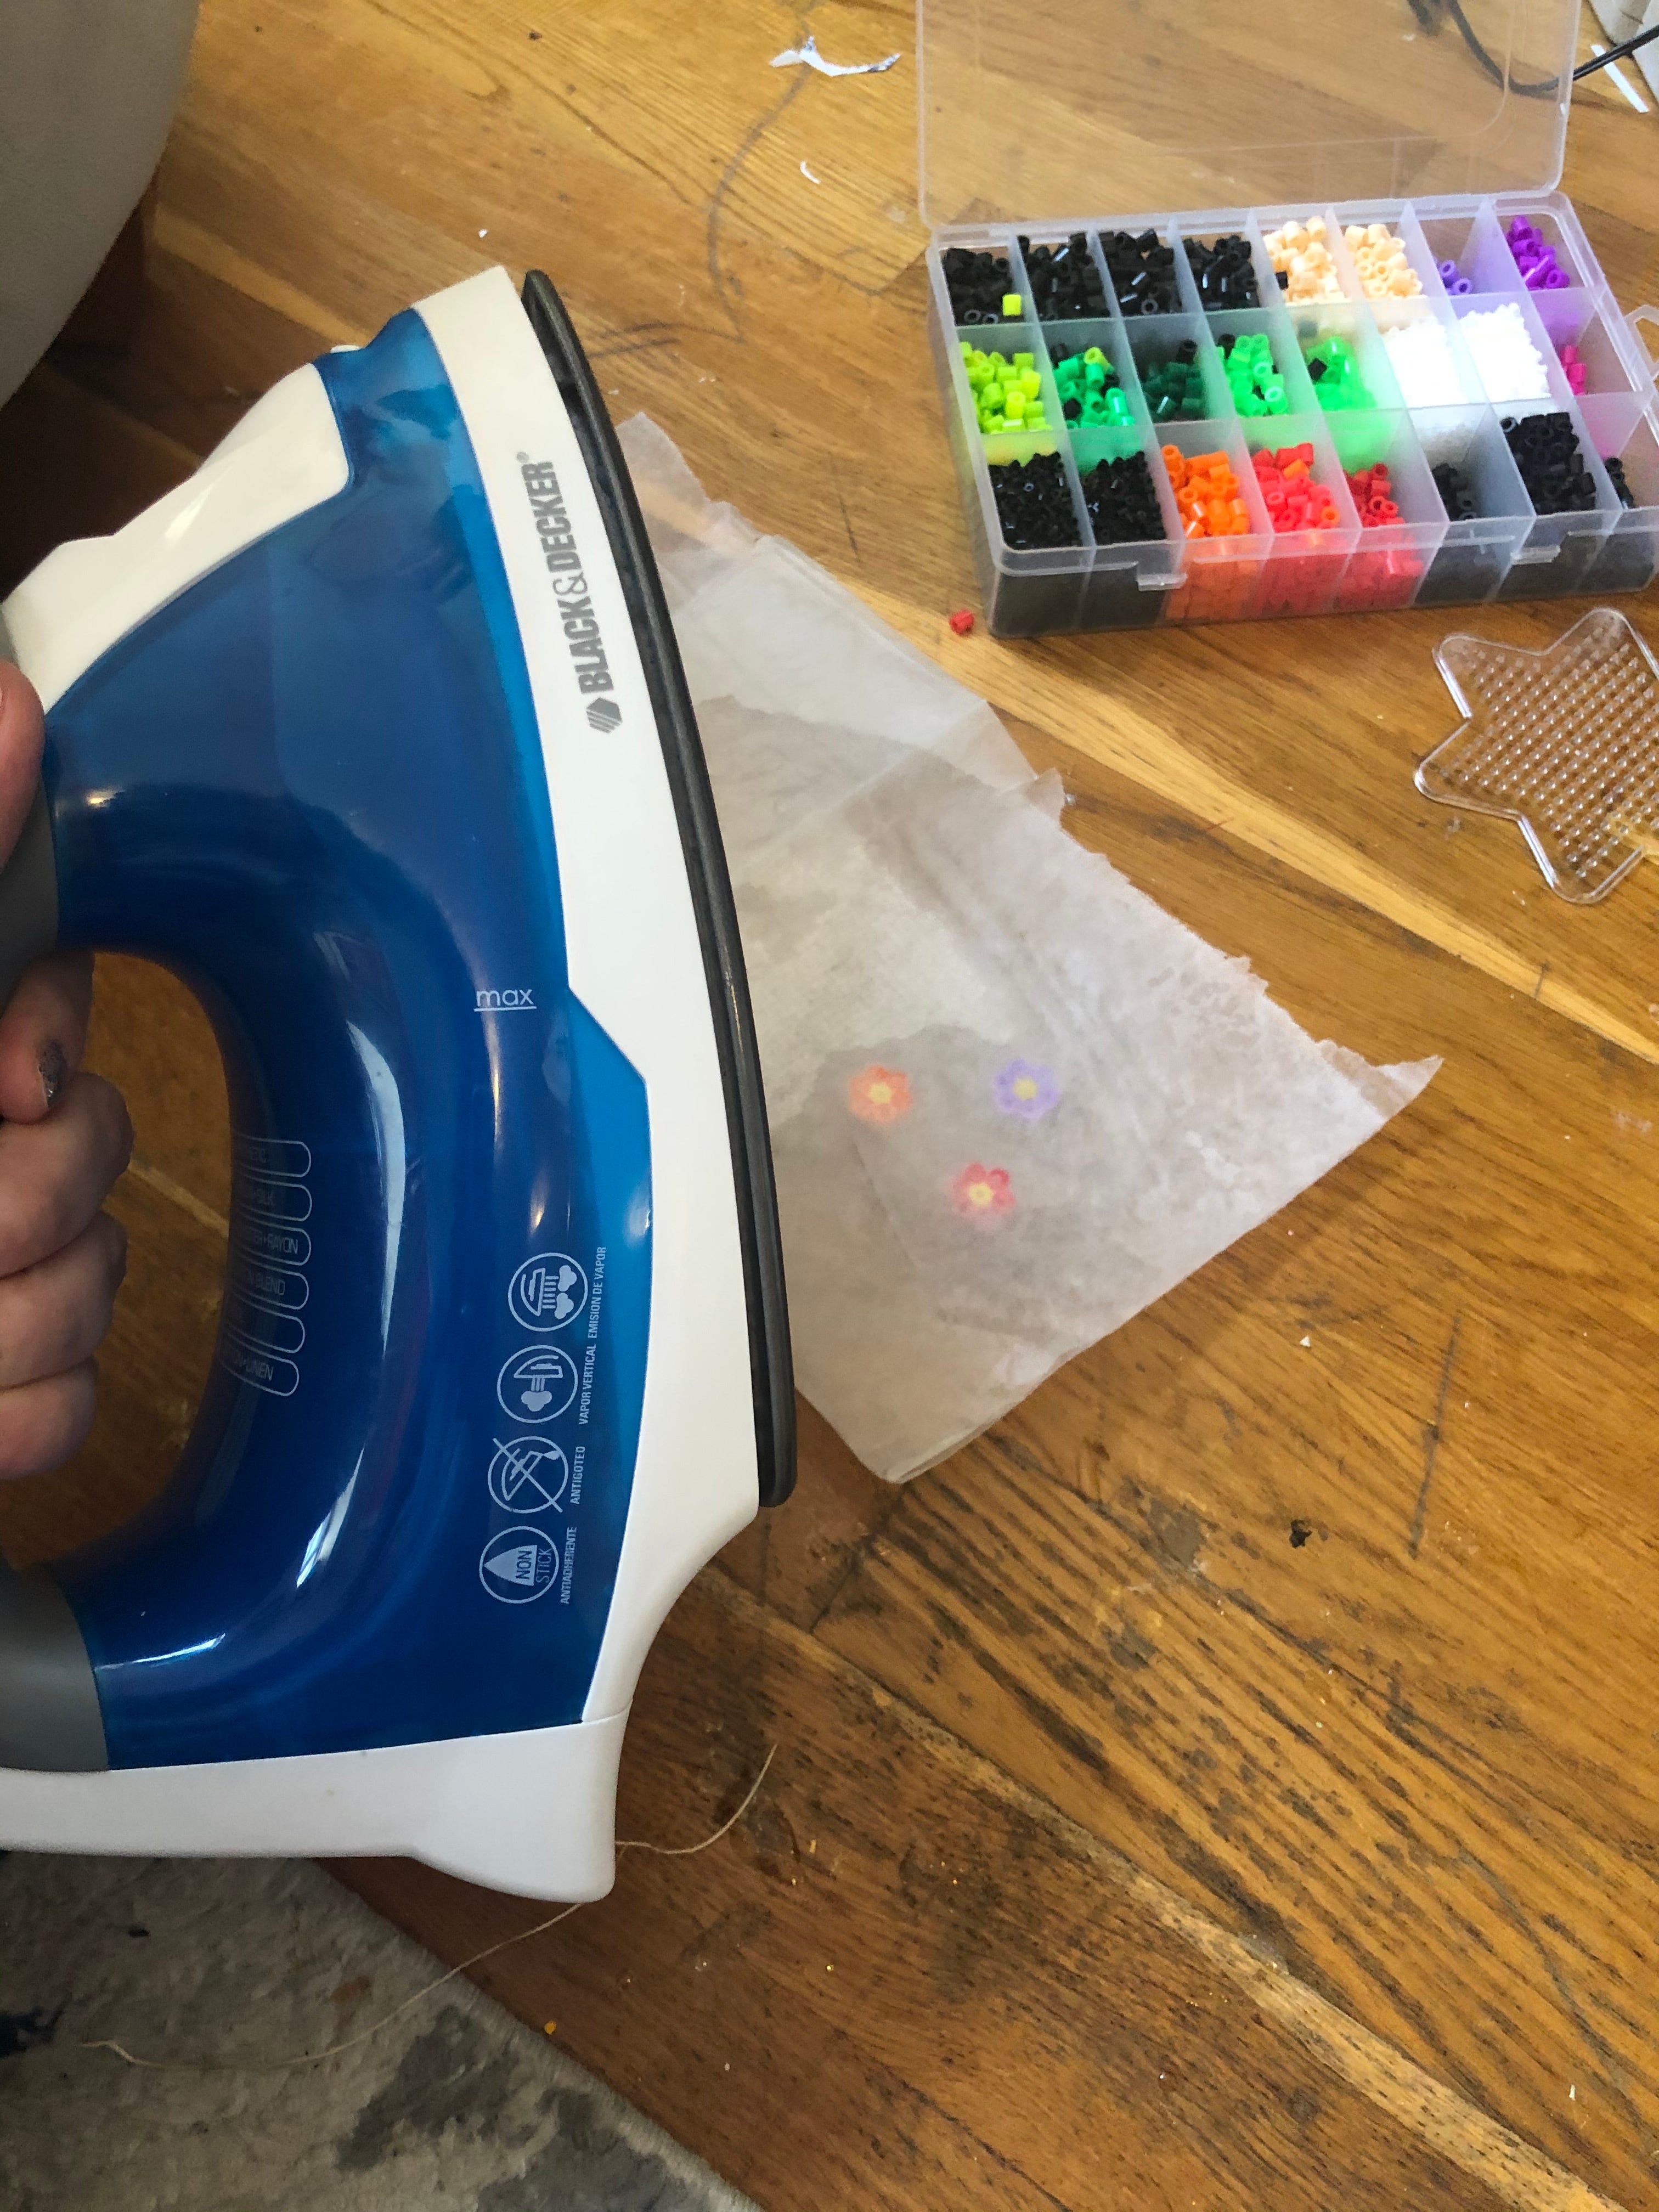
Make a couple more and then cover the board with a piece of wax paper and use a warm to hot iron to gently press the beads.
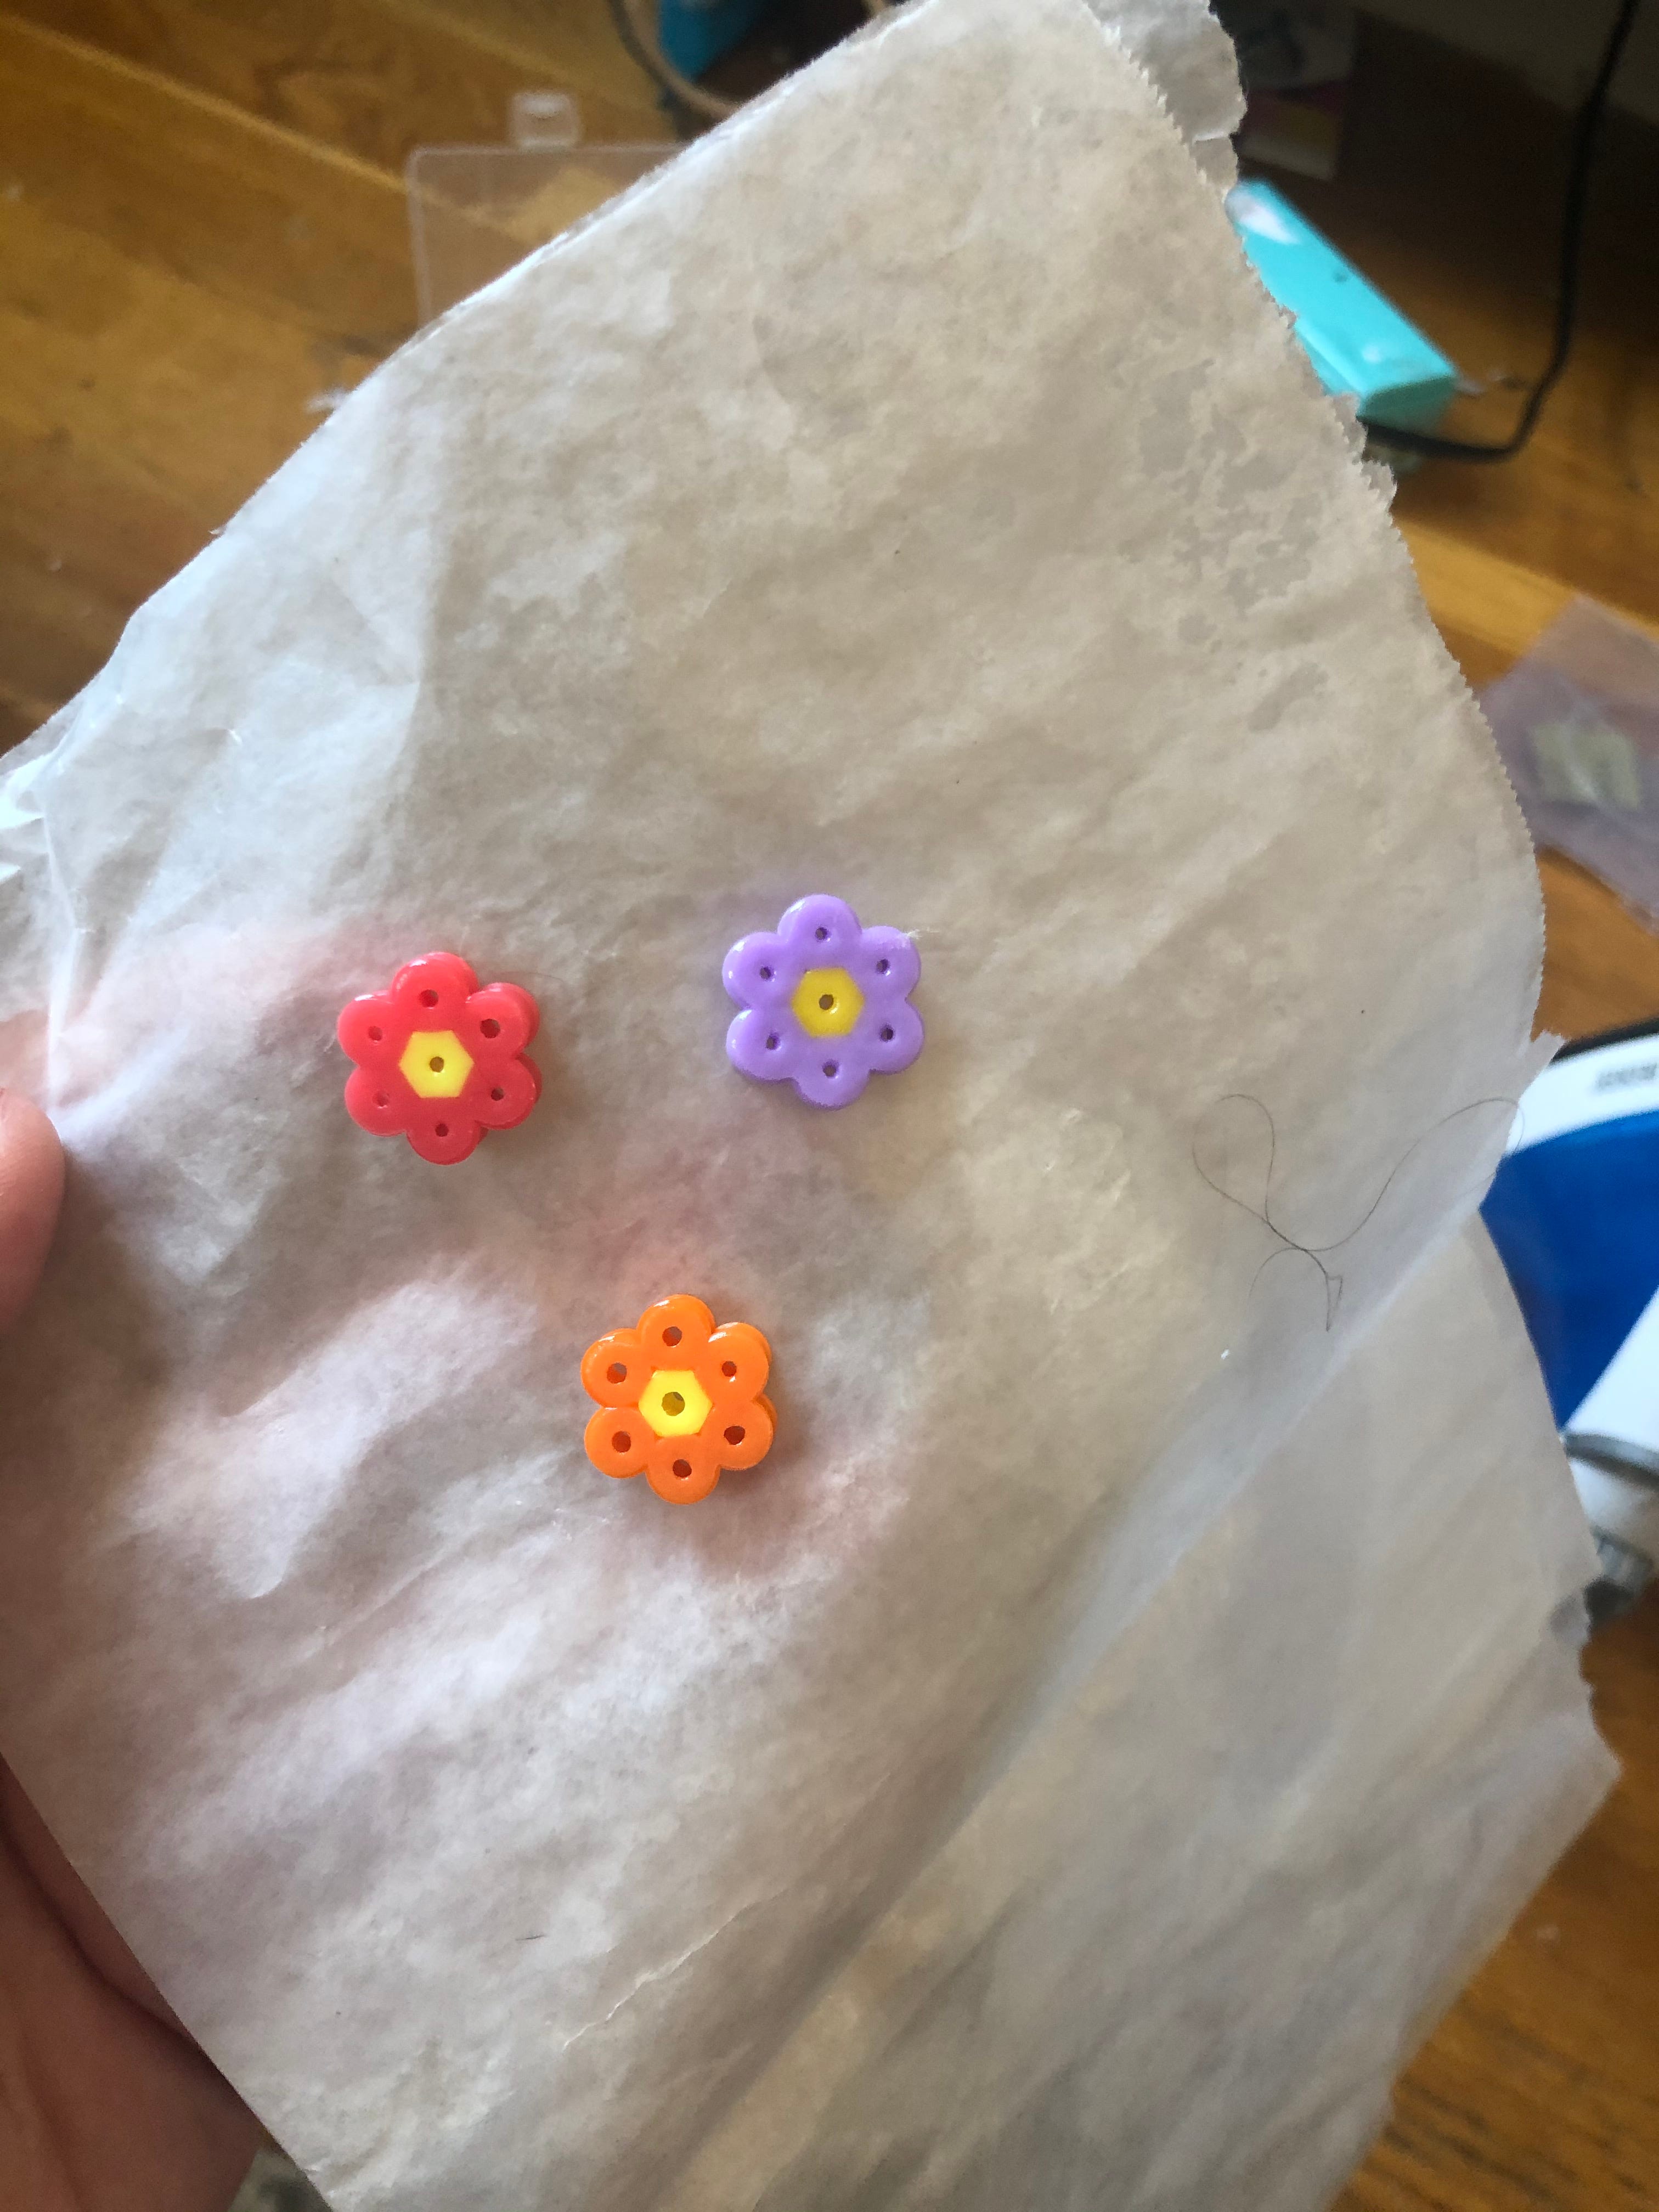
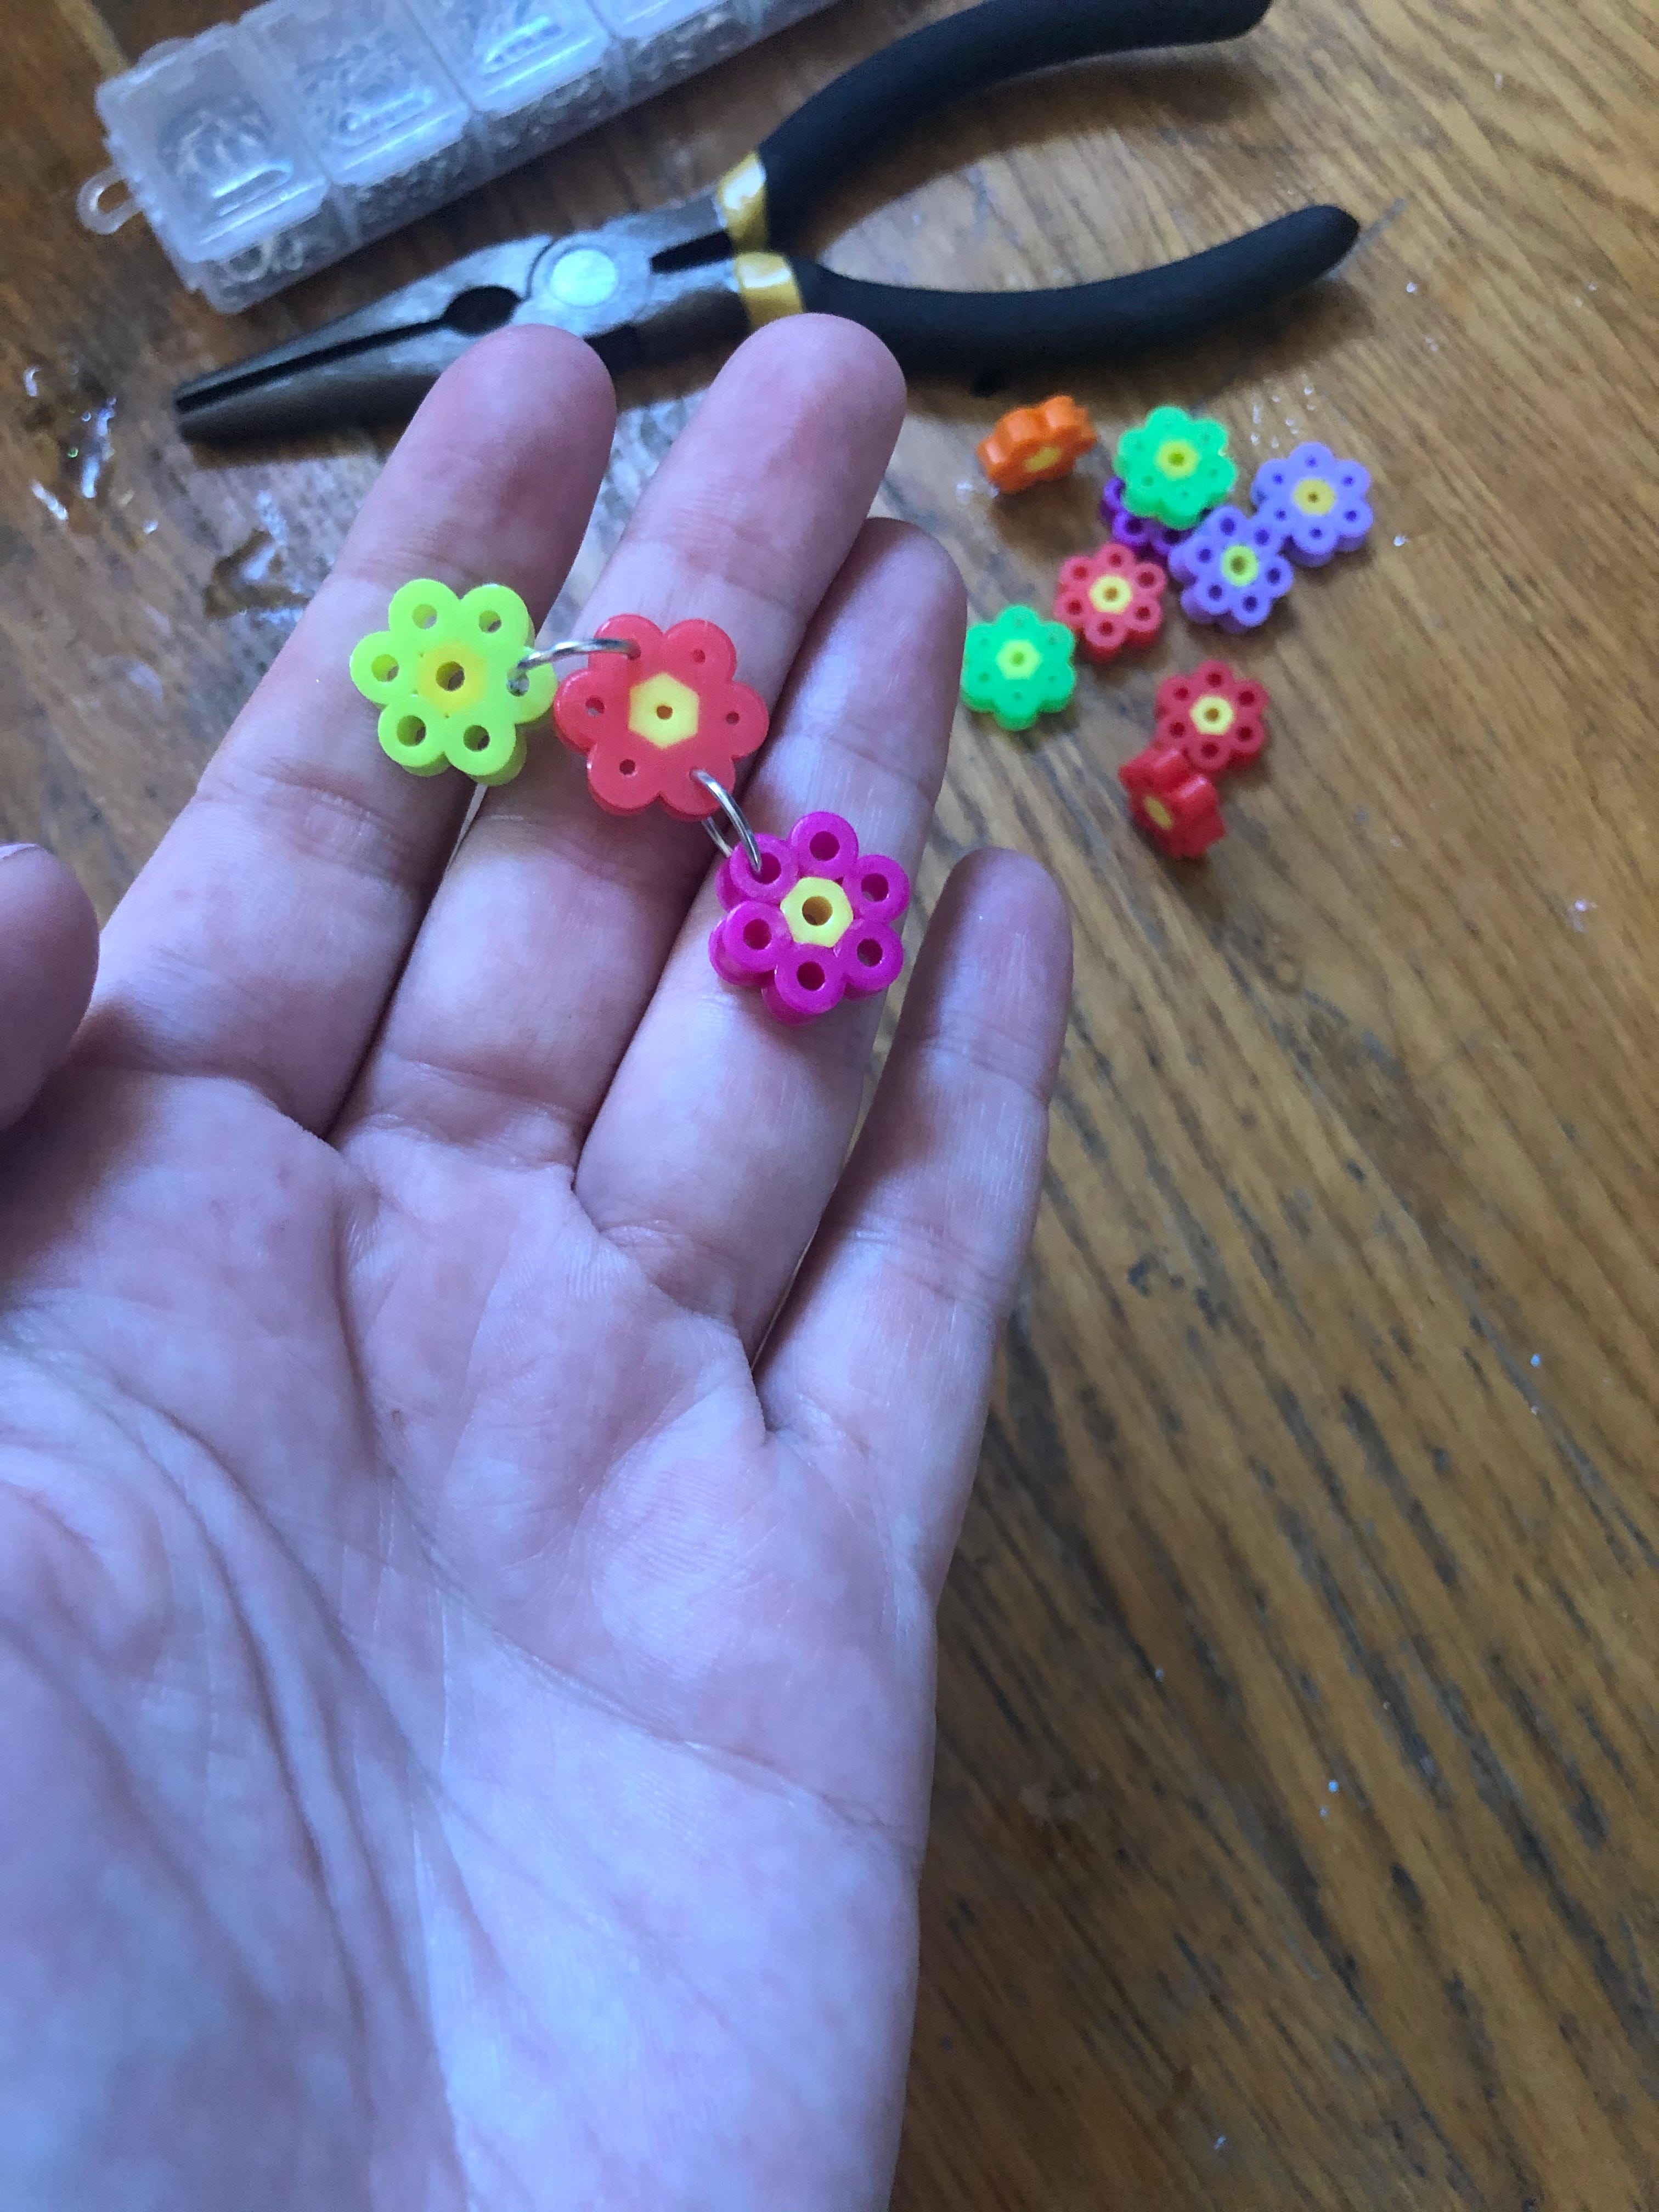
It should only take the beads a few seconds to fuse together. If you want them to be really secure you can iron on one side, take them off the board, put another sheet of wax paper on top and iron them on the other side. You should have something that looks like this.
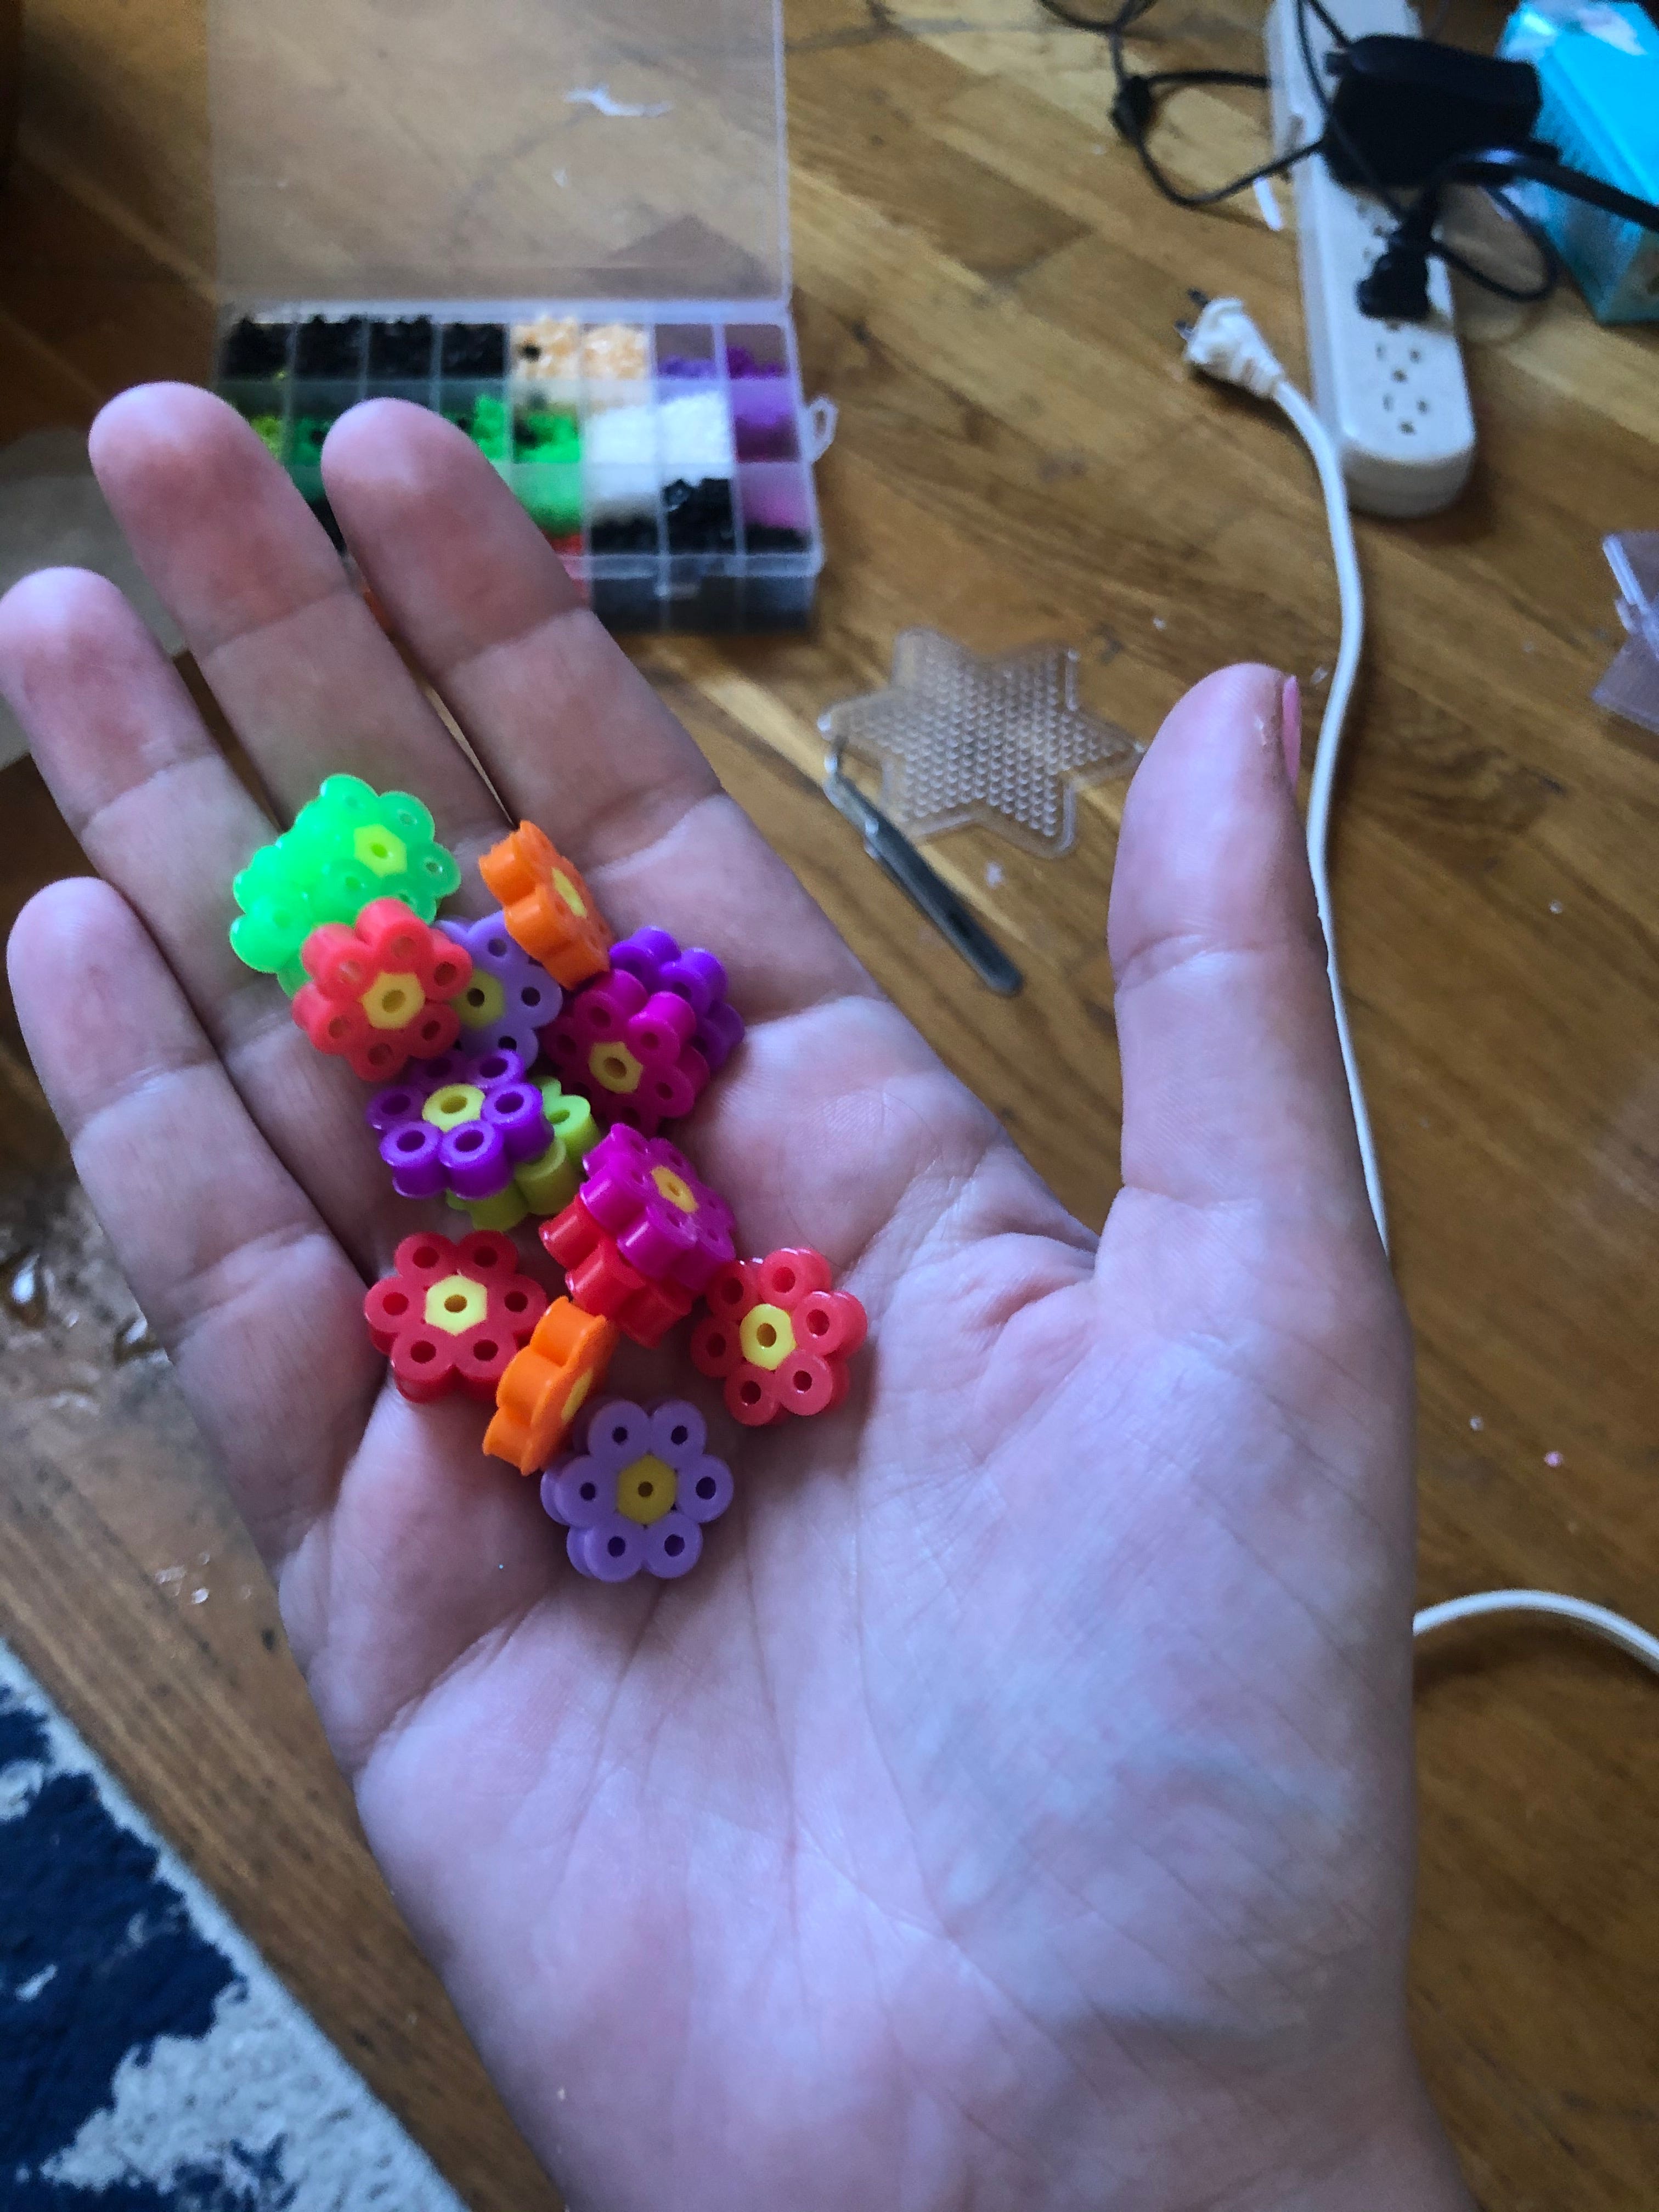
Depending on your length of chain, you will need to make more. I decided to make mine into a necklace but I have also seen people use them for chain wallet holders or purse straps so think about what you want to use it for and how long it would need to be.
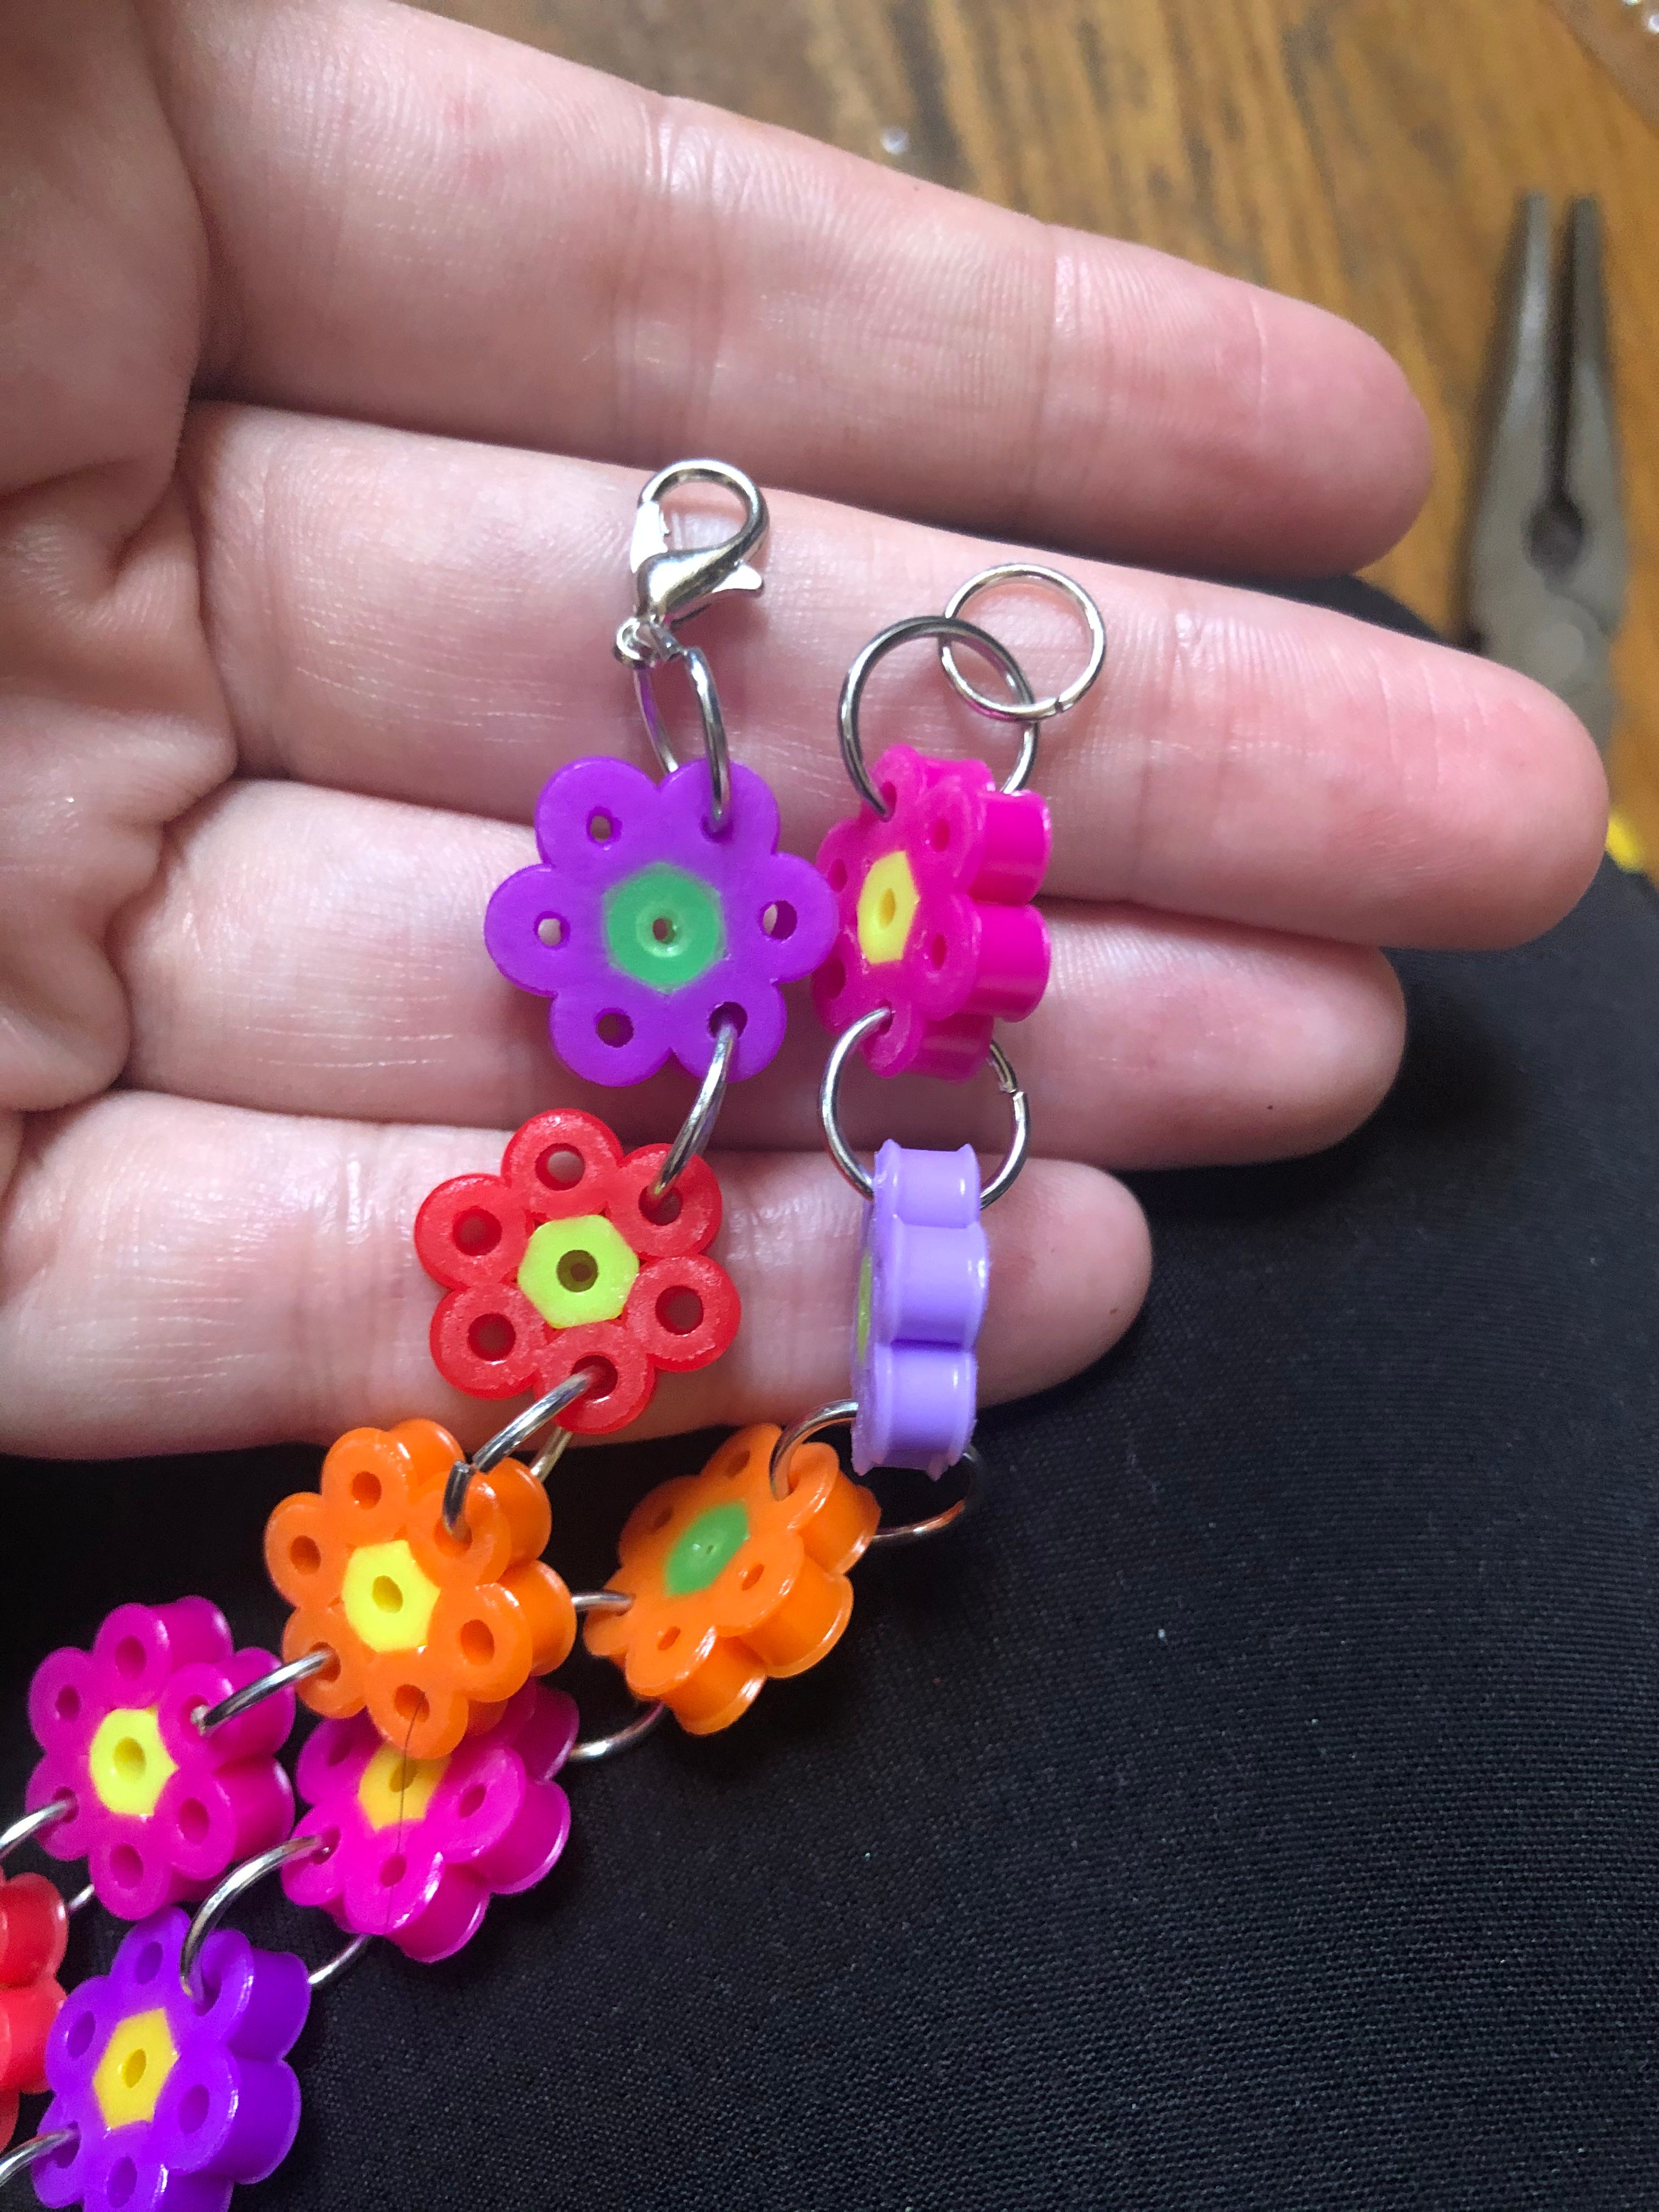
Now it’s time to get your jump rings out. Thread the ring through the hole of the bead and add the hole of another bead through the same ring. Close the jump ring. Having pliers ins’t necessary but it will make this go faster. You should have something that looks like this.

Take the bead hole directly opposite across the flower and thread a new jump ring through it and then repeat the process.
Keep doing this until you run out of flowers or hit your desired length.
I took a necklace hook and an extra slightly smaller jump ring to finish mine off.
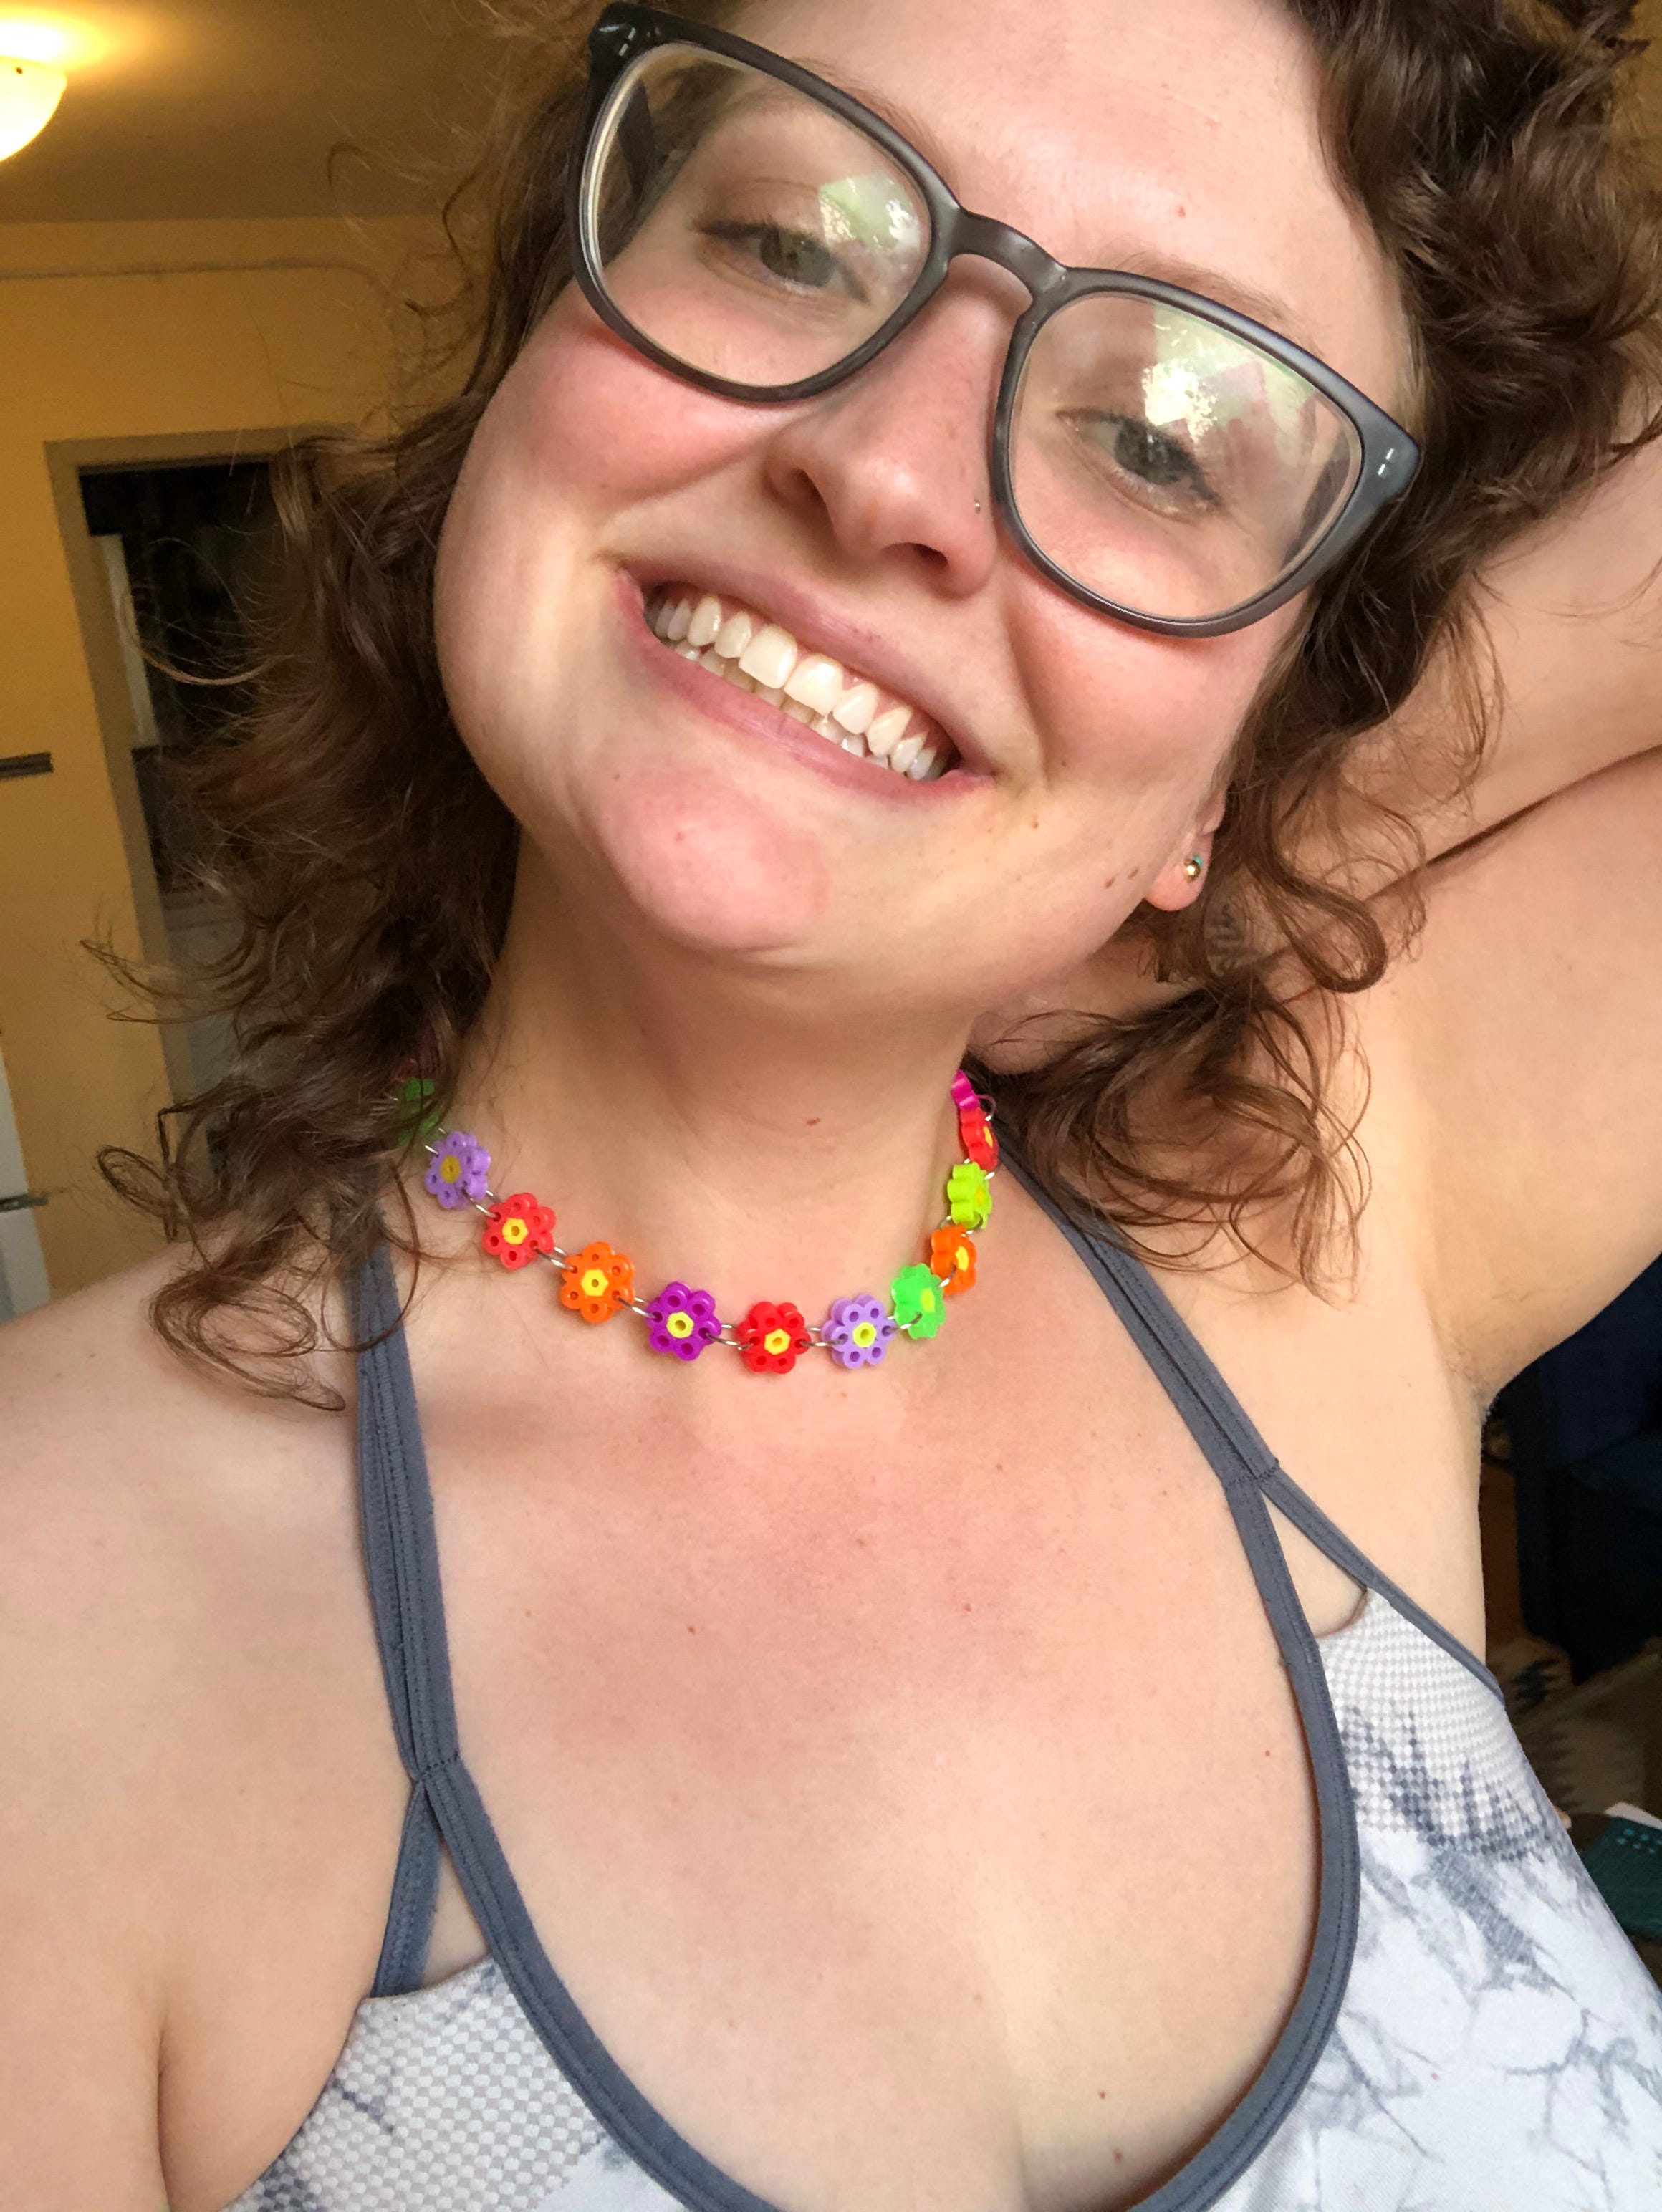
And there you have it, I am feeling all the Limited Too energy that Gen-z tells me is cool again.
If you make this, I would love to see your use for it!
To wrap this up, I just want to call out two things I have been thinking a lot about this week. If you haven’t been keeping up with the Derek Chauvin Trial, it’s important and there are ways you can help, but even just keeping your eyes on it will help with accountability. If you need more background, there is a lot of resources here. Also, this week marked Trans Visibility Day. There are some great infographics here with some ways to help trans kids especially and those who need it.
As always stay safe and stay crafting