


Puzzle me this Batman!
More homemade gifts, Rosa? It's the 26!

Happy Boxing day y’all,
Every year I send gifts late in a tradition, I like to call “Happy Spanish Christmas.” It’s a little play on that Spaniards usually celebrate on the epiphany giving me two extra weeks to send out presents. So while Christmas is over, you too might still want to make some handmade gifts.
If I am being honest, this is a craft I did last week and I planned to write this up before Xmas but I got too busy to write it. However, I am sending this craft out on the first night of Kwanzaa which is great, because giving children educational toys is a common practice for many on Kwanzaa and that’s what we are making today for my niece and nephew (If you are my niece who lives in Reno, be warned there are present spoilers ahead.) So whether it’s “Spanish Christmas,” Kwanzaa, or just for fun, let’s make some magnetic puzzles.
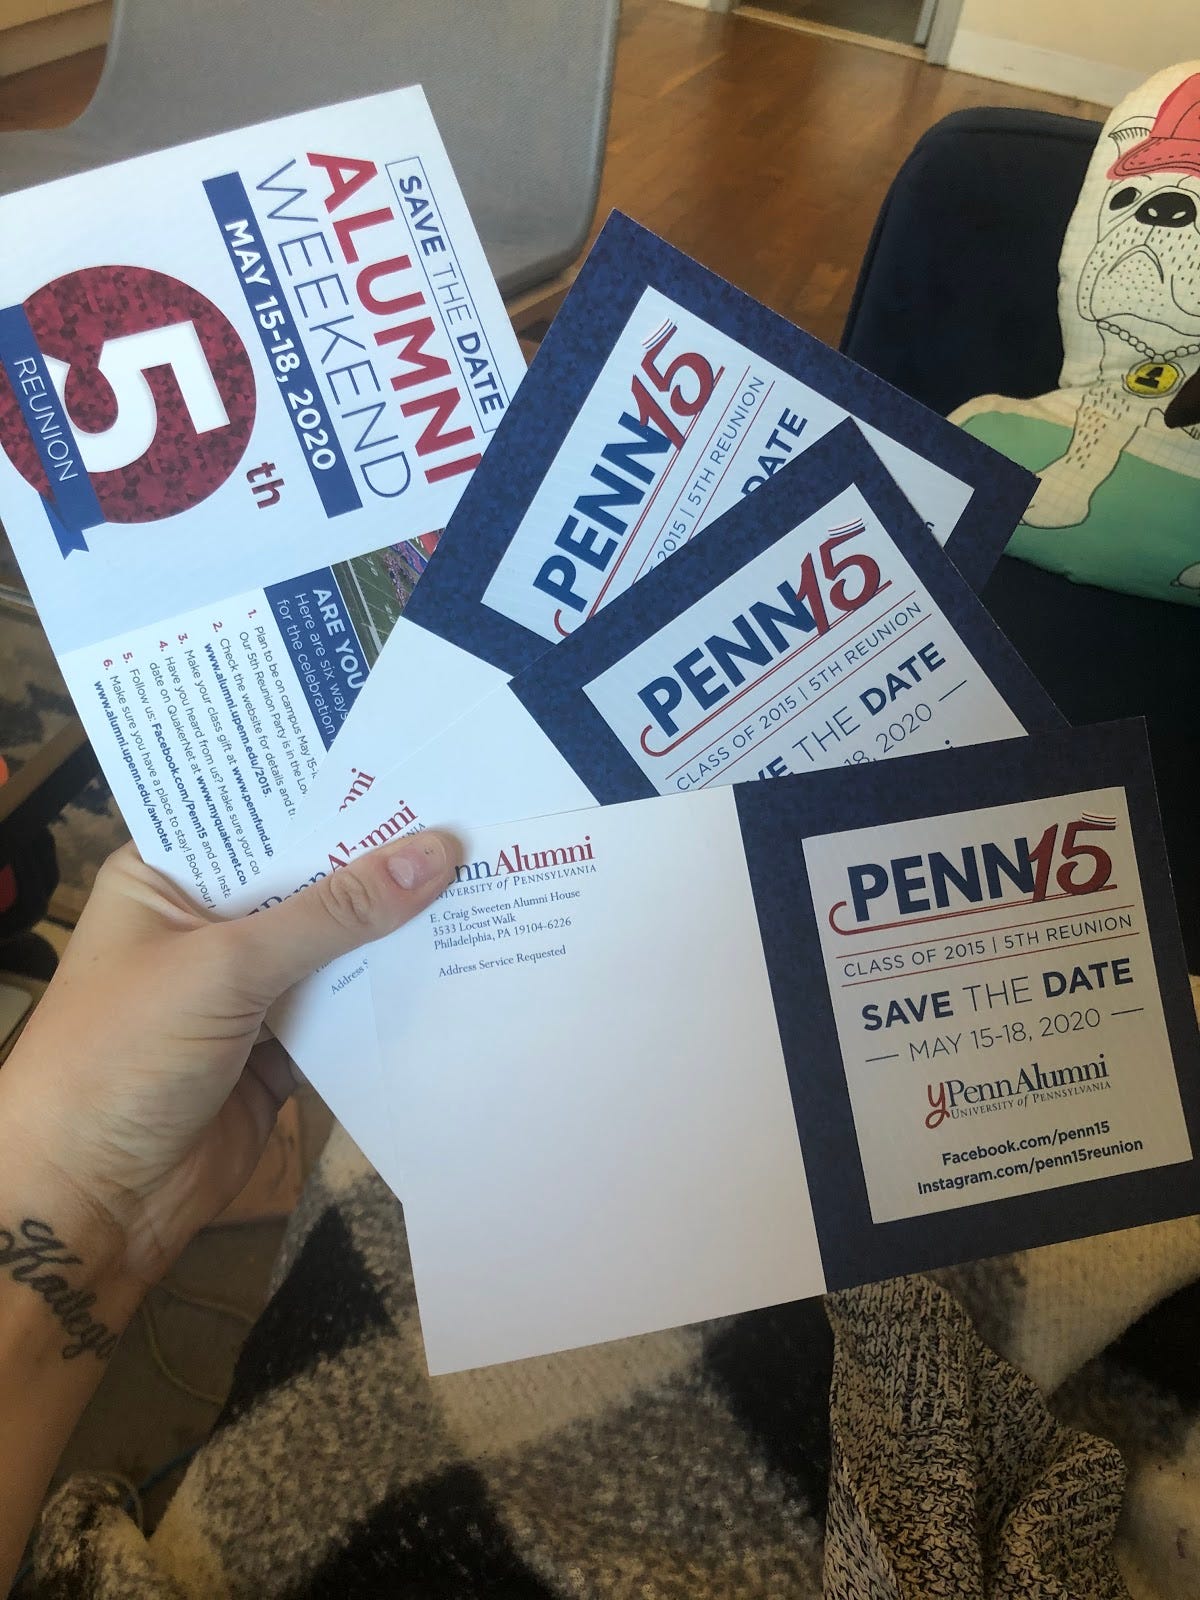
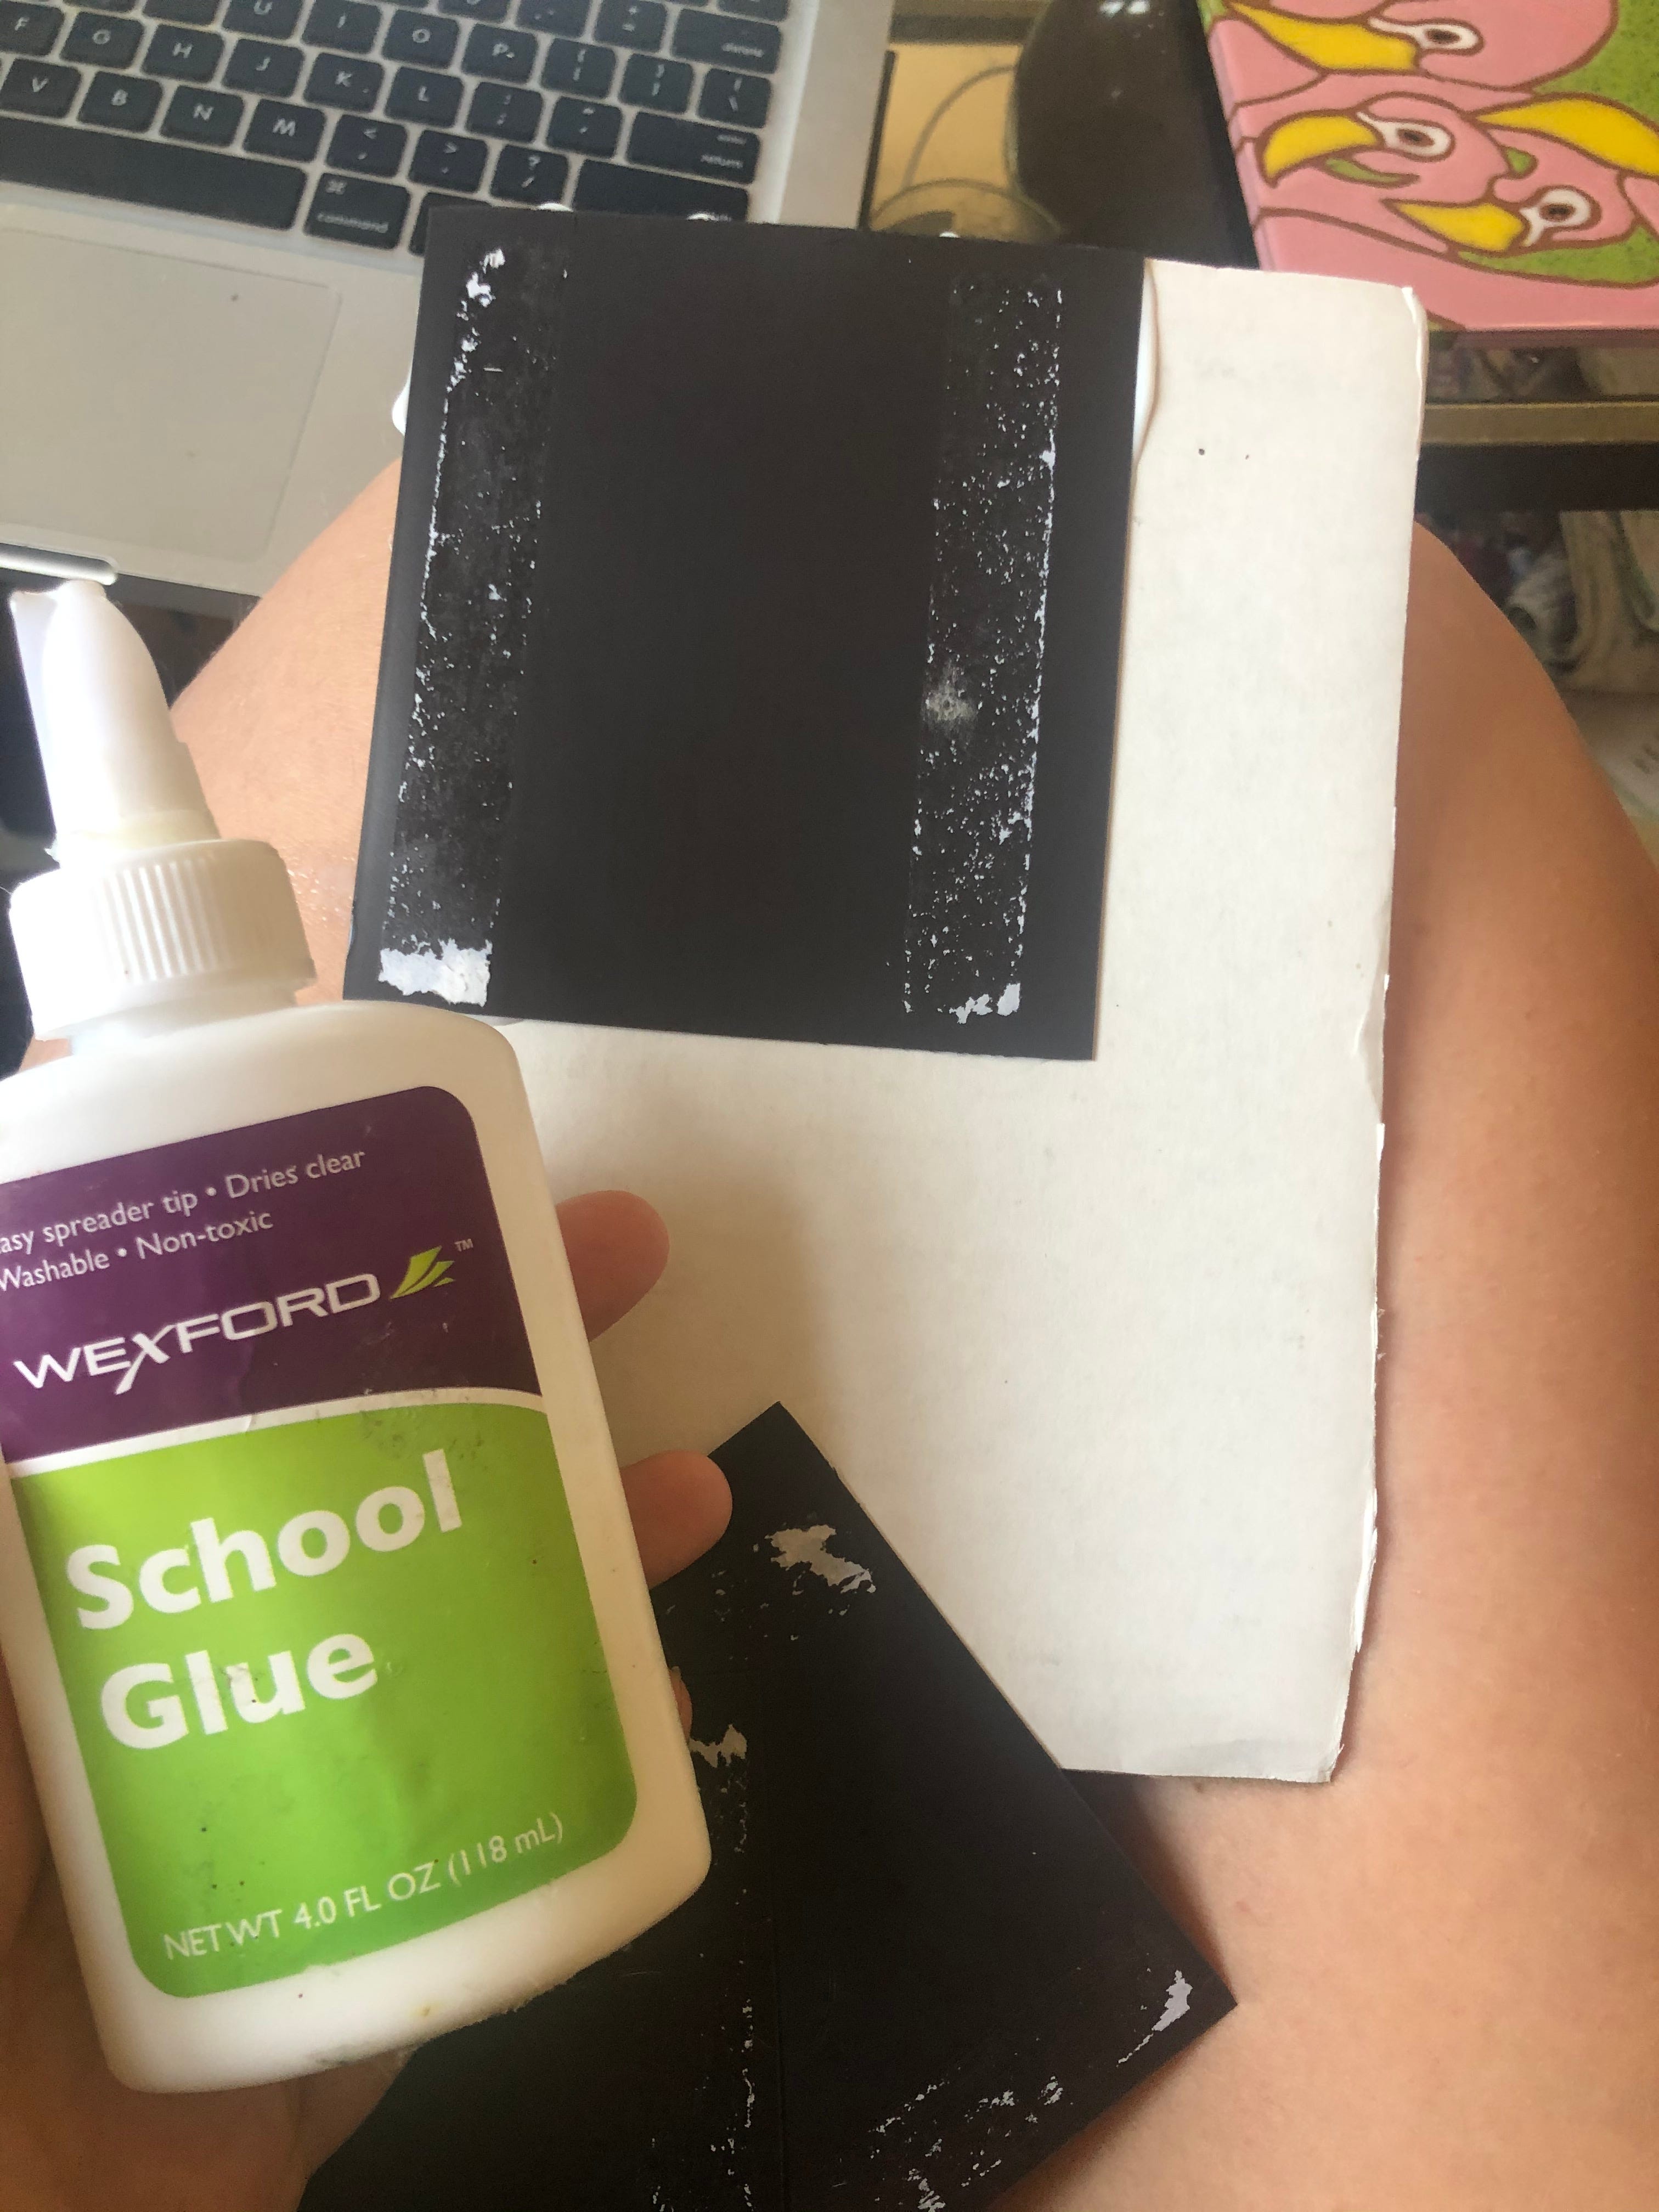
To start, you are going to need some thin magnets. Sometimes this is called ‘magnet paper.’ You can buy sheets of thin magnets, but I am using some old magnets that I was supposed to give out at an alumni event that didn’t happen because of the coronavirus. You might be surprised how much of this magnetic material you have. I get a lot of magnets from insurance companies, local politicians, wedding save the dates, lawyers, Nespresso. You might have more of this than you think around.
Once you have your magnets, make a note of how large of a space you have to work with. I decided that I wanted my puzzle to be a map, but yours can be anything. I decided to find a map online to print out, but you can also draw something.
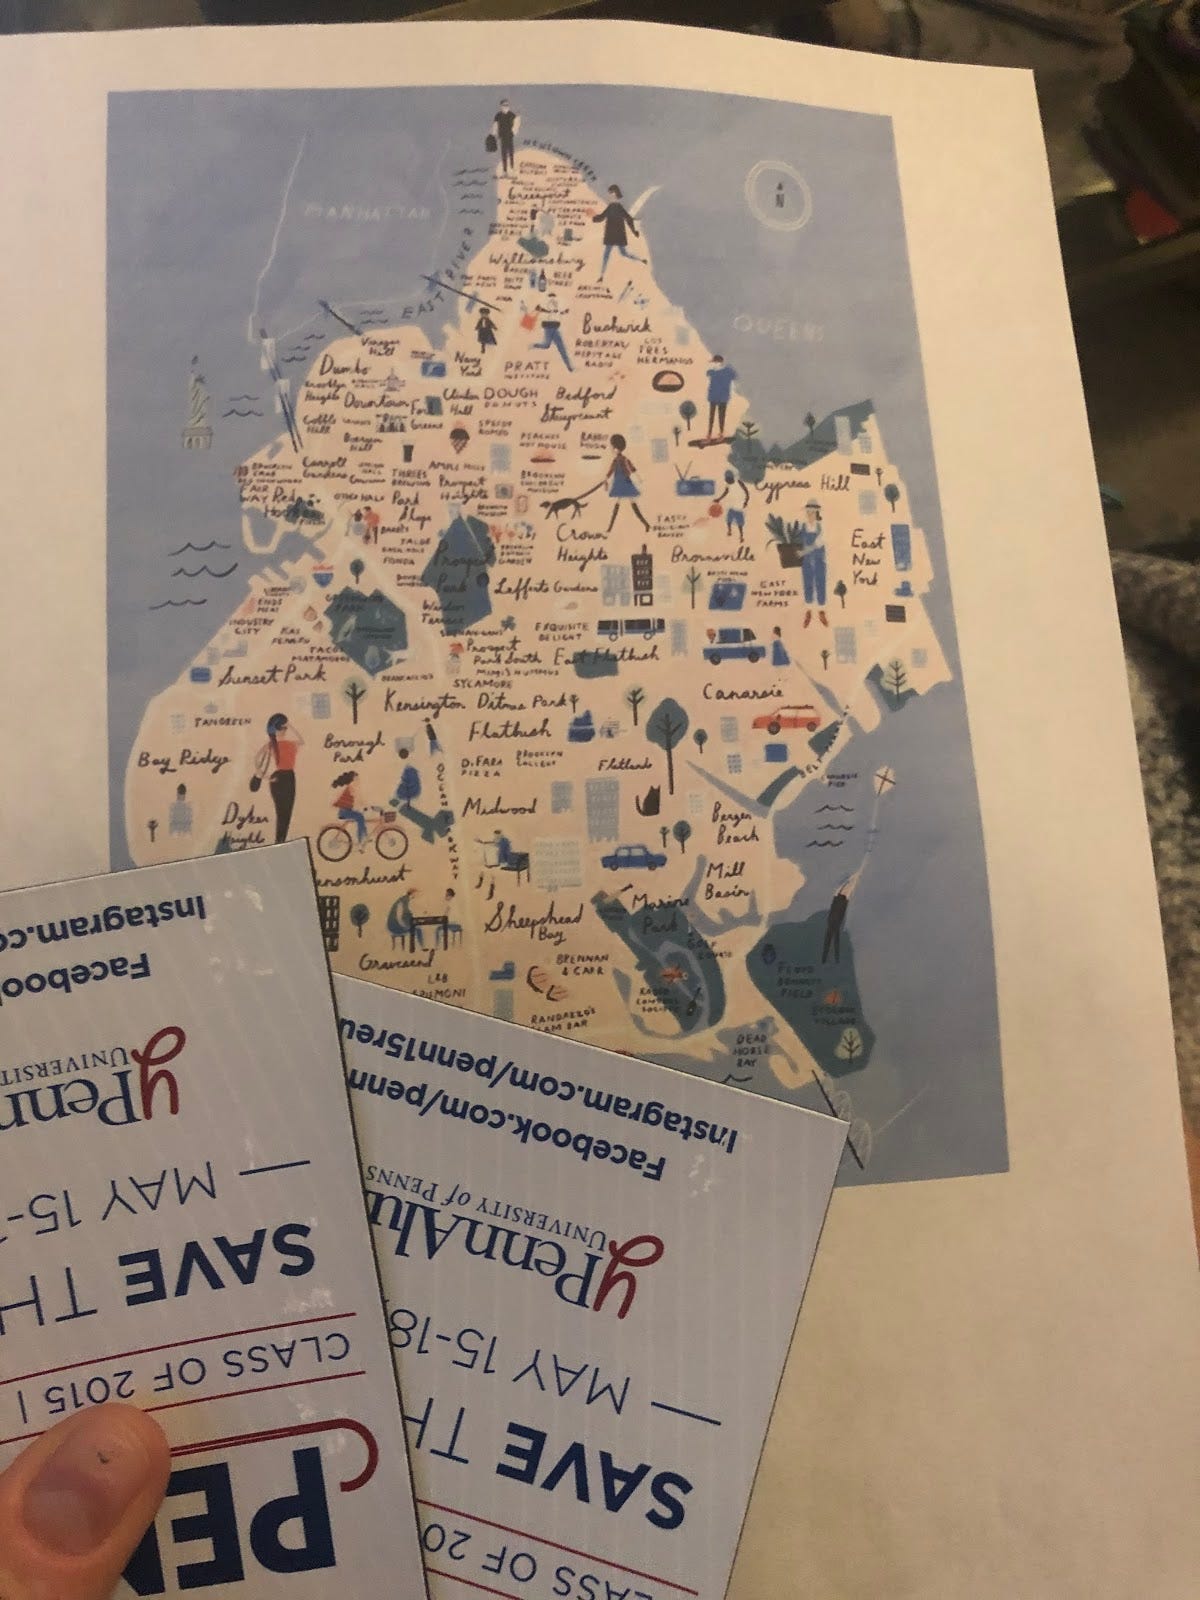
I cut out my map and then glued it to my magnets. If you are using multiple magnets and not one full page of the magnet material, it is helpful to tape the magnets together so there won’t be any gaps.
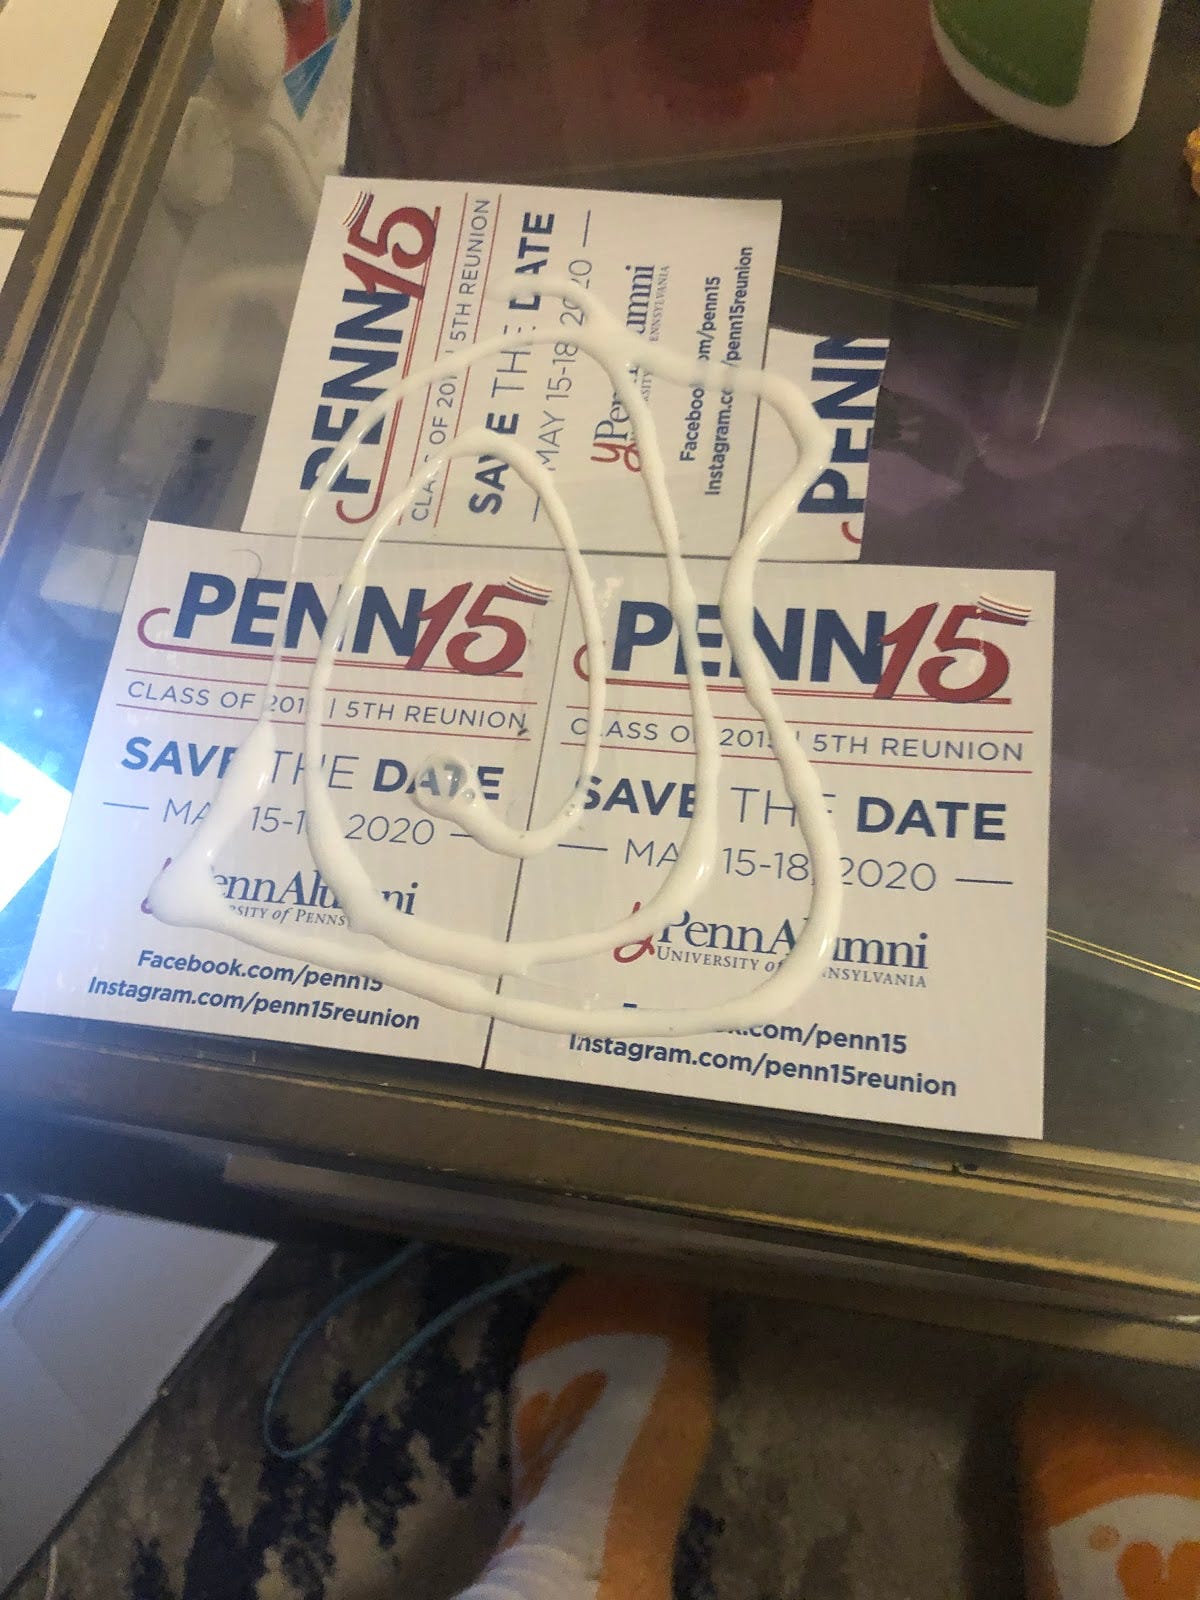
I am using just normal school glue here. Almost any glue will work.
Make sure your image is laying flat and that there is no excess glue. I pressed all the excess glue to the sides and then cleaned it off with a paper towel. The flatter the image lays the better for this craft.
Wait until your glue has completely dried.
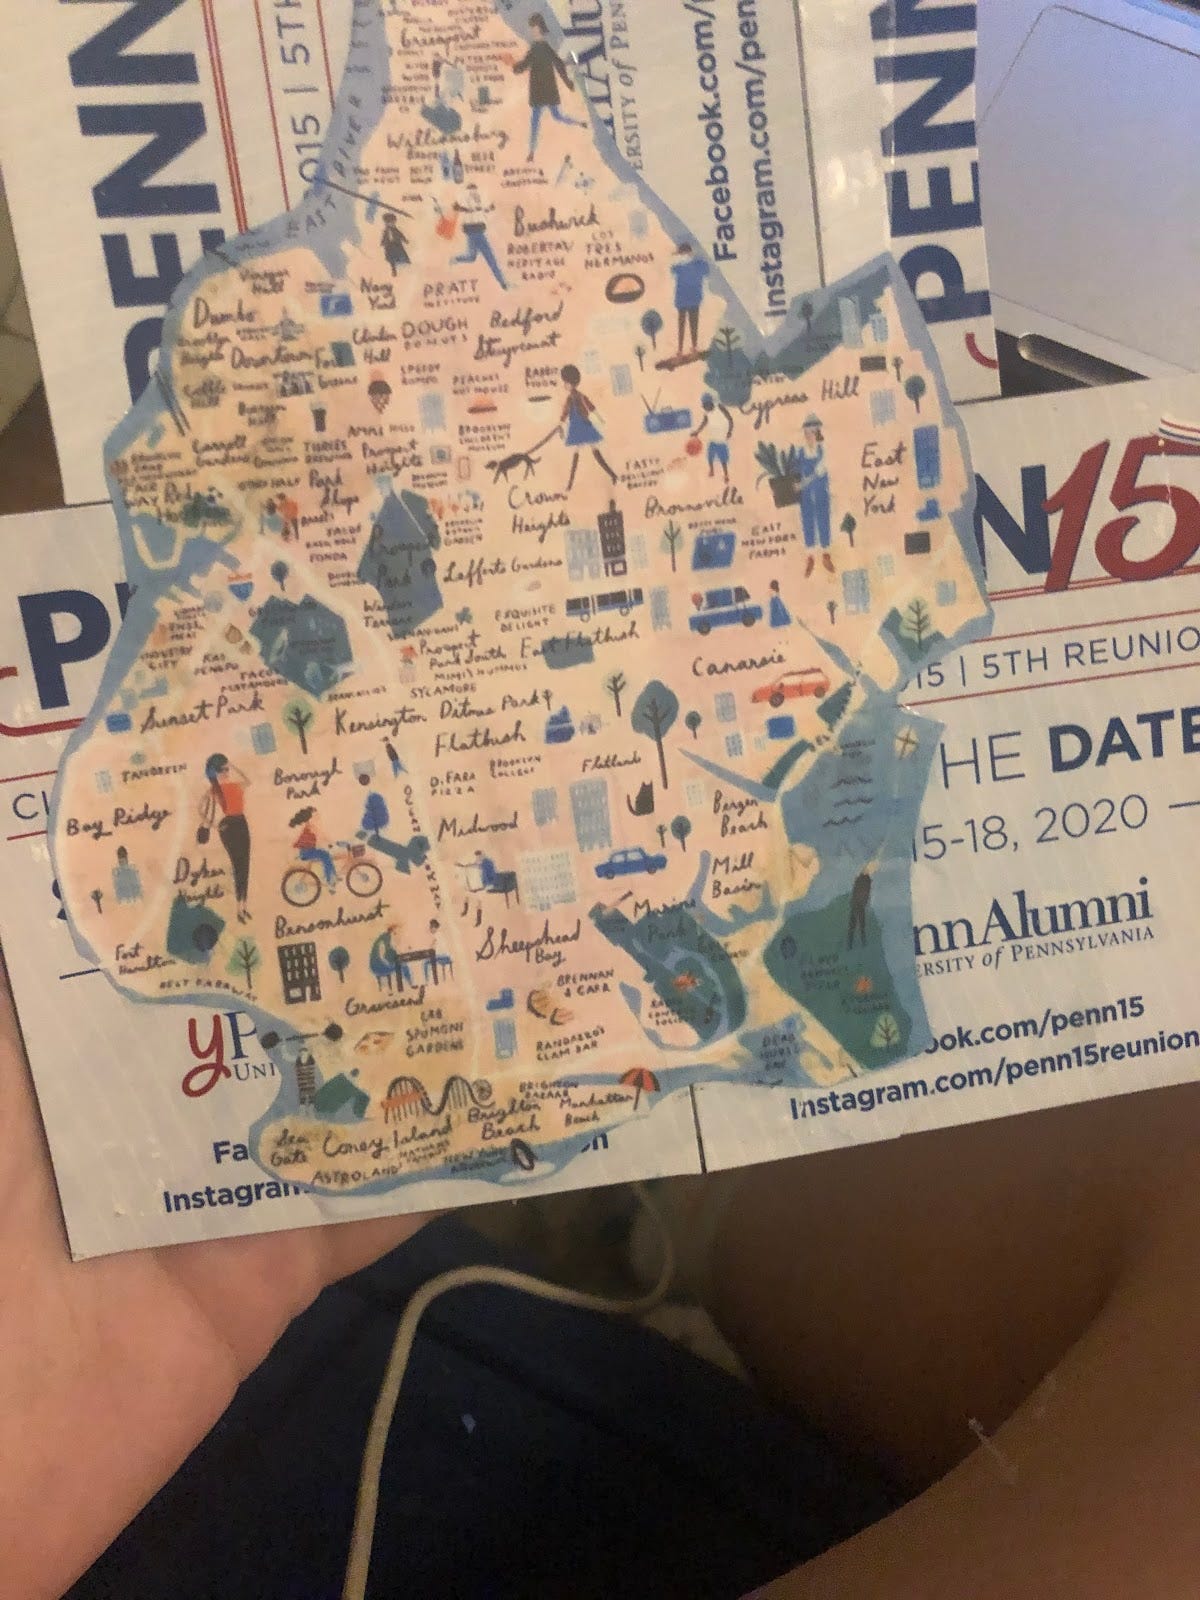
When it’s dry, carefully cut out your image removing anything you don’t want for your final puzzle. If you are making a square puzzle, you may not have to do this step. Now it’s time to make your pieces.

I cut out vague neighborhoods, but you can have fun with this.

These make fine fridge magnets, but I decided to give my puzzle a backing too. First I took more magnets and glued them to a piece of strong cardboard.
If you have a metal tin, this would also work. Check your magnets and make sure your pieces will stick to each other and not repel each other.
When my glue was fully dried, I glued a piece of white paper onto the top of the magnets. I then outlined the edge of my puzzle where I wanted it to sit on the paper. This would serve as a border that I wanted to incorporate into the design.
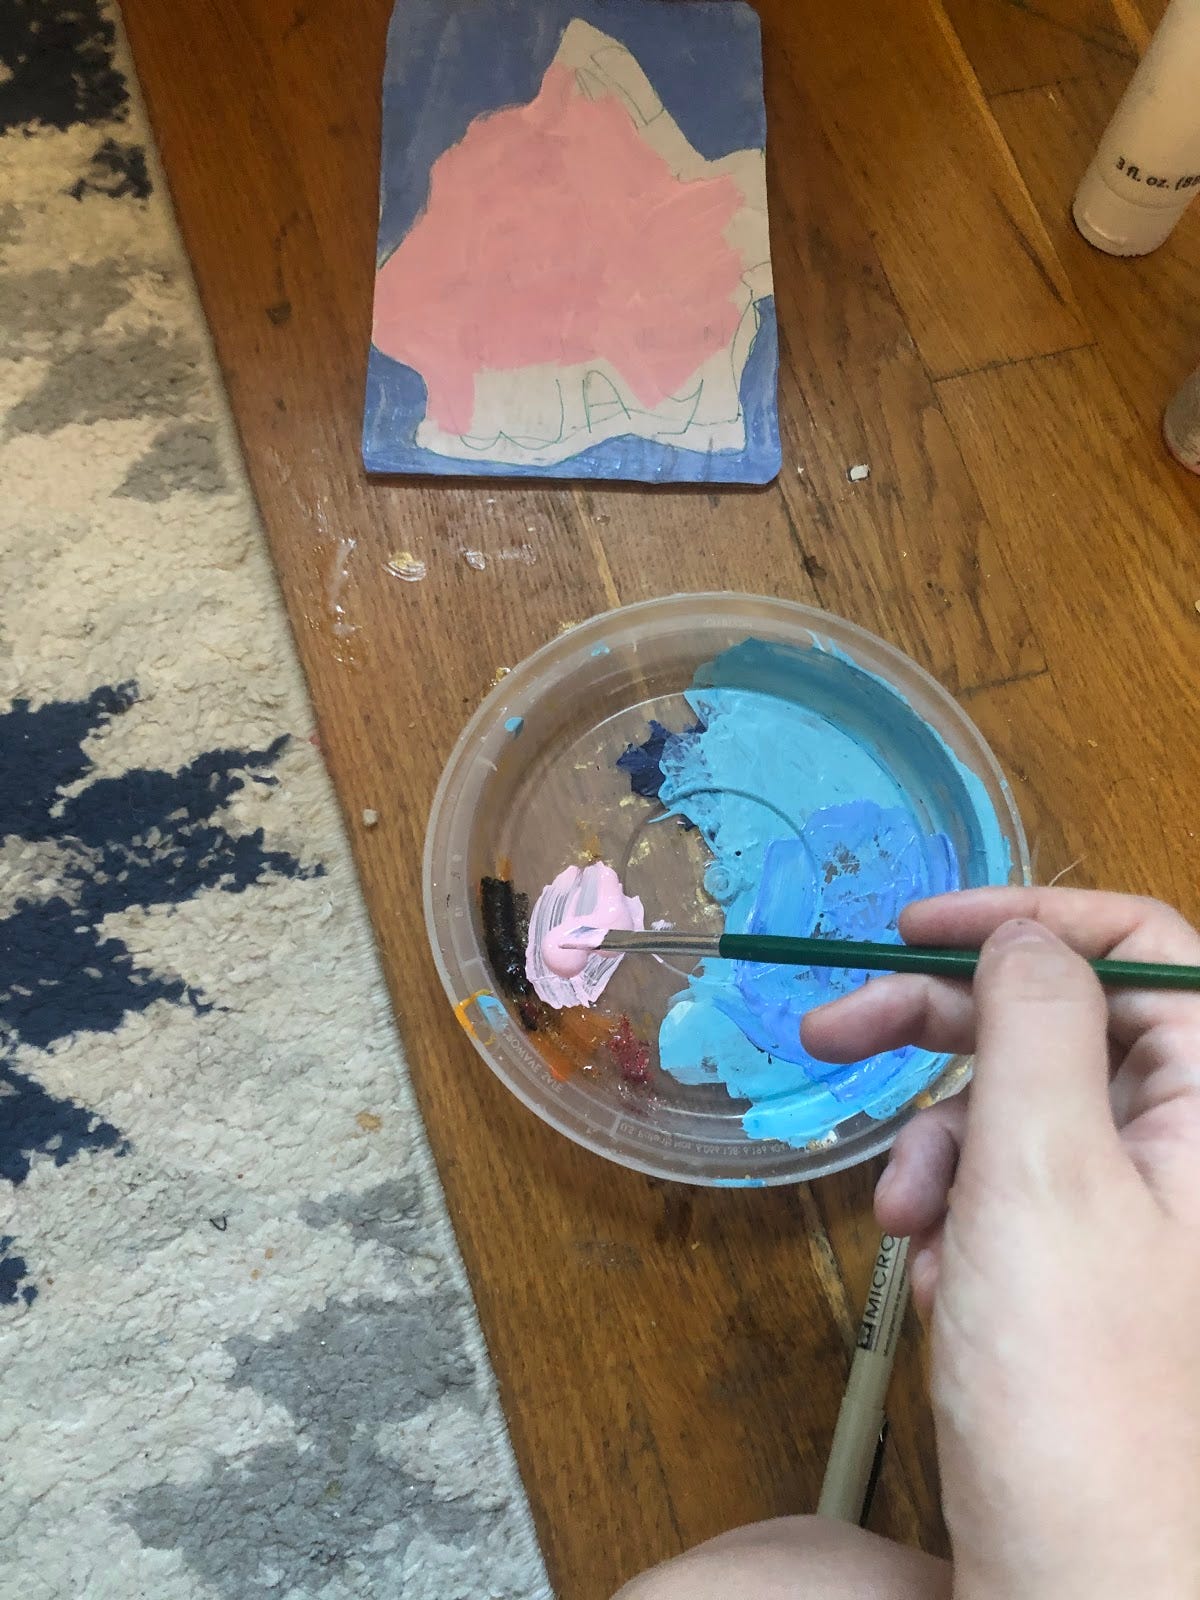
It was then time for painting. I used acrylic for this project and then added some details with a sharpie. I added a layer of modge podge mixed with a little glitter to the base to seal it.

I then let it dry and my puzzle was ready.
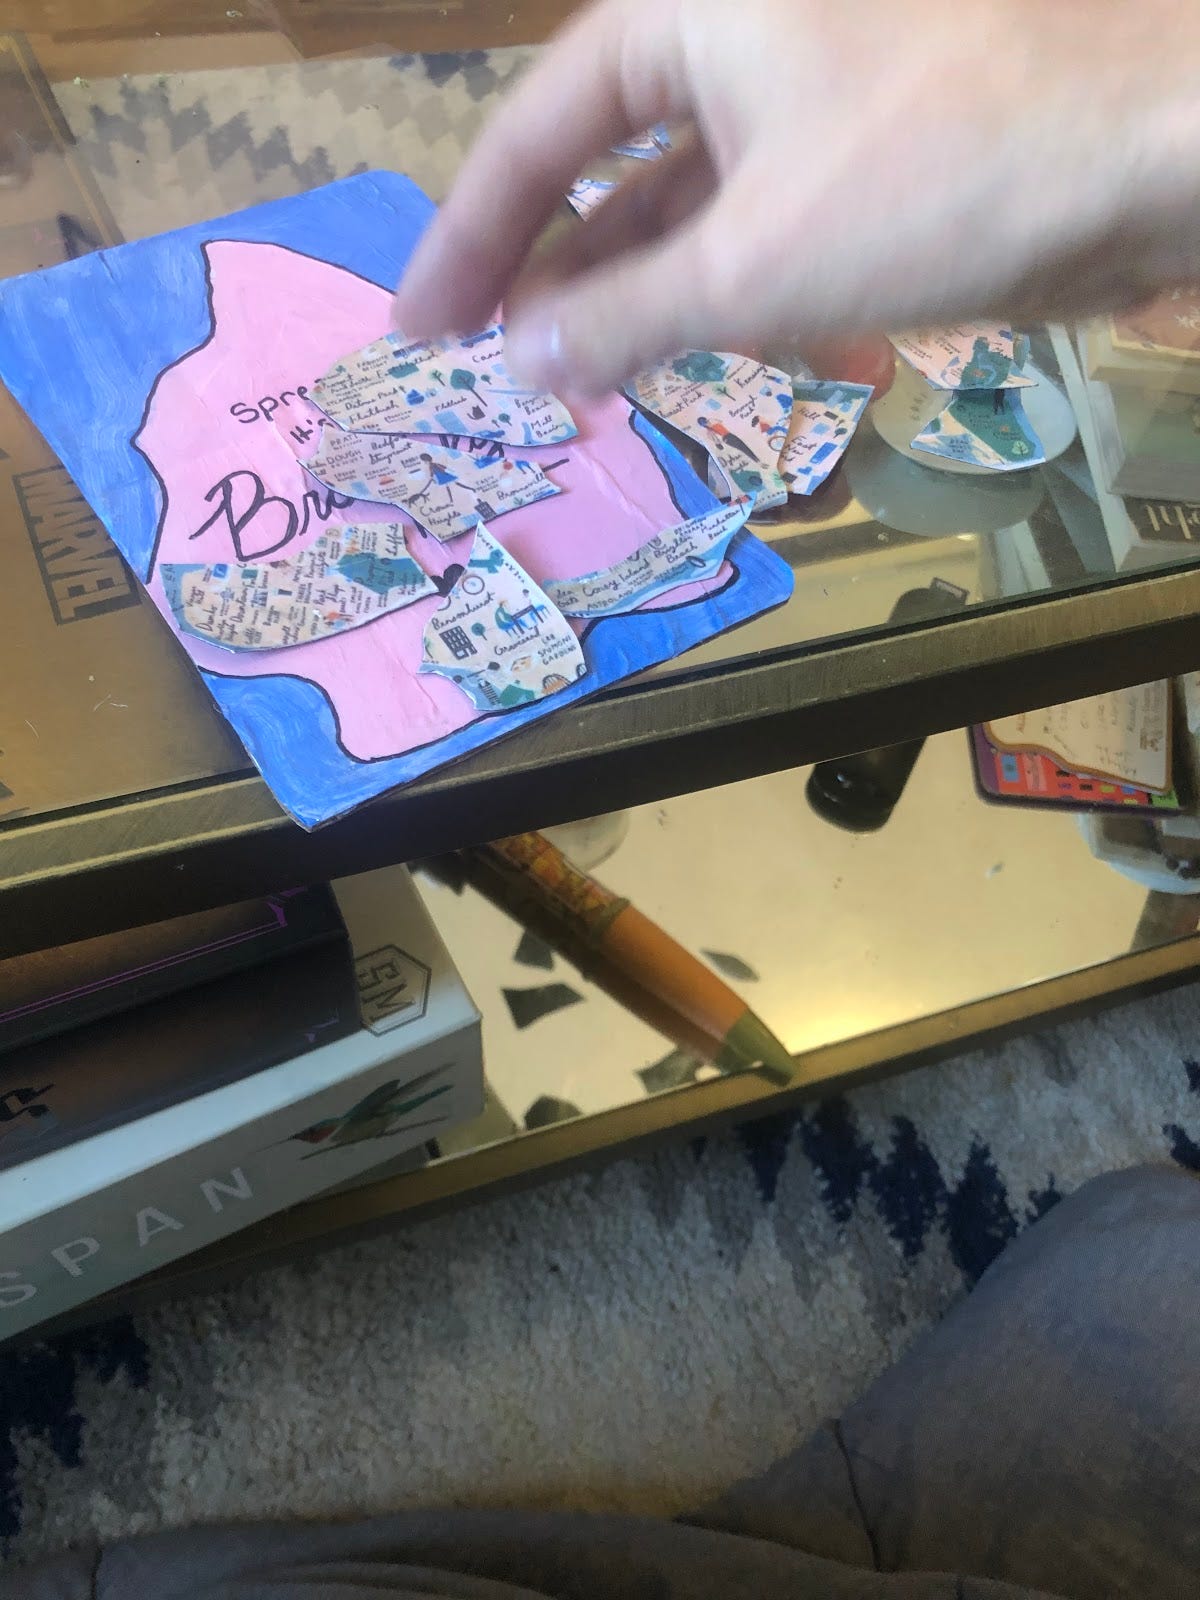
I had my boyfriend do it as a test.
There you go an easy handmade present for anyone.
First off I wanted to wish all of my readers who celebrate, a happy and safe Kwanzaa. For my readers that don’t, how much do you know about Kwanzaa? It’s a cool thing to educate yourself about. Here is an easy article to start with.
Also, we are fast approaching the run-off election in Georgia. I know for many the time between Xmas and New Years’ can feel like no man’s land. If you have free time, you can always volunteer to make calls! I know this can be a hard season for so many, so stay safe, be kind to yourself, and try to do some good.
See you in 2021??? My god!