


Printer’s Alley
This craft is easier if your state has loose environmental regulations but don’t let that scare you.

Oh hey crafters, didn’t see you there,
In the words of Celine Dion, “this one’s for the children.”* That being said, I had a really fun time doing this craft and if you are an adult that doesn’t mind being a little silly, it’s great.
*I tried to find a gif of this, and I am actually now not sure that it happened, but as they say in Quebec, c'est la vie.
I am a big fan of linocuts. I love how they look and doing them, however, it’s not for everyone. You have to buy a lot of supplies and work with a sharp tool that should not be used by children.
I have wanted to do a linocut inspired craft cult for a while and I think that this is the cheapest, easiest, and most fun way to achieve some of that linocut look. It is not perfect, but it makes a print that is great for greeting cards, stationery, or even just to admire as art.
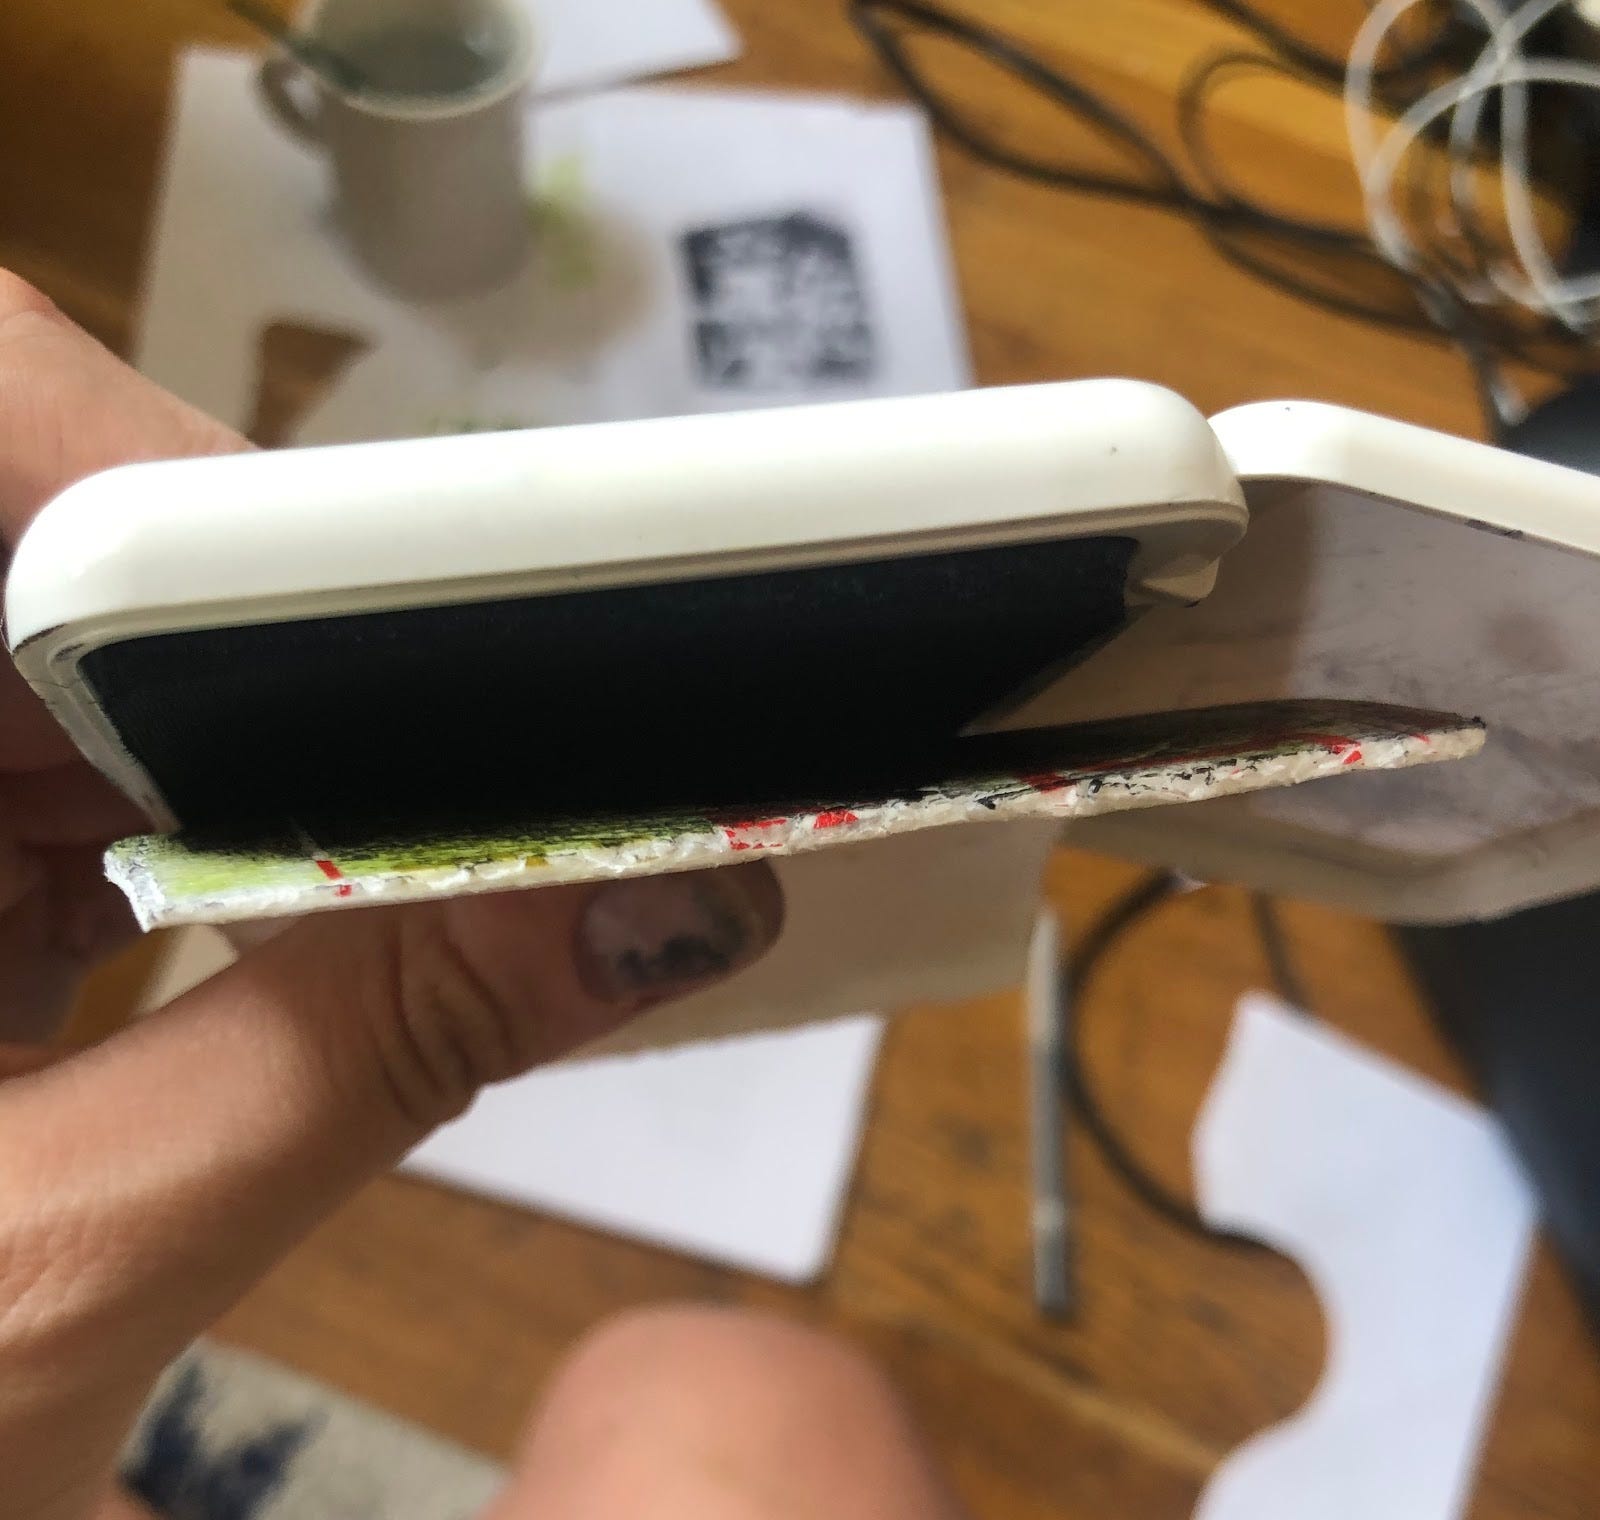
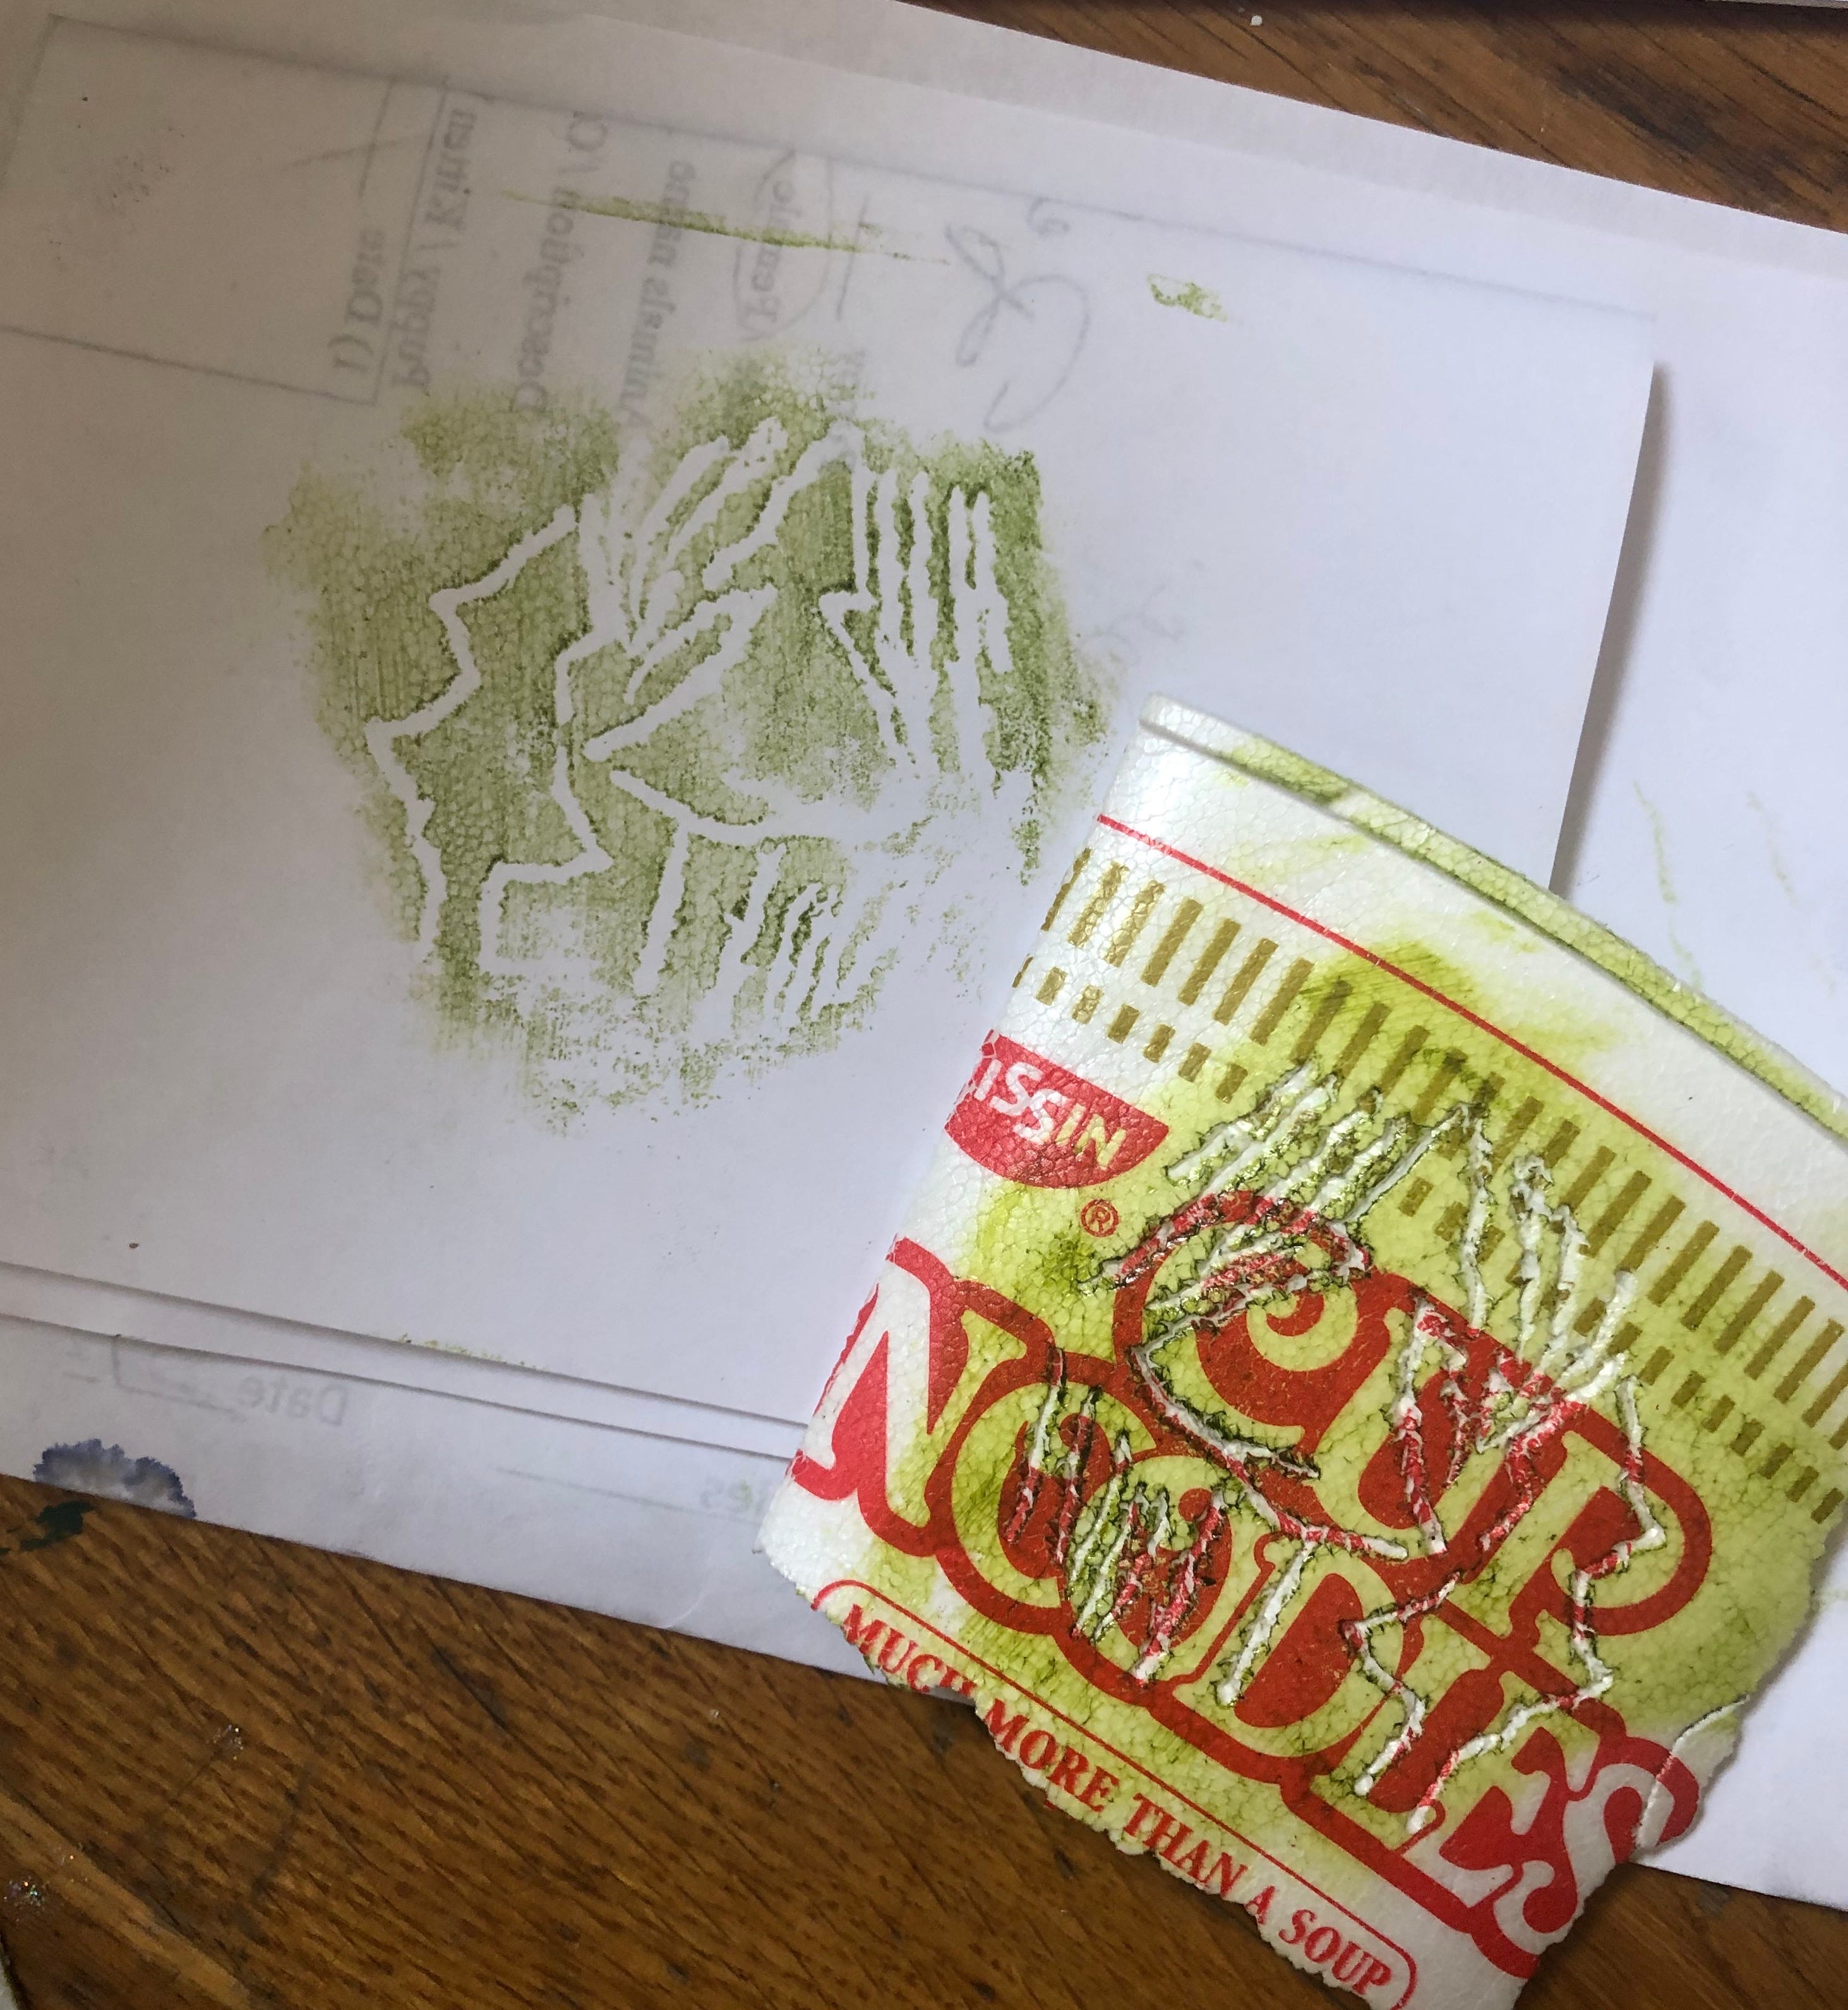
All you will need is if a piece of styrofoam, ink, and a pen. Printers ink is probably the best to use, but I used a stamp pad. Styrofoam is a little hard to come by in New York (which is good for the environment but bad for this specific craft.) However, there is always one place that you can get it, instant noodles.
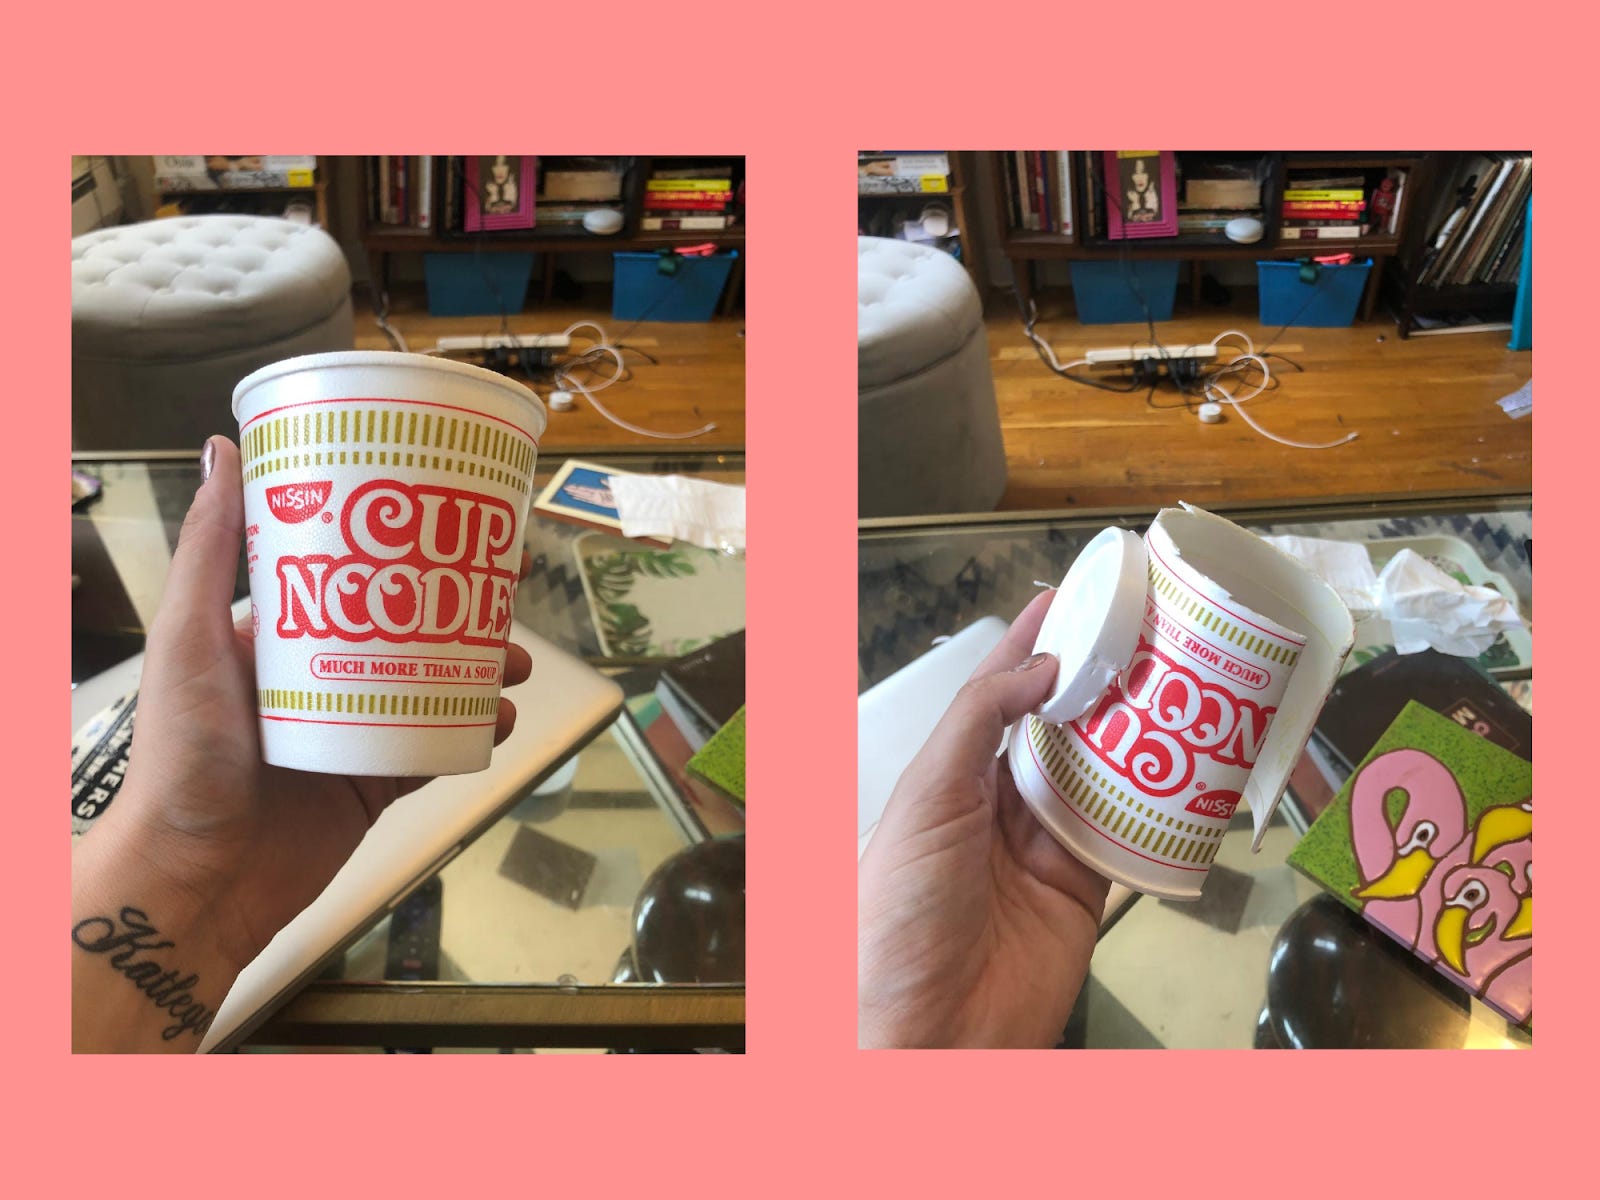
What you want to do is cut down one side and then cut the bottom off so you have one long strip. If you are using an already flat and squarish piece of styrofoam this is easier. If you are using noodles, you might want to take your strip and leave it under some heavy books for a day or two to get it a little flatter. It won’t flatten all the way, but it will make it easier to work with later.
Take your styrofoam and cut a piece to the size you want your print to be. Then start to sketch an idea for your print. I would suggest sketching it out on paper first because working on the styrofoam directly isn’t very forgiving, but if you want something more abstract it should work fine. I also outlined the size of my piece of styrofoam before starting to give me an idea of how big I can go.

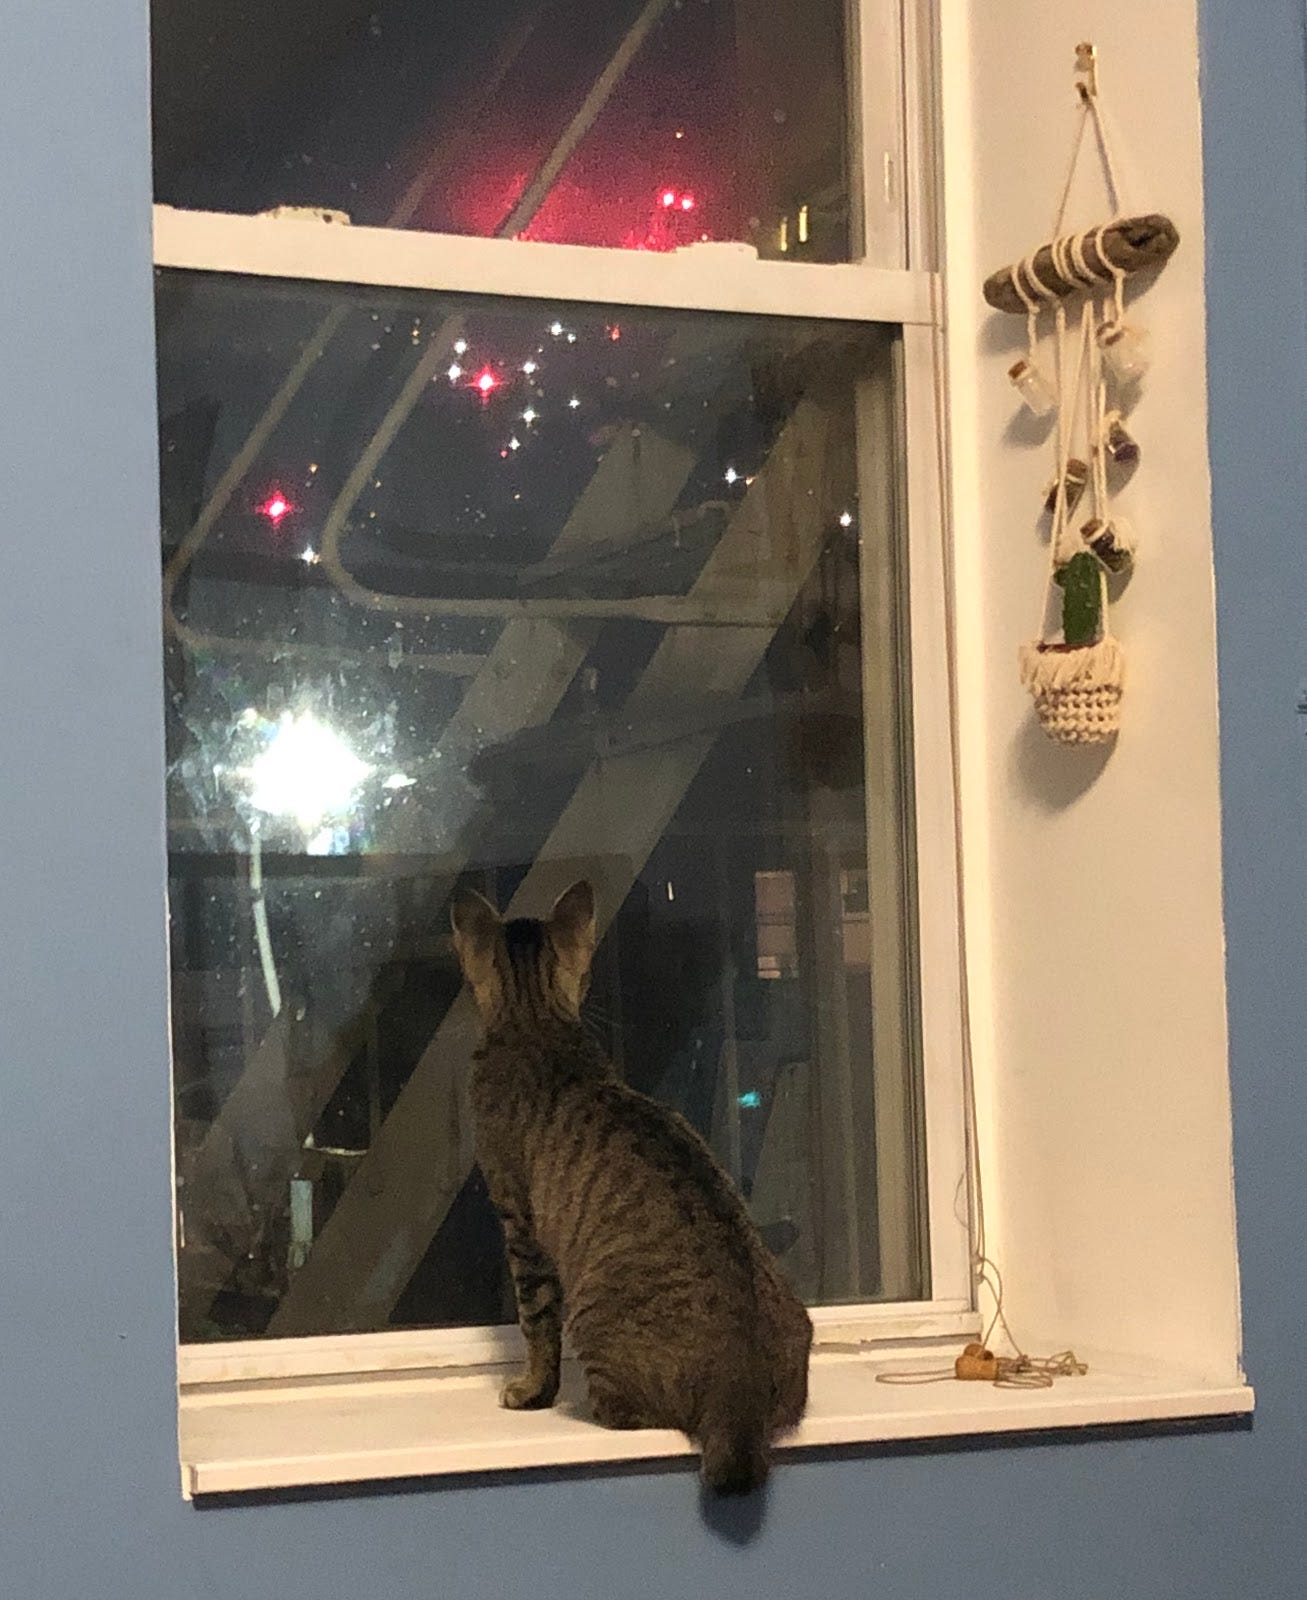
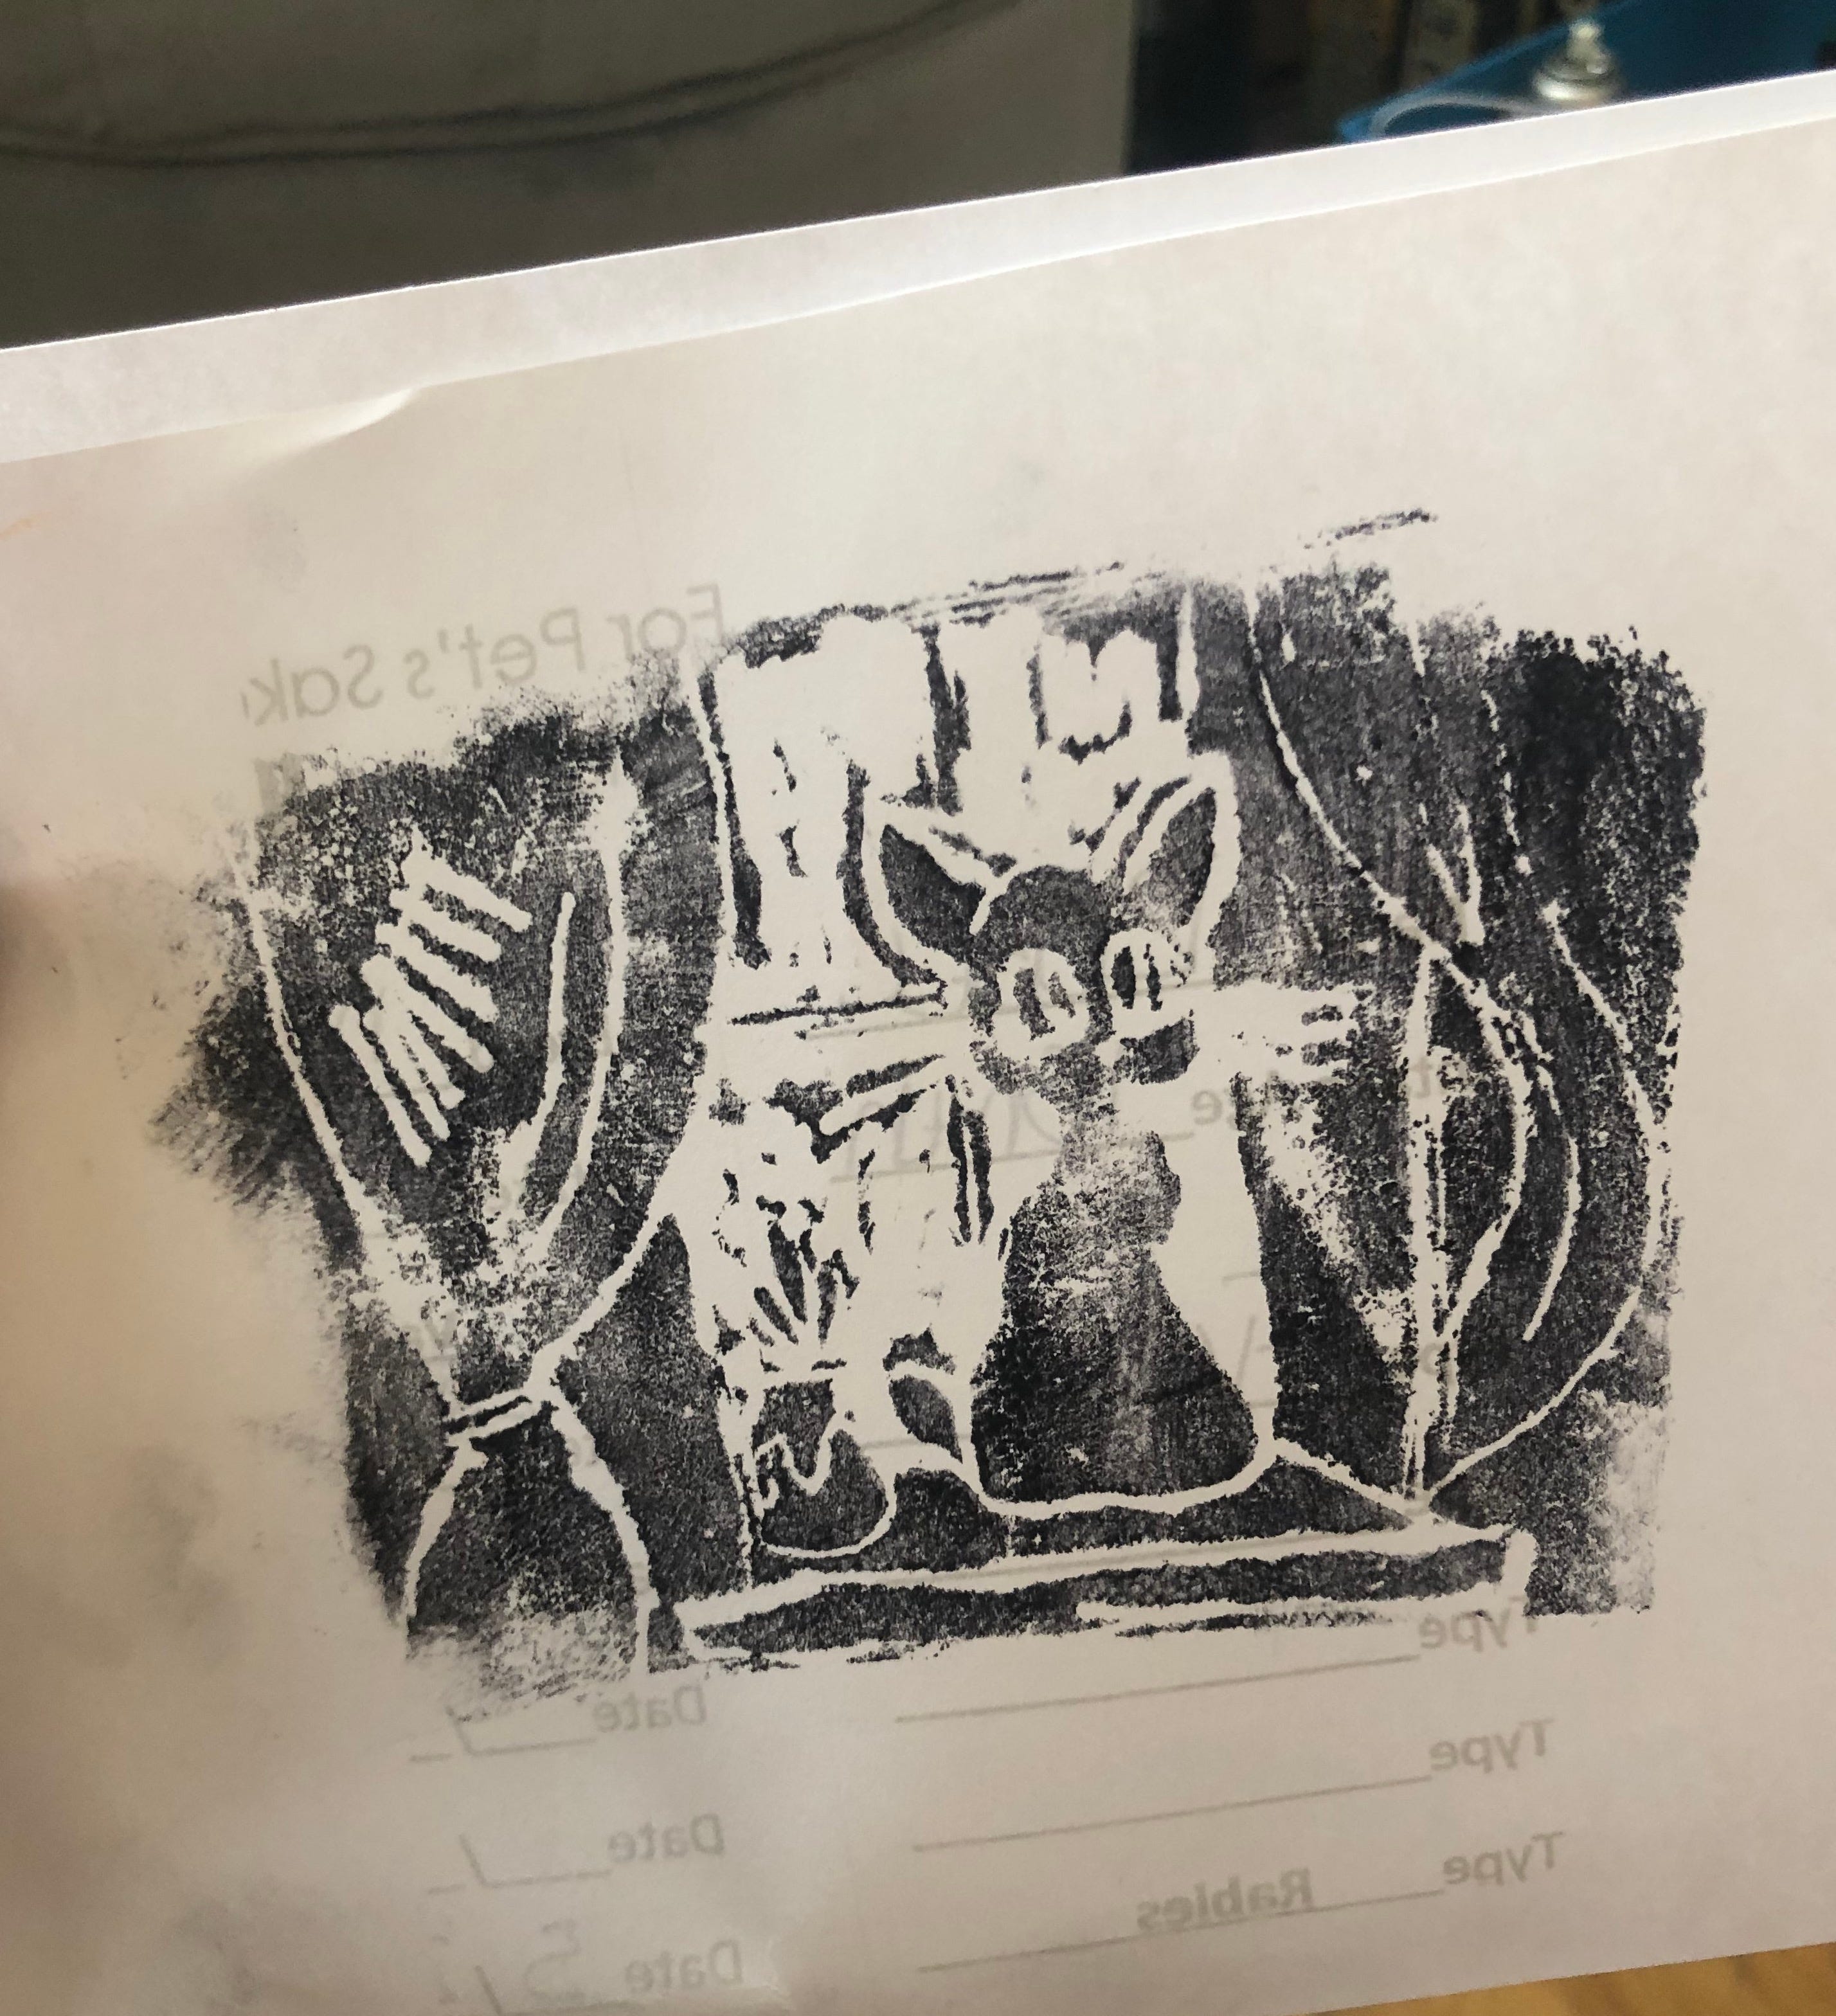
I did a little cat in a windowsill as a tribute to my newly adopted daughter, Saratoga Cats. You can make your sketch of anything, however, focusing on clean and simple lines will be easier at least for your first go at this. If you do more than one, feel free to get creative and use more nuanced designs, but for the first try to keep it simple.
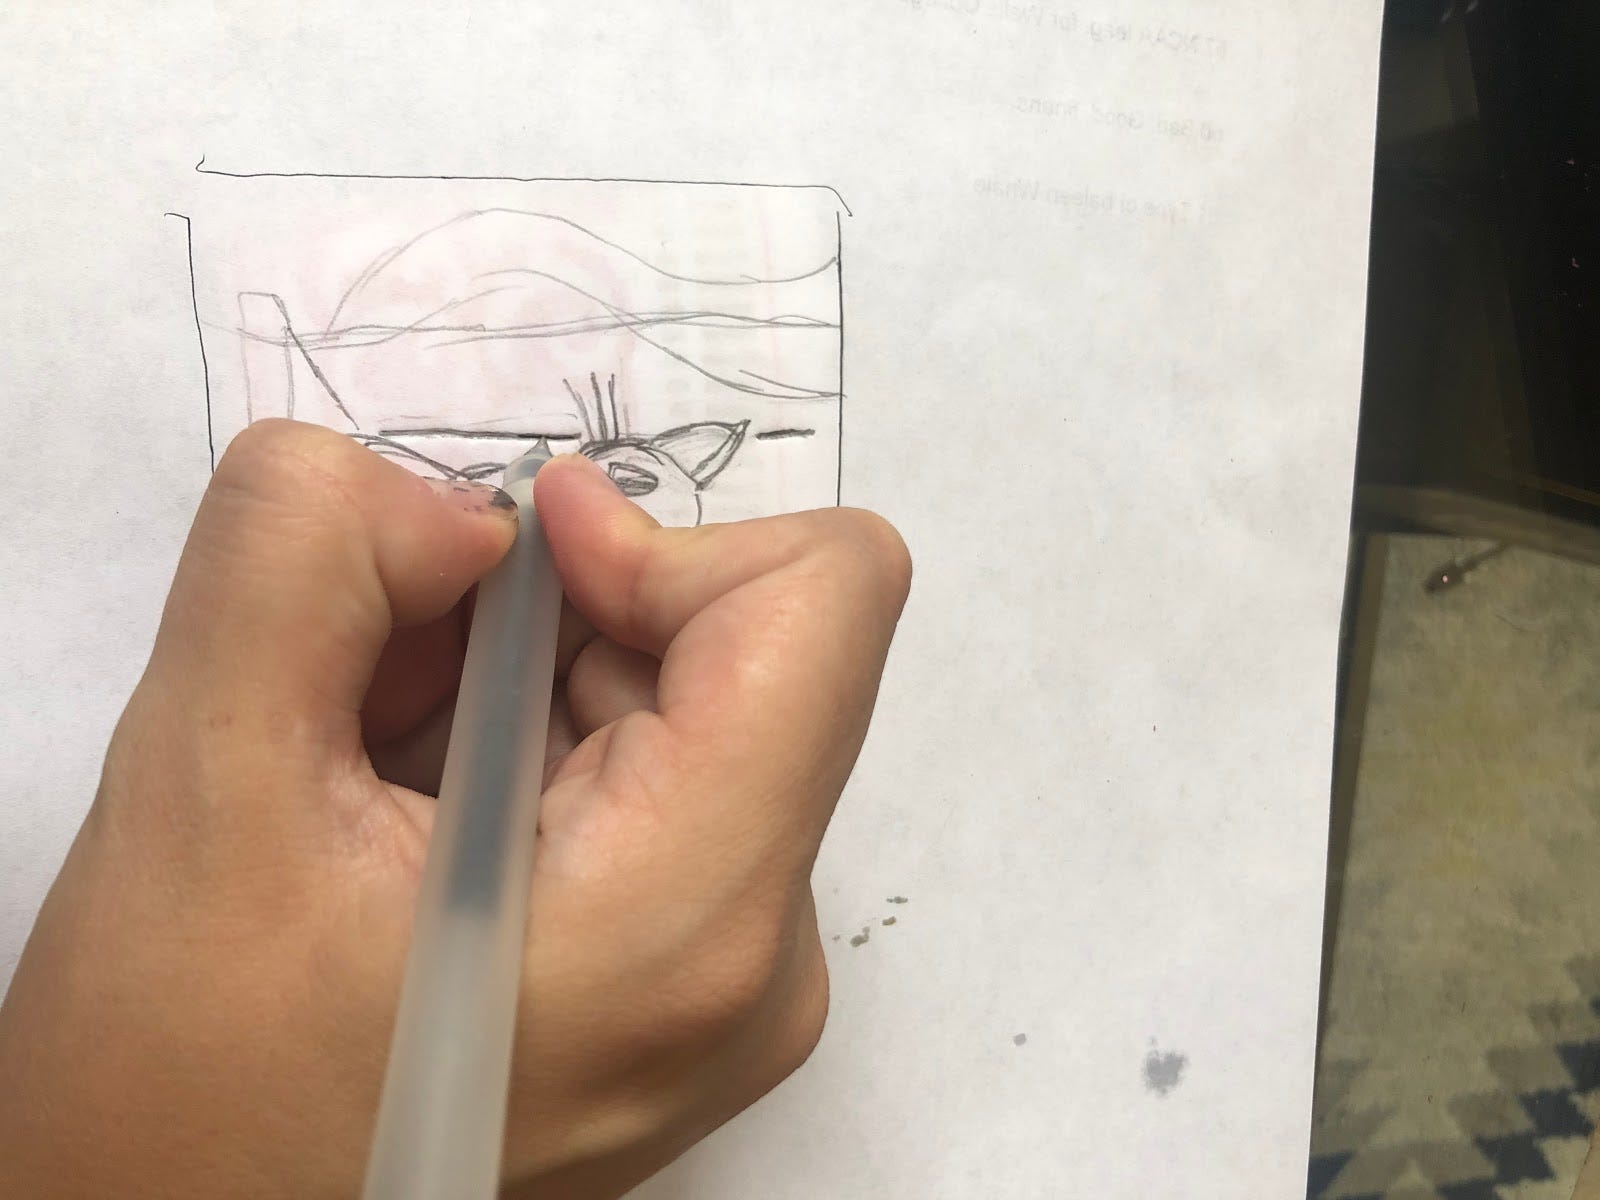
When you re happy with your sketch, take your styrofoam piece and stick it under the sketch paper. Use a ballpoint pen to press down on the lines in the sketch. You need a little bit of pressure, but you don’t need to push down too hard. The ballpoint should do most of the work for you.
When you have fully outlined your drawing it is time to ink. If you aren’t sure about your design, do a light color ink first so you can see if some of your lines didn’t go down far enough. Press the styrofoam to the ink pad and make sure you cover the whole surface with your ink. Try to be as even as possible, this is where printers ink is the gold standard.
When the print is covered, get a piece of paper and press it down against the paper. Make sure you press the styrofoam fully. This might take a couple of tries, but to get a good result you need to make sure every part of the print has been pressed. If this is too hard for little ones, give them some help or use a book.

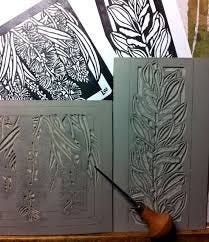
Once you feel confident with this process you can start to get a little fancier. You might have noticed this print is a negative: the lines are white and the rest is black. If you want spaces to be white, you can press down that entire space with a pen or pencil. You can also use lines to make more shading to areas. I did a little mock-up to what that looks like below. As you can see I missed some areas in pressing down the window space, which is why there are some stray black lines and dots.
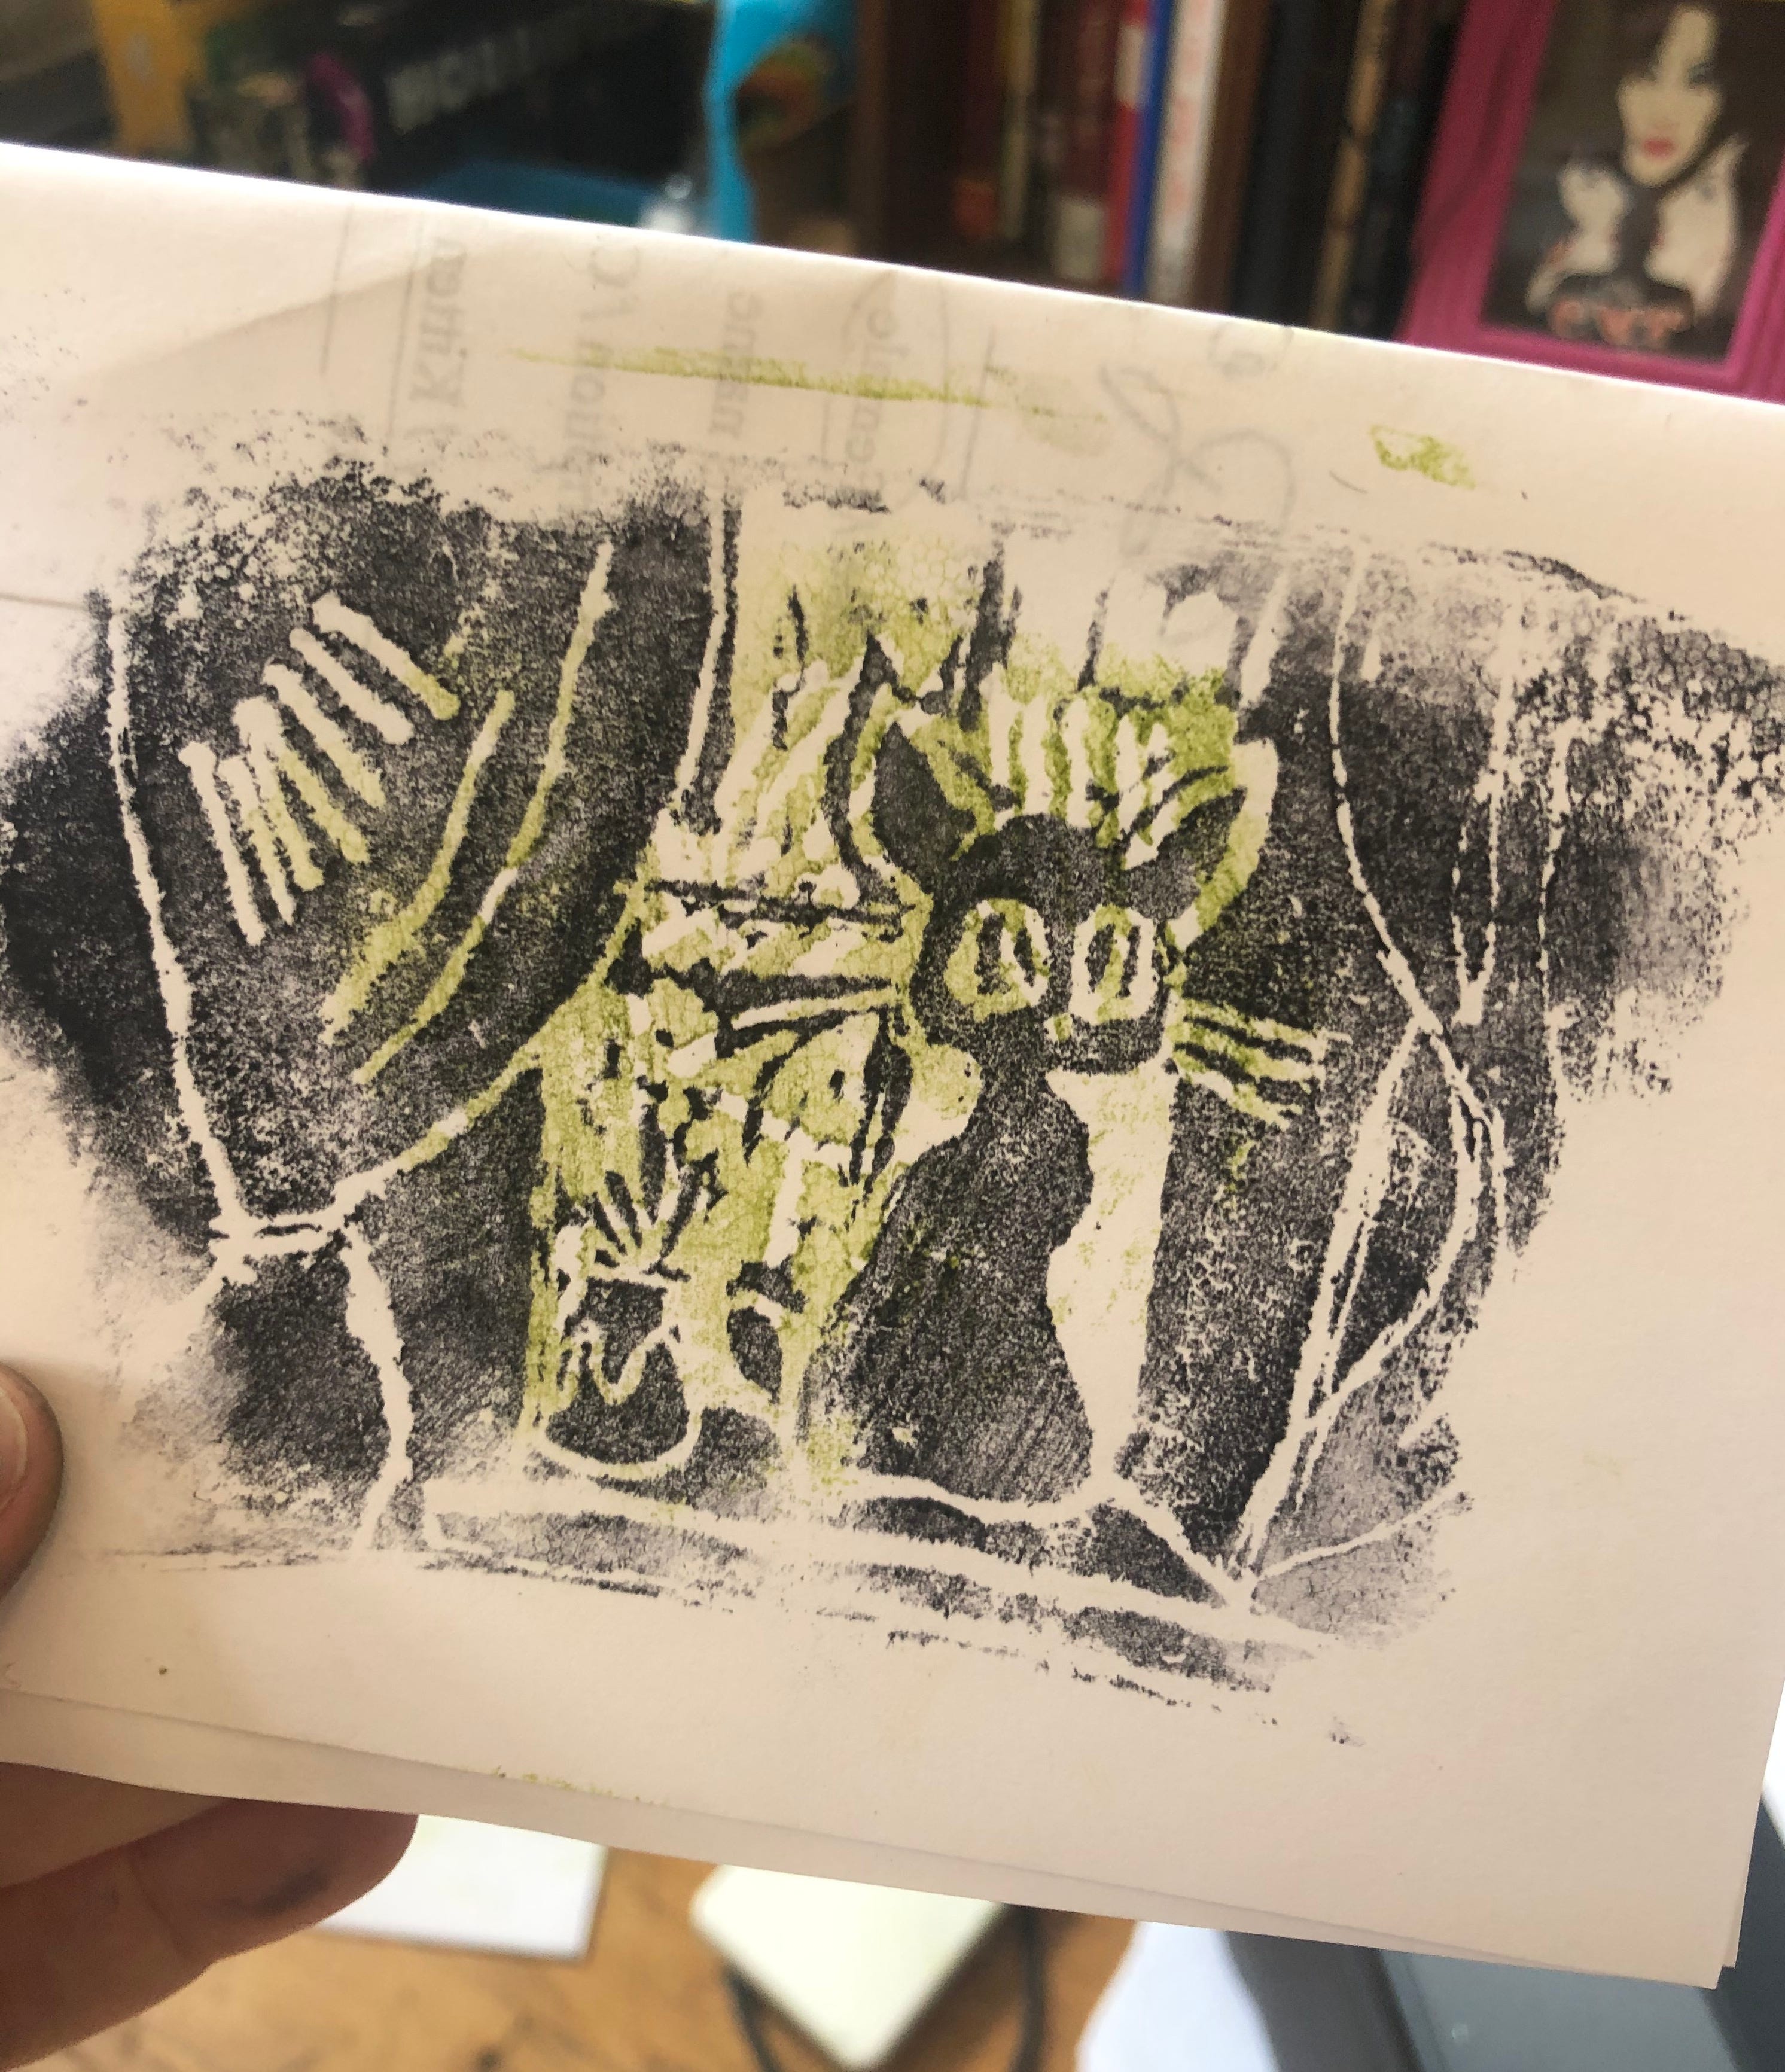
You can also experiment with color. The easiest way to do color on these types of prints is to make a second print with what you want to be in that color and then layer your two prints.
This can be tricky because they don’t always line up so easily (much like my example below).
If you make this craft, I would love to see what you do! You can always leave a comment on Substack or reach out through my website.
If you have some extra time in the coming days, I would highly recommend checking out https://www.standwithbre.com/. The family of Breonna Taylor is still looking for justice. They have a new petition on the site that is super fast to sign, as well as a tab that shows you how to make calls to lawmakers to push for justice for her tragic murder. If you are in NYC and want to stay on top of the vigils and marches that are happening in her honor, you can also sign up for this amazing newsletter.
That’s all for this week’s Craft Cult and as always stay safe, stay crafting.