

Mind Your Beeswax
Mind Your Beeswax
We are back and more sustainable than ever.

Are you there crafters? It’s me, Rosa.
Welcome back to Craft Cult. I know it’s been a while since I have published. I felt like I had to take a break given the state of the world, but just because we are coming back doesn’t mean that black lives matter still shouldn’t be at the forethought of our minds or that we can ignore what’s happening right now. Just look at what is happening in Portland. We live in a fascist country and now is the time to act up. Part of the reason I am bringing Craft Cult back was selfishness. Having a weekly/biweekly task i.e. writing this was great for my mental health during quarantine, but secondly, I want to use every platform I have to spread a little good and this is technically a platform for that. I know this is a silly crafting newsletter, but at the end of each post, I am going to be sharing some resources, some news, and ways to help. Yes, we are staying political on the main. And also, I am going to be trying to feature crafts that are sustainable as much as possible.
Omg, a great segue to this week’s craft, because today we are making beeswax wraps. If you haven’t heard of beeswax wraps they are a great alternative to saran wrap. They can be used to store food or cover bowls. They are reusable and you can even hand wash them between uses. These are huge sellers for sustainable businesses, but if you want to be extra sustainable, you can make them at home (save that packaging, y’all.)
You only need three things to make this craft; two of which you most likely already have. You will need an old cookie sheet and a square piece of cotton fabric. I used an old T-shirt, but anything that is 100% cotton will work. The last is beeswax, which more than likely, you will order online. Try to buy from places that take good care of their bees, like this one. If you are interested in learning more about ethical beeswax, this article helped me. You can also often get it at farmers’ markets or all-natural grocery stores.
One note about the wax, you should use cosmetic grade beeswax, most that are sold online are. Beeswax is also great for candle making and making your own lip balm, which I will also probably cover at some point, so if you buy a little too much, you can always use it later.
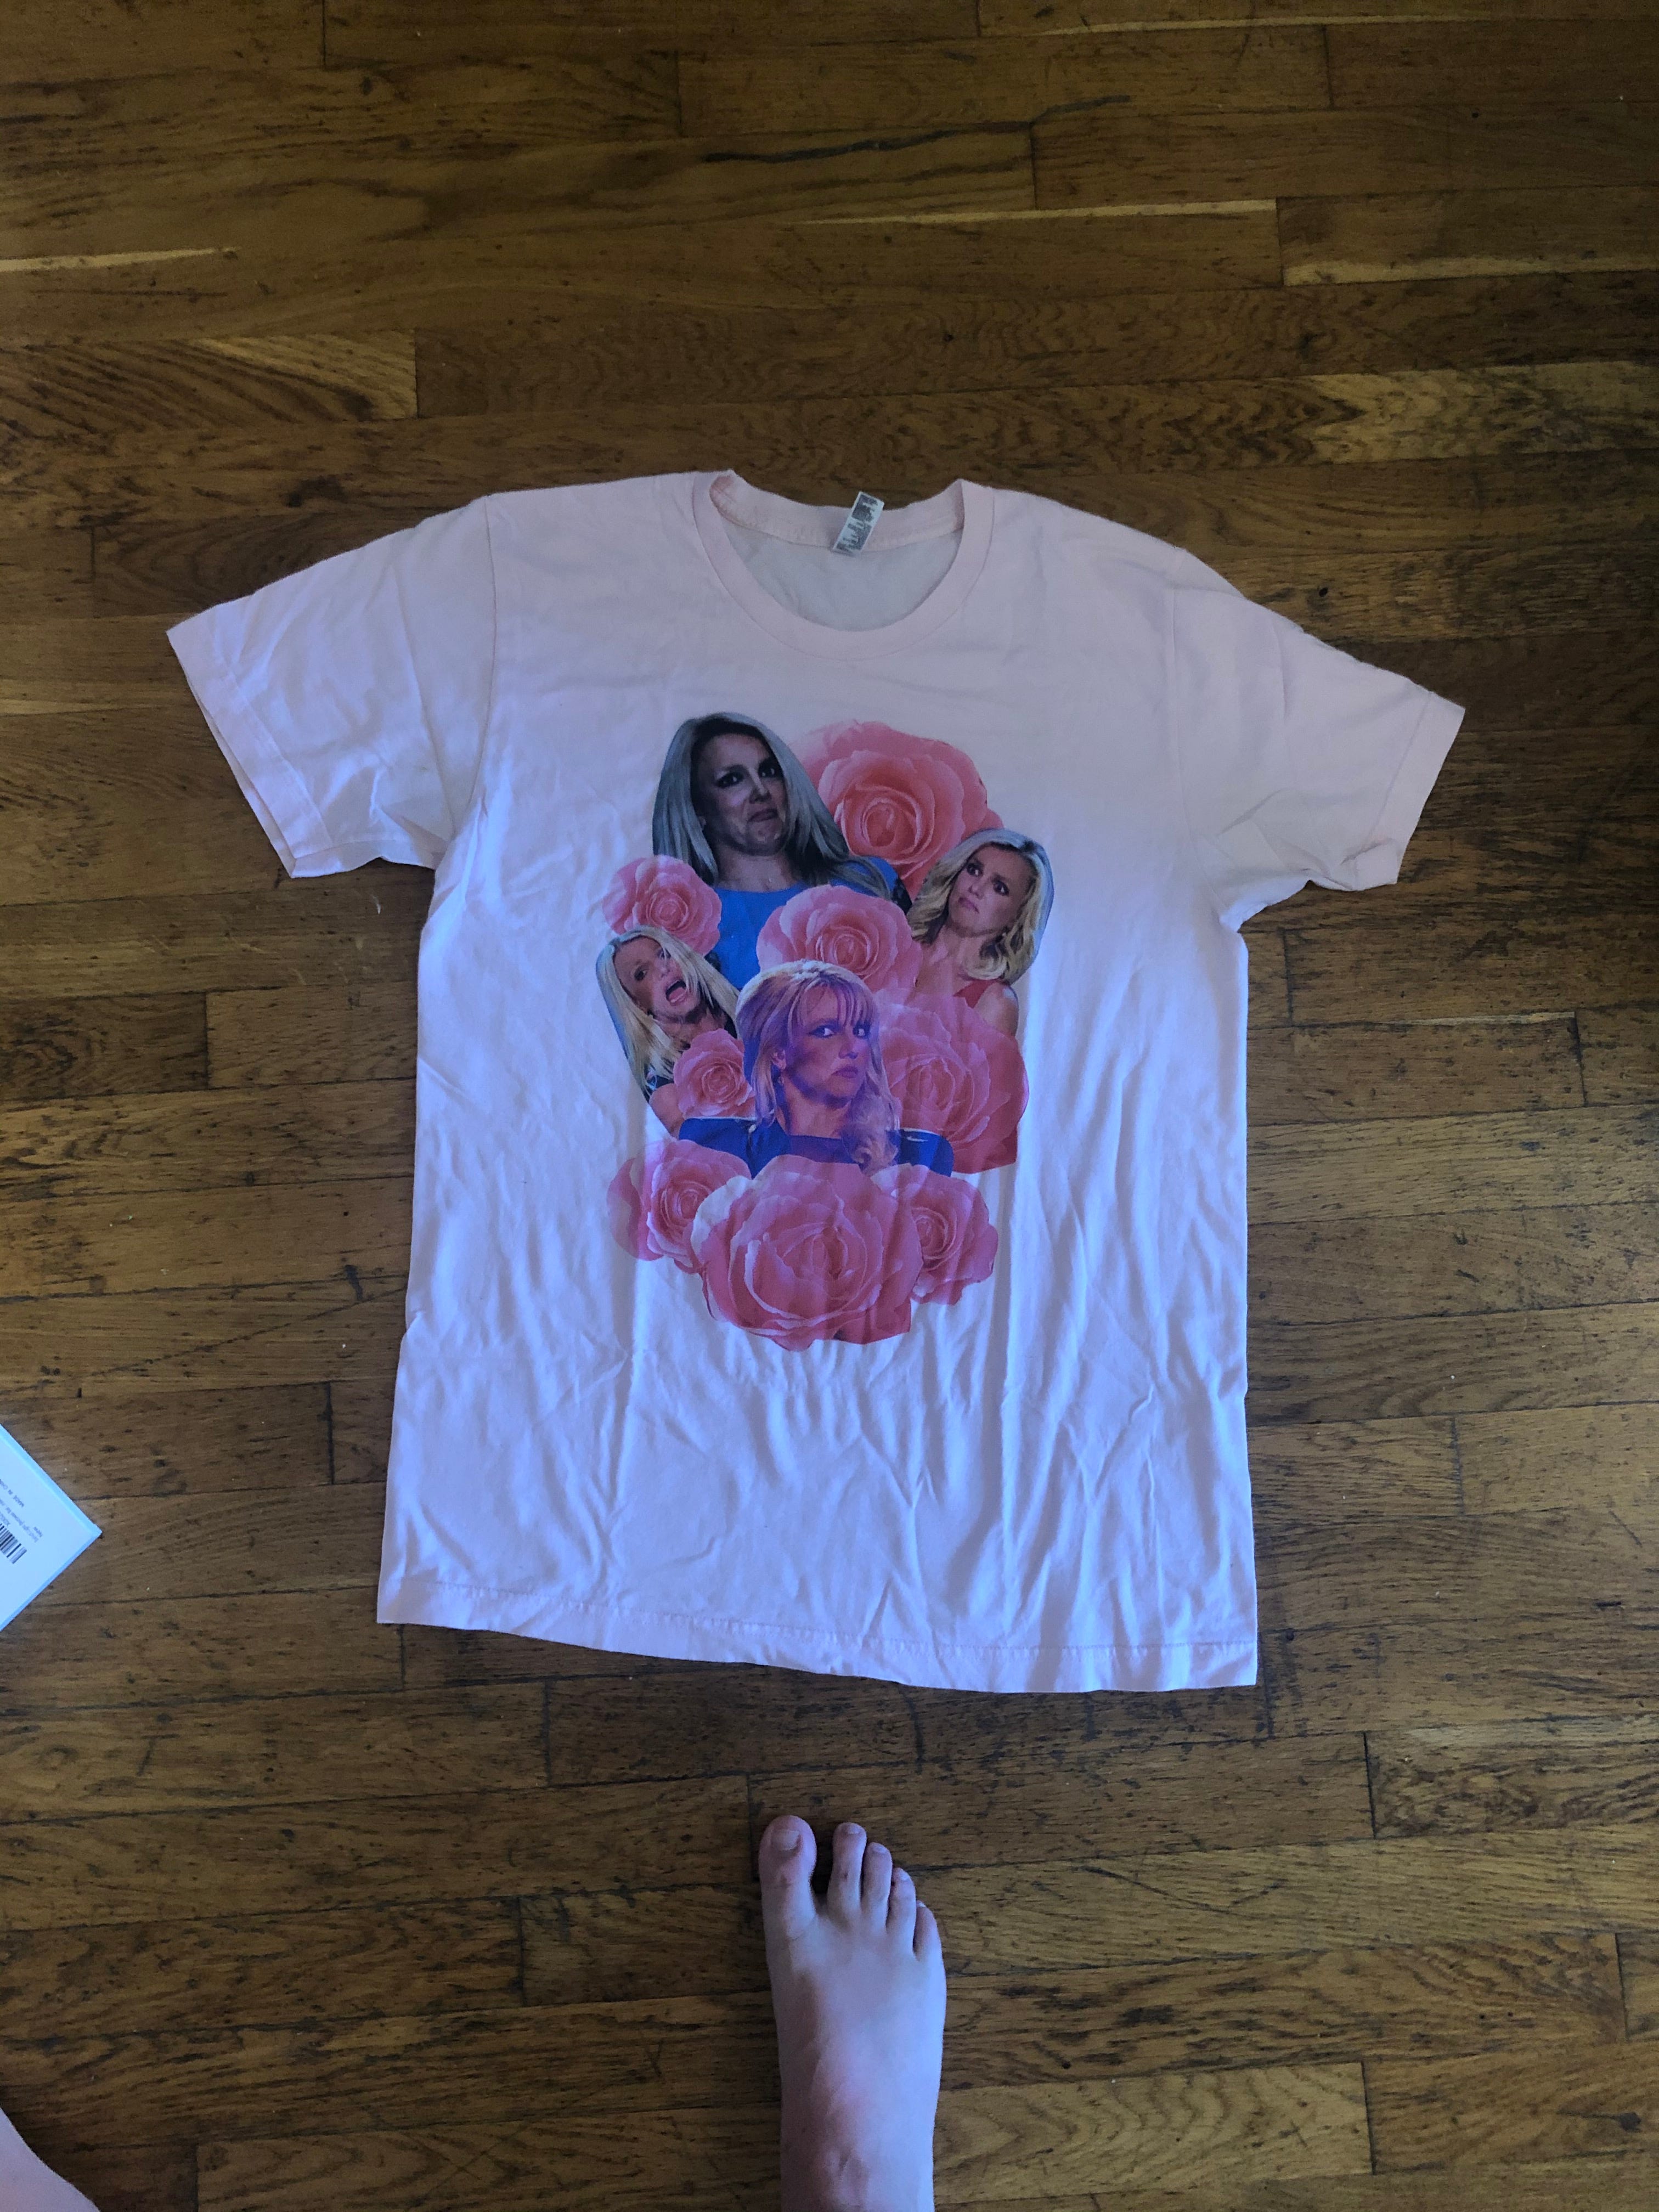
I started by cutting a square into a Brittney Spears T-shirt that multiple kids at my job have made fun of me for but I still love (save Brittney people.)
I cut out the pretty much the whole pattern from the front. In retrospect, this made it a little harder to do the next steps, I thought it was worth it, however, you might want to start with a piece of fabric without an added layer of pattern (a woven-in pattern is fine.) After you cut out your square, you can either hand sew or machine sew a simple stitch around the edge if desired, I skipped this step, but if you want a professional end to the wrap, it’s an easy way for it to look polished. When you are happy with your square, throw it onto an old baking sheet. (Ironically you might want to put either parchment paper or wax paper over the sheet since the beeswax can stick on the pan).

Preheat your oven to about 210 degrees. If your oven doesn’t go that low, do it for as low as you can. If your fabric has a pattern, lay the patterned side down. You then want to add your beeswax. If you have beeswax pellets, just lay down a thin layer of them. If you used a stick of beeswax, as I did, cut it up into small chunks and spread them evenly. Try to make sure you get all the way to the ends.

Once your beeswax is placed on the fabric, put it in your oven for about 4-6 minutes or until the beeswax has melted. It’s helpful to have a bush and brush the wax over spots that might be lacking so that the coat is even, however, be warned it will very likely ruin the brush. If there are any big spots with no wax, you can add a little more and put it back in the oven. I used about 6 oz of wax for this wrap.

When your wrap is completely covered, let it cool fully and you are ready to use it. I wrapped up a sandwich in mine and then washed it and covered a bowl with it. The beeswax makes the wrap slightly stiff, so you can conform it around bowls, tins, or the food itself. Another great hack for these wraps is if you have kids, you can sew these into bags and use them in lunch boxes. For this, all you have to do is sew up most of the length of the side and leave a flap. Add a button and buttonhole so that the flap stays down and you have a reusable sandwich bag. On average you can wash and reuse these about 120 times. When they start to lose their grip, you can add new wax and use again or make a new one out of another old shirt. Either way, you are being far more sustainable than relying on saran wrap or plastic sandwich bags, plus it can have the goddess Brittany Spears herself on it if you so chose.
Let me know if you make this one and which fabrics you chose to use. Now on to the heavy stuff. I mentioned Portland at the top and if you asked yourself, wait, what is happening in Portland? Here is a good article through the BBC that breaks it down. While for a bit there wasn’t a lot of press coverage happening, it has started to pick up, especially after social media call outs and calls for action. I know money has been tight for people and for high-risk people it is especially hard to show up for protests, but you can always sign petitions. While this article came out a while ago, some of them still need signatures. And if you do have extra cash, there are a ton of great organizations and funds that can use your help in the fight for racial justice. One I want to highlight is the Okra Project which is doing amazing work for trans and non-binary people of color.
That’s it for this week, but we will be back indefinitely now. Let me know if you have any great causes that should be highlighted or if you have done some great crafting while we have been off. And as always, stay healthy, stay crafting.