


What up crafters,
For this Craft Cult, I have to take you back a week. So last week, I saw a dress online. I Ioved the little strawberries but 1) this dress is $500 and 2) I don’t think the style would look good on me, but I love the shiny, little strawberries.
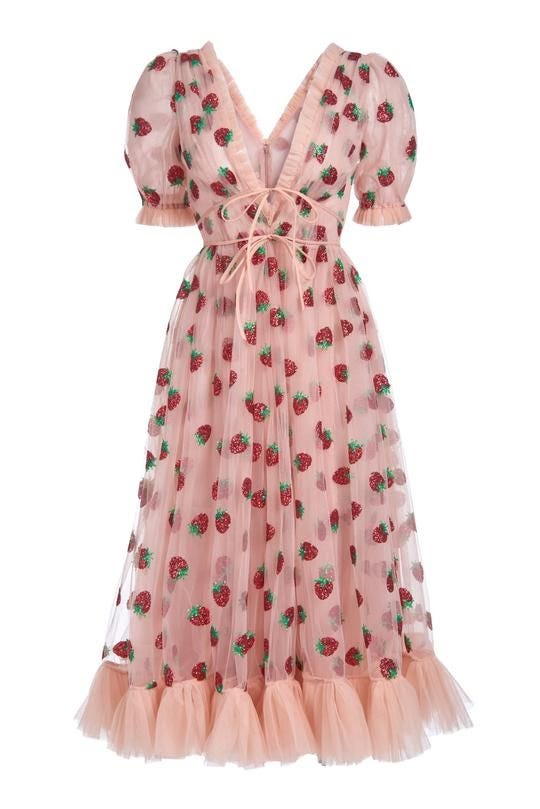
So I thought I would do a little DIY to make strawberry patches that you can add to anything.
First, you want to start with some canvas. Using lose canvas is probably cheaper, but I like sewing onto a stretched canvas because you don’t need to use an embroidery hoop since it is already stretched. I used a Dollar Tree crafting canvas that I didn’t like the painting I did on. I also used some sequins and some small beads. You will also need tread (I usually use the same color as the beads/sequins) and a thin needle.
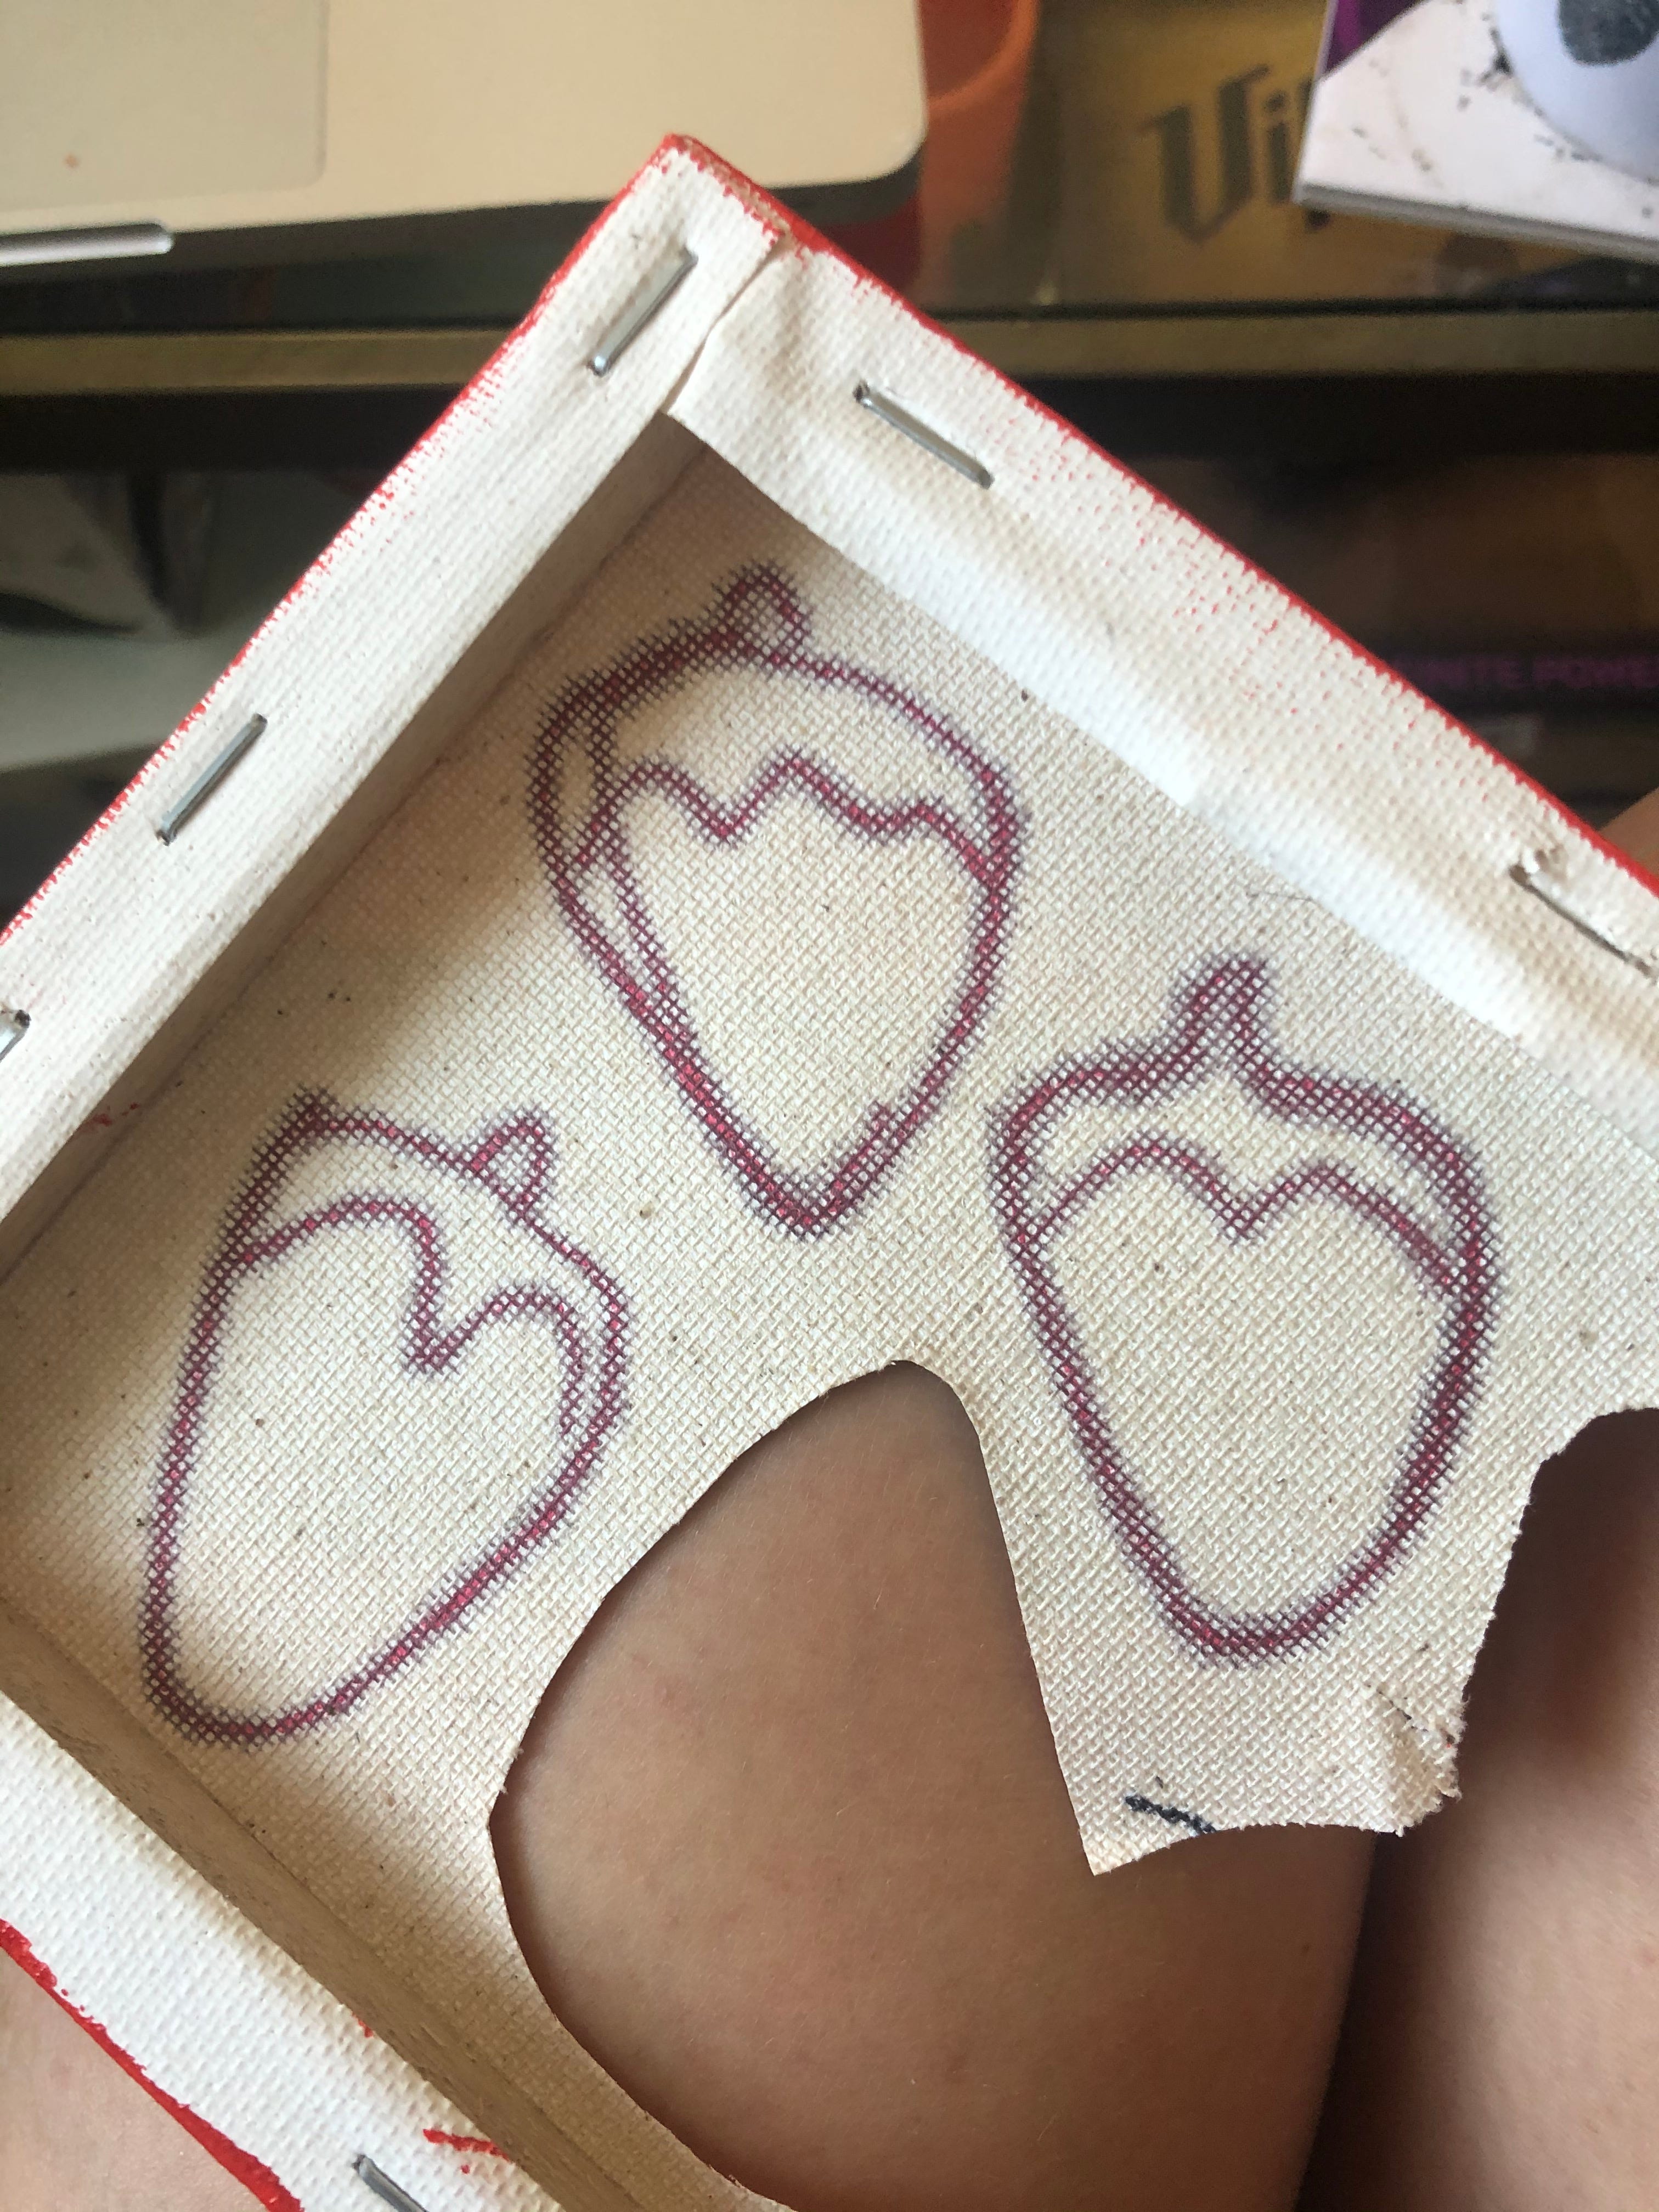
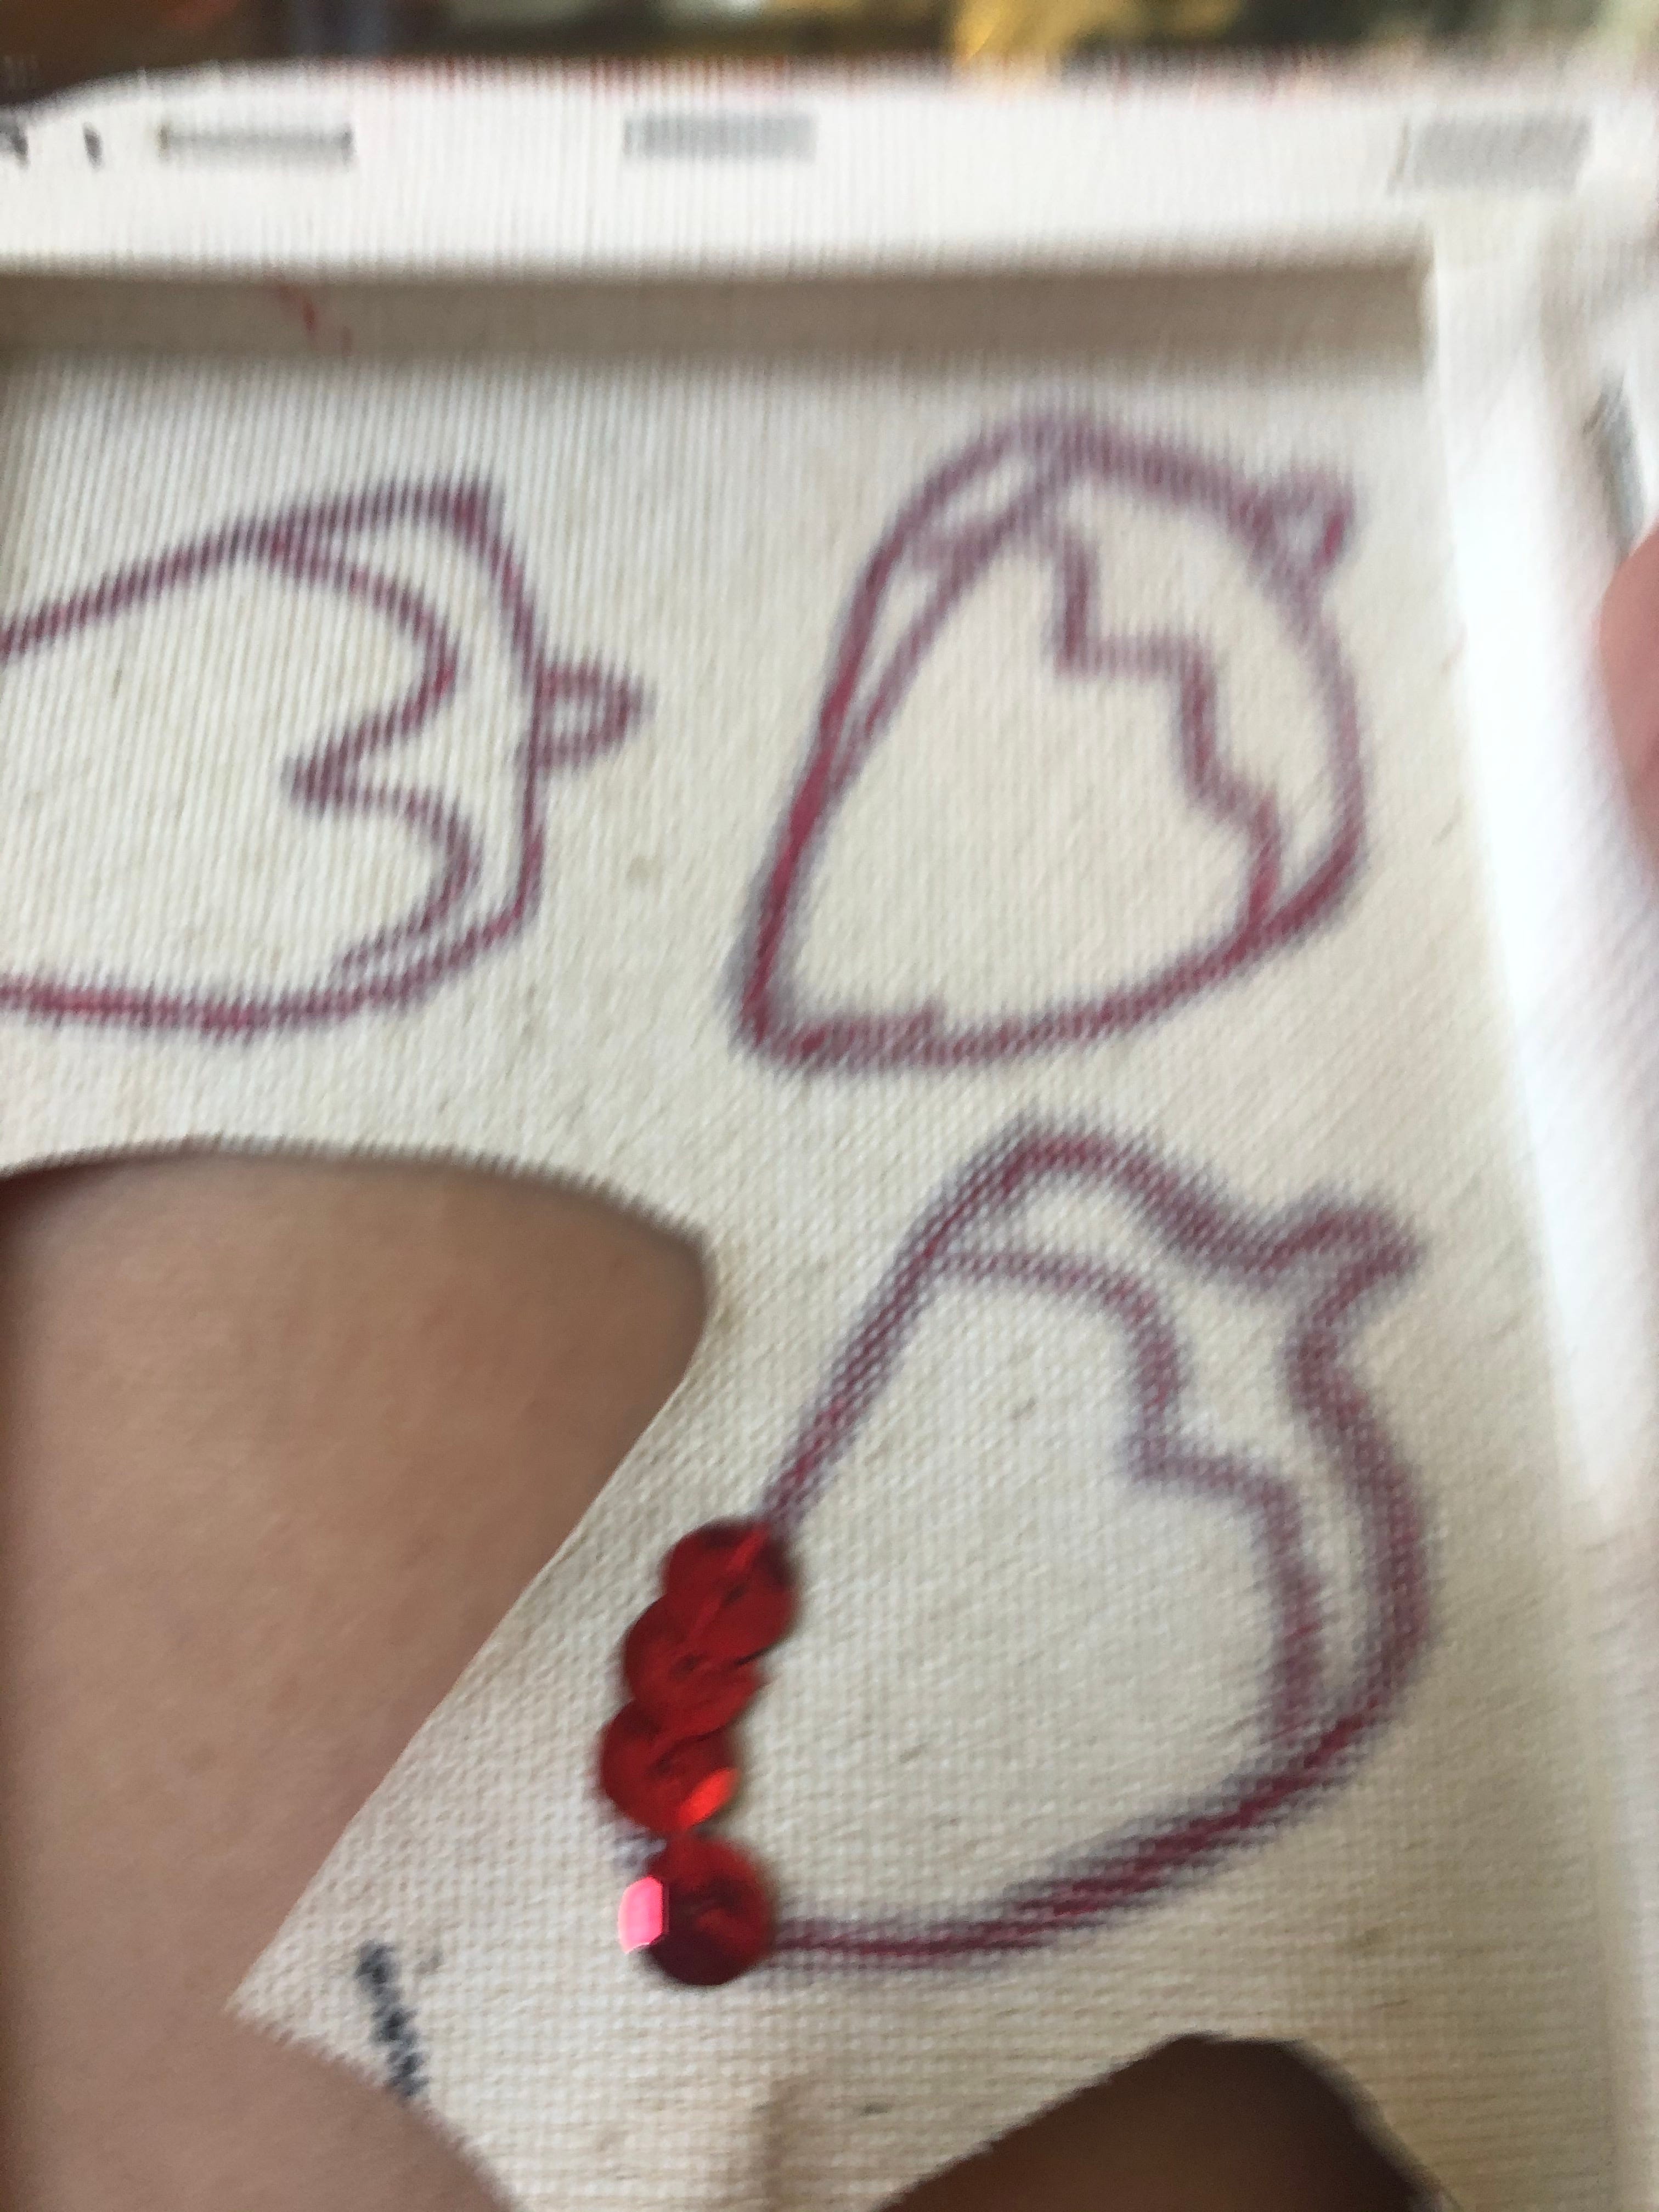
When you have your canvas ready, draw a rough outline of what you want your patch to look like. I am doing strawberries, but you can do anything. Once you get good at this, you can use this technique to get pictorial in your designs, but it is easier to start simple. Strawberries are a very easy one to pull off for beginners.
Once you have drawn your design, use your needle and thread to come through the canvas and the first sequin. Then bring the needle back through the canvas directly next to the sequin. Do this process again on the other side.
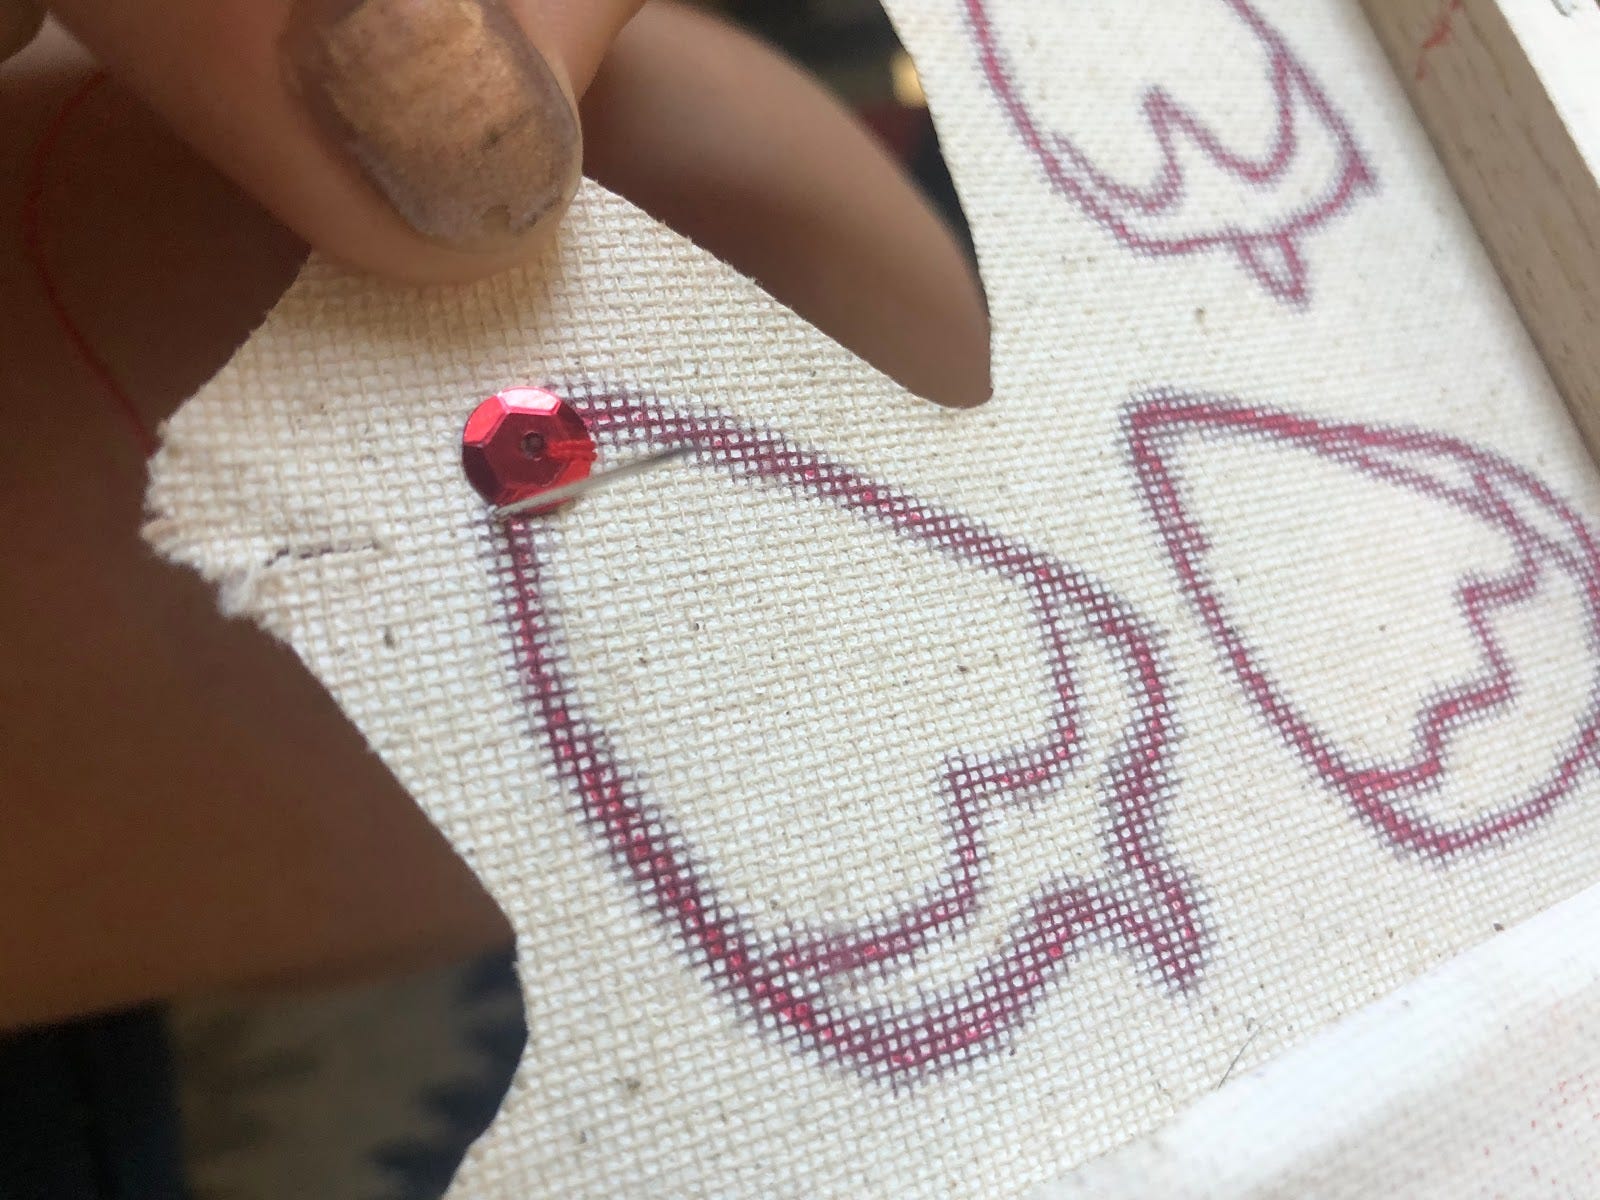
The big trick of sewing on sequins is that each sequin should be secured by two stitches. Ideally, one stitch connecting the middle and the outside of the sequin and the second connecting the middle and the opposing side of the sequin. Your stitches will then look roughy like a straight line through the center of the sequin.
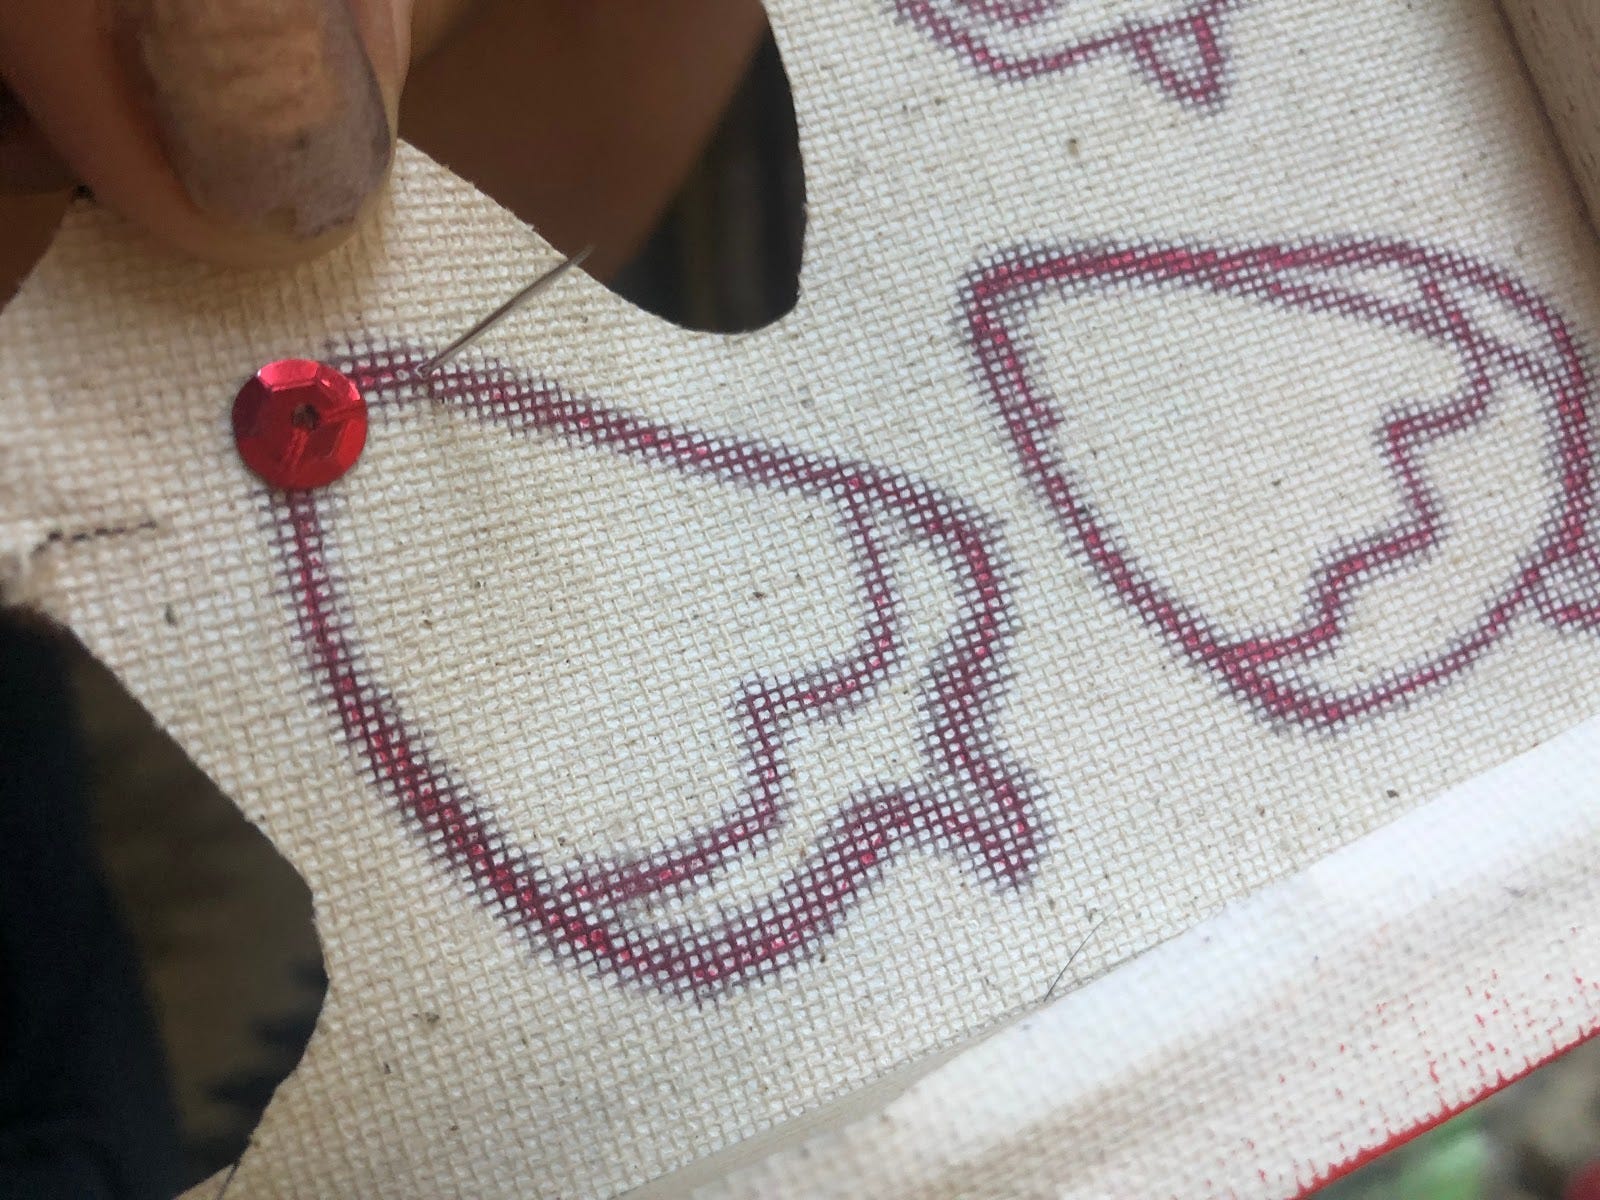
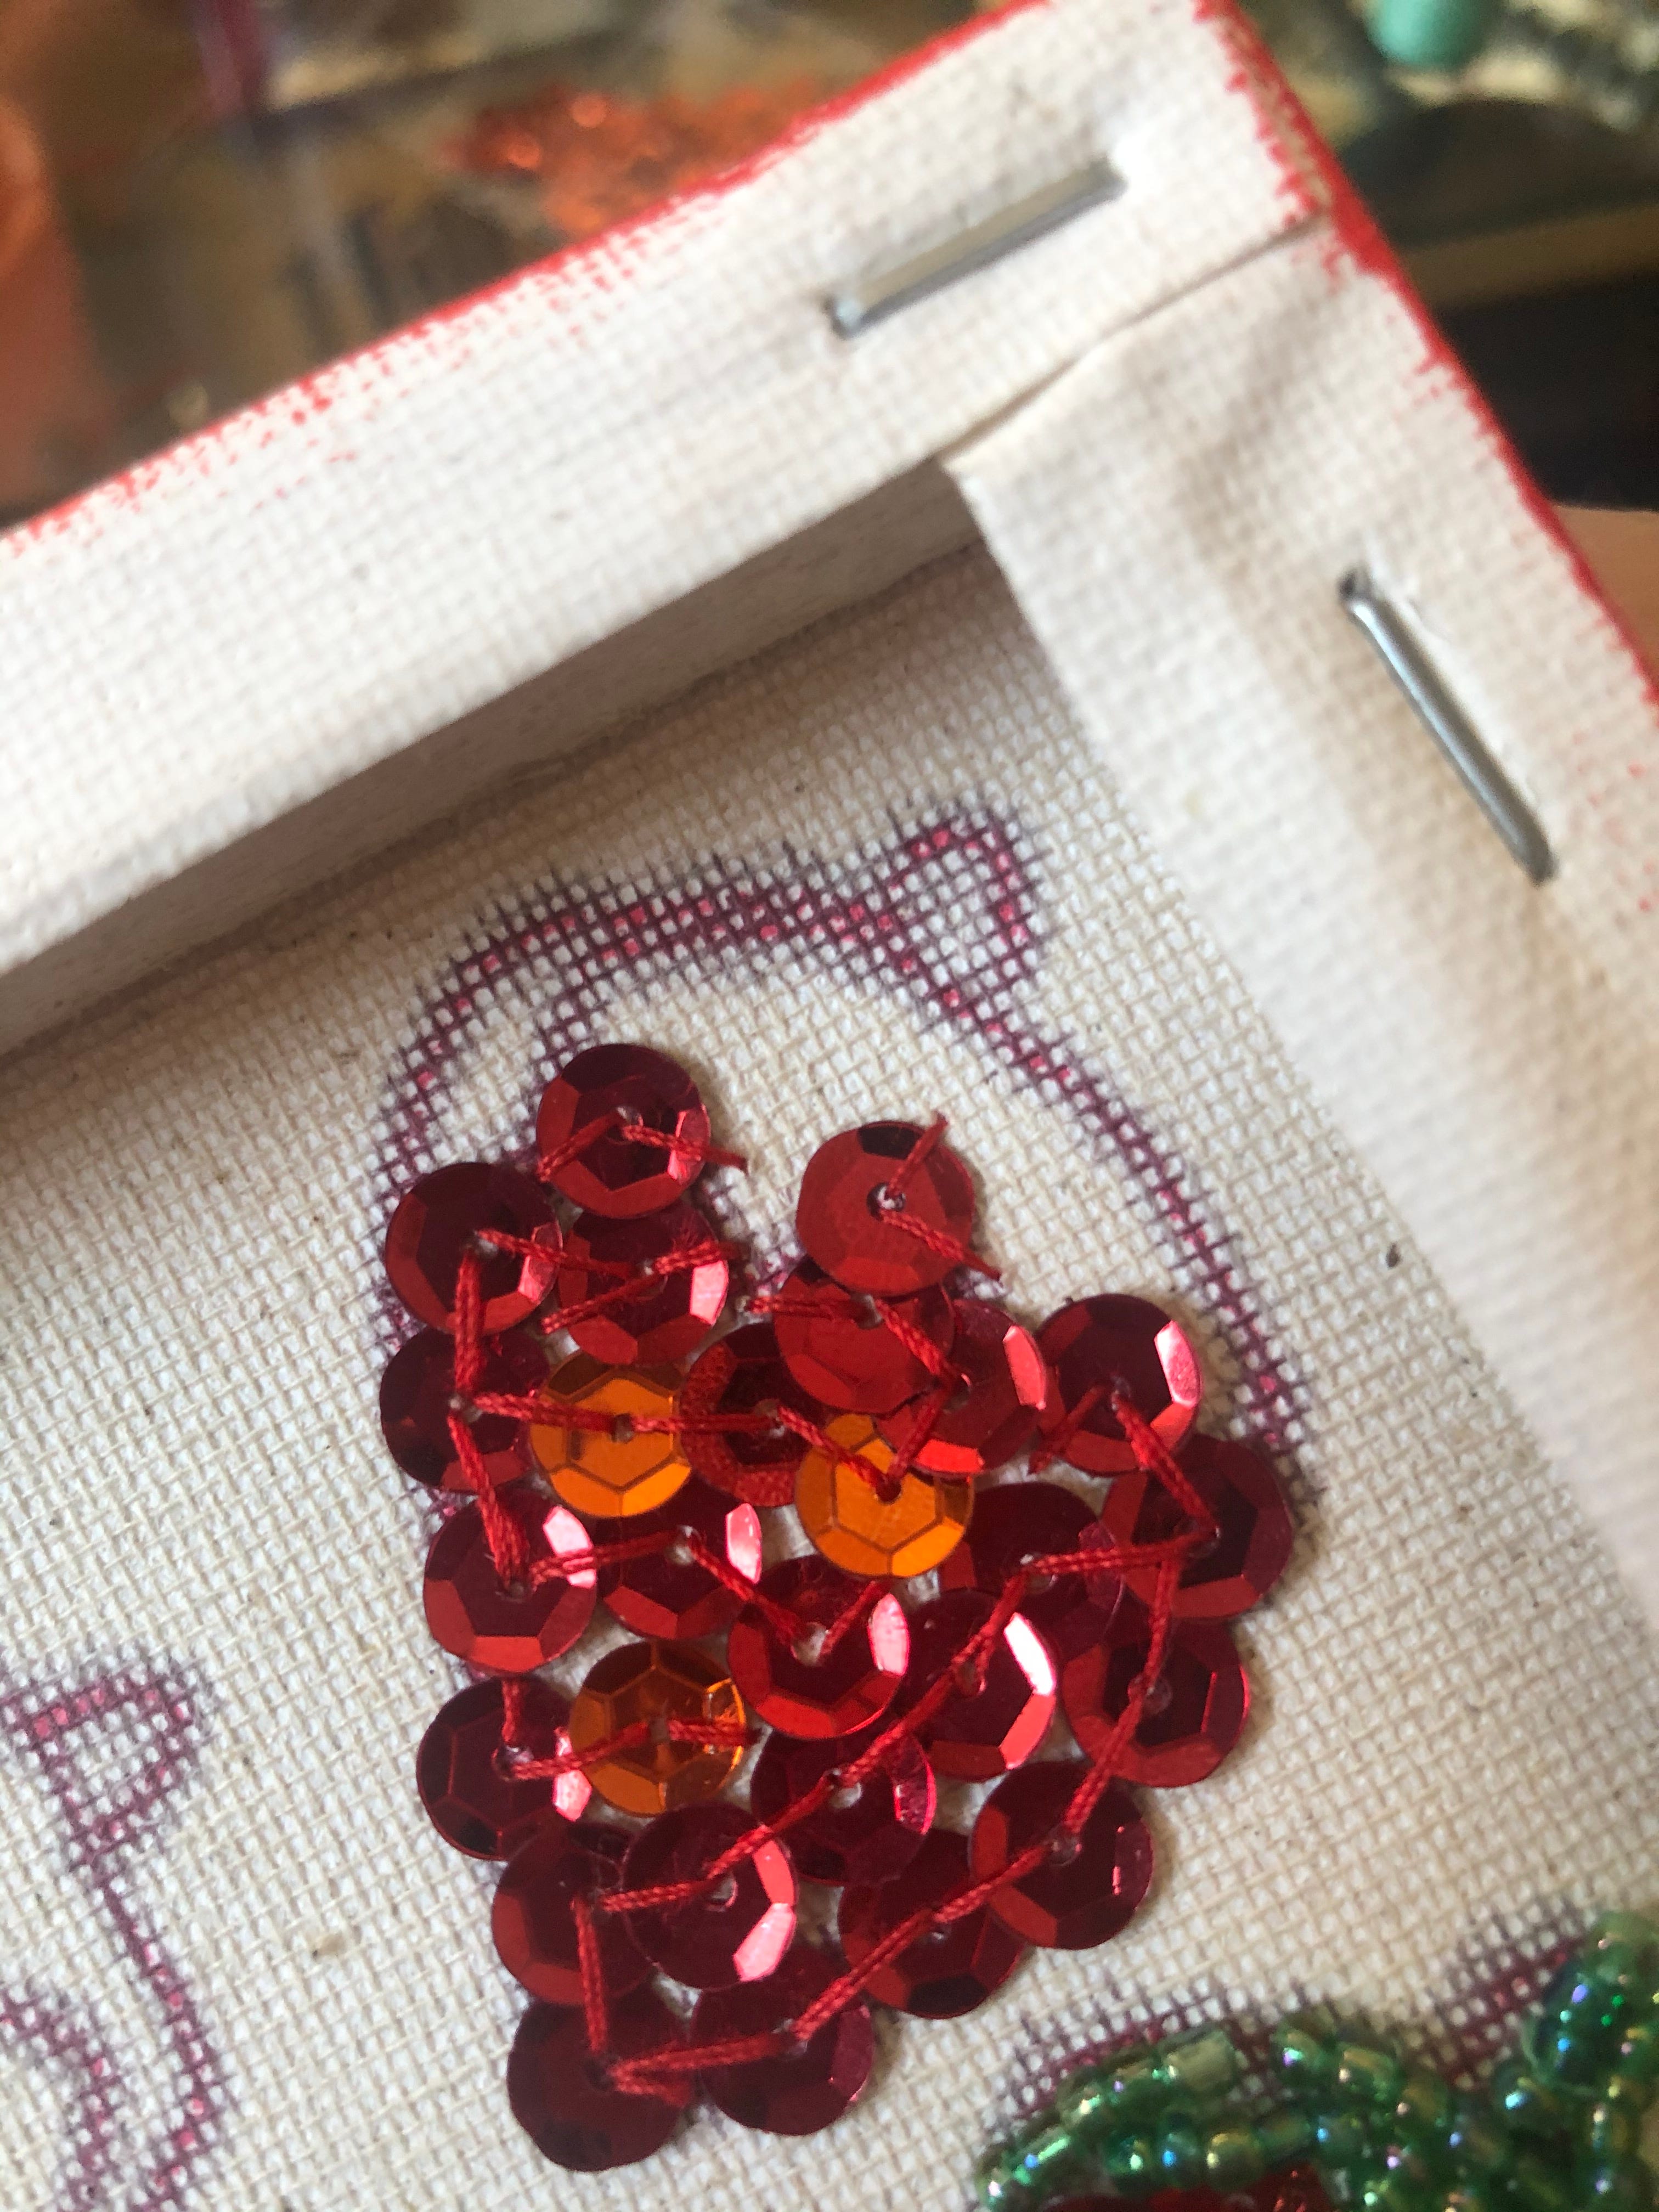
Once your first sequin is secured, bring the needle up through the fabric a little under 1 sequin length away from the original sequin. Repeat the process with a new sequin. Continue doing this process until the entire area is filled with sequins. (Sorry for the next photo, I didn’t realize it was a little blurry at the time.)
There isn’t a wrong way to add your sequins. I started with the outline and then moved in, but you can do columns or rows as well. Just make sure that each sequin has two stitches securing it to the canvas.
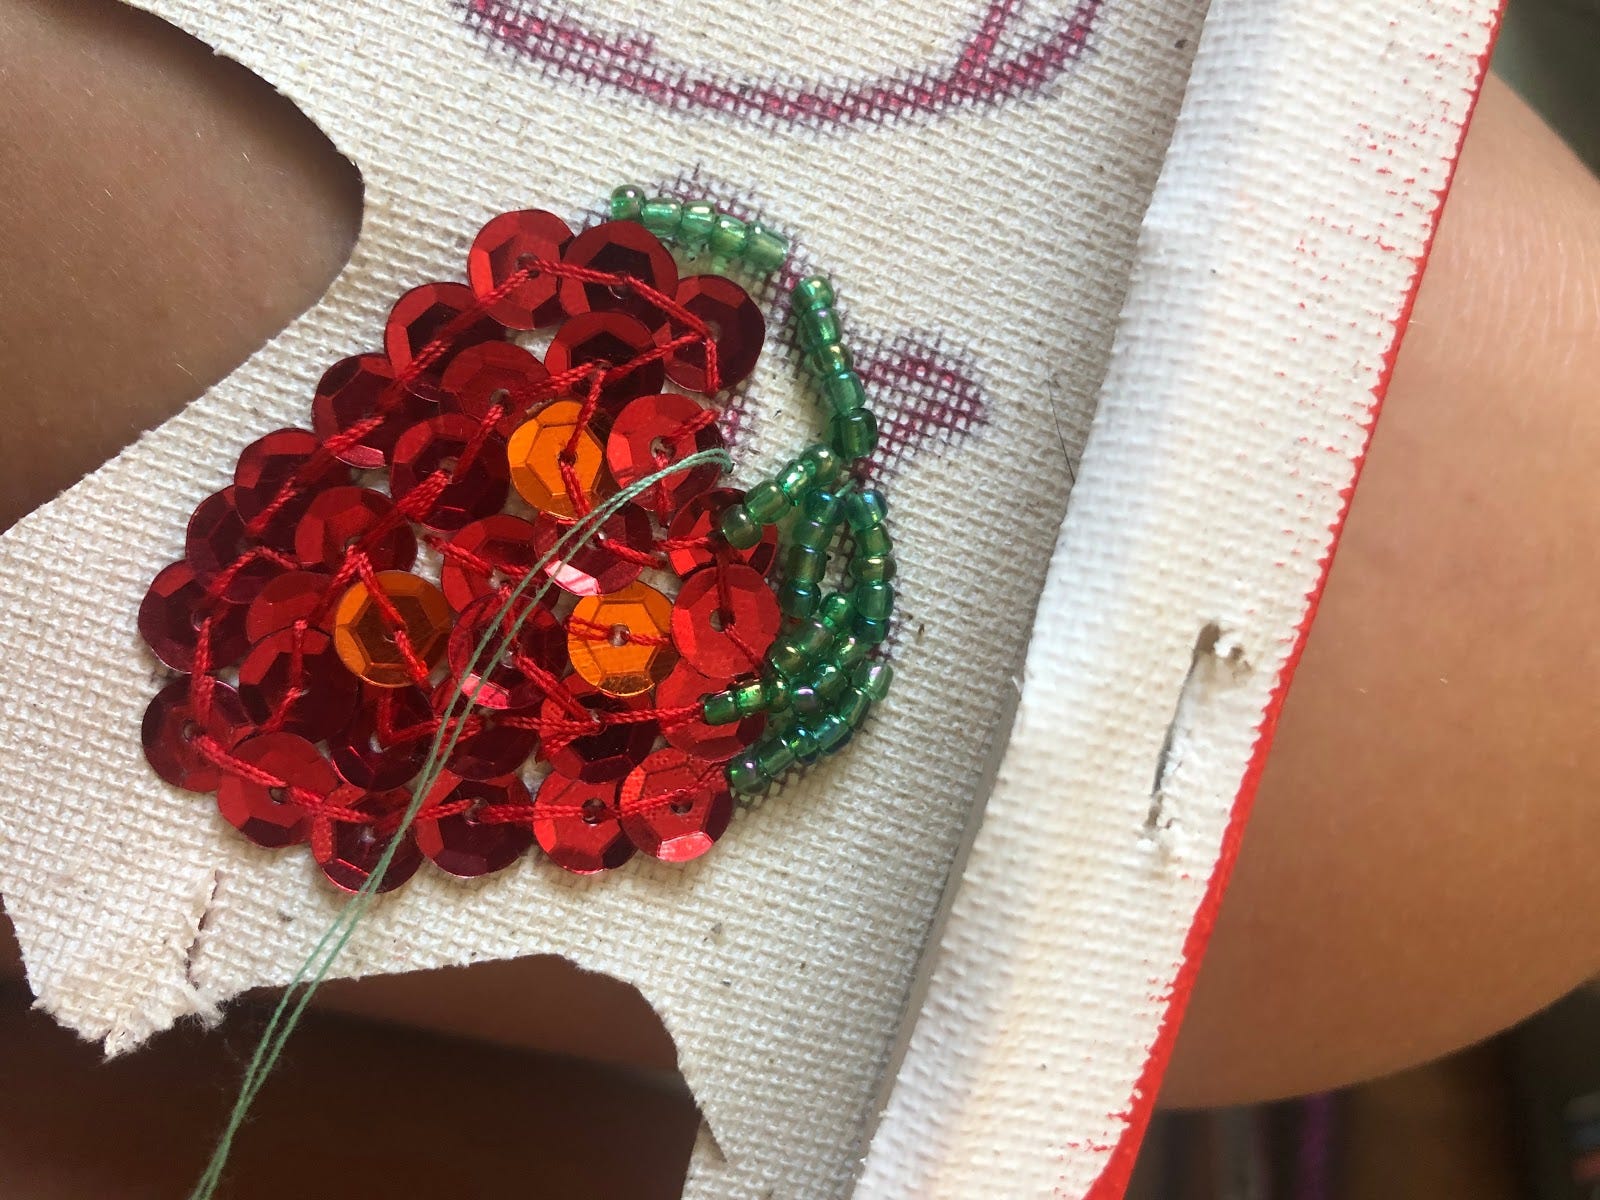
After the sequins, it was time to add the beads to the top. The one thing I would say about beads, make sure the hole of the bead is wide enough so that your needle can easily pass through it. You should be using a needle with a fairly thin eye, it will make this process easier. Bring your needle through the canvas and then you can start stringing on the beads to it. For the beads, add about 2-5 (depending on the size of the beads) at a time. After you have a couple of beads on your thread, take the needle back down through the fabric at about the same length as your bead string. Come back up through the canvas and repeat this process until the space is full of these little beaded segments.
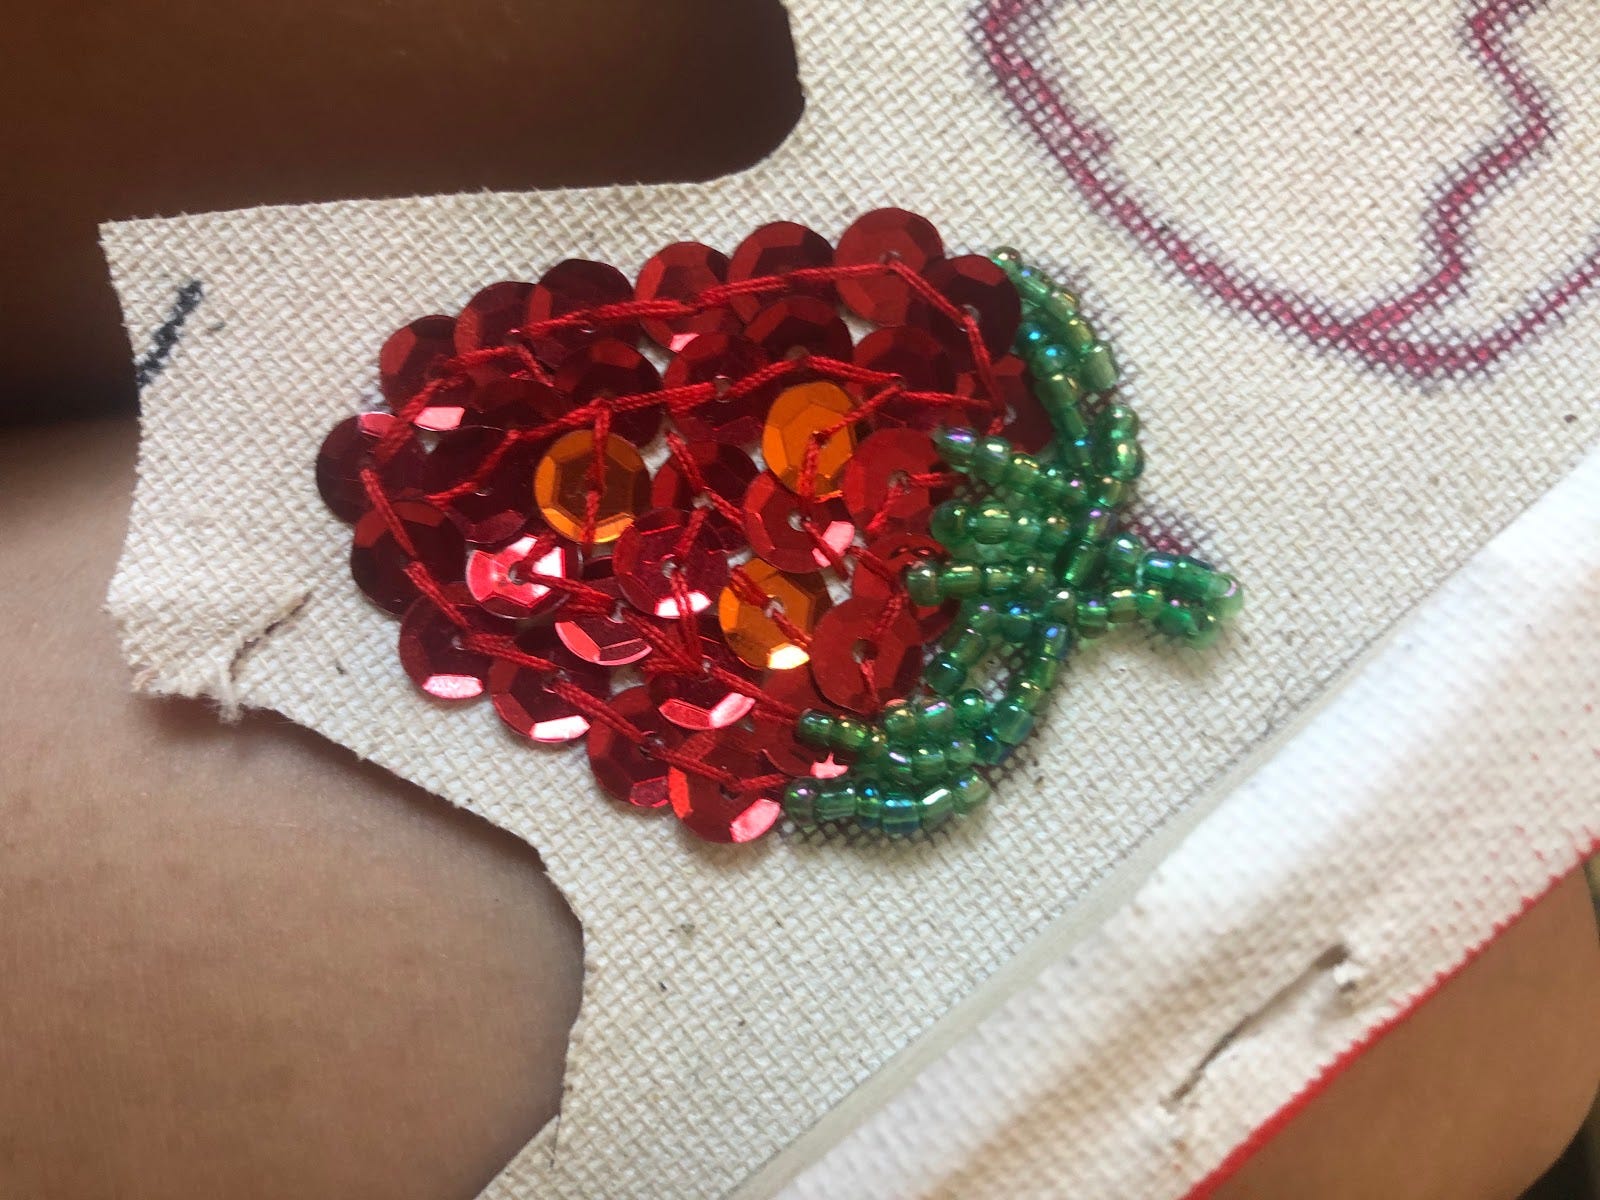
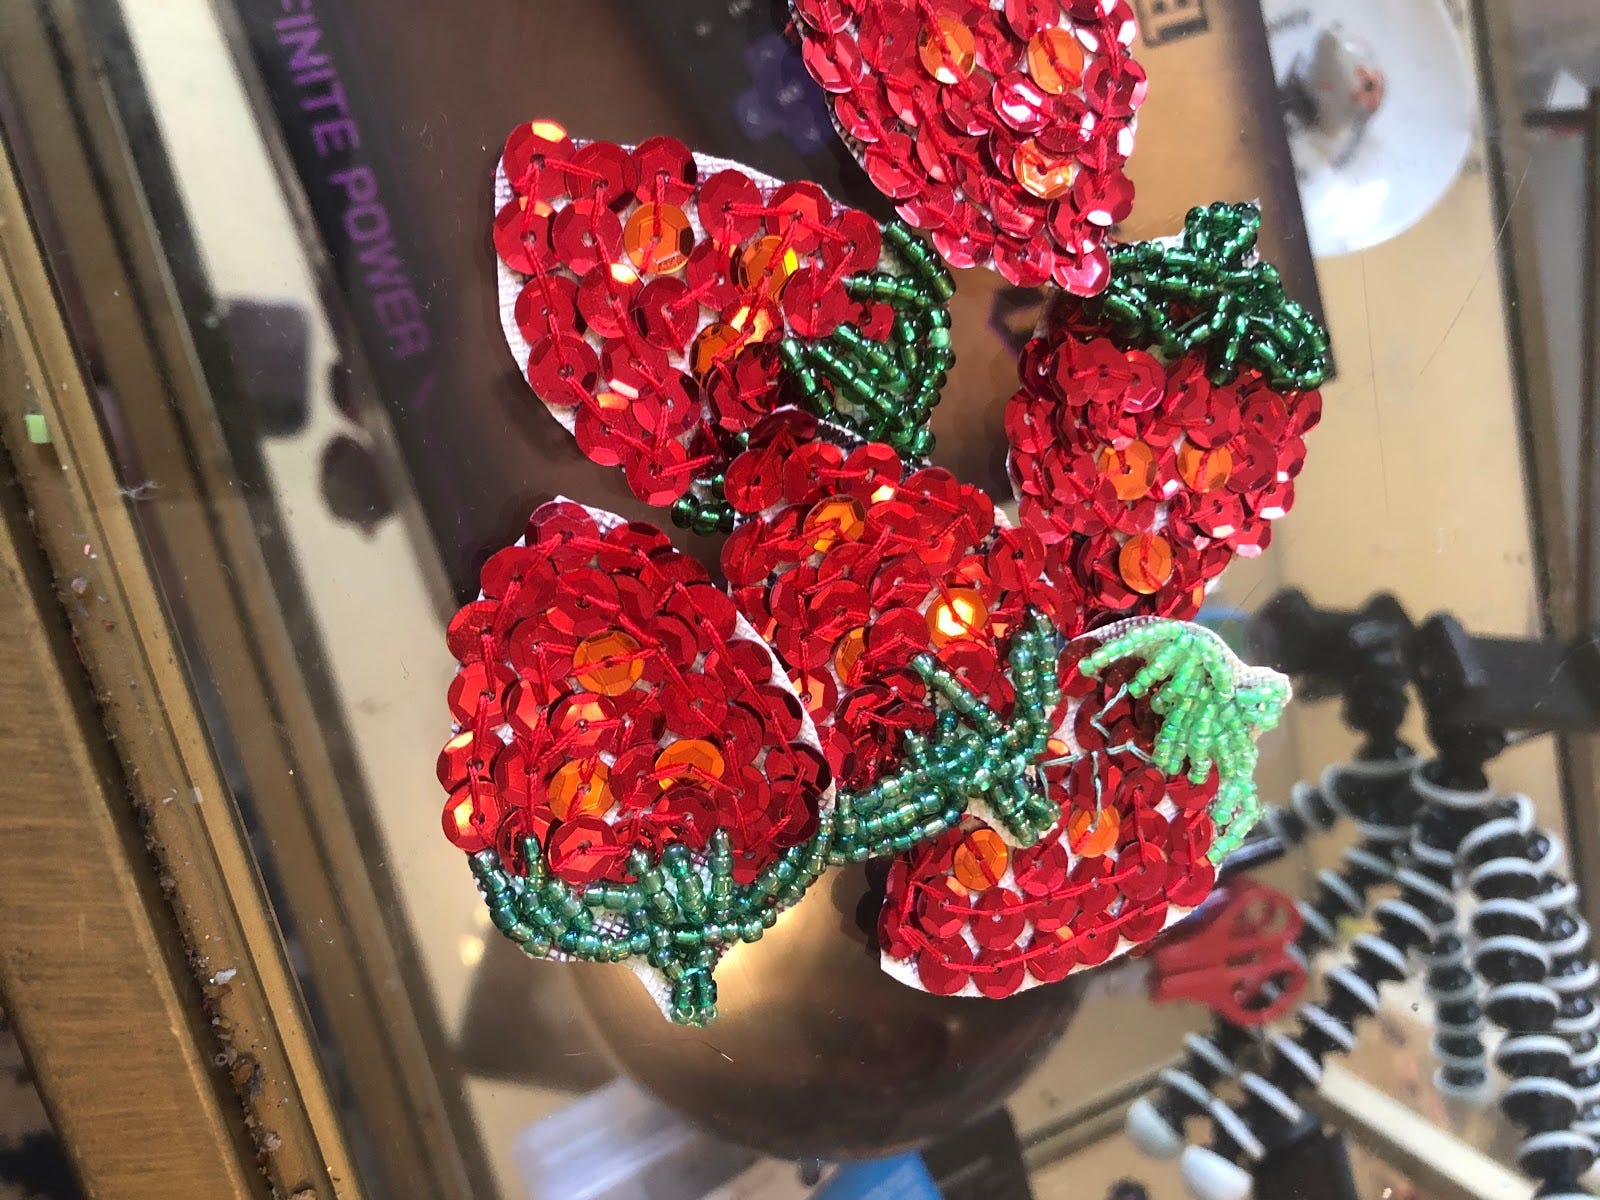
When your patch is full up with beads and sequins, tie off the string tightly in the back and your patch should look like this.
You can then carefully cut around the patch. I would try to get as close as you can without snipping any of your stitches. I made a couple of these and I would advise on doing all your patches (if you are making multiple) before cutting. It keeps the fabric more taught and easier to work with.
I haven’t attached these patches to anything yet, but there are two ways to do it. The first and probably the easiest way involves using patch backing. You can buy it online or at most craft stores. There are two kinds, but the better one uses heat to make the adhesive work. If you are using this kind, just make sure that you are heating from the back of the patch as to not melt your sequins. Other than that you should be able to just follow the instructions on the backing.
The other method is to sew on the patch. This is more of an applique technique. You can sew the canvas on to your desired fabric using a running or whip stitch. If you want a little more of a gunge look you can also safety pin these on.
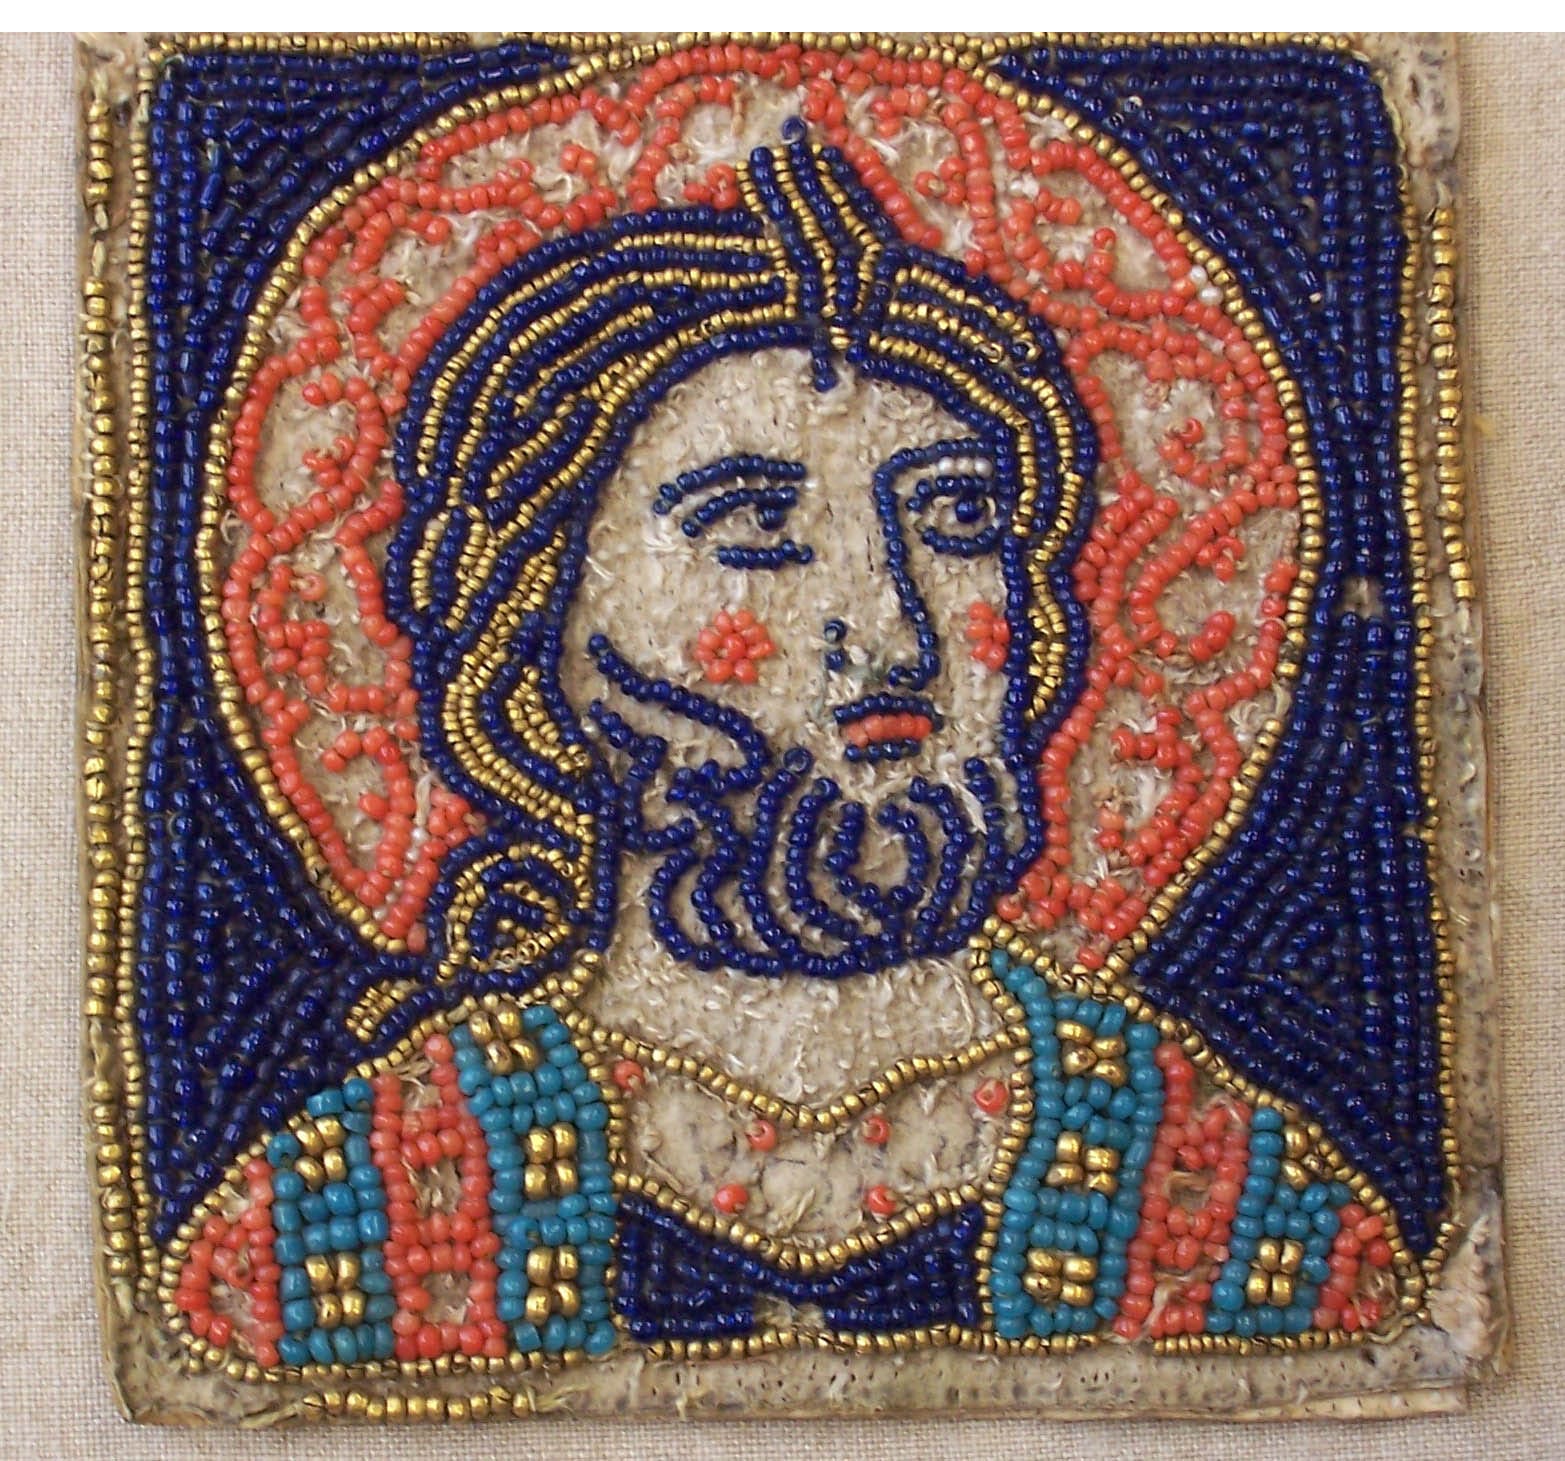
Before I wrap up, I wanted to talk a little about the history of this craft. Because what we have just done is beadwork. It is an ancient art form, which traces back millennia in Europe. Early beadwork was done in Europe with shells and even bones. Glass beads were introduced in about the 14th century in Murano in Northern Italy. In about the 1500s using glass beads in beadwork became popular in France. Medieval bead art was used not only as decoration but also as portraiture.
Most beadwork we see today, however, comes from First Nations artists in the Americas. Before European influences, many tribes used shells, stones, animal bones, and porcupine quills. European influence added glass beads. This type of beadwork is not only decorative but often culturally important to the tribes that practice it. You can read more about it here.

Traditional beaded dress from the Nez Perce tribe.

Bead art by Marcus Amerman of the Choctaw nation
Beadwork has been used for centuries in parts of Africa using both glass or wooden beads. In parts of Asia, beetle wings have been used in the decorative arts in similar ways to beading. All this is to say, beading is a culturally rich and far-reaching art. I know I was employing it for just a silly little decorative project, but in many cultures, it can mean a lot more.
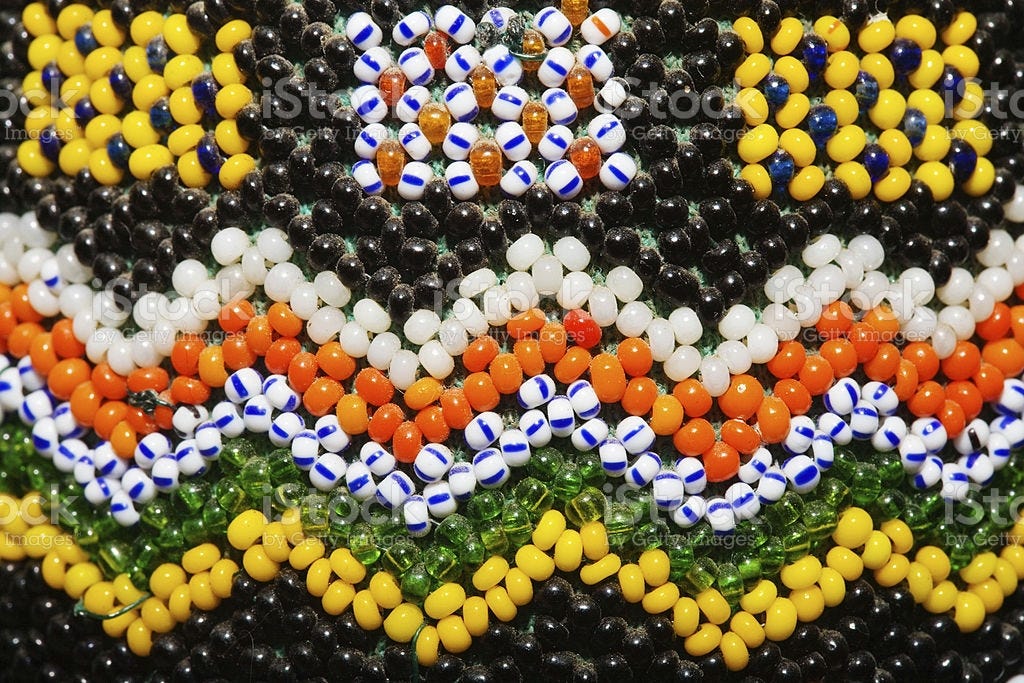
Zulu beadwork
That is all for the crafts, but as usual, I wanted to highlight an important story at the end. This week, the NYPD abducted a protester, in a similar manner to what we saw happening in Portland. We have to remember that we the people, keep us safe. If you live in NYC, it is a great time to contact your representatives, because we cannot let the NYPD’s warrant squad get away with this and we should be calling for it to be abolished. If you don’t know who your elected official is, here is a resource to find them. Another resource that I wanted to highlight is Who Can I Call? They have a breakdown city by city on who you can call in an emergency that isn’t the police. It’s a great resource for those who don’t think defunding the police is possible (it is) and a great resource for those who want to help keep their neighbors and community safe and healthy at this time.
That’s all for this week’s Craft Cult. Always, stay safe and keep crafting.