

Candles Part Deux
It's candles but this time it's spooky.

Spooky Halloween everyone,
Okay so I know it’s September, but I hate Thanksgiving and I am Jewish so Halloween is really the only fall/winter holiday that I can over hype and if you didn’t peg me as an adult who gets too into Halloween, then you haven’t been reading this newsletter closely enough (all the clues were there.)
So I count September as the start of “spooky season” and in that grand tradition, it’s time for our first spooky craft (don’t worry, not every craft through October will be a spooky craft, but honestly, a lot will be.) I chose to make this a spooky craft, but it doesn’t have to be at all. We are decorating candles.
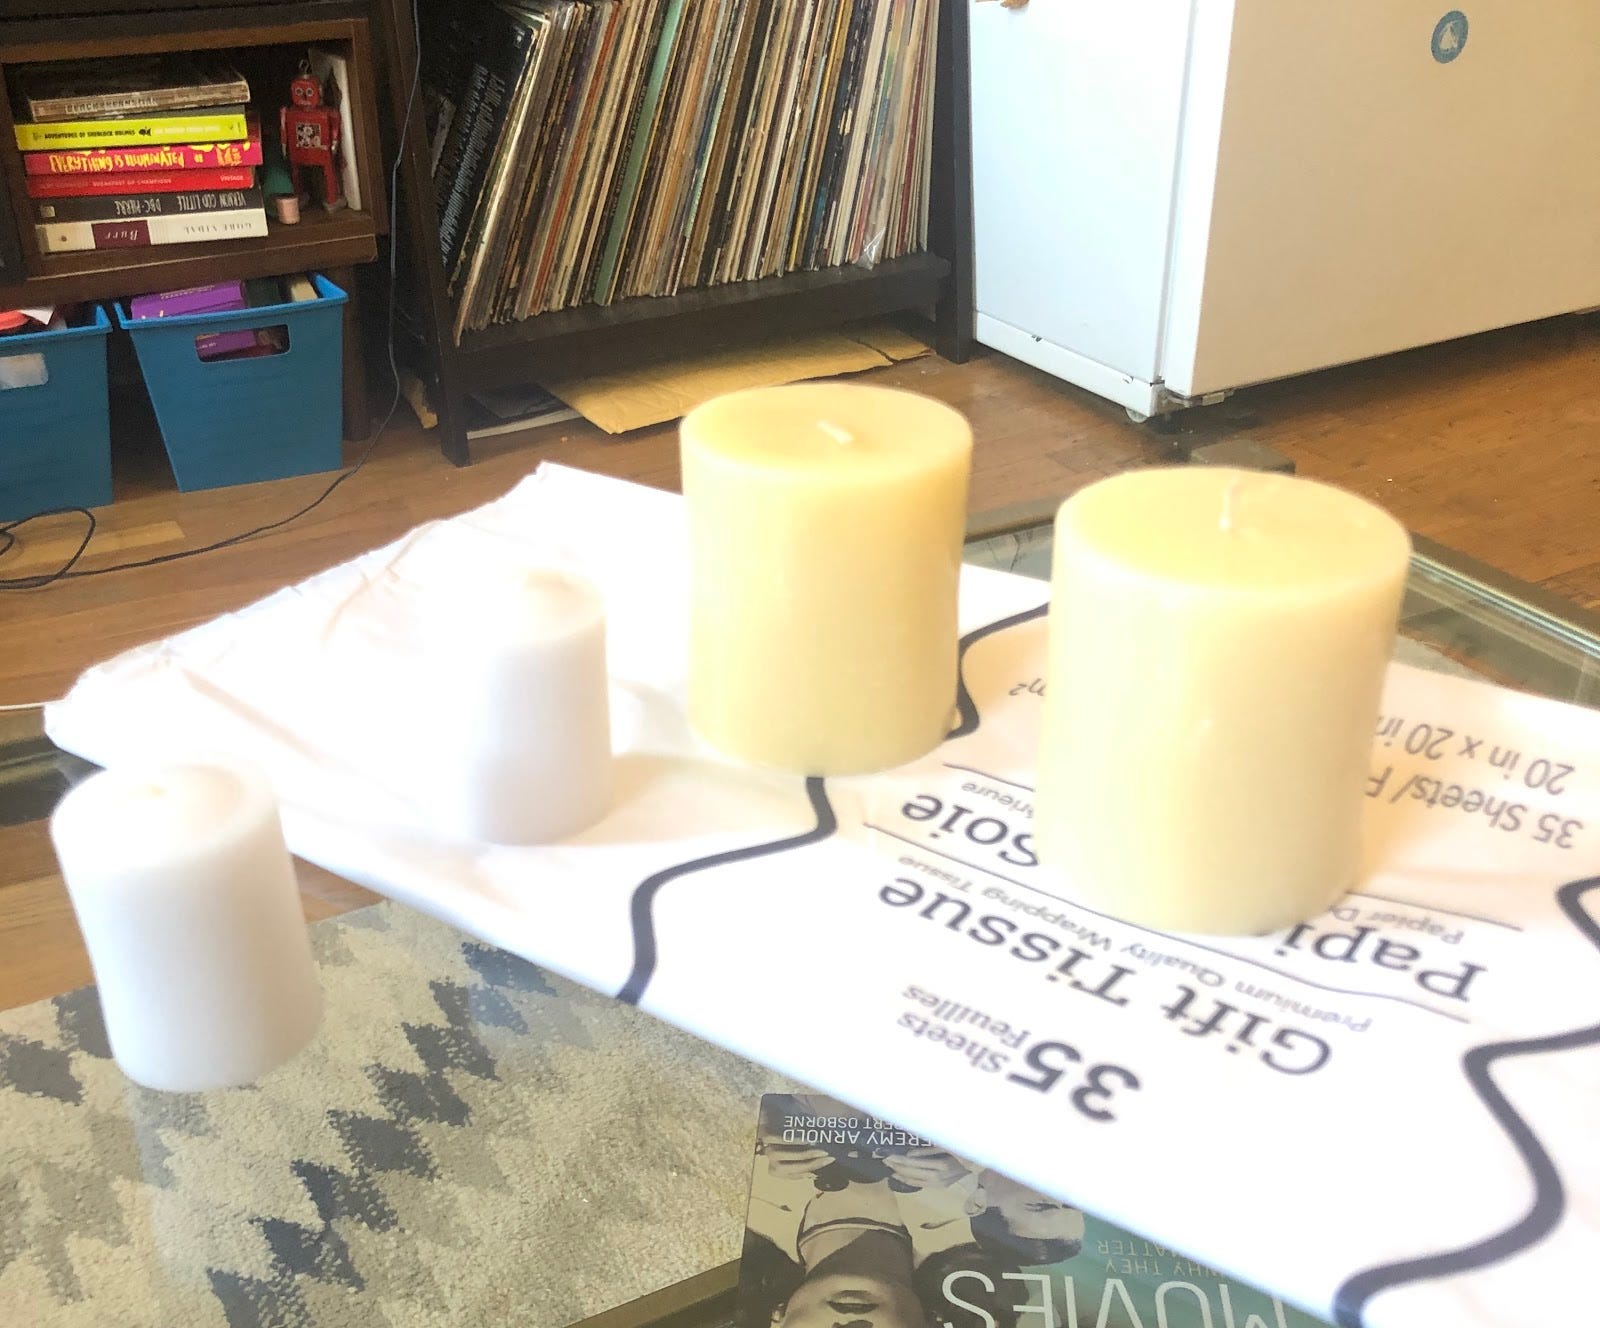
For this craft, you will need tissue paper, pens or colored pencils, a white candle, wax paper, and a hairdryer. I had everything in my house except for the candles which I found in a local dollar store. I made a couple of candles at once, but you can make as many or as few as you want.
I started by cutting the tissue paper to about the size of the candle. You don’t have to do this, but it will make sure the design isn’t too big.

Now comes time for the fun part. Draw a design or picture onto your tissue paper. You can use any drawing supply you have around (minus crayons), but the tissue paper is pretty delicate so I would be careful when drawing your design. I used a pencil for my sketch and then outlined it in a ballpoint pen, but it wasn’t very dark. So I went back in with an ink pen and colored pencil. I would advise on using a dark outline on any design you decide to do. If you are doing this with kids, you can also do an outline and have them color it in if drawing on the tissue is hard for the little ones.
Here is my first design, a spooky little Death's-head hawkmoth. I colored him in with colored pencils and cut him out when I was happy with the design. You don’t have to be too close with the cut-out, but it will make it easier to have your design cut out.

If you don’t love to draw, you can trace a design, use some spooky stamps, or print a design out. Make sure if you print a design to do it on tissue paper, if you haven’t done that before, here is a link on how to do it.
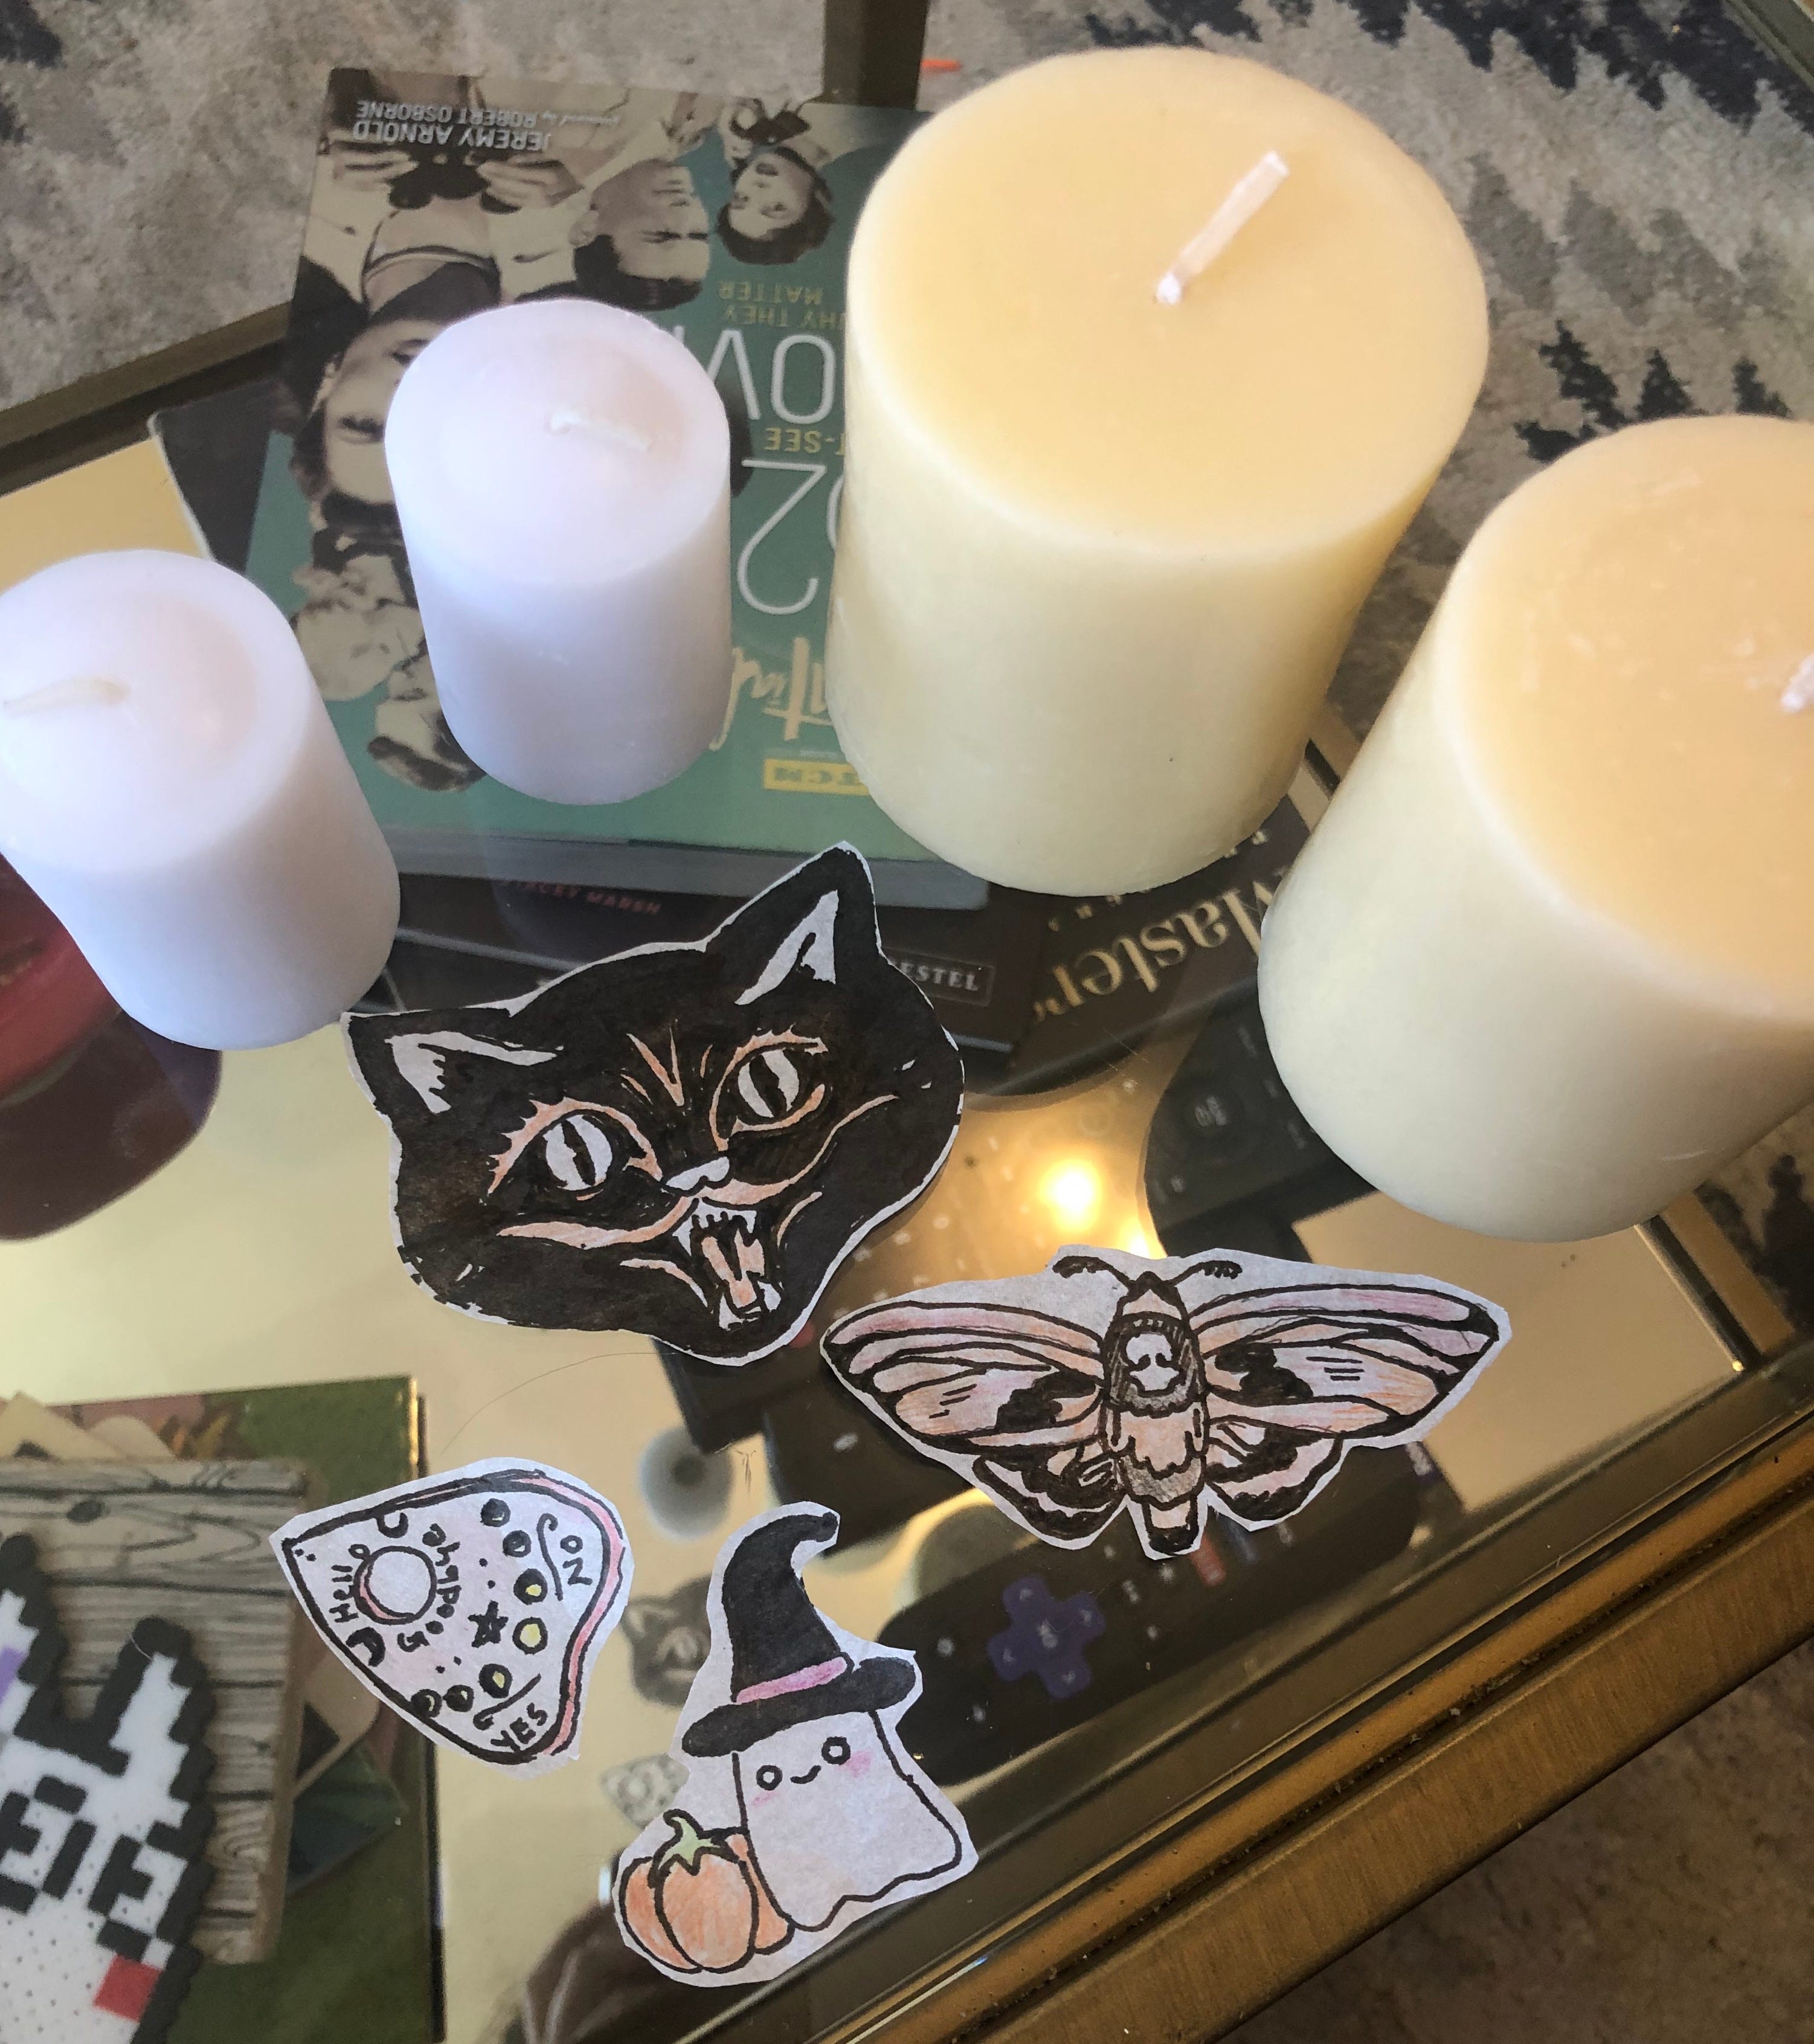
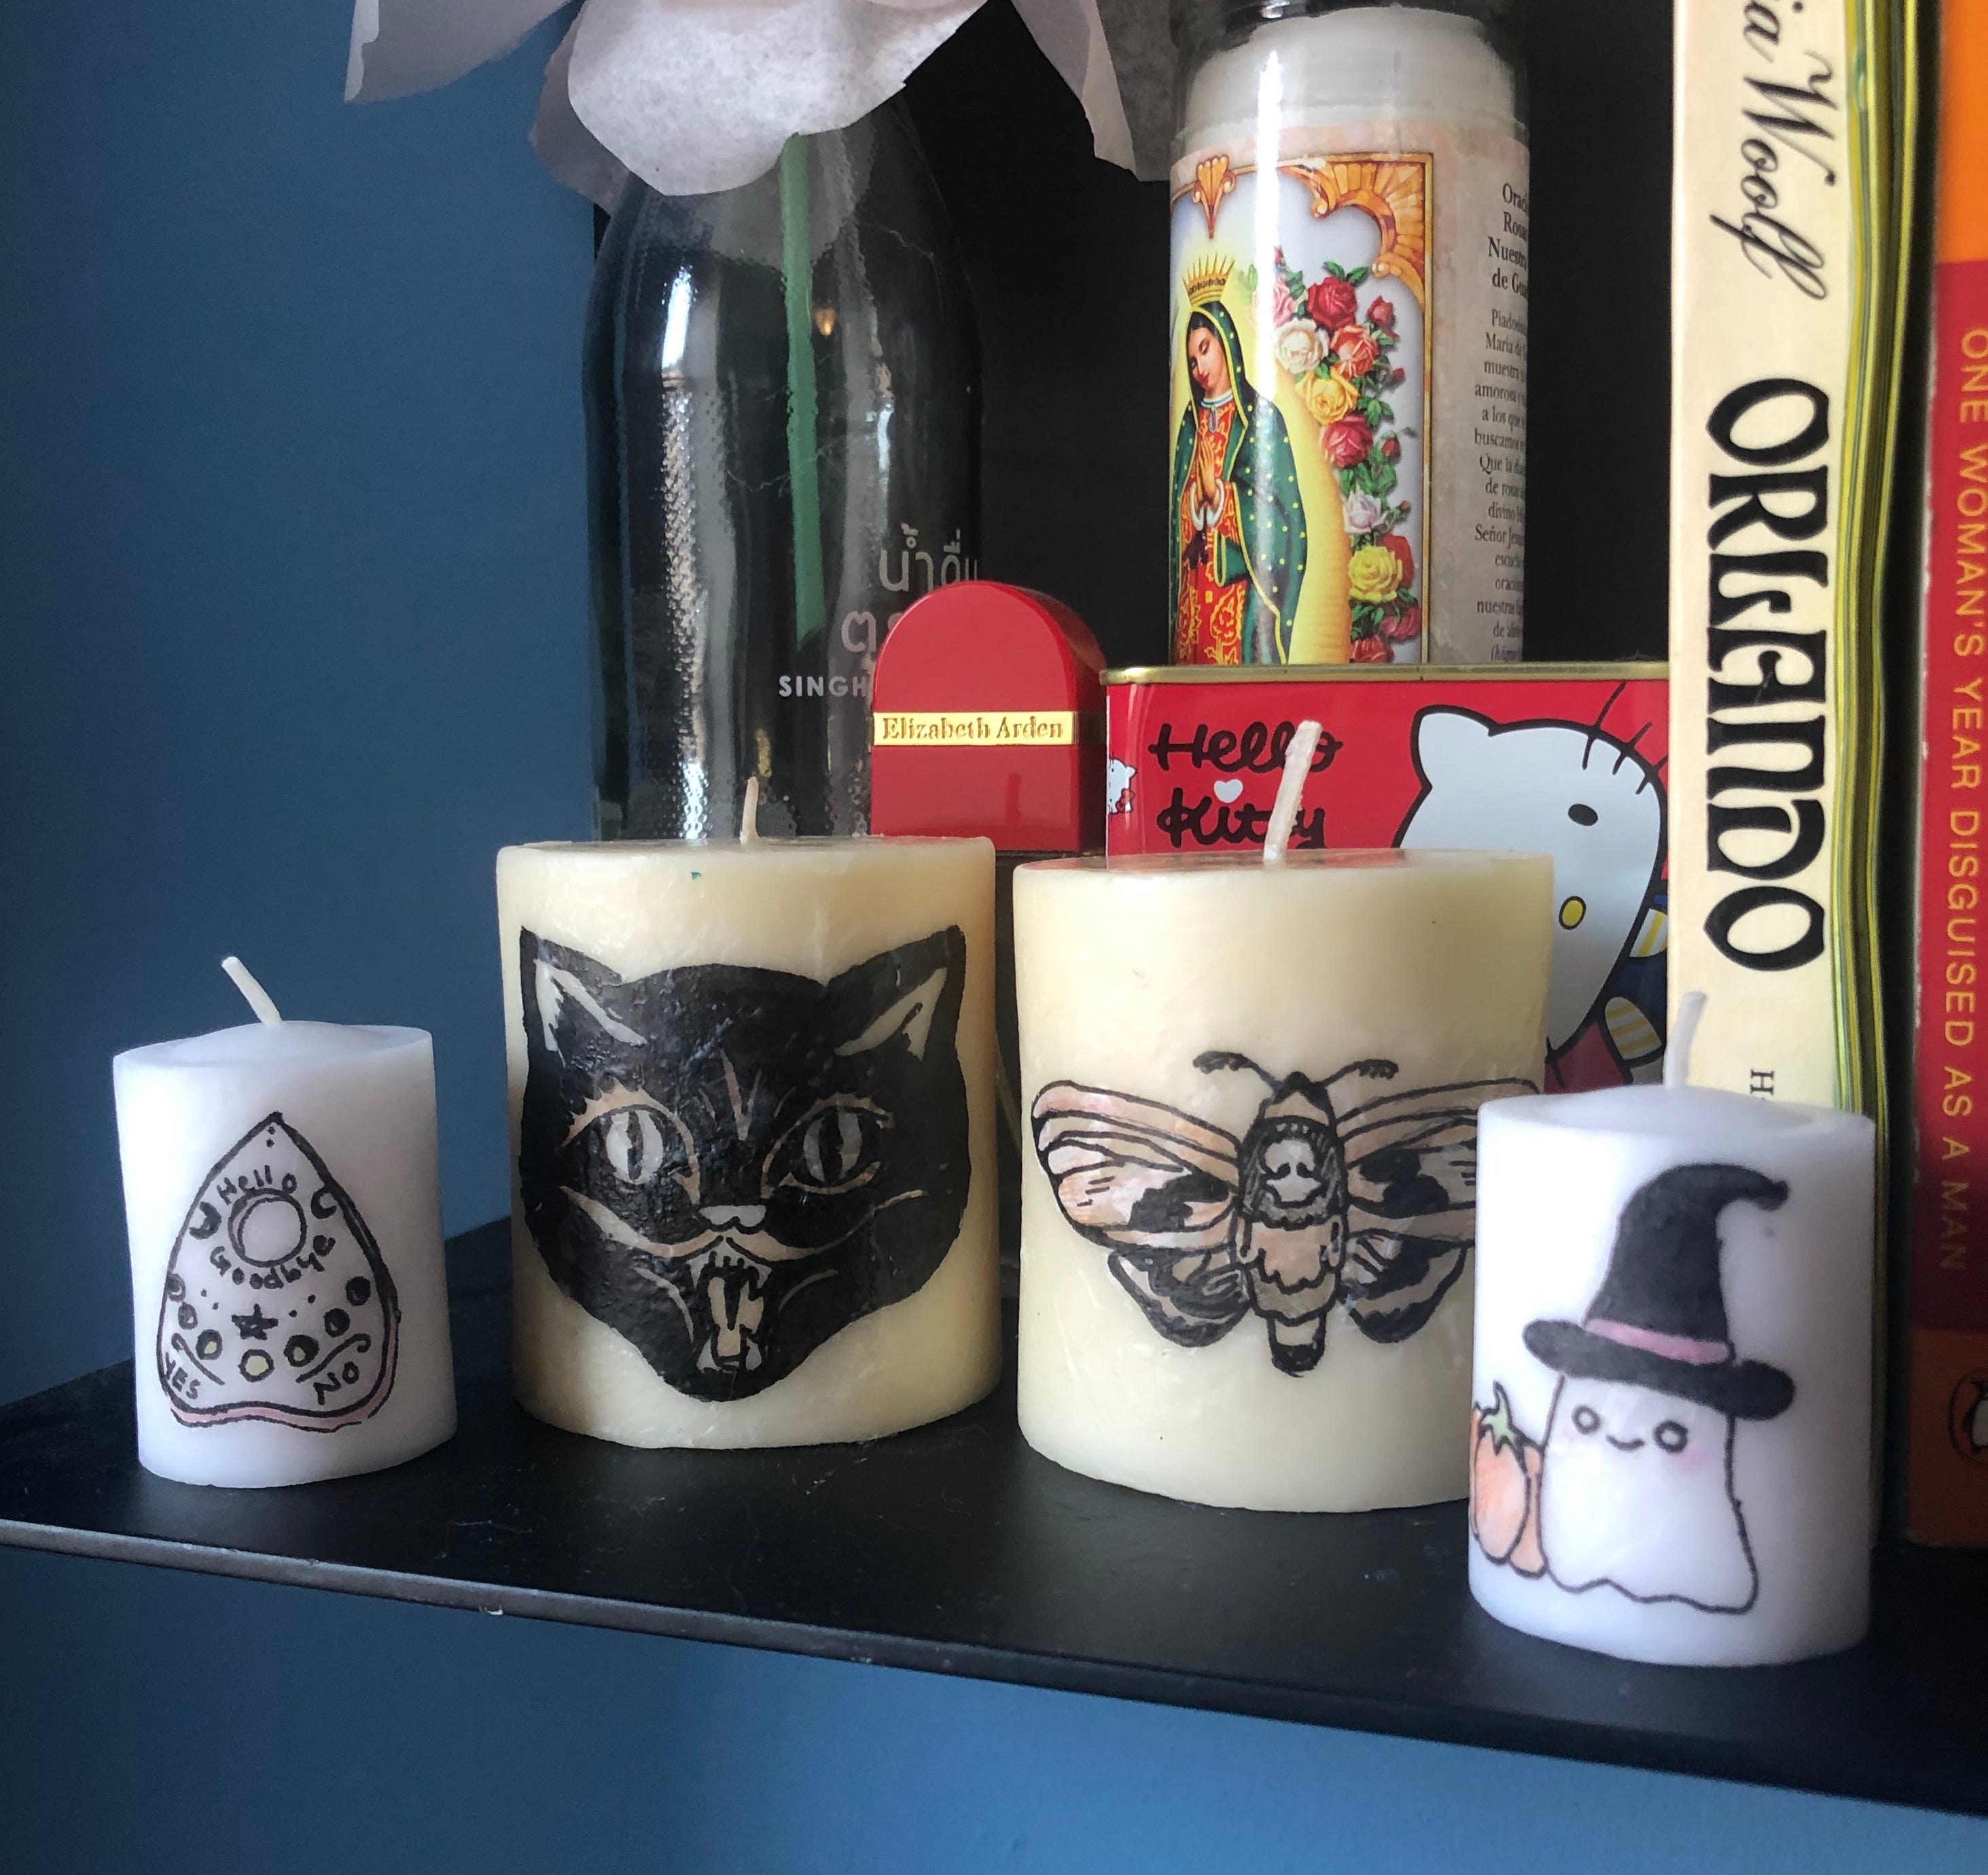
Here are the designs I decided to draw and cut out. I went with all spooky designs. I did a vintage black cat face, a little ghost, my moth, and an ouija board planchet.
The smaller designs are for the little white candles and the larger pieces are for the larger cream colored candles. You don’t need to use a white candle in particular but the image will be cleaner and more visible if you do. I would start with white candles and then experiment with other colors.
Once I was happy with my designs, I was ready to add them to my candles. You don’t need to, but if you have trouble with the next step you can use a glue stick to secure the design to the candle before you start the transfer. I did it both ways; two candles with a glue stick first and two without. I didn’t see much of a difference but I also didn’t have an issue with my patterns moving too much.
Place your design on your candle and wrap a piece of wax paper around the candle. You then want to take out your hairdryer and carefully heat the wax paper in the area of the design.

You don’t want to use too much heat as it can warp and melt the candle. I used the high heat and kept it on for a short time and that worked a little better than low heat for a long time. You should be watching your design fastidiously. When your design becomes darker and shiny under the wax paper that means it is done. You can also watch the white edges of the tissue paper and when you can no longer see them, it also means your job is done. When you peel off the wax paper, you should be able to see your design under a light layer of the wax that came off of the wax paper and has now fused to the candle.
It will be easier to tell when a design has transferred when it has a lot of black ink in it, like with the cat above. Hopefully, you can see in the side by side image above how the black got darker. I found it harder to see in the others like in the triptych below.
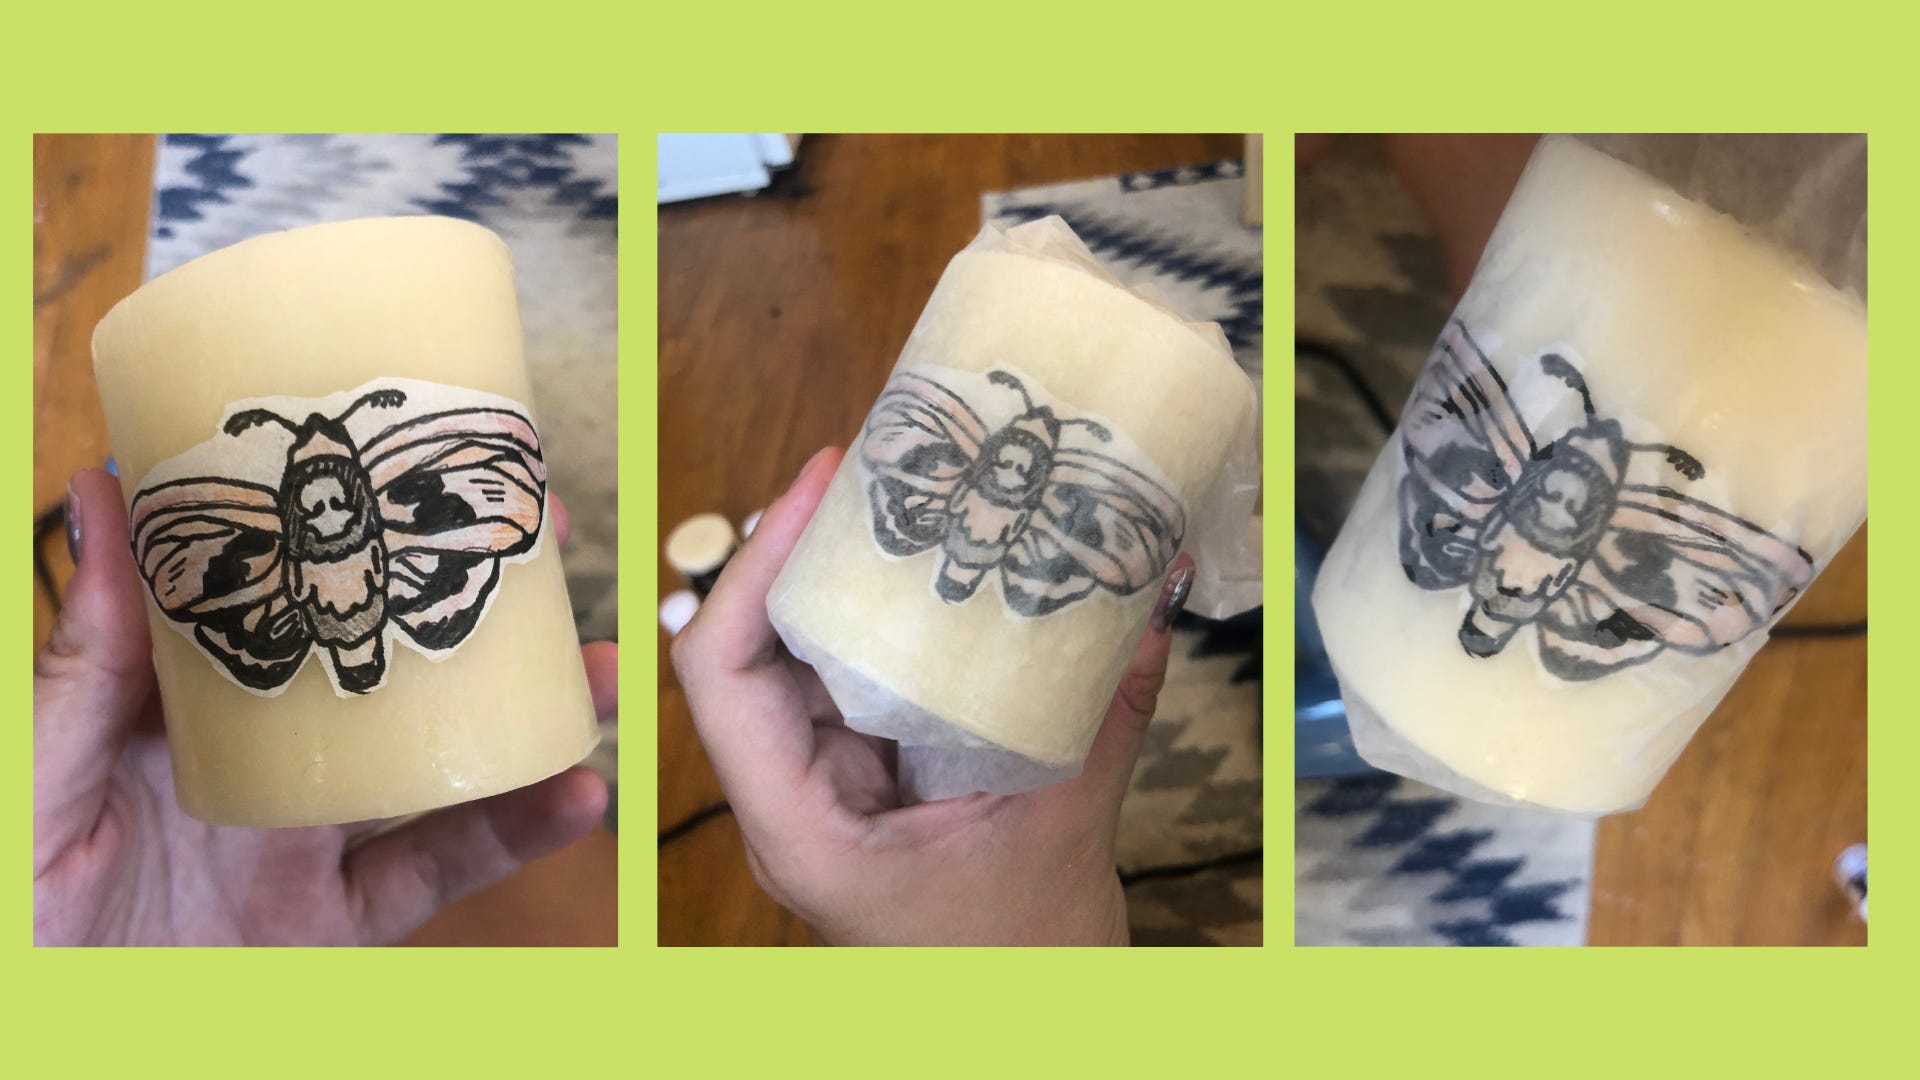
Here is before the wax paper, before heating, and finished heating with the wax paper still on. Note how you cannot see the white tissue paper around the antenna after the wax paper has been heated.
When you are finished transferring your design and peeling off the wax paper, wait a couple of seconds for the candle to cool. You should then have your finished product. If you do multiple candles make sure to use a fresh piece or section or wax paper for each for best results.
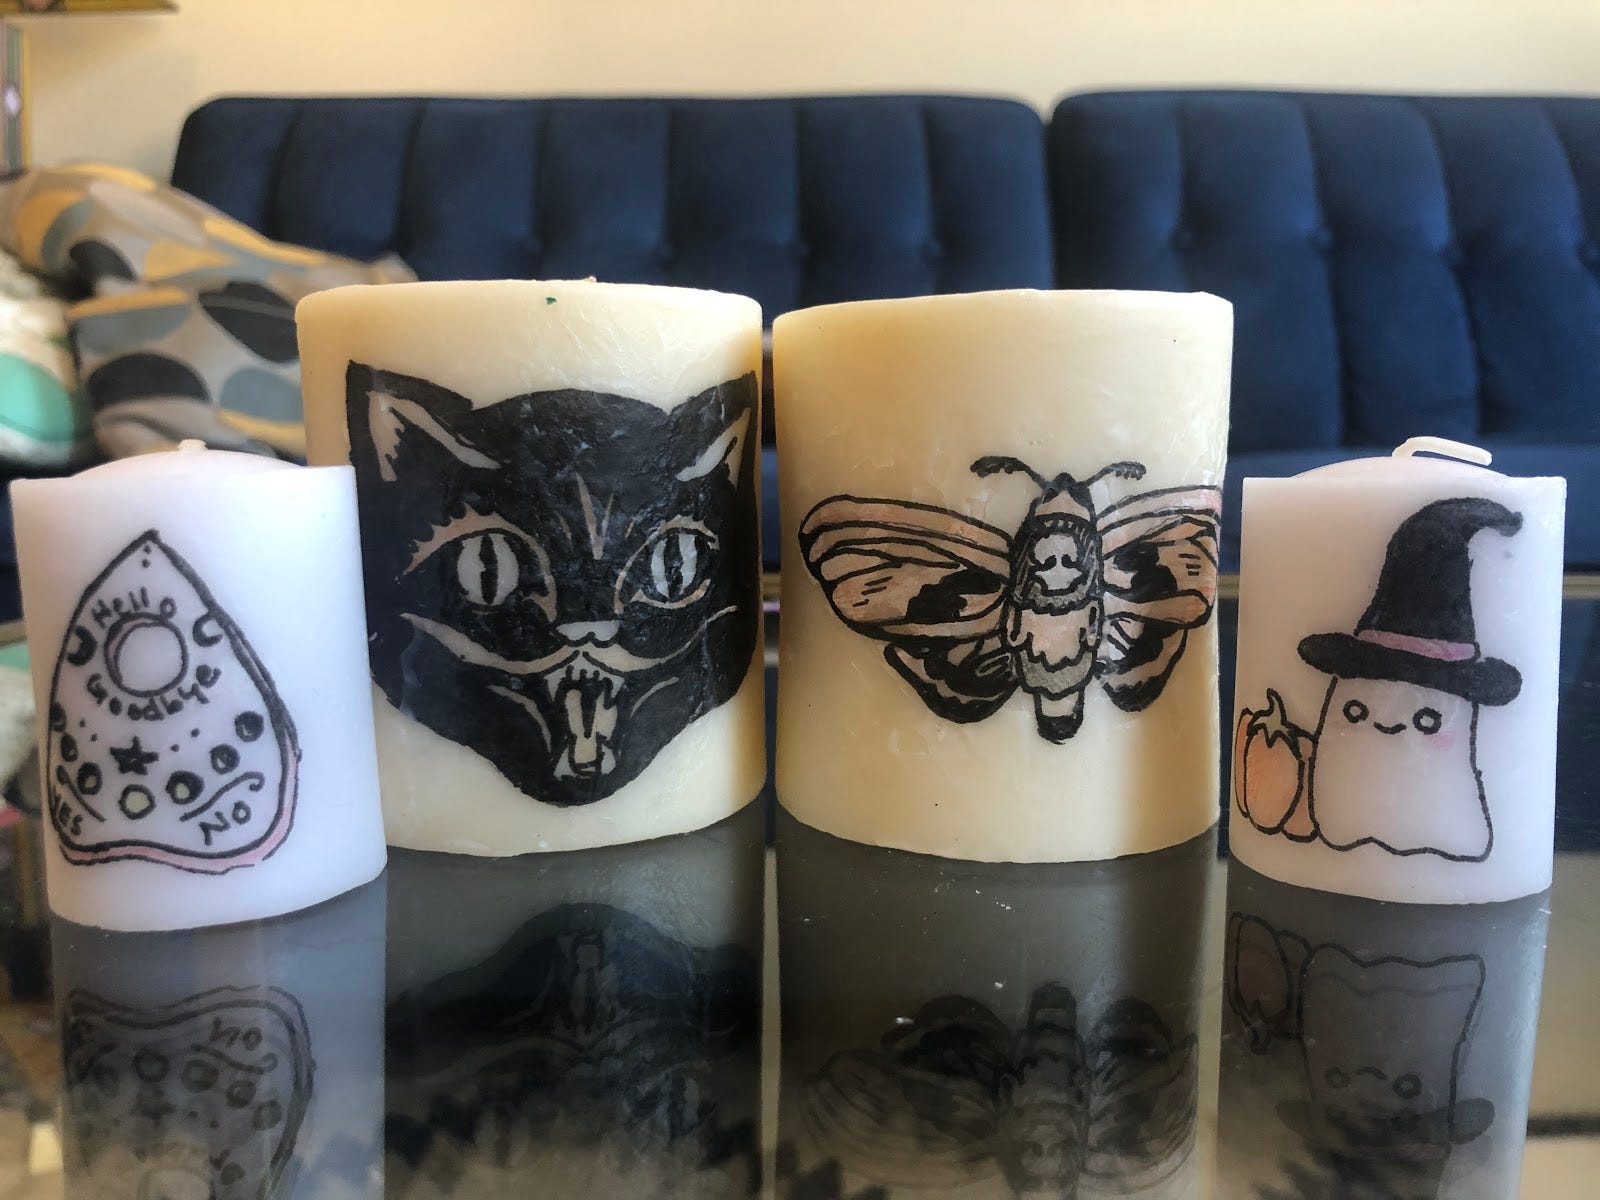
Here are how mine turned out. Add them to your normal decore or use them for Halloween displays or decorations.
I hope you enjoyed our second foray into candles. If you make these, I would love to see your designs, especially if you do some spooky ones.
For my sign off this week, I wanted to talk about Attica. It’s about to be the 49th anniversary of the Attica Prison Riots. For those unfamiliar, here is an article that has some more information and if you want more, I just finished a graphic novel which was a really interesting short read (there is also a talkback about the book online.) Warning both are on the graphic side. The Sentencing Project is doing events this month to demand the release of people subjected to excessive prison terms. There are some great resources and ways to get involved on their website and they are also retweeting other ways to get involved.
As always, stay safe, and stay crafting.