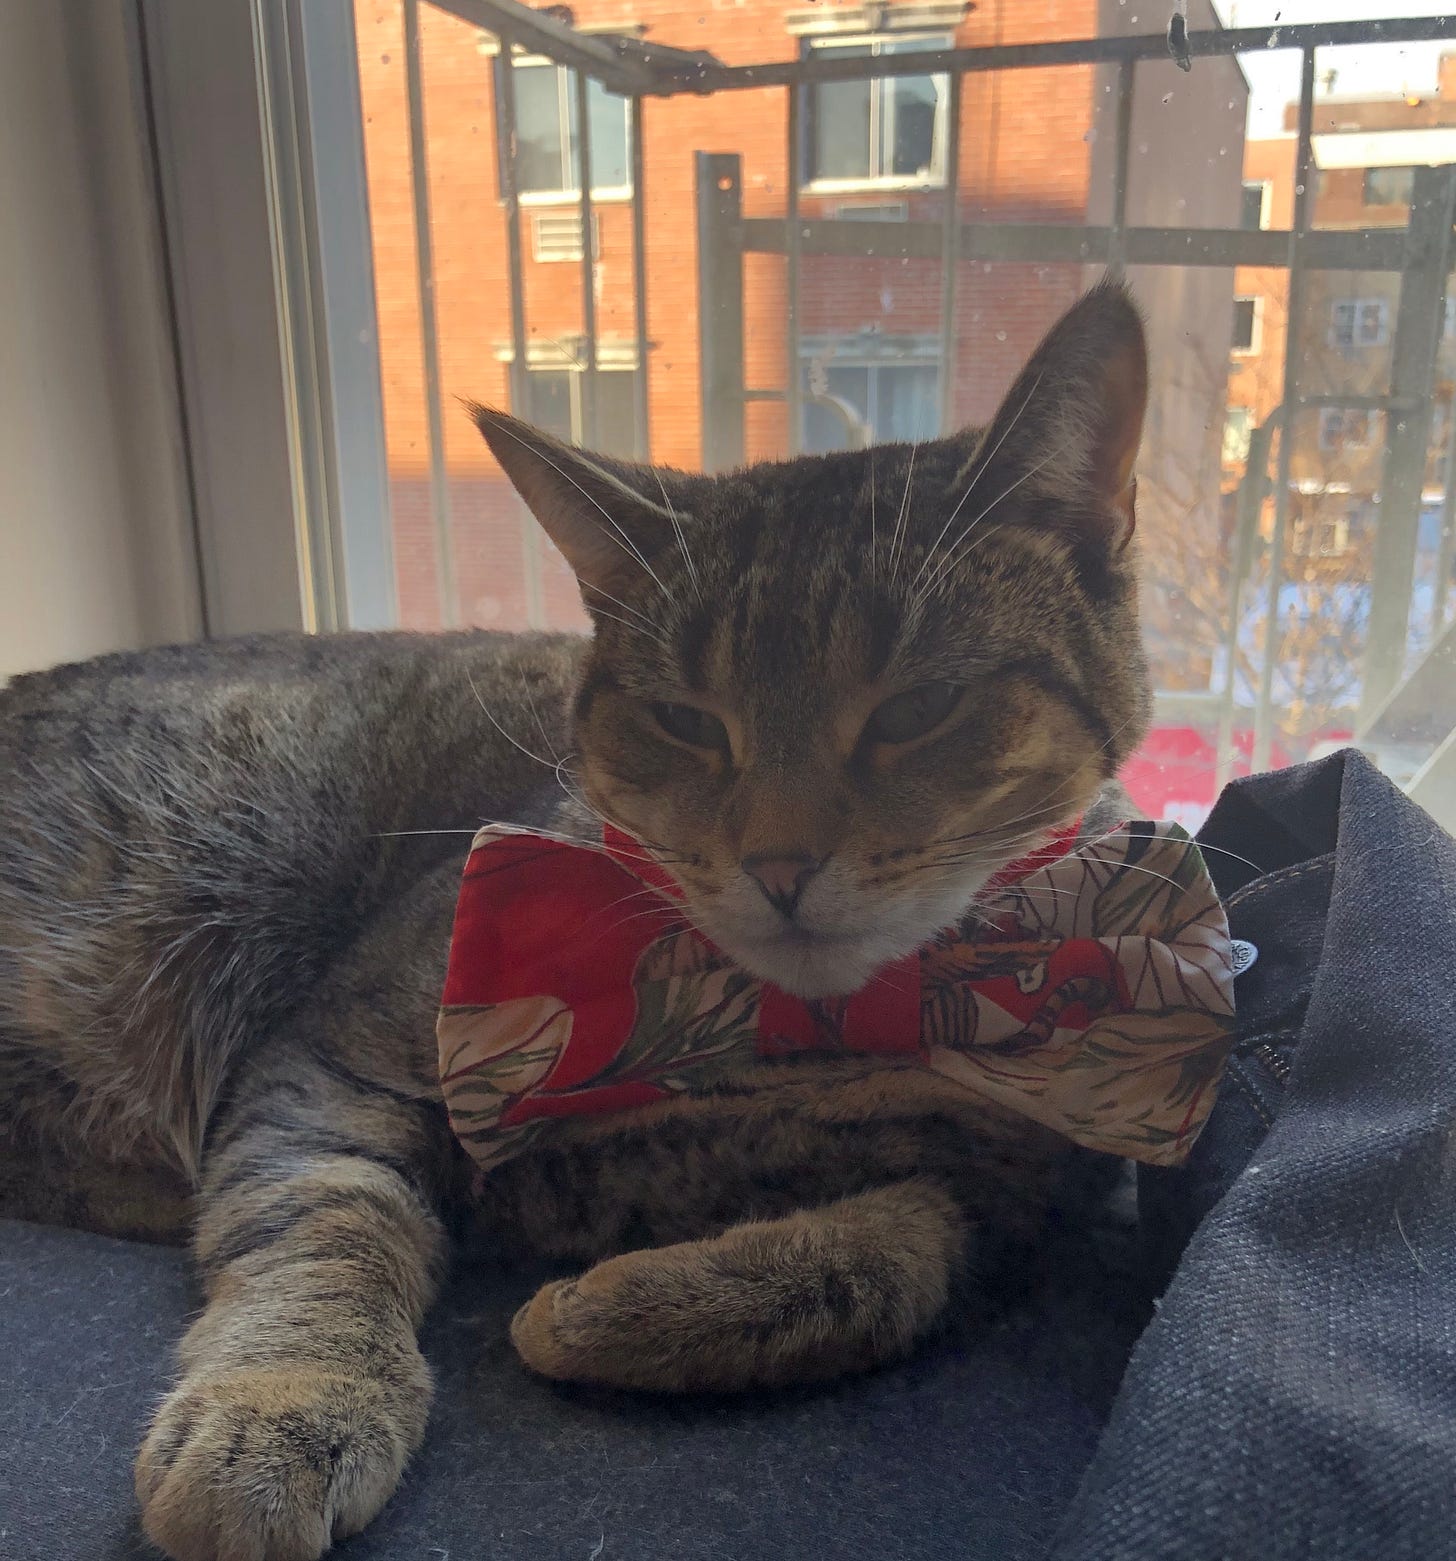
Happy Caturday! (it will make sense later I promise!)
So I have been teaching myself how to sew and yesterday I made this top without a pattern. I originally was going to do this week’s craft cult on pattern making. Which was a good idea in theory, but it took me over 4 hours to make this top and like 4 re-drafts and it seemed overly complicated for the type of craft I usually share here.
So if someone reaches out and asks, I will, however, I don’t think too many serious sewers read this anyways. So I took a step back and decided to do a really simple craft that is great for new moms, pet parents, Disney adults, and beginning sewers, but I am sure it has more uses too that I just didn’t think of. Today, I am going to show you how to sew the world’s easiest bow.
Yes, you can just tie a bow, but a sewn bow is great for instances where you will never need to untie it, or it’s going on a kid or a pet.
To start out you will need a piece of scrap fabric. I am using a small rectangle from the same fabric I was using earlier.
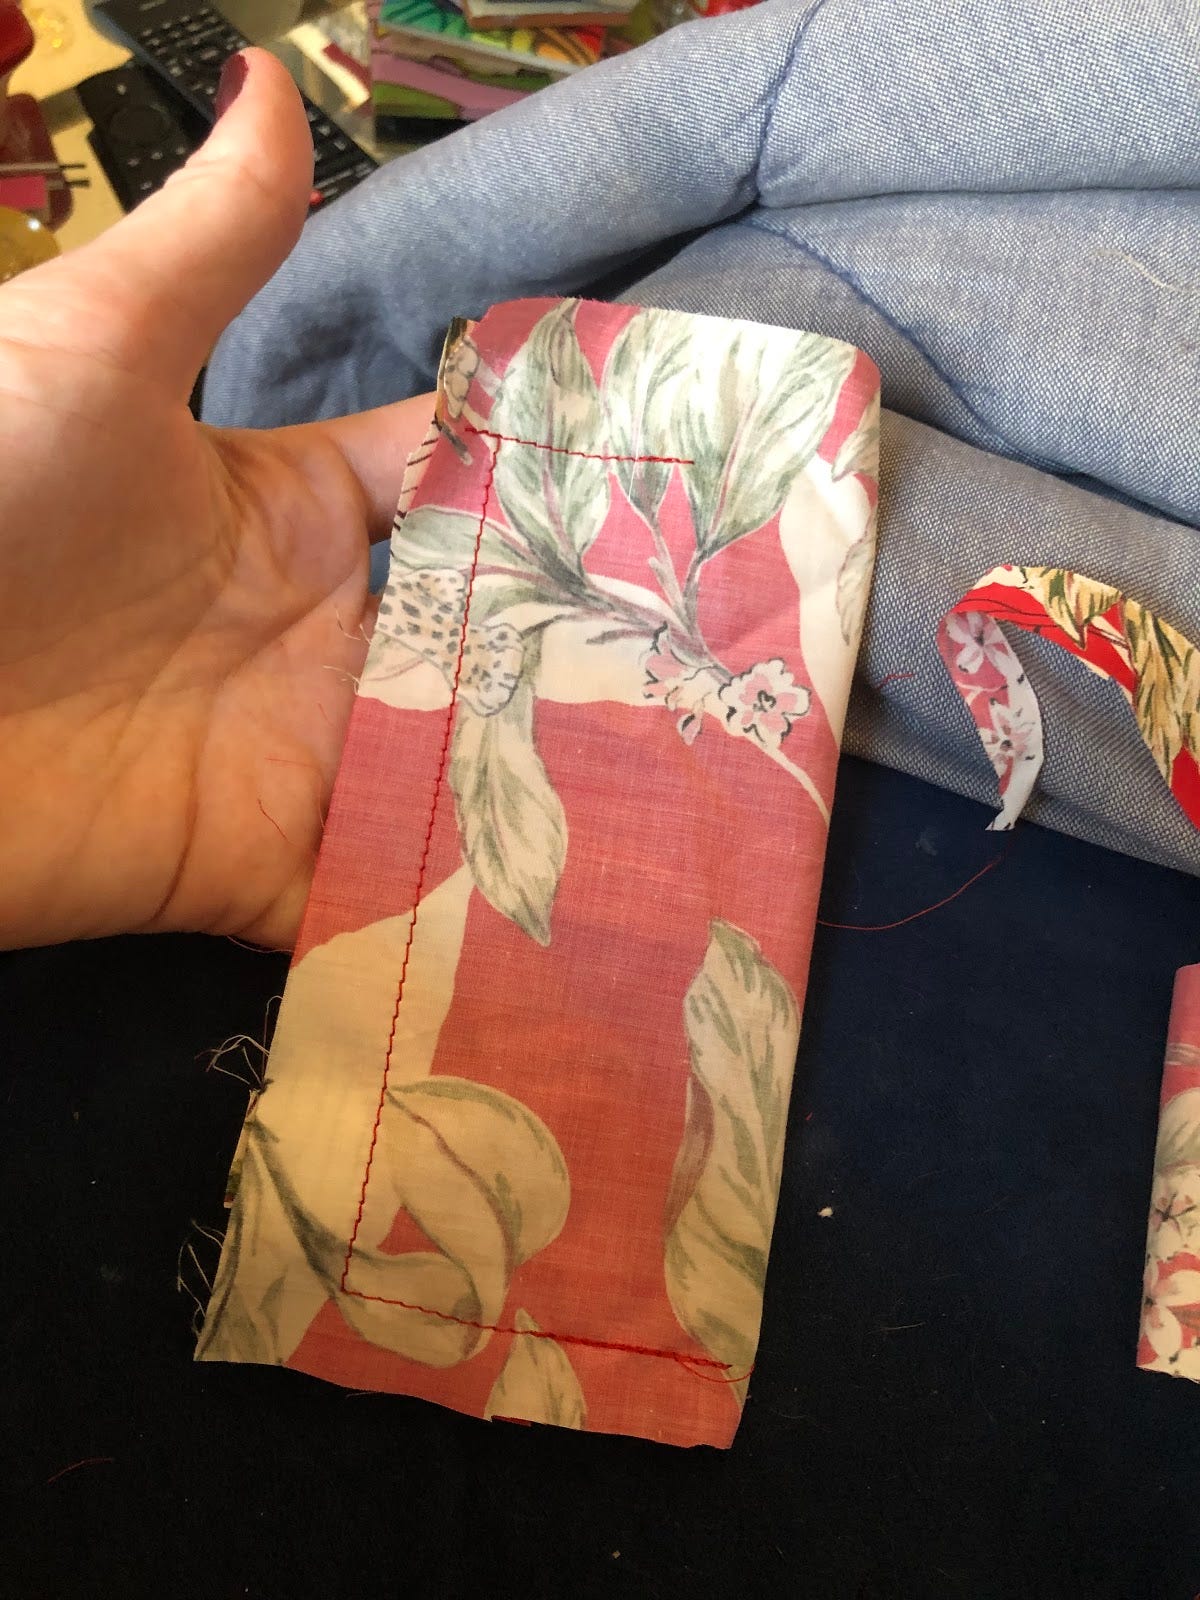
You can clean up the ragged edges, but as long as they are vaguely straight, this should be fine. Flip your fabric and fold it in half longways. You should have something that looks like this.
I am using a sewing machine, but you can easily hand sew this or even hot glue it. Whichever method you use, you want to seal/sew around most of the edge leaving a small gap on one of the sides.
You should have something that looks like this. It’s now time to flip this inside out. Carefully use the small gap to force the inside of the rectangle out.
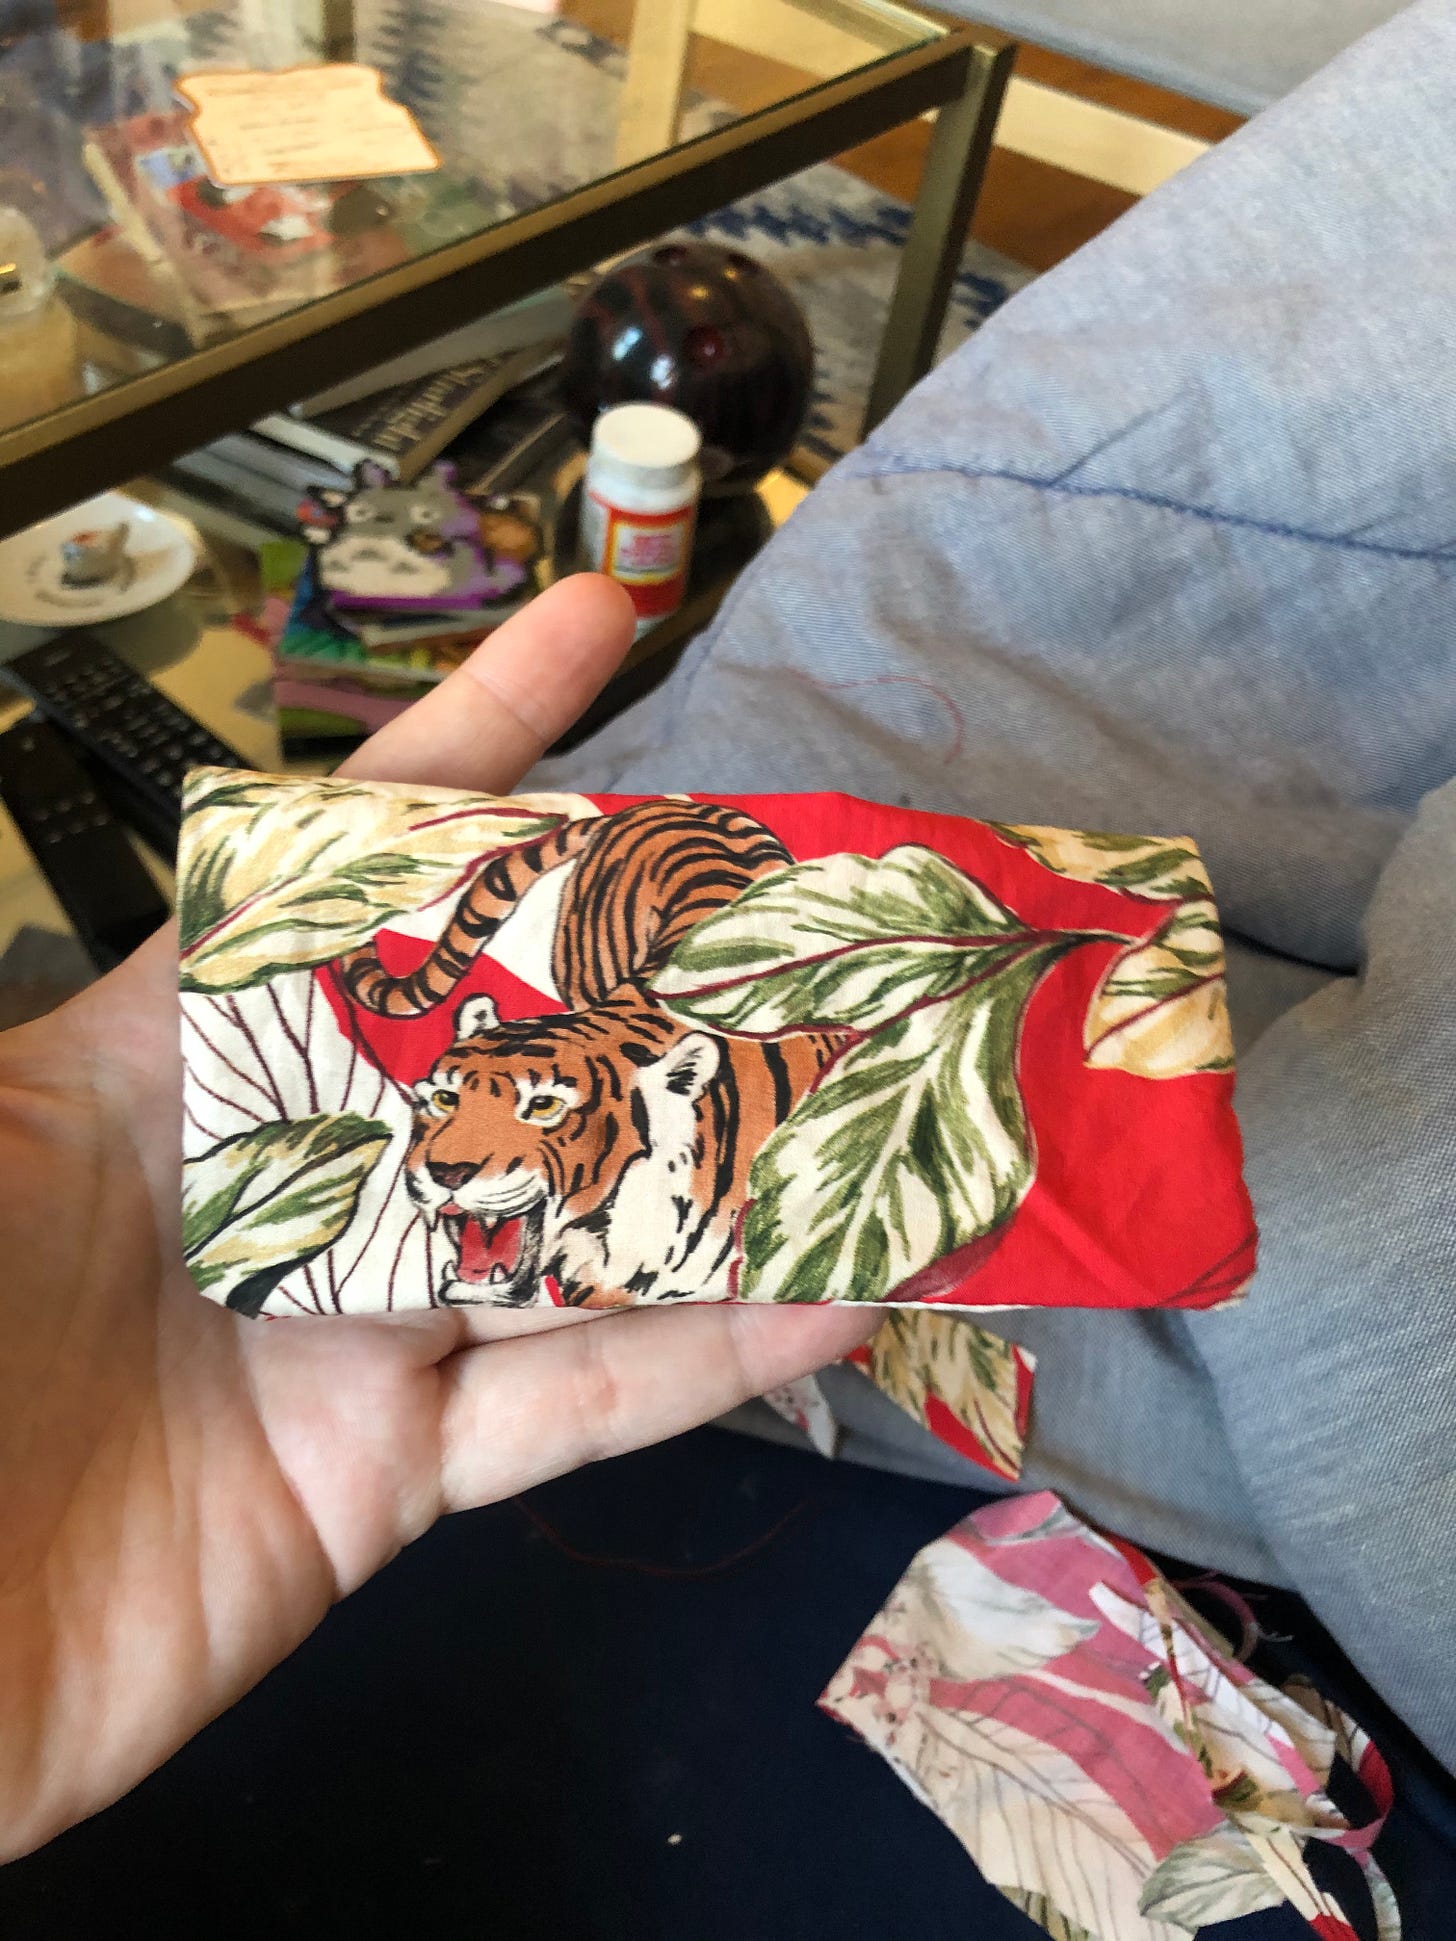
You should have something that looks like this. I then ironed mine. I think it makes everything a little easier, but it’s a bit of an unnecessary step.
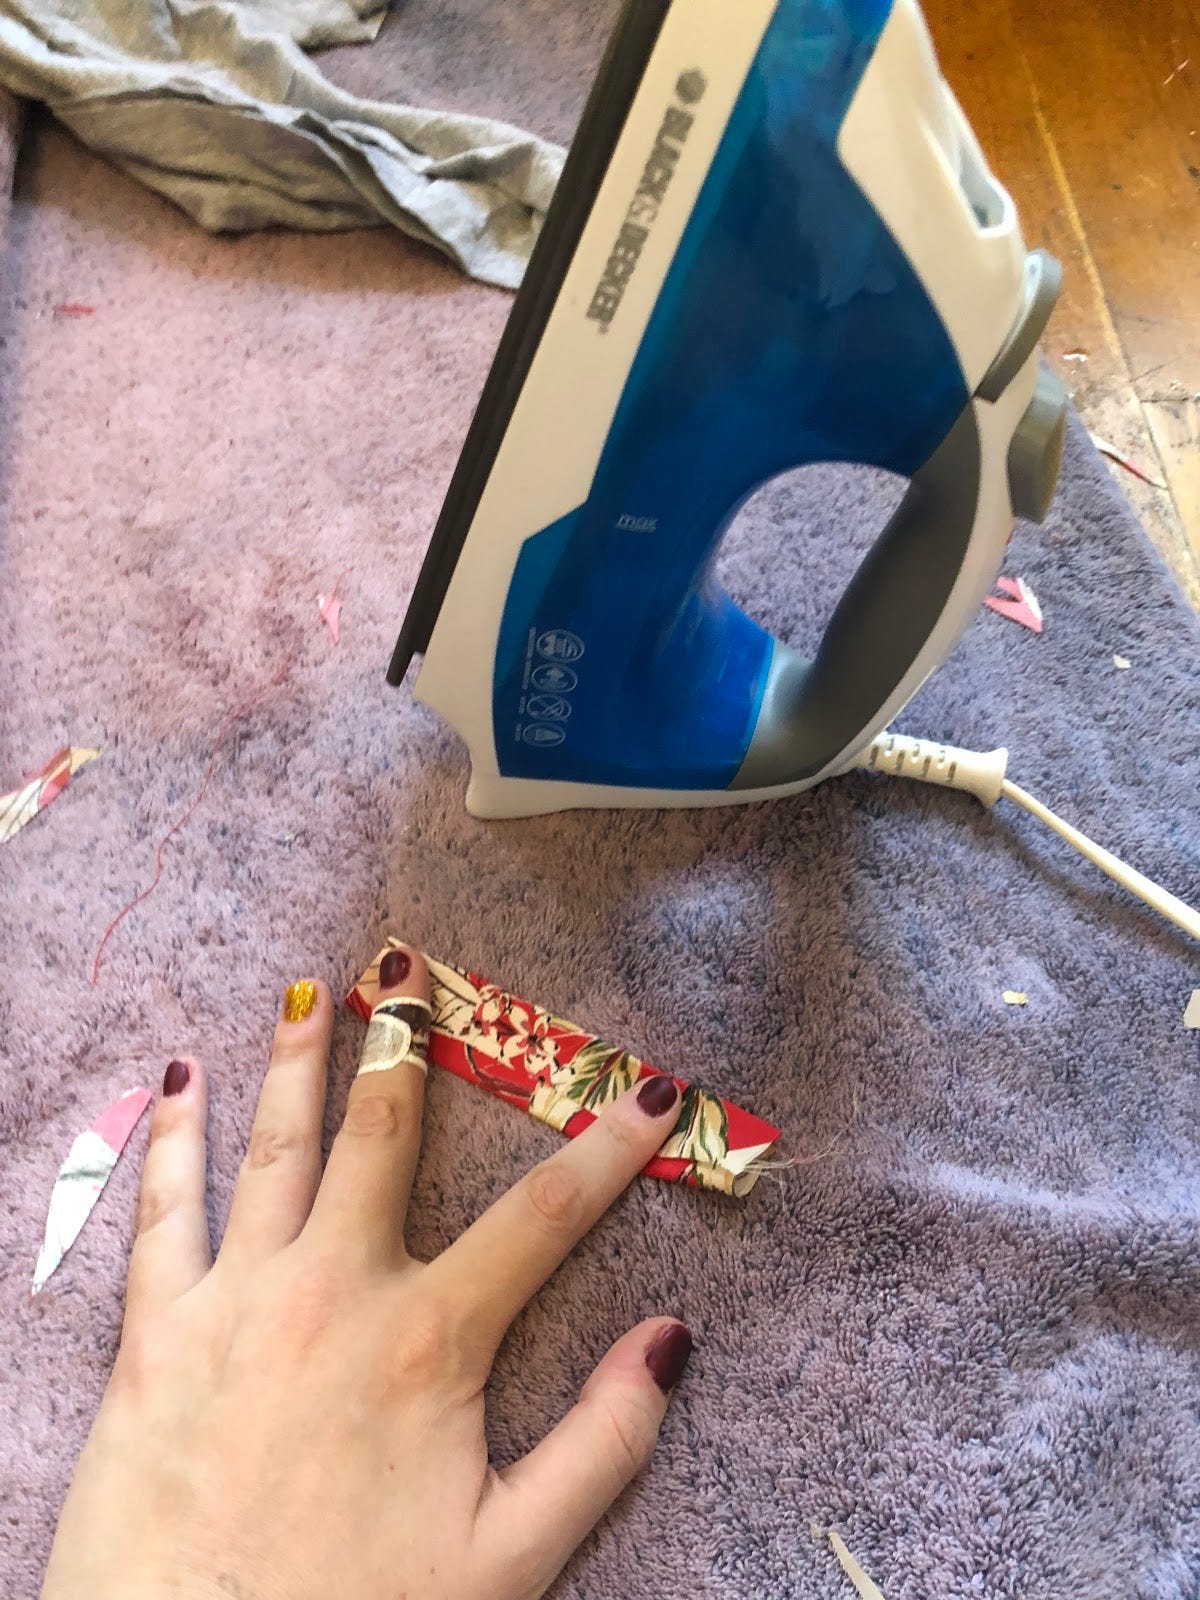
You now need to seal up the hole. I did it with a simple running stitch in a similar color close as I could to the edge of the bow. You will now need another piece of fabric scrap. Cut a long, small rectangle. I then folded the rough sides of the rectangle towards the middle of the rectangle. You should now have a long strip with clean sides. I ironed the strip. This will make it much easier to work with.
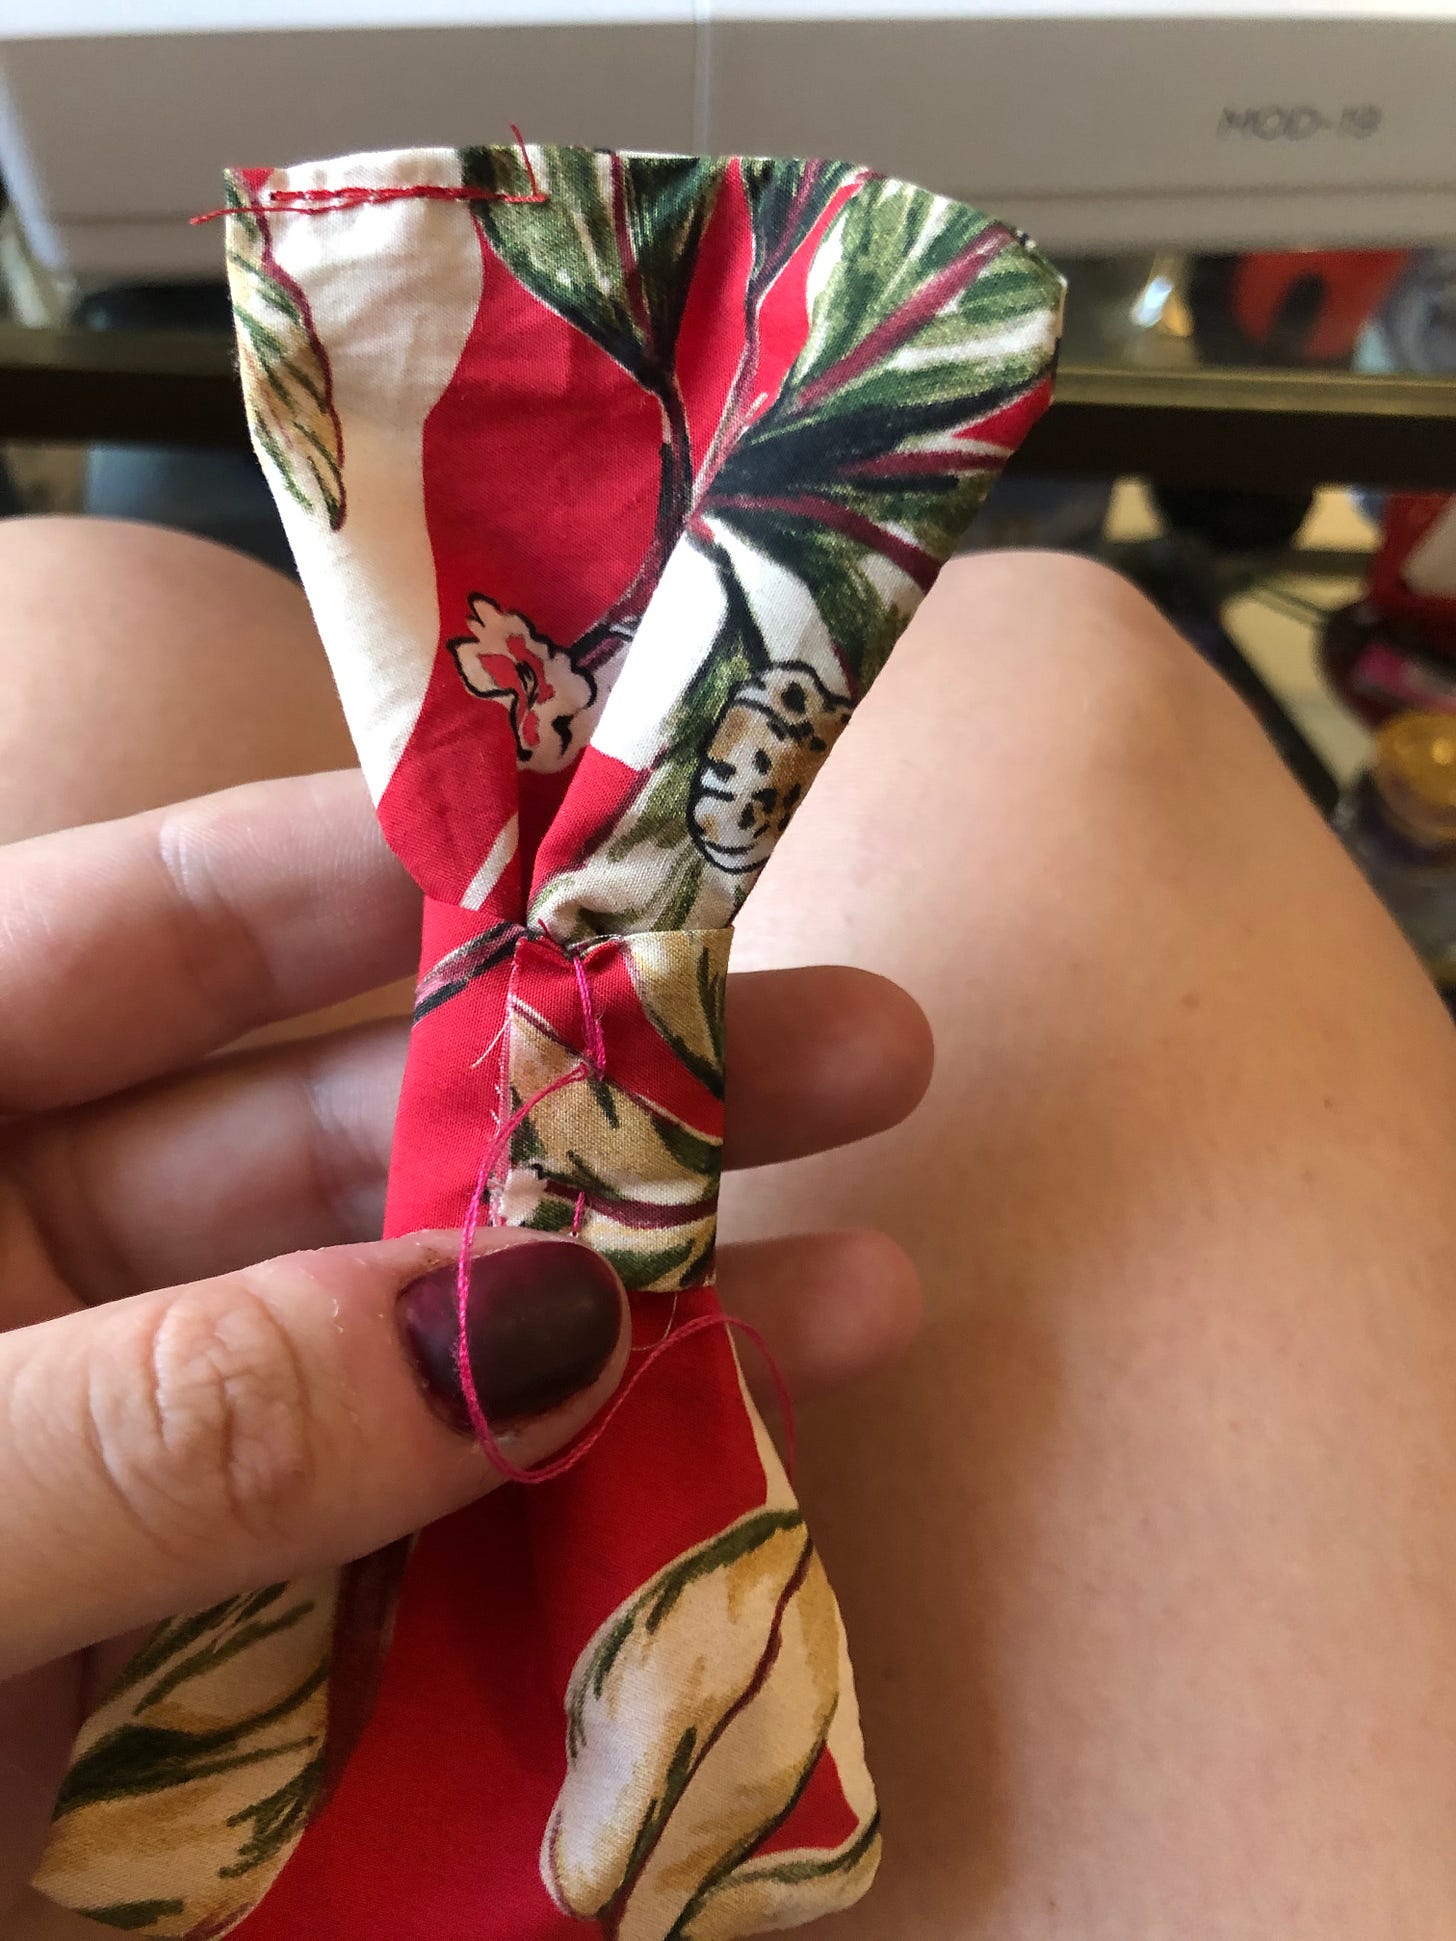
You now want to take your long string and loop it around your rectangle. This will squish your rectangle down and turn it into a bow-like shape.
If you have a longer strip than you need, you can always trim down the excess. You then want to use a couple of stitches to secure the loop around the bow. I did a hand stitch for this step.
You can also put the stitches through the back of the rectangle to make sure it stays in place. Don’t worry about making this pretty, it will most likely be covered. Once the pieces are secured together. Your bow is ready to add to something. Glue it to a headband, add a hair clip to the back. If you are me, take a small loop of elastic and stitch it to the back so you can make your cat wear it like a tiny bowtie.
What a tiny model.
And now we can match.
Now all I have to do is make a matching tie for my boyfriend. A perfect look for the whole family.
Let me know what animal you stick a bow to if you make this.
You’ve made it to the end and this week I wanted to spotlight some great resources for White Allies. Now, I have long been of the opinion, you don’t get to call yourself an ally. Someone in the community you are trying to help needs to be the one to call you the ally, but that doesn’t mean you shouldn’t need to be working and trying and educating yourself so that maybe someone will call you it. This week, I want to talk up the Dismantle Collective. They have some amazing sources here. For my NYC readers, we have a snow storm warning coming in tonight. Snowstorms are a huge issue for our neighbors experiencing housing issues or those who are unhoused. If you have anything extra, it’s a great time to donate to grassroots organizations or your local shelter (which you can find here). I know the New Youth Foundation here in NYC is also doing a winter drive.
Stay safe, stay warm, and as always, stay crafting.


