


Seasons Greetings,
Okay, I know it’s early, but it’s a good lead-in. The holiday season is coming up, so Craft Cult is going to do a couple of “homemade gifts for cheap” posts and this is the first one.
I really love homemade gifts. I think they are personal and can really make small things feel more special. So, this week, we are going to make some bath bombs. I am a sucker for baths. When I was a kid my mother got my grandmother bath stuff every year and it was always a hit. Plus if it has been the go-to gift for women at the office for years.
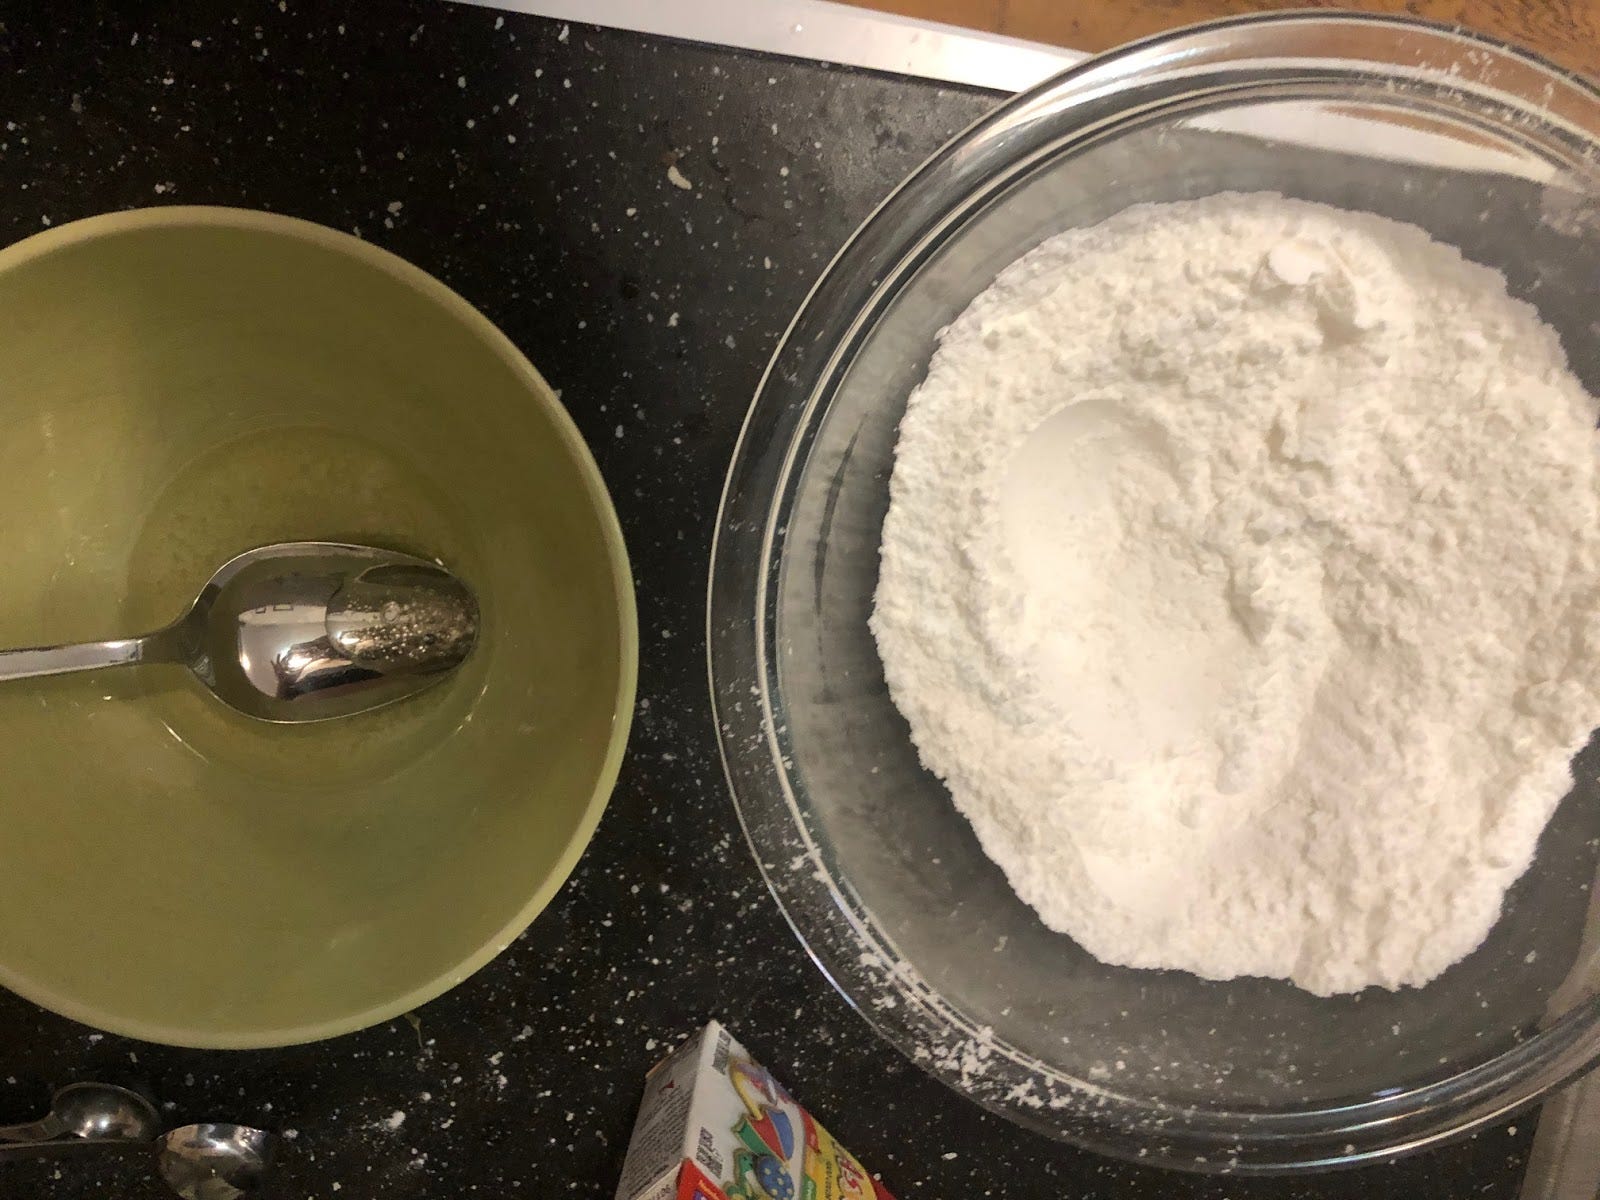
To start out you want to gather your materials and get two bowls ready, one for wet ingredients and one for dry ingredients.

For your dry ingredients, you will need:
-4 oz of baking soda
-2 oz of Epsom salt
-2 oz of corn starch
-2 teaspoons of cream of tartar.
(I had all of these in my house, the only slightly odd one is the cream of tartar, but if you make a lot of meringue or macarons, you probably have it in your kitchen)
For your wet ingredients, you will need:
-½ tbsp of water
-Essential oil (around 1 tsp but this can also be done to how much you want it to smell. I used peppermint and one called ‘Northern Black Pine’ to give it a real winter-themed smell, but you can use any smell for this)
-1 ¼ tbsp of oil*
-optional food coloring (use very sparingly)
*I used a mixture of olive and vegetable oil because it is what I had and I am on quarantine lockdown, so I couldn’t go get something else. However, if you can, I would use something with more skin benefits, if I had it on hand. Think avocado, almond, or coconut oils. Jojoba oil would also be a good fit and I have used it in the past and it works well.
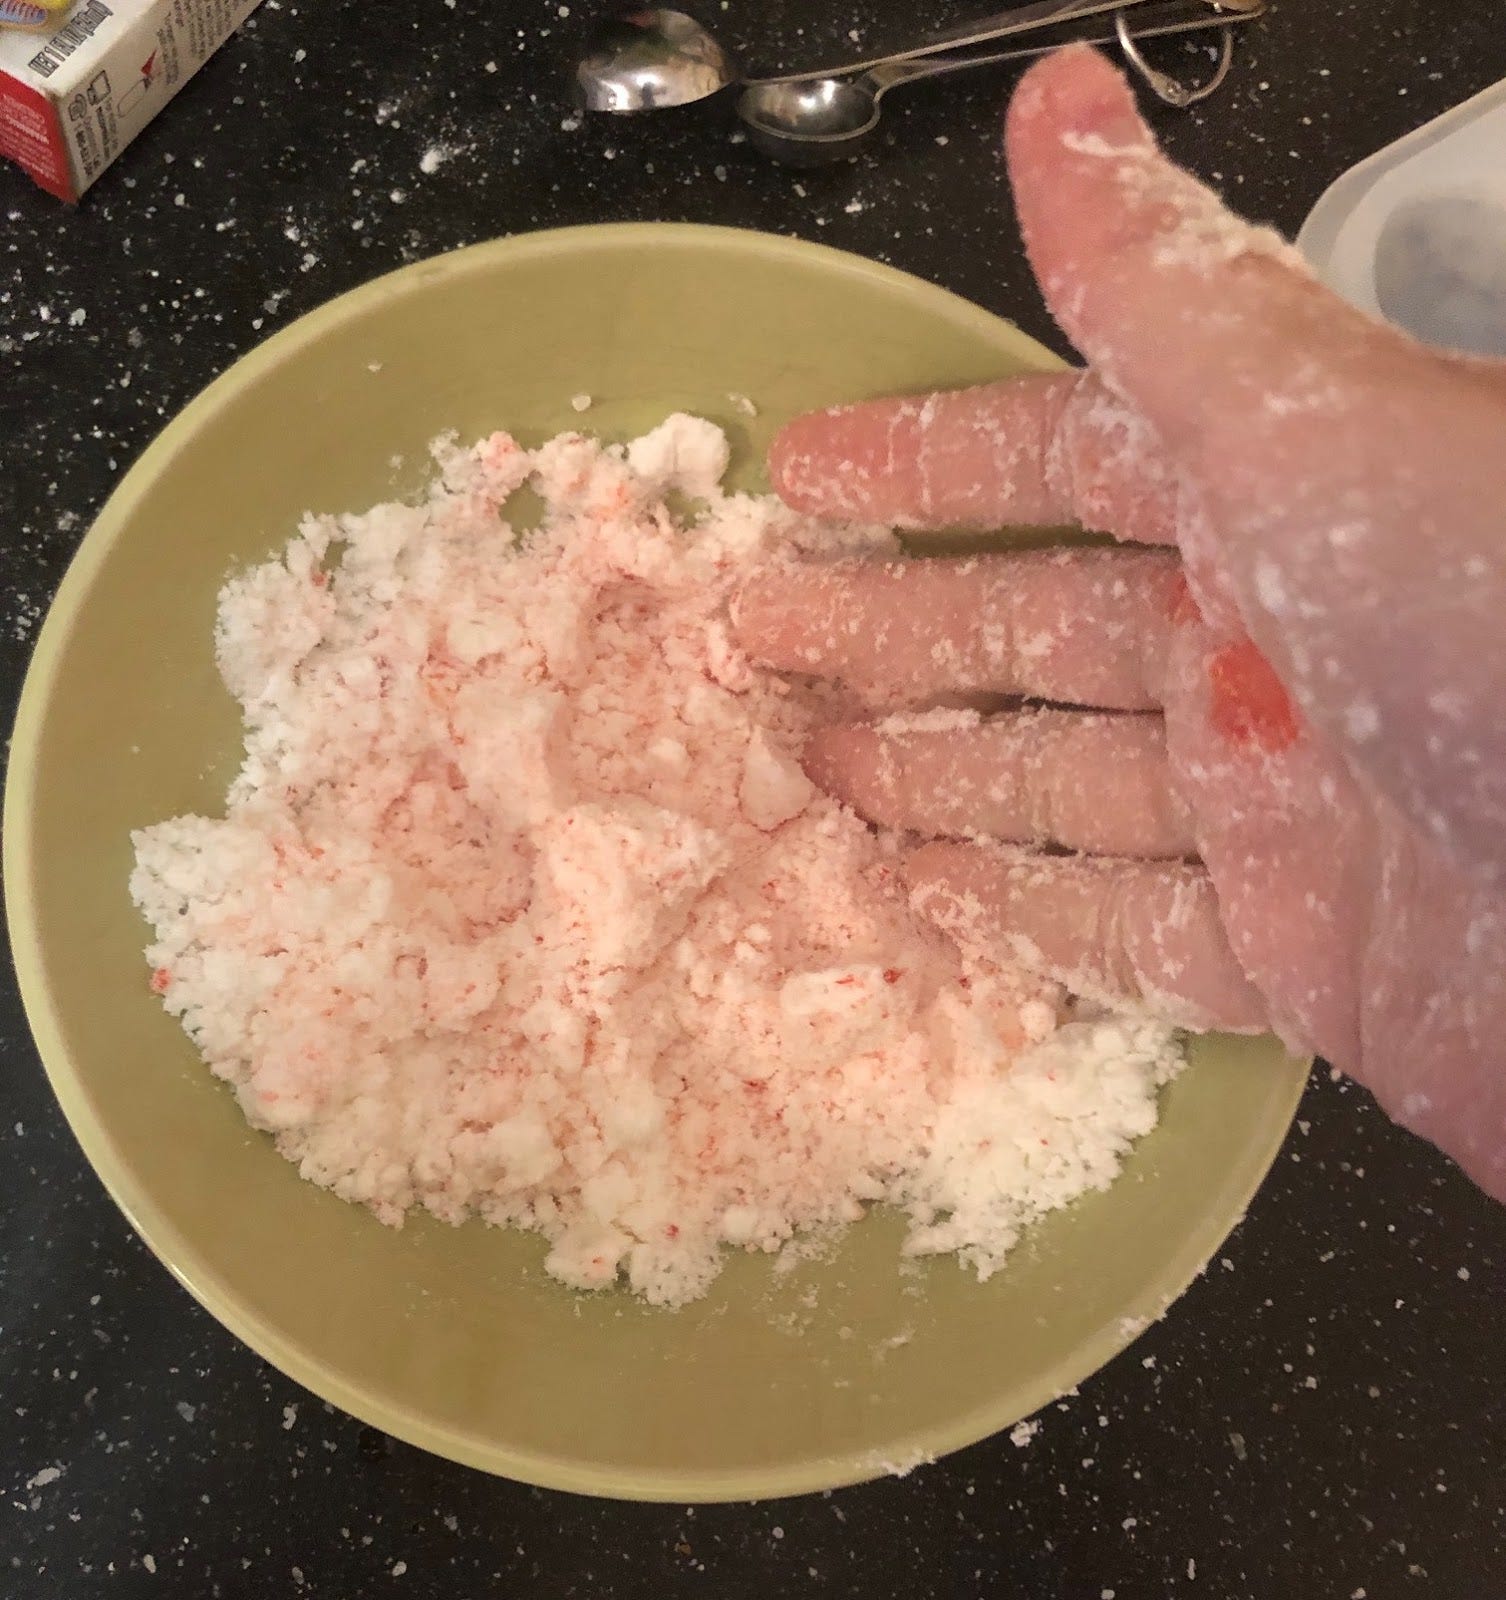
Combine your dry and wet ingredients in separate bowls. Then you want to slowly add your wet ingredients and stop when the mixture makes a ball. You will probably have to use your hands, and it will make a mess.

If you need to add a little more wetness to get you dry ingredients to stick, add a little extra oil (not water!), or if you need a lot more, do a full second batch of wet ingredients and add it in sparingly.
I decided to add my food coloring after. I would usually mix it with the wet ingredients for best results, but for this one, I wanted two colors, so instead, I added two drops of red food dye to only half of my mixture. It integrates a little better when it is part of the dry ingredients, but I thought it worked ok this way too.
When you are happy with your mixture, it is time to shape them. There are a couple of ways to do this. One of the easiest and best ways is with a cookie-cutter. Put the cookie cutter on some parchment paper and pack the mixture into it. Make sure the pack is tight and then take the cutter off slowly. Unfortunately, I did not do this, because, I didn’t have a cookie-cutter for some reason. It’s kind of wild that I don’t. I have done this in the past, however, and it works.
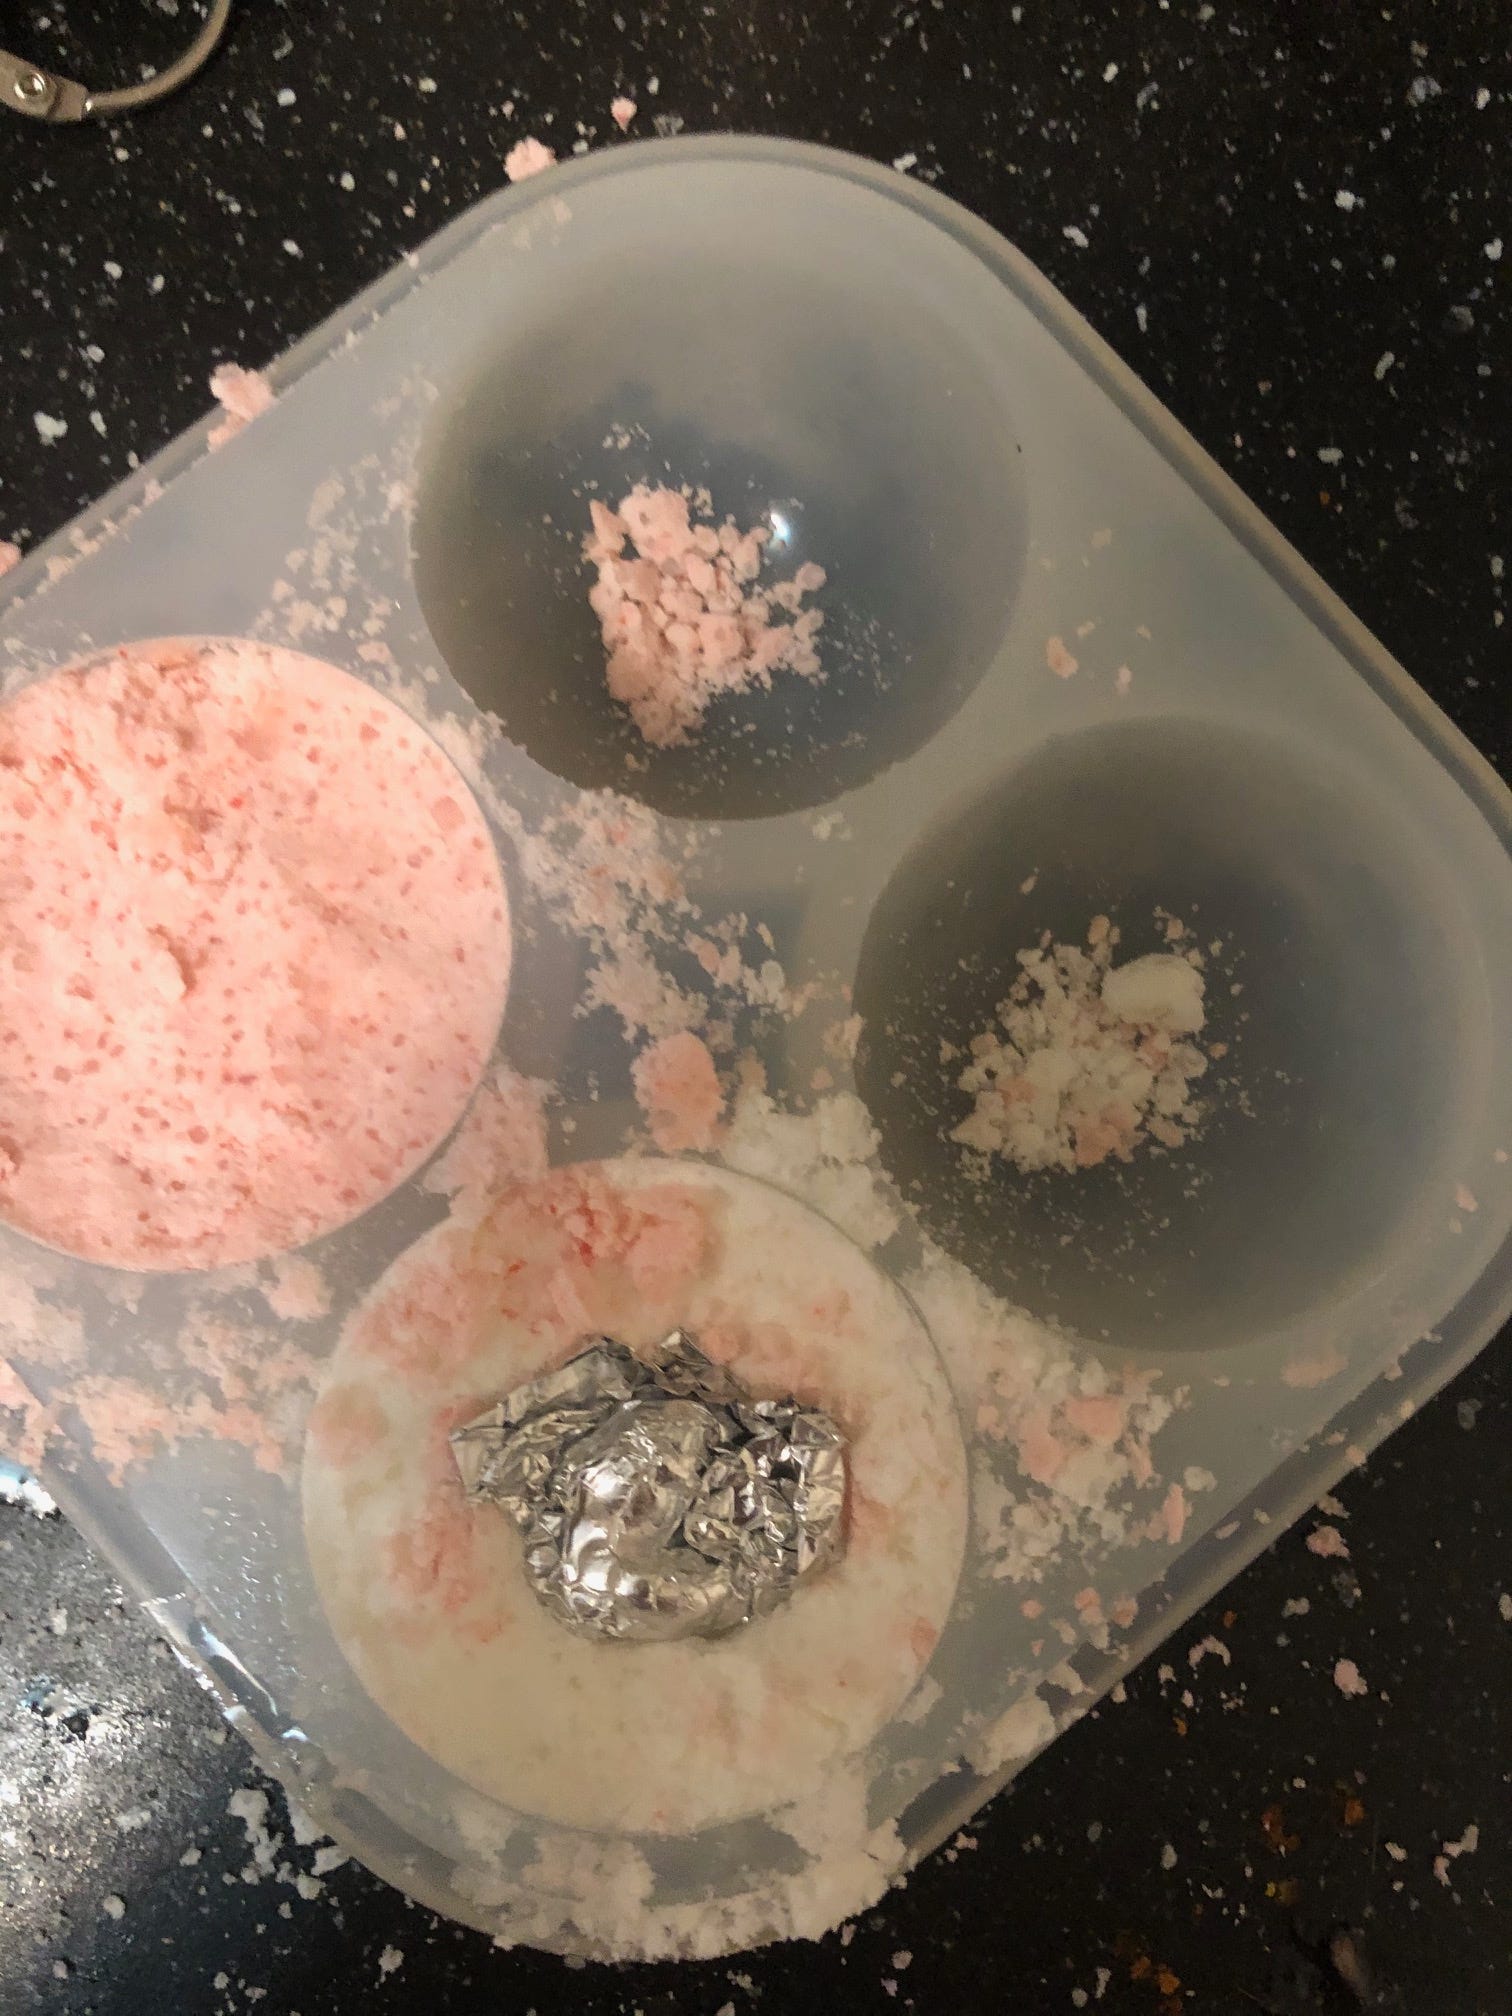
Instead, I used two other methods, for the first one, I used a silicone ice mold which I usually use to make ice for burdon drinks. I packed the mix into it tightly.
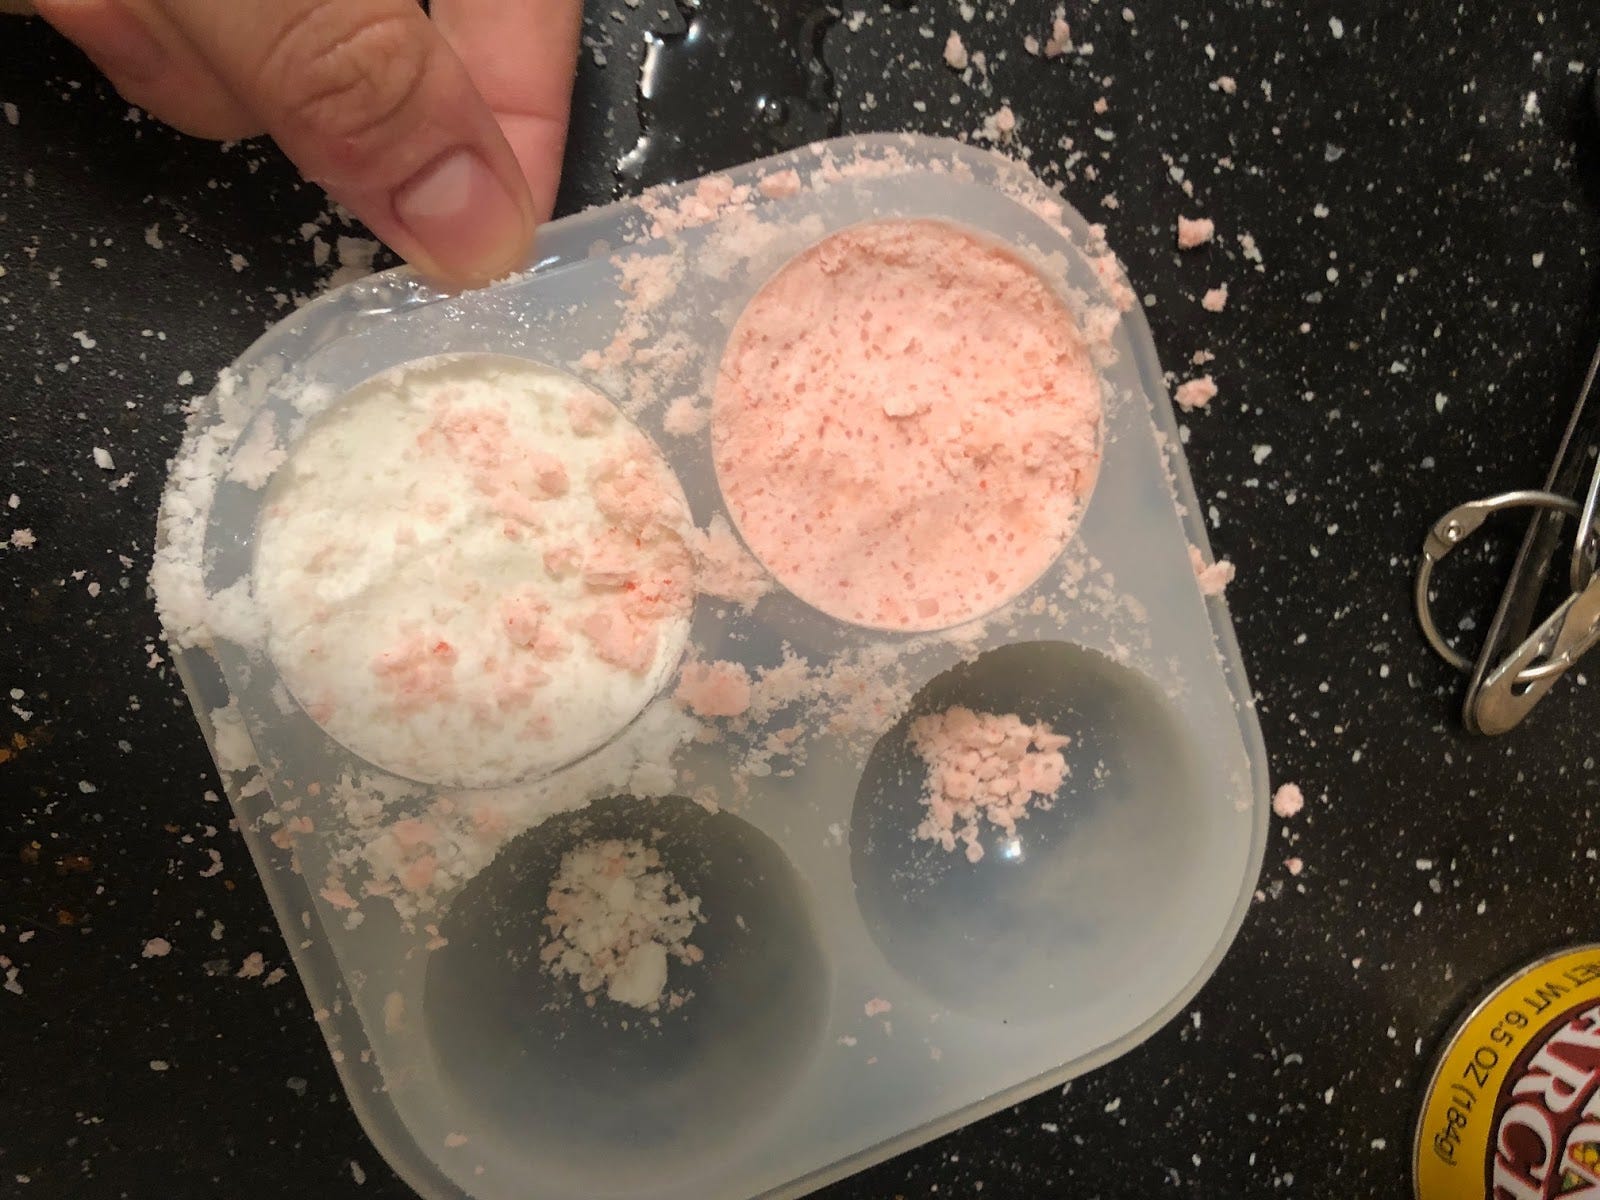
Then I flipped it onto a cutting board and lightly tapped the backs so they would come out.
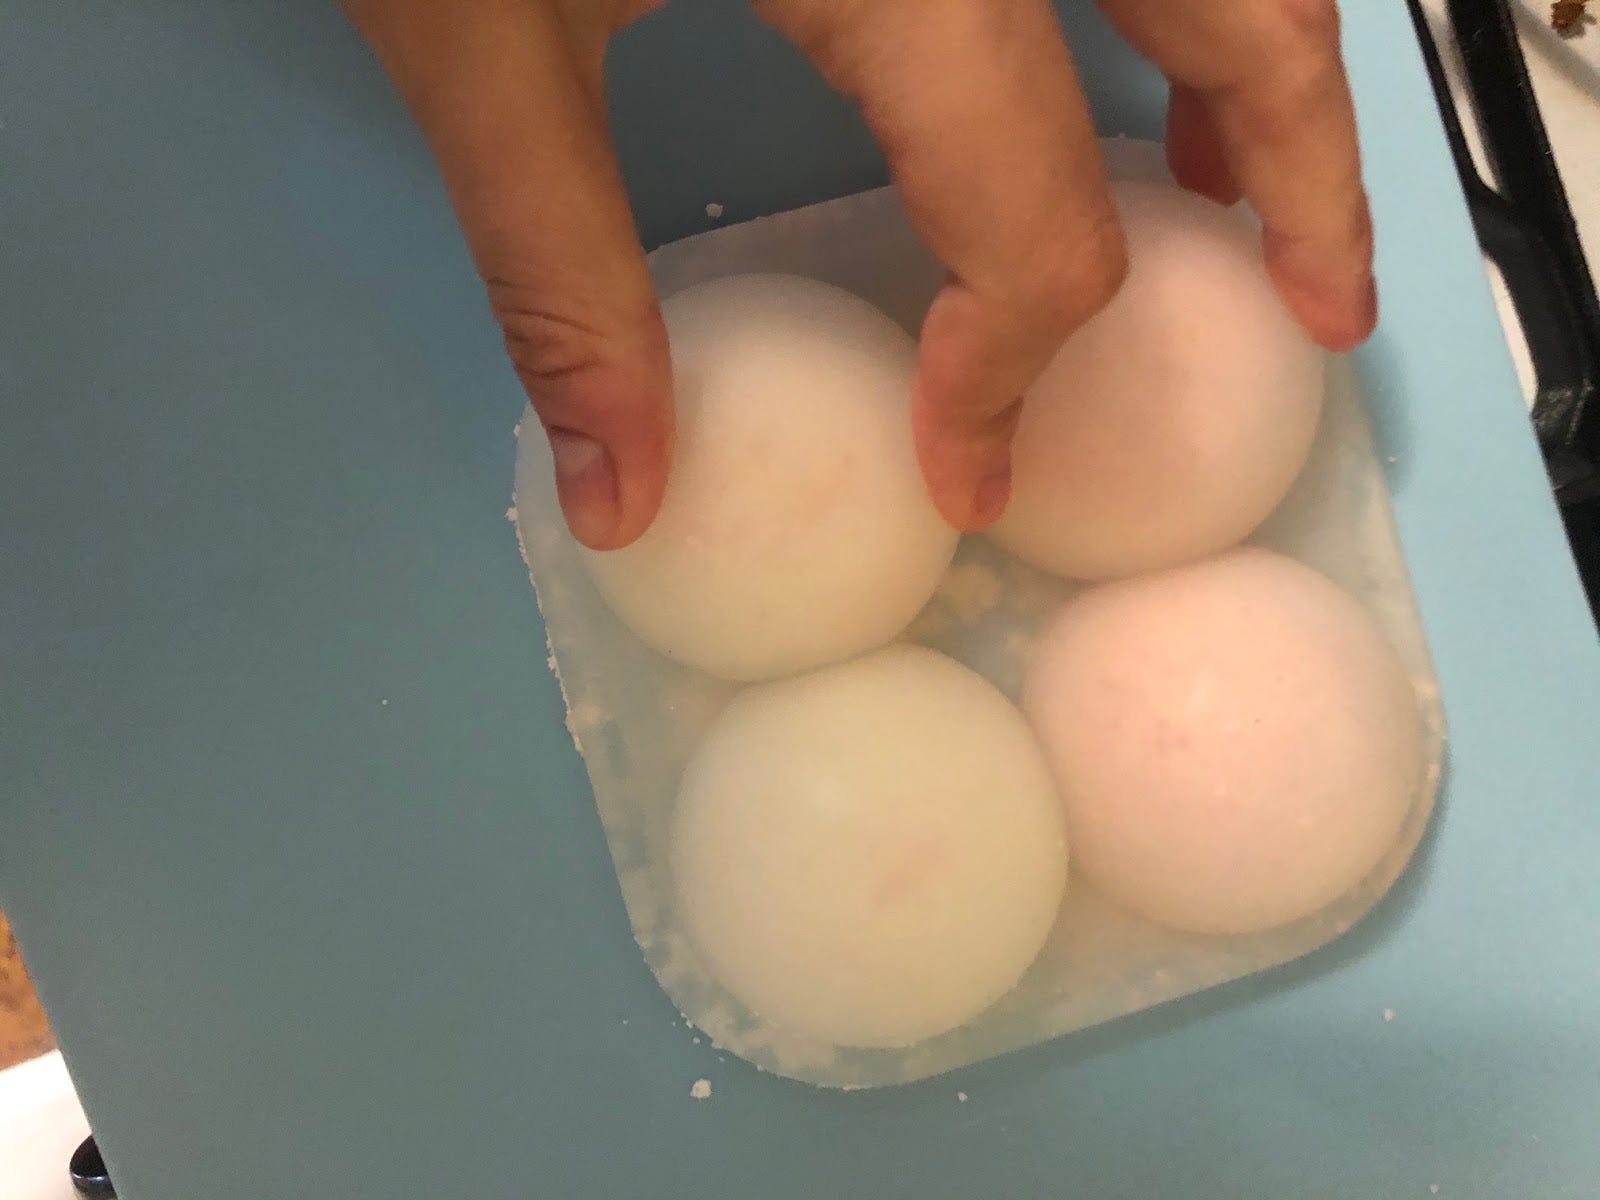
I then took the two halves and very carefully pressed them together. This took a little finesse.

As you can see I made one perfectly and the other I pressed too hard and it made the one on the left. It’s important not to press too hard. But again, this is a tricky way to make them. You do get a perfect circle, but I am not sure the pain of making a really ugly one a couple of times is worth it. I have also seen people make them with those plastic ornaments you can take apart. I don’t have those and have never actually seen them in a store, but that’s how many professionals make these if you have them. They are nice because you don’t need to shape with your hands at all making them look more uniform.
The last way I wanted to tell you about, won’t make a beautiful end product but is really fun especially if this is a craft you are doing with kids. You can just shape them with your hands. It’s messy and they don’t turn out that uniform, but the mixture smells great and feels kind of like kinetic sand. You can ball it up in your hands in the same motion as making a small snowball. These probably should be used by your family and not as gifts, but it’s a fun way to get kids excited about bath time and making something they can use later.
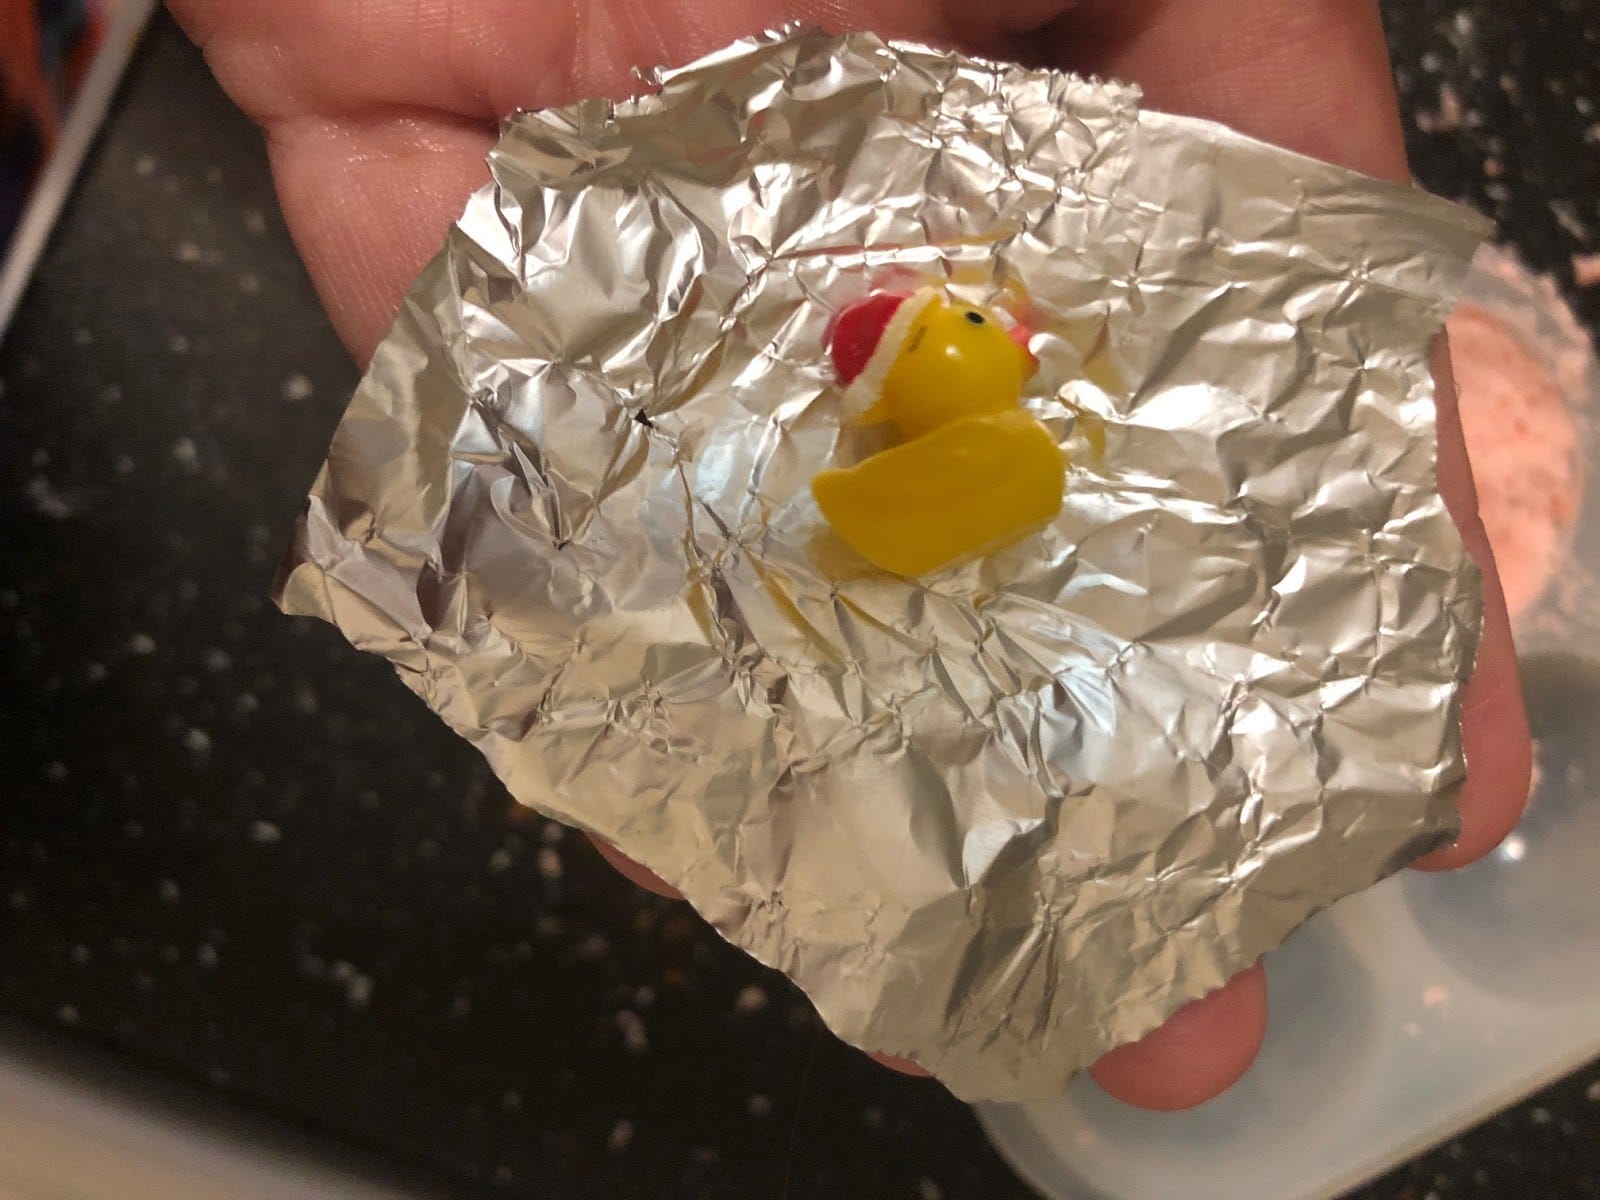
If you aren’t making them with kids, but for kids, you can also add a small prize inside by wrapping a small toy in tin foil. After it’s wrapped, you can sneak it in between the two sides. This works best when you are using a mold because it’s easy to get it in the middle, but you can do this with any other method too if you are careful.
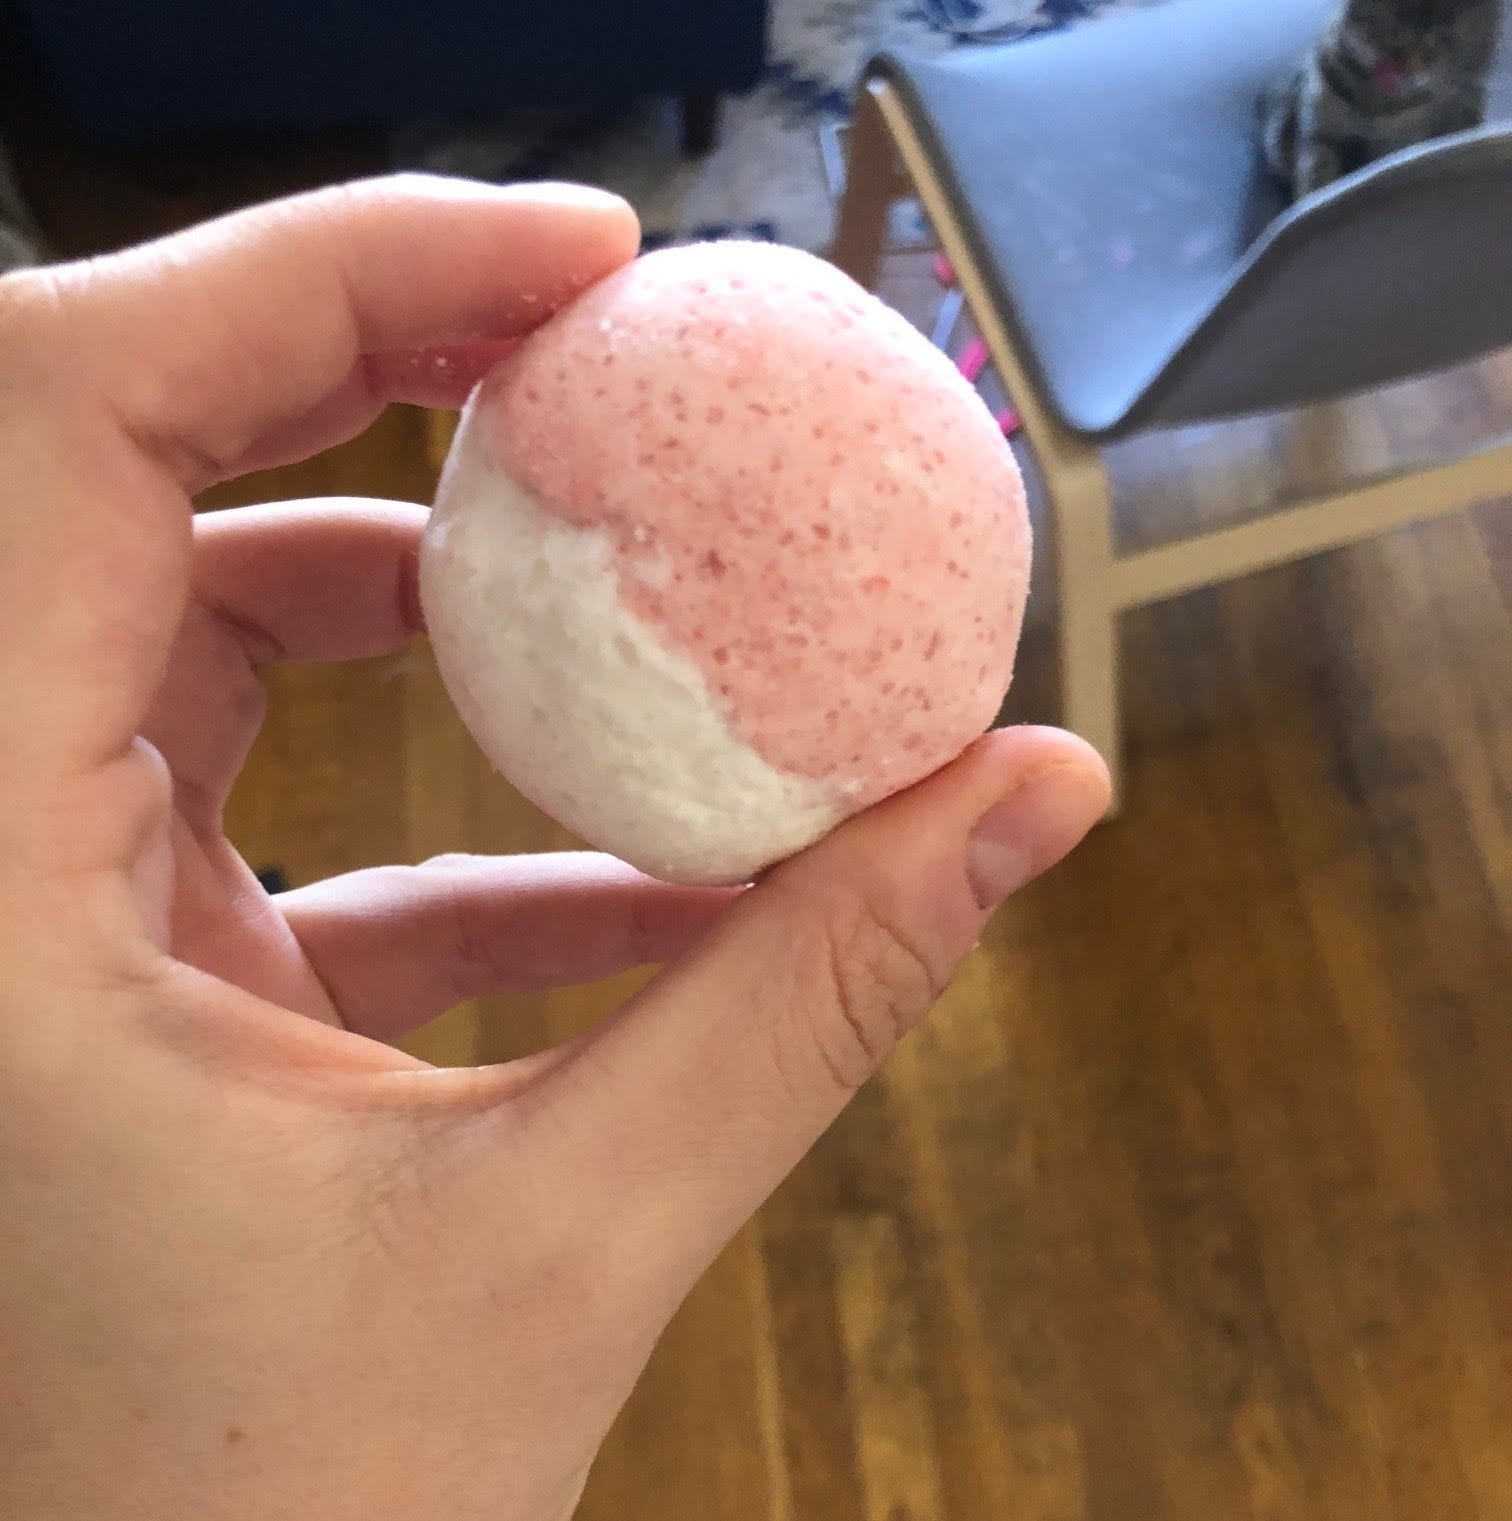
Once your bombs are formed, let them dry out for 24 hours. You should then have finished bath bombs. I wanted mine to look a bit like peppermints, but honestly, they looked pokeballs at best, but stick a Pikachu toy inside, and that’s a great gift for a kid or a 26 -year-old gamer friend. Either way, I am not mad about them.
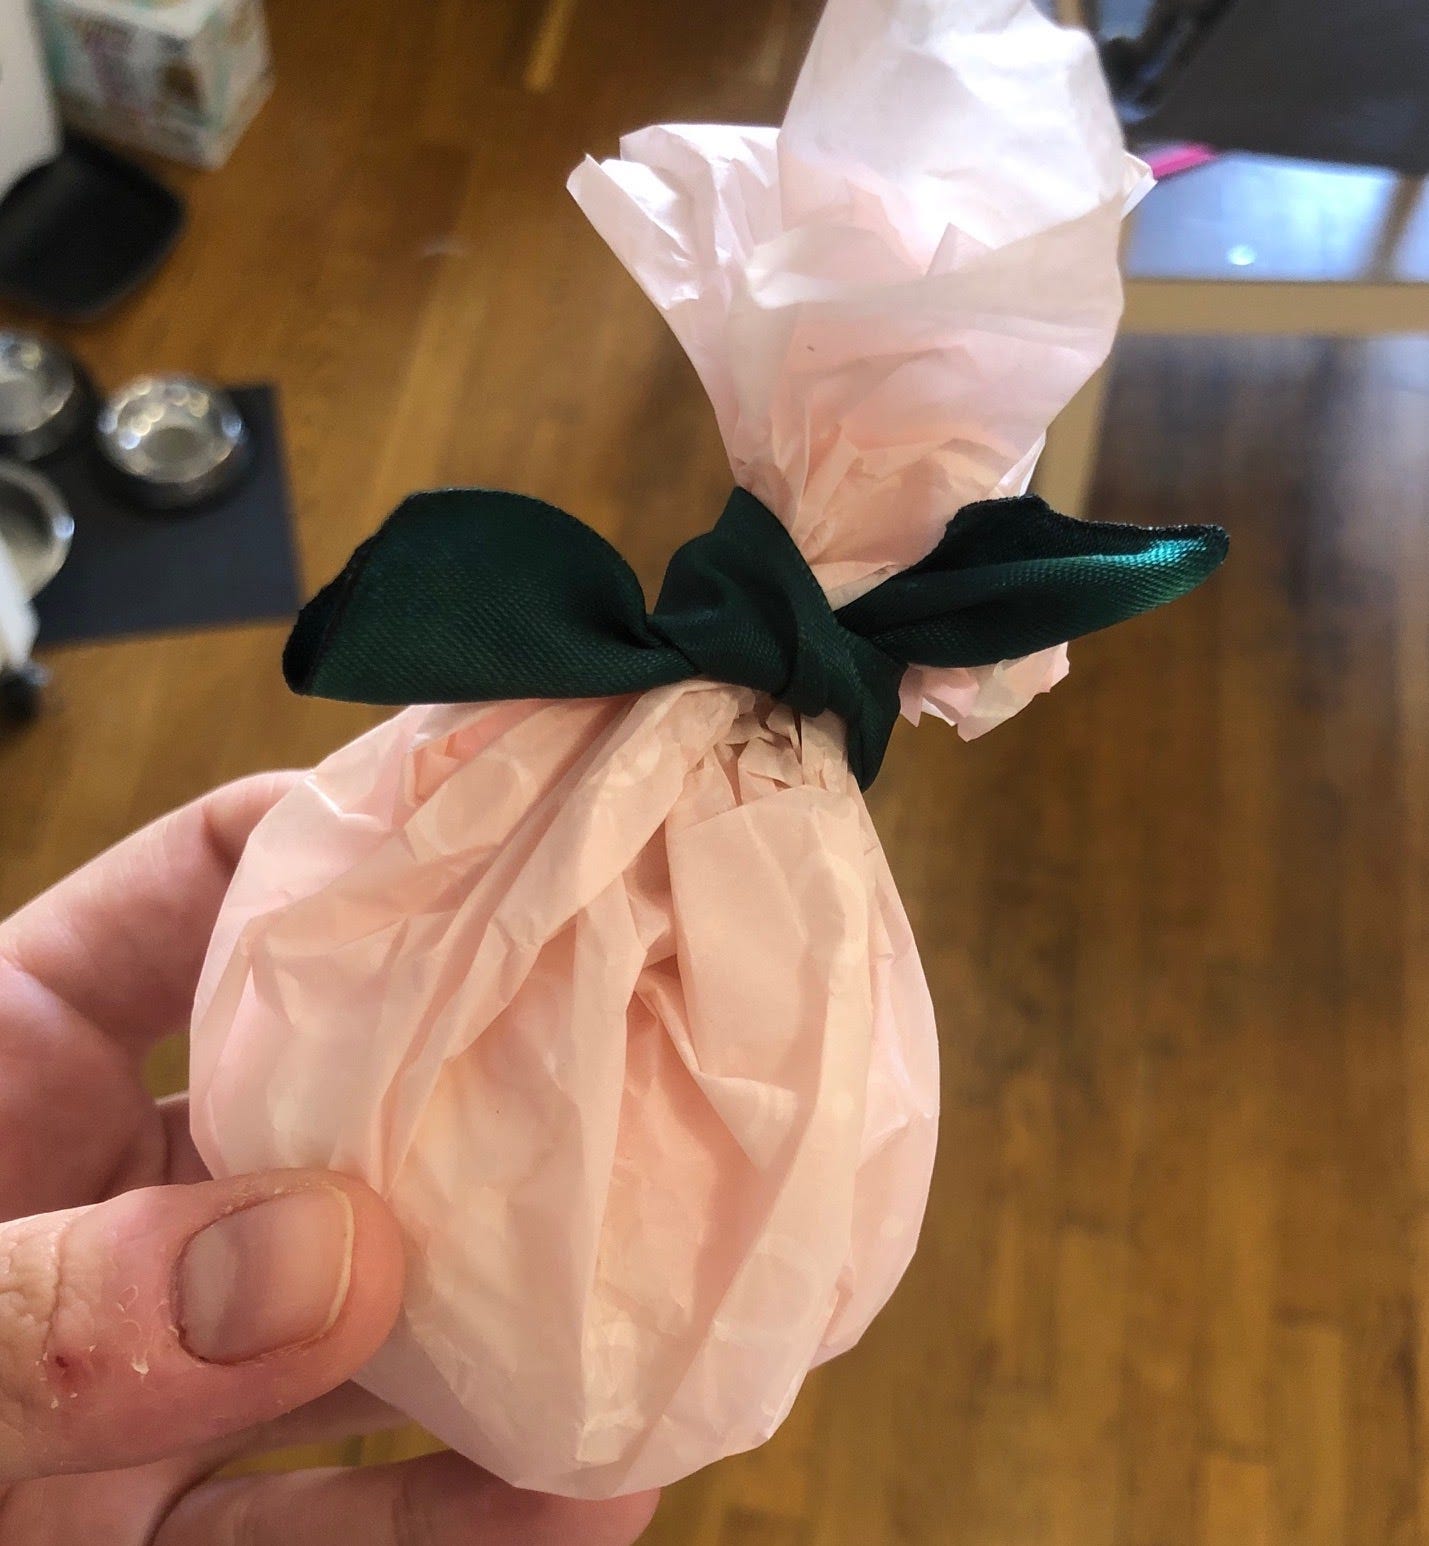
If you do want to give it to someone, I would wrap it in a little tissue paper to keep it safe and there you have it!
(For my new subscribers, I usually end this with some bummer information and ways to get involved with justice or betterment in some way.)
Since we are talking holidays this week, I wanted to say something about Food Pantries and Winter Coat drives/other clothing drives. If you can, it’s a great way to give back. Here in NYC, a lot of direct action comes from drives. So if you have stuff to donate, 1) don’t drop it off at a thrift store, only about 15% of clothes that go to thrift stores get bought. The rest goes to landfills or sometimes get burned. Clothing drives at shelters, community centers, and other direct action drives have a much higher chance of ending up with someone who needs it. Same with local food banks and shelters that need supplies. It usually takes a little research, because most of the best places to donate items to are hyper-local. Sometimes, to do the right thing, you have to do the research.
Also, consider this holiday season shopping small and buying from black-owned businesses. I can help you with that. You can check out these links: Buzzfeed’s Black-owned gift list, and NY Mag’s, Good Housekeeping’s. Amazon has a “small business section,” but if you can buy direct from artisans, it’s always helpful (I should know as a small seller myself!)
As always, stay safe and stay crafting!